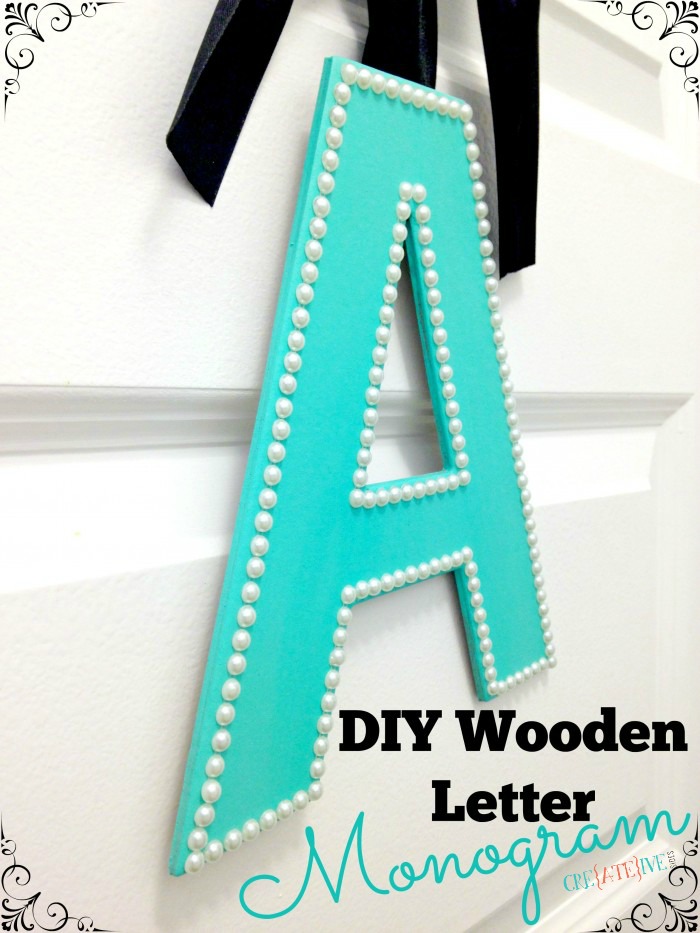
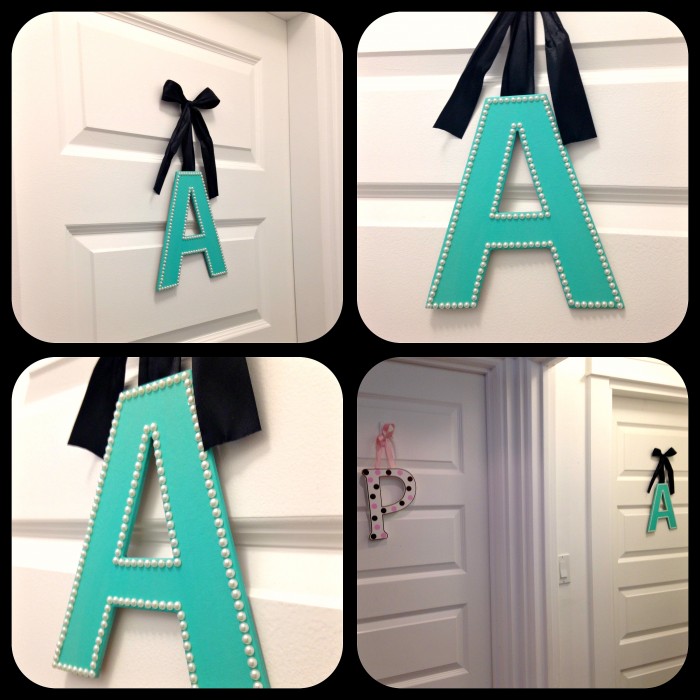
I am really rather taken with monograms and initials. I don’t really know why, it seems kind of silly really, but I have different letters and initials up all over our place. So even though it’s not a true ‘monogram’, both of my girls have the first letter of their names on their bedroom doors. Now after three years of searching for just the right ‘A’ for my younger daughter’s bedroom door, I decided to make one myself. Delightedly it only cost me about $3 in supplies. But to be perfectly honest, I could not endure the conversation regarding why the letter ‘P’ on her older sister’s bedroom door was larger than her letter ‘A’ again. Really, seriously not again. I don’t believe words could even do justice to conveying the grave importance Acacia felt this held. Of course her door had a letter ‘A’ on it (I am not a monster), but it was in fact smaller than her sister’s (and all the sparkles in the world couldn’t change that).
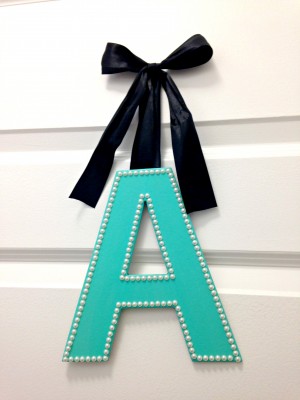
So a whole $3 dollars lighter and prompted with the motivation to never have to discuss this again (heaven forbid the older sister has something the little sister has not), I embarked on this incredibly simple project. I have to admit I am very pleased with the way it turned out. More importantly Acacia was over the moon happy and actually gasped out loud when I surprised her with it on her door! Thus freeing up more time for never ending conversations regarding more important things like why is the sky blue and how rainbows are made and why when we cut our own hair, it will not grow back the next day…. (and of course my personal favourite of why I won’t buy her a unicorn).
My love of all things Tiffany’s was the inspiration in both my colour and style choice. The actual ‘A’ and paint were found at Michaels (in the sale section at about .50 cents each if I remember correctly). The ribbon I already had, but can also be found at Michaels or Fabric Land. As for the pearls, they were stickers from Dollarama, making this project a breeze!
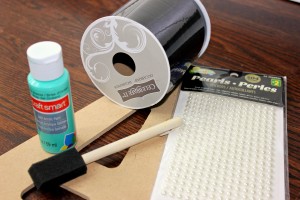
For a similar project you will need:
A wooden letter
Craft paint (I used craft smart satin acrylic paint in ocean breeze)
A foam paint brush
Embellishments (I chose pearl stickers)
Ribbon
Hot Glue Gun (or craft glue)
A hook (I went with a small Command Damage-Free hook so as to not leave a permanent mark on the door)
Scissors
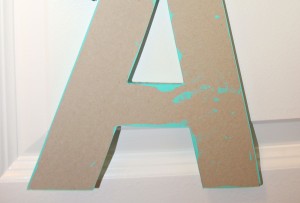
Step 1: Paint the letter, starting with the sides. I used two coats of paint, allowing the letter to become ‘dry to the touch’ in-between coats (this really only took a few minutes). Then allow to dry completely (if it is not completely dry the stickers will not adhere properly in the next step).
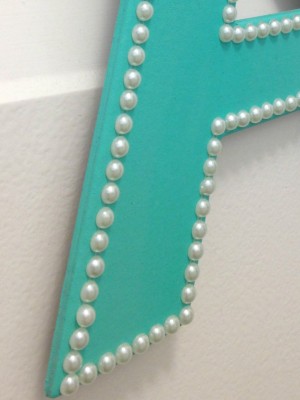
Step 2: Once completely dry, outline the letter in pearls. Following the shape of the letter, lay the pearls down just inside the edge. My ‘pearls’ came in sticker form, with 14 in a row on a clear sticker backing. I trimmed the stickers to fit with scissors (cutting the sticky plastic backing not the pearls themselves), especially on the corners, trying to get as uniform a look as possible.
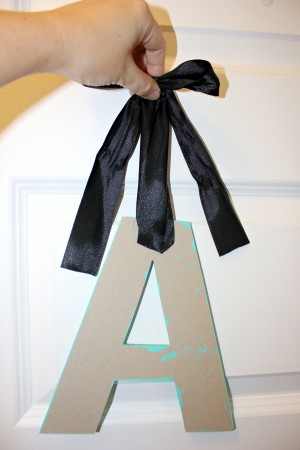
Step 3: Cut a length of ribbon. I cut a length of about 36 inches. Fold in half at the centre point and glue to the back of the letter top and centre (so it will hang straight). I used my glue gun for this and it was quick and easy.
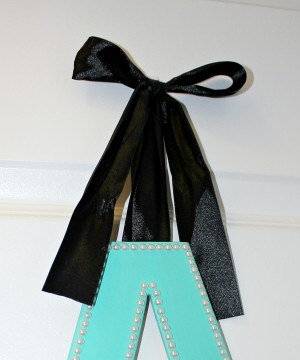
Step 4: Leaving the desired length of ribbon, tie into bow at the top. Trim the edges of the ribbon so they hang evenly and are not frayed.
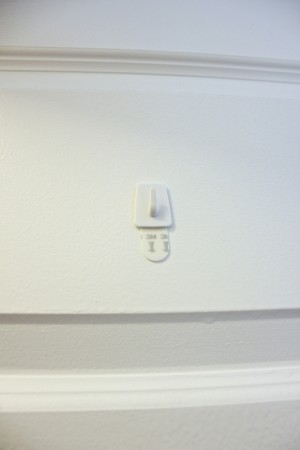
Step 5: Attach the hook to the door (following the directions that come with the command hooks, if using) and hang up the letter by the bow.
Step 6: Step back and admire your handy work and allow your child to gasp in glee!
This post may contain affiliate links. See our disclosure policy for more information.
Laura Crawford
Latest posts by Laura Crawford (see all)
- What Everyone Needs To Know Before Remodelling - December 5, 2016
- Goodbye Perfectionism - August 4, 2016
- Two Tier Flower Power Cupcakes - March 28, 2016
Leave a Reply