Every couple of years my husband’s (large, loud, fun) family has a reunion. Everyone gets together and camps, all 70 plus of us. I call it ‘Let’s Go Camping With the Crawfords!’ Unfortunately you have to understand something – I am a city girl. I am not saying I am proud of it (ok, I sort of am), but prior to our wedding I had never actually seen anyone outside of the movies wear cowboy boots. Not for real at least. But you learn fast that telling your husband’s uncle “I like your high heeled, snake skin boots!” will not make you any friends. Really the only thing worse is accidentally screaming when you unknowingly step on the head of the bear skin rug. Yup. There was actually an honest to goodness conversation regarding whether we would have an arm wrestling contest at our wedding or not. We did not (the gift opening was a different story mind you). So, clearly I have a lot of making up to do in many ways. Thirteen years later, cowboy boots and hunting are still not on my horizon, so how will I do that? Through food of course (and my winning personality…).
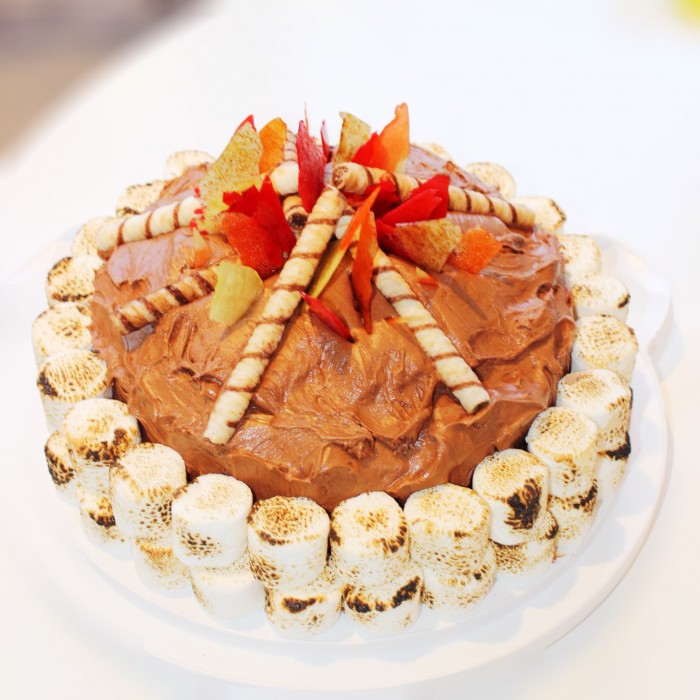
Even though both my parents were originally from small towns, we never once went camping. Not ever. Hawaii yes, camping no. My first camping experience was as a teen with a friend’s family. So I think it’s safe to say I do not come across it naturally. And to say I feel a little out of my element is an understatement. But that does not stop me from trying (and this will be the first reunion where I won’t have a new baby…. hello 34 degree weather and no nursing!!!). So with both kids clad in adorable cowgirl boots and hats, we will show up with this cake and leave the arm wrestling to hubby!
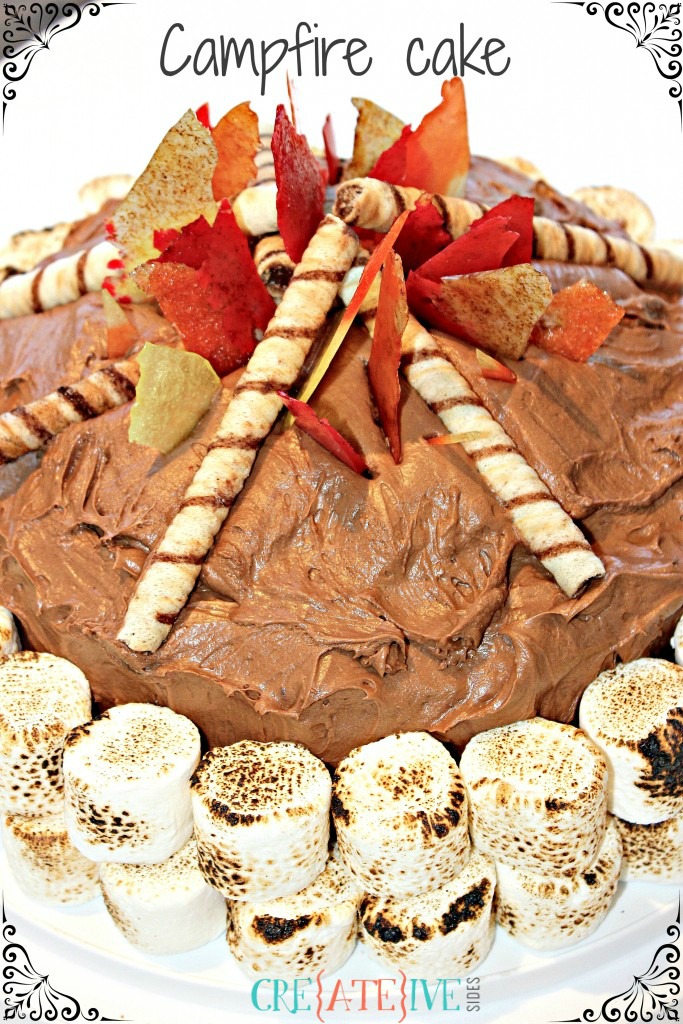
S’mores Campfire Cake
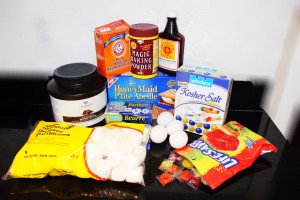
Items Needed:
Brown Butter Graham Cracker Crust
18 Large Graham Crackers
1/2 cup Granulated Sugar
1/2 teaspoon Windsor Kosher Salt
3/4 cup (12 Tbsp) Unsalted Butter
Dark Chocolate Cake
2 cups Boiling Water
1 cup Rodelle Gourmet Baking Cocoa (Dutch process cocoa powder)
1 cup soft Unsalted Butter
2 1/4 cups Sugar
4 large eggs
1 Tablespoon vanilla
2 3/4 cups All Purpose Flour
2 teaspoons Baking Soda
1/2 teaspoon Baking Powder
1/2 teaspoon Windsor Kosher Salt
Chocolate Ganache
2/3 cup Hershey’s Milk Chocolate Chips
1/2 cup Whipping Cream
Chocolate Frosting
1 cup Hershey’s milk chocolate chips
1 cup Hershey’s semi-sweet chocolate chips
1/2 cup Unsalted butter
1 cup Arvand double creme yogourt
4 1/2 cups Icing Sugar
1 teaspoon vanilla extract
Campfire Decorations
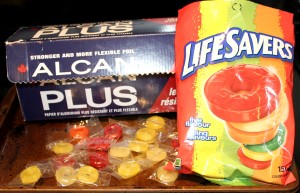
18 Lifesavers hard candies in red, yellow and orange
400g bag of Large Marshmallows (about 50 individual marshmallows)
Crème Roulée European style rolled wafers
Step 1: Preheat oven to 350 degrees and line the bottom of two 9in cake pans with parchment paper, then spray sides and bottom generously with non-stick spray.
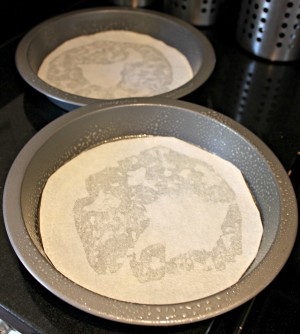
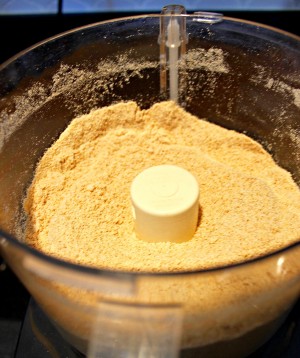
Step 2: Break up 18 Graham Crackers into a food processor (hello my trusty Cuisinart Food Processor!). Add 1/2 cup of sugar and 1/2 teaspoon salt.
Step 3: Pulse the food processor until very finely ground, uniform crumbs form.
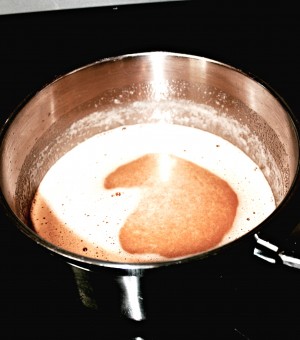
Step 4: Brown butter by melting 3/4 of cup (12 Tbsp) butter in a medium, heavy bottomed pot over medium heat. Don’t stir, but swirl the butter around by moving the pot itself every few seconds. Watch the whole time, until butter is a golden brown colour. It will turn brown at the edges first, hence the swirling, so nothing burns. Watch carefully, the bits in the bottom can turn black and burn quickly, and it will continue to brown a few seconds even after you remove it from the heat.
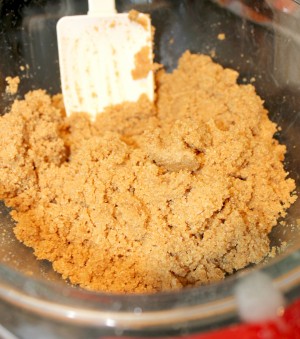
Step 5: Place graham cracker crumbs in a bowl and pour browned butter over top, making sure to scrape out all the brown bits in the bottom of the pan. Stir together, taste and decide that this alone could be dessert. Like an amazing graham cracker pudding dessert of sorts. It’s safe to say you have never had graham crackers taste this amazing before. Resist getting a spoon and sitting down. Remind yourself of the end goal. The in-laws, think of the in-laws!!!
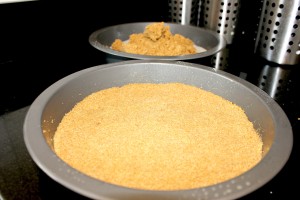
Step 6: Evenly press the graham cracker mixture of your dreams into each of the greased pans.
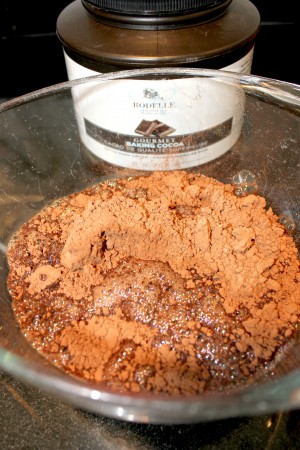
Step 7: Place 1 cup Rodelle Gourmet Baking Cocoa in a bowl. I get this Rodelle cocoa at Costco (several at a time, for the fear of them no longer carrying it next visit), because you know when recipes refer to using ‘Dutch process cocoa powder’ and you just use the stuff that your mother always used and wonder why people actually like cocoa? Well this is why. What a difference it makes. Seriously, one more level of yum to whatever you are making!
Step 8: Pour 2 cups boiling water over cocoa powder and whisk together. Set aside.
Step 9: Put 1 cup room temperature butter and 2 1/4 cups granulated sugar into a KitchenAid stand mixer and beat until light and fluffy.
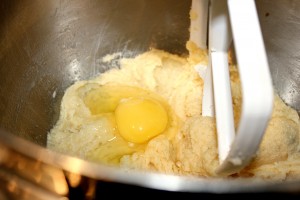
Step 10: Add the vanilla and the eggs one at a time mixing until completely combined after each.
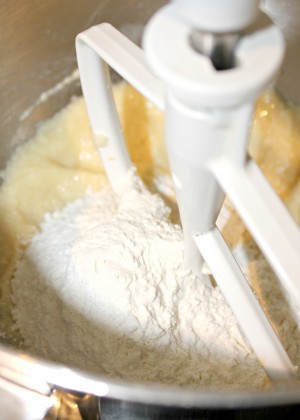
Step 11: Whisk the flour, baking soda, baking powder and salt together in a separate bowl.
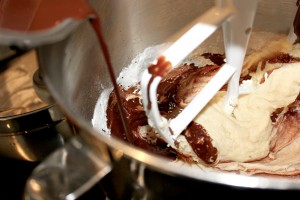
Step 12: Gently add half the dry ingredients to the mixer. Mix on low until combined. Then slowly pour in half the chocolate mixture to the batter with the mixer running on low. Repeat with the remaining dry ingredients and chocolate. Mix into a smooth batter.
This makes a very velvety batter, when all is said and done.
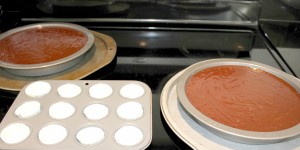
Step 13: Pour carefully into pans overtop of the graham crumb mixture and bake at 350 degrees for 30 minutes or until a toothpick comes out clean when inserted in the middle. There was actually a little more batter than I felt comfortable trying to fit into the 9 inch pans. And because all I could picture was this beautiful chocolate batter (that I had once again resisted just getting a spoon, pulling up a chair and telling myself I was having ‘chocolate pudding’ for lunch with) spilling over as it baked and me weeping, I actually made 12 mini cupcakes along side with the extra batter, much to the little’s delight.
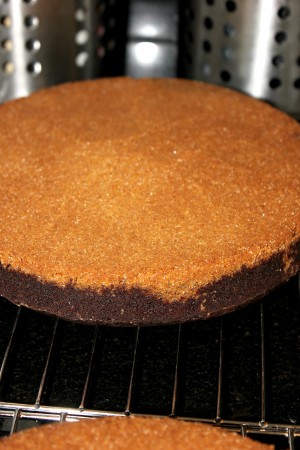
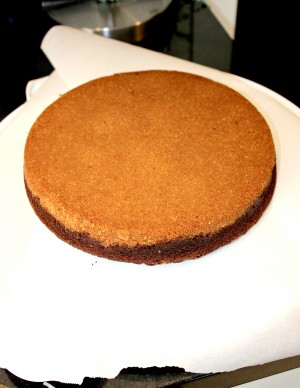
Step 14: Allow cakes to cool on cooling racks in the pans for twenty minutes. Then gently run a knife around the sides to loosen and carefully turn out onto cooling racks, graham crumb side up. Leave to cool completely.
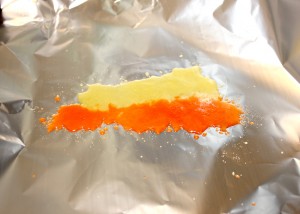
Step 15: To prepare the melted candy ‘flames’ line a cookie sheet with tinfoil and preheat oven to 270 degrees.
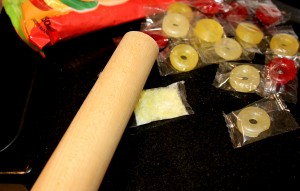
Step 16: I found the best way to crumble the Lifesavers candy was to leave them in their individually wrapped plastic and smash them with my wooden rolling pin. I used 3 matching candies for each stripe of colour, ultimately using 18 candies in total.
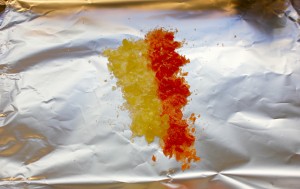
Step 17: Empty crushed Lifesaver packets into stripes or rows next to each other on the tinfoil lined sheet. I found that it worked best if the candies and colours actually touched.
Step 18: Bake in a 270 degree oven for 5 – 10 minutes until liquid. Then remove and set aside to cool and harden.
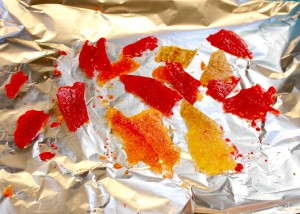
Step 19: Once the candy has cooled and hardened, peel it off the tinfoil and break apart to resemble flame-like pieces. Set aside.
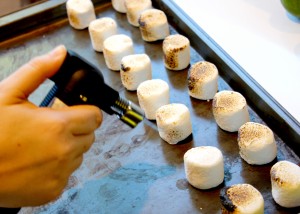
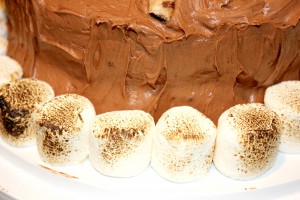
Step 20: To prepare the ‘roasted’ marshmallows, place a large cookie sheet on a heat resistant surface or hot plate divot (the pan will get quite hot). Set out a row of marshmallows and using a kitchen torch char the top and front sides of each marshmallow. This cake took the entire bag of marshmallows, 50 in total (25 per row). I chose to use Loblaws No Name Marshmallows because they seem to be less sticky (not getting all stuck together in the bag) and keep their shape better in my opinion.
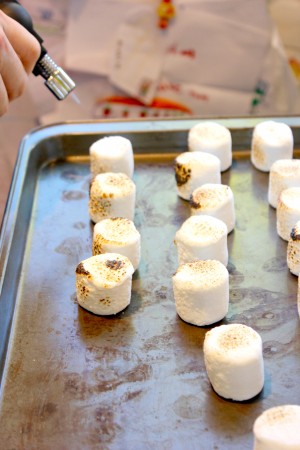
Do not hold the flame too close to the marshmallow you are charing or it will light on fire just as quickly as roasting them on an open fire (simply blow it out). This proves very entertaining to one’s husband if they enjoy watching your lack of patience and finesse in open flame endeavours, light one marshmallow after another on fire (just like when I am roasting marshmallows over an actual campfire might I add) and who just takes over instead of standing over you laughing. Hence why my knuckles start to look remarkably manly in the later photos!
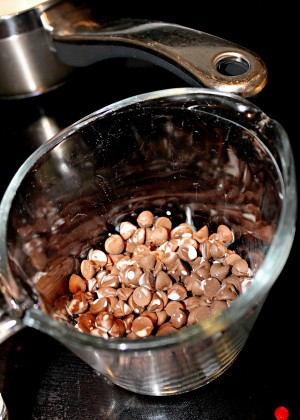
Step 21: Make the chocolate ganache by measuring out 2/3 a cup of chocolate chips (I may or may not have used the same measuring cup that I just measured the cream in…).
Step 22: Bring a cup of whipping cream to a simmer in small pot over medium heat. Pour over the chocolate chips and let sit about 5 minutes.
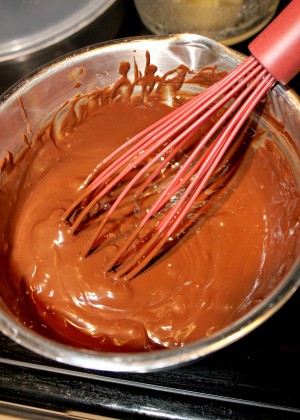
Step 23: Using a small whisk, whisk the ganache until smooth and shiny. Set aside. If it seems really runny, put it in the fridge to firm up.
Step 24: Place a cake round onto the cake plate or stand, graham crumb side up. Make sure the plate will be large enough to accommodate the marshmallows all the way around the base of the cake! Slide pieces of parchment paper underneath for a cleaner finish.
Step 25: Spread ganache over first layer of cake. Top with second layer of cake, graham crumb side down this time. A somewhat domed cake is desirable for the top, to help pile up the camp fire. Refrigerate until ready to frost. Chilling helps prevent the layers from sliding too much during frosting or squishing out all the ganache. I used two plastic toothpicks to hold the layers even and together while they chilled in the fridge and I prepared the frosting. (If hoping for a more pronounced marshmallow taste in each bite, a jar of marshmallow fluff or mini marshmallows themselves could be added between the layers as well).
Step 26: For the frosting combine 1 cup milk chocolate and 1 cup semi-sweet chocolate chips in a small bowl.
Step 27: Microwave 1/2 a cup of butter for 1 minute or until completely melted. Pour over chocolate chips and let sit for about 5 minutes.
Step 28: Whisk until chocolate chips are completely melted and smooth.
Step 29: Put 1 cup of Arvand Double Creme yogurt in a Kitchen Aid mixer, fitted with a paddle attachment. With the mixer on low slowly pour in the melted chocolate. Mix until combined.
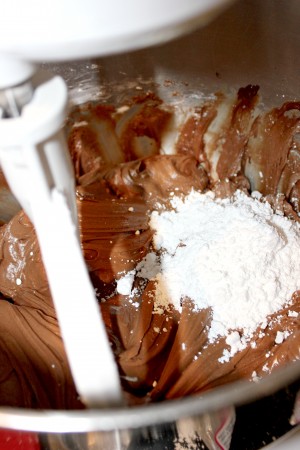
Step 30: Add the Rogers powdered icing sugar a cup at a time (4 1/2 cups in total) and the vanilla extract, mixing well between each addition. Continue to beat until a creamy frosting consistency is reached.
Step 31: Begin frosting the cake and remove toothpicks, if used, after the sides have been frosted in place.
Step 32: Continue frosting until the whole cake is evenly covered, piling any extra any up on top. Remove the parchment paper lining the cake plate.
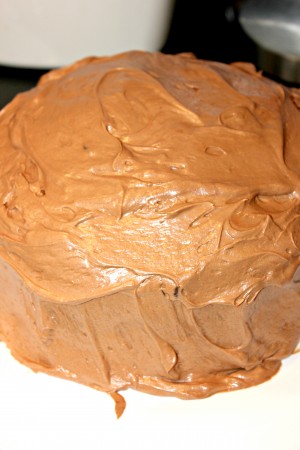
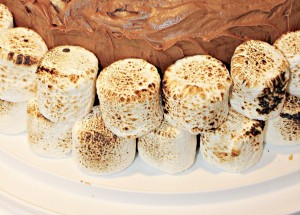
Step 33: Start placing the toasted marshmallows side by side along the base of the cake, all the way around (this took approximately 25 on my cake).
Step 34: Continue with second layer, on top of, but between the original row for an even look and better balance. Pushing the back side of the marshmallows into the frosting holds them in place.
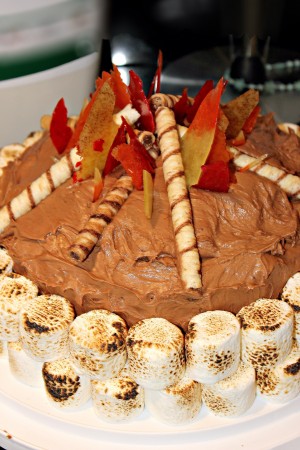
Step 35: Using chocolate rolled wafer cookies, place them on top of the cake in a campfire log formation.
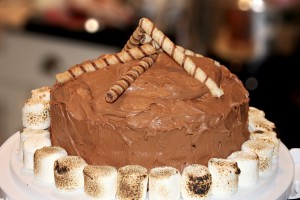
I used Crème Roulée Chocolate hazelnut European styled rolled wafers for my logs.
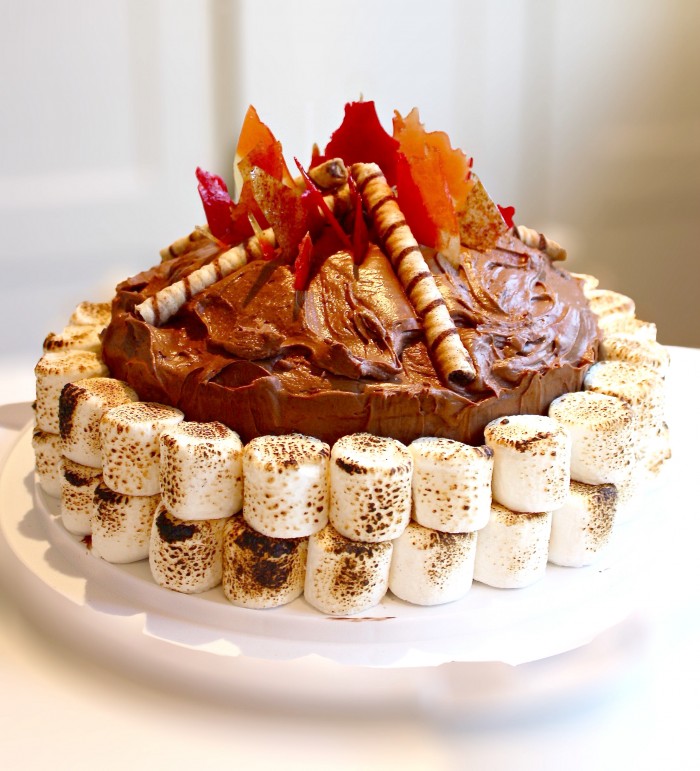
Step 36: Start placing broken candy flames where you feel fit to mimic the campfire flames.
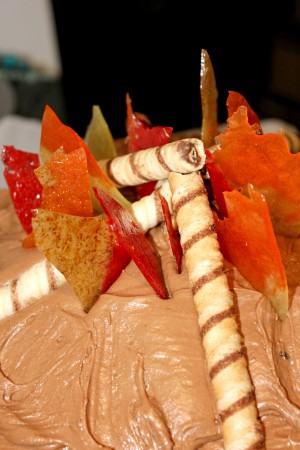
I started with the largest pieces near the top and tapered down with the smaller pieces, for more convincing flames, near the bottom. I could not make the flames too tall, because it had to fit under a domed cake cover to travel. Larger, higher flames would be even more impressive!
And there you have it – a campfire cake (fit to make the rellies fall in love with you and all your city loving ways)!!!

- 18 large graham crackers
- 1/2 cup granulated sugar
- 1/2 tsp Kosher salt
- 3/4 cup (12 Tbsp) unsalted butter
- 2 cups boiling water
- 1 cup Rodelle Gourmet Baking Cocoa (Dutch process cocoa powder)
- 1 cup soft unsalted butter
- 2 1/4 cups sugar
- 4 large eggs
- 1 tbsp vanilla
- 2 3/4 cups All Purpose Flour
- 2 tsp baking soda
- 1/2 tsp baking powder
- 1/2 tsp Windsor Kosher Salt
- 2/3 cup Hershey’s milk chocolate chips
- 1/2 cup whipping cream
- 1 cup Hershey’s milk chocolate chips
- 1 cup Hershey’s semi-sweet chocolate chips
- 1/2 cup unsalted butter
- 1 cup Arvand double creme yogourt
- 4 1/2 cups icing sugar
- 1 tsp vanilla extract
- 18 Lifesavers hard candies in red, yellow and orange
- 400g bag of large Marshmallows (about 50 individual marshmallows)
- Crème Roulée European style rolled wafers
- Preheat oven to 350 degrees and line the bottom of two 9in cake pans with parchment paper, then spray sides and bottom generously with non-stick spray.
- Break up 18 graham crackers into a food processor.
- Add 1/2 cup of sugar and 1/2 teaspoon salt.
- Pulse the food processor until very finely ground, uniform crumbs form.
- Brown butter by melting 3/4 of cup (12 tbsp) butter in a medium, heavy bottomed pot over medium heat. Swirl the butter around, moving the pot every few seconds, until butter is a golden brown colour.
- Place graham cracker crumbs in a bowl and pour browned butter over top, making sure to scrape out all the brown bits in the bottom of the pan. Stir together.
- Evenly press the graham cracker mixture into each of the greased pans.
- Place 1 cup of Baking Cocoa in a bowl.
- Pour 2 cups boiling water over cocoa powder and whisk together. Set aside.
- Put 1 cup room temperature butter and 2 1/4 cups granulated sugar into a stand mixer (or into a bowl and mix with hand mixer) and beat until light and fluffy.
- Add the vanilla and the eggs one at a time mixing until completely combined after each.
- Whisk the flour, baking soda, baking powder and salt together in a separate bowl.
- Gently add half the dry ingredients to the mixer and mix on low until combined.
- Slowly pour in half of the chocolate mixture to the batter with the mixer running on low.
- Repeat with the remaining dry ingredients and chocolate. Mix into a smooth batter.
- Pour carefully into pans overtop of the graham crumb mixture and bake at 350 degrees for 30 minutes or until a toothpick comes out clean when inserted in the middle.
- Allow cakes to cool on cooling racks in the pans for twenty minutes. Then gently run a knife around the sides to loosen and carefully turn out onto cooling racks, graham crumb side up. Leave to cool completely.
- To prepare the melted candy ‘flames’ line a cookie sheet with tinfoil and preheat oven to 270 degrees.
- Crush Lifesaver candies in their wrappers with a rolling pin or meat tenderizer.
- Empty crushed Lifesaver packets into stripes or touching rows on the tinfoil lined sheet.
- Bake in a 270 degree oven for 5 - 10 minutes until liquid. Then remove and set aside to cool and harden.
- Once the candy has cooled and hardened, peel it off the tinfoil and break apart to resemble flame-like pieces. Set aside.
- Place a large cookie sheet on a heat resistant surface or hot plate divot (the pan will get quite hot).
- Set out a row of marshmallows and using a kitchen torch char the top and front sides of each marshmallow. This cake took the entire bag of marshmallows, 50 in total (25 per row).
- Do not hold the flame too close to the marshmallow you are charing or it will light on fire.
- Combine 1 cup milk chocolate and 1 cup semi-sweet chocolate chips in a small bowl.
- Microwave 1/2 a cup of butter for 1 minute or until completely melted. Pour over chocolate chips and let sit for about 5 minutes.
- Whisk until chocolate chips are completely melted and smooth.
- Put 1 cup of Double Creme yogurt in a mixer, fitted with a paddle attachment, or a bowl with a hand mixer. With the mixer on low slowly pour in the melted chocolate. Mix until combined.
- Add the powdered icing sugar a cup at a time (4 1/2 cups in total) and the vanilla extract, mixing well between each addition. Continue to beat until a creamy frosting consistency is reached.
- Remove toothpicks from the cake, if used and begin frosting.
- Continue frosting until the whole cake is evenly covered, piling any extra any up on top.
- Remove the parchment paper lining the cake plate.
- Start placing the toasted marshmallows side by side along the base of the cake, all the way around (approximately 25 marshmallows).
- Continue with second layer, on top of, but between the original row for an even look and better balance. Pushing the back side of the marshmallows into the frosting holds them in place.
- Using chocolate rolled wafer cookies, place them on top of the cake in a campfire log formation.
- Start placing broken candy flames where you feel fit to mimic the campfire flames. I started with the largest pieces near the top and tapered down with the smaller pieces, for more convincing flames, near the bottom.
- If hoping for a more pronounced marshmallow taste in each bite, a jar of marshmallow fluff or mini marshmallows themselves could be added between the layers as well
- This is a very large cake. If you desire a smaller cake, cut both the graham cracker and chocolate cake recipes in half and bake in two 8in pans for 20 - 25 minutes.
Campfire cake idea adapted from here at Surviving a Teacher’s Salary.
S’mores Cake recipe adapted from here at Heather Christo.
Chocolate frosting recipe adapted from here at Something Swanky.
Laura Crawford
Latest posts by Laura Crawford (see all)
- What Everyone Needs To Know Before Remodelling - December 5, 2016
- Goodbye Perfectionism - August 4, 2016
- Two Tier Flower Power Cupcakes - March 28, 2016
Leave a Reply