The post Hand-y Seasonal Felt Tree Craft appeared first on Creative Sides.
]]>
This year I am officially the mom of a kindergartener… where did the time go? How did she grow up so fast?
My youngest, though, has spent the past month unsure of what to do with himself as his playmate isn’t constantly there to boss him around provide entertainment. I have been searching for new activities that can help him learn and keep him occupied for more than five minutes so I can inhale some coffee and get a few projects done around the house.
Inspired by his current fascination of picking up the leaves around our neighbourhood, I decided to create a quick and easy felt tree craft. To make it a bit more special and fun I used his hand as the tree.
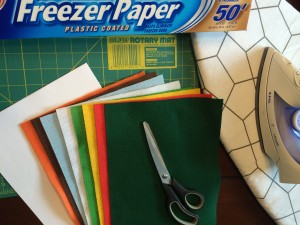
You will need:
- Freezer paper
- Felt sheets in various colours (one for the background and the others for the leaves and other decorations)
- Scissors or Rotary cutter
- Iron
- Ironing Board
- Pencil
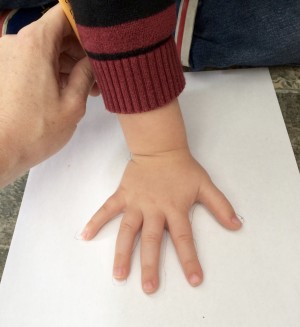
Step 1: Trace your child’s hand on to the dull side of the freezer paper. You can also trace their hand onto any piece of paper you have near (office paper, envelope, phone bill…) and retrace on the dull side of the freezer paper after. Speaking from experience here…
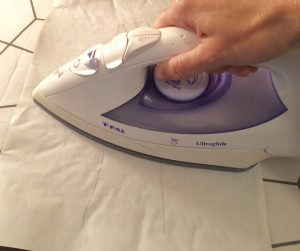
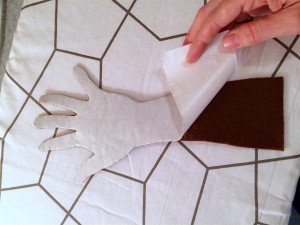
Step 2: Place the freezer paper shiny side down on top of the rough side of the felt sheet. The rough side is the side that usually has the manufacture sticker on it. Remember to remove the sticker before ironing.

Place freezer paper on rough side of felt. Remember to remove the sticker.
Step 3: Iron the freezer paper using medium heat, no steam. You should now have the freezer paper and felt temporarily stuck together. This step will make it much easier to cut out your design.
Step 4: Cut out your shapes using either scissors or a rotary cutter.
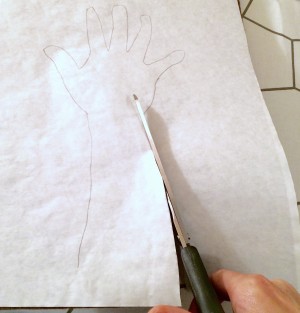
Step 5: Peel freezer paper away from felt and place cut out on background of your choosing.

Handy tip: Replace the sticker on the left over scrap of felt to help you remember which side is the rough side for your next craft project.
Repeat steps 1 through 5 with other felt colours to create leaves, sunshine, grass, apples, pumpkins, clouds, flowers, house – whatever your imagination can dream up.
Play!

This post may contain affiliate links. See our disclosure policy for more information.
The post Hand-y Seasonal Felt Tree Craft appeared first on Creative Sides.
]]>