Hello summer. Hello kid’s parties. My poor children suffer so….I mean they have been to five kid’s parties since the beginning of June. Five. I haven’t been to five parties this entire past year and I highly doubt I will be to five in the next year either. Oh well, I can definitely think of worse things than lively, cute parties with a plethora of children running around having lots and lots of fun!
The latest party was one we have all been looking forward to (it had it’s inaugural run last year and was a definite highlight of the summer). It’s none other than an epic slip and slide party, with a huge, homemade slide on a rather perfect slope of a yard. And it is big, I mean really big, think four, even five kids at a time big! Hello fun! The only thing that could make this party better would be the Pink Flamingo Party theme. My girls and I have been waiting for this moment with our not one, but two separate flamingo shaped cookie cutters stored away. Plus, let’s face it, at the best of times we turn out pink icing like its going out of style!
Over the years I have made many, many sugar cookies and especially now with young kids in tow, there are even more occasions to break out the cookie cutters. So naturally I have tried plenty of different recipes with varying results. Once I found this recipe, there was no going back. This is the only one I use. I feel it is the easiest to make and work with and it ALWAYS turns out. Plus I love, love, love that it does not have to be chilled (who loves rolling out chilled dough – not me!!).
My Favourite Sugar Cookie Recipe – Just Roll Out And Use!
1 cup softened unsalted butter
1 cup granulated sugar
1 teaspoon vanilla extract
1/2 teaspoon Wilton Butter Flavour Extract (I found mine at Michaels)
1 egg
2 teaspoons baking powder
3 cups all-purpose flour
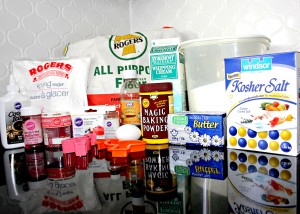
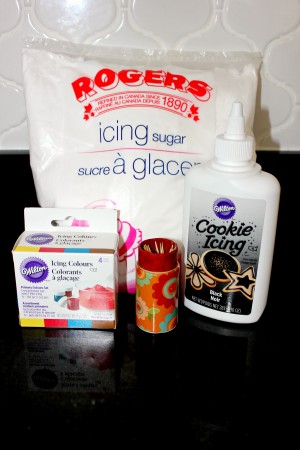
Step 1: Start with yummy ingredients, these are some of my favourites. Gather what you need.
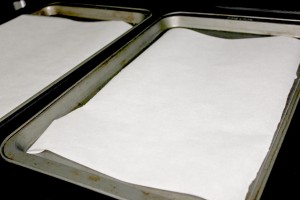
Step 2: Heat oven to 350 degrees and line two cookie sheets with parchment paper.
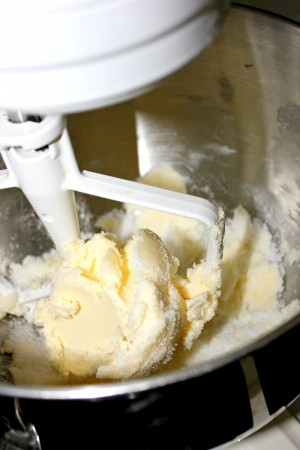
Step 3: Cream butter and sugar together with the help of a KitchenAid stand mixer until creamy.
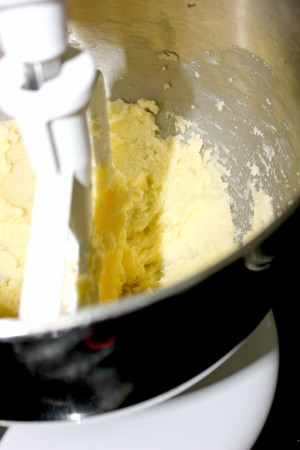
Step 4: Beat in the extracts and egg.
Step 5: In a separate bowl, mix together the flour and baking powder, then add 1 cup at a time to the mixer.
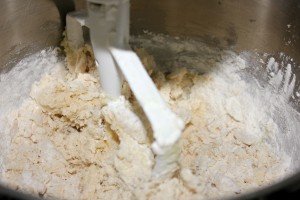
The dough will become very stiff!
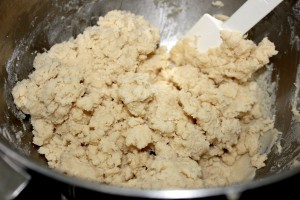
Step 6: Flour a work surface.
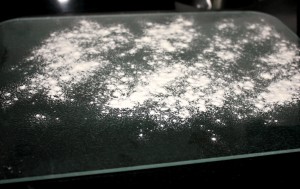
Step 7: Turn the dough out onto floured surface.
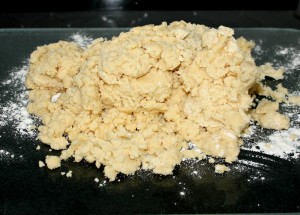
Step 8: Shape/knead the dough by hand, until it comes together, wetting hands if need be.
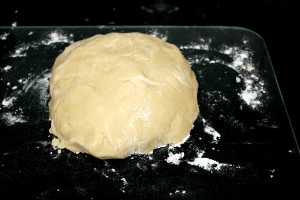
Step 9: Cut dough in half, to a more manageable size for rolling.
Step 10: Using only half the dough at a time, roll out evenly, on a generously floured surface until about 1/4-inch in thickness. Do not roll the dough too thin.
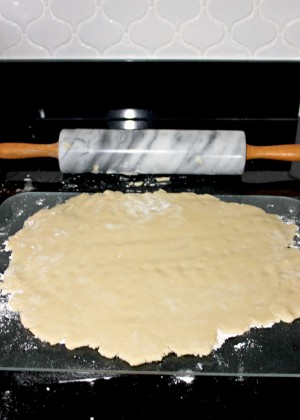
Step 11: Cut out desired shapes with cookie cutters. Dip the cutters in flour every couple cookies if they start sticking.
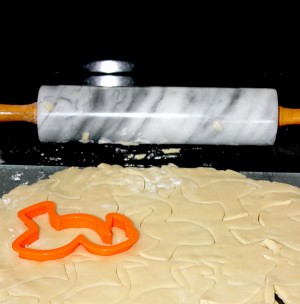
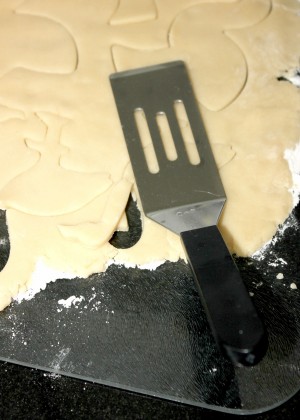
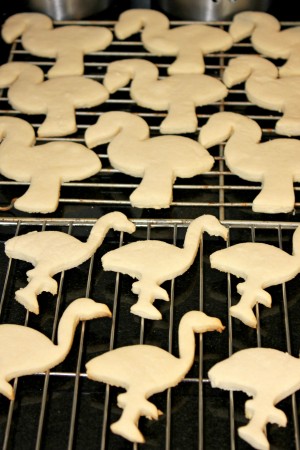
Step 12: Carefully lift (especially the skinny necked variety of flamingo in my case) the cookies and place on the baking sheets lined with parchment. After a few decapitated flamingos and some muttering, I started using my little tapered metal Pampered Chef Mini Spatula. All hail the mini spatula!! It works wonders in all situations, even those that need a little extra something (like say, really thin necked flamingos on a hot day……wait does that sound like country western song to anyone else?!).
Step 13: Bake at 350 degrees for 6 – 8 minutes. Ovens tend to vary, but remove when lightly puffed and barely brown around the edges. Let cool on the cookie sheets until firm enough to transfer to a cooling rack.
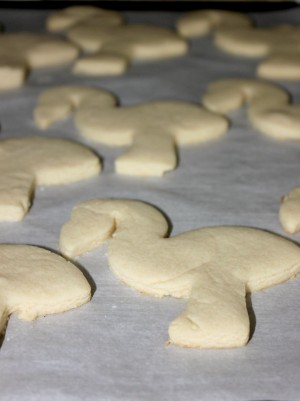
Step 14: Allow to cool completely. They look so naked waiting for their pink frosting.
Pink Flamingo Icing
Basic Pink Icing
2 cups powdered icing sugar
1/4 cup 1% milk (more or less depending on consistency)
Wilton Concentrated Gel Icing Colours in red
Wilton Cookie Icing in Black (black flamingo accents) – I found mine at Michaels
Step 1: Mix icing sugar and 1/8 cup (to start) of milk together in a bowl that is large enough to “dip” the cookies into. Keep adding milk until consistency is thin enough to coat a cookie, but not runny.
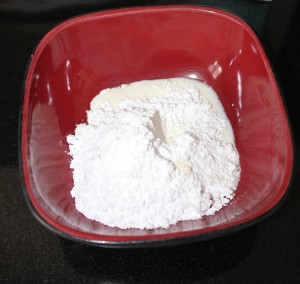
Step 2: Using a toothpick, add the Wilton Gel Red Icing Colours a little at a time, until reaching the desired hue of pink. A little really does go a long way. If you are like me and had never tried gel food colouring, listen to your sister-in-law and try some! It is a far cry from the messy liquid food colouring I have been using for years and the colours are far more intense with far less product. And as an added bonus, none on my fingers!!!
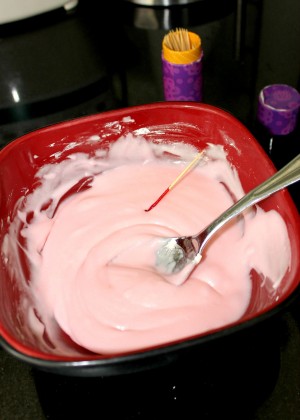
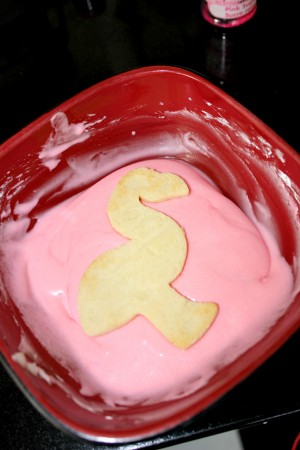
Step 3: Gently dip and coat each cookie in icing. I find this results in a much more even and smooth finish to the cookies, than trying to spread the icing onto the cookie itself. If the icing is too thick, this will not work and the cookies will break. It needs to be thin enough to smooth itself out and over the edges after (this is achieved best with a thinner milk like 1% rather than whole milk or cream). I do not actually let go of the cookie and allow it to sink into the icing like the picture indicates, but one must improvise for fear of getting frosting on their beloved SLR!
Step 4: Place on a cooling rack, overtop a cookie sheet or plate, to catch the drips.
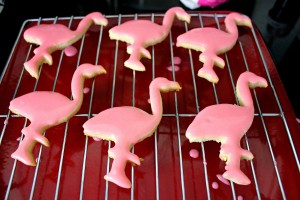
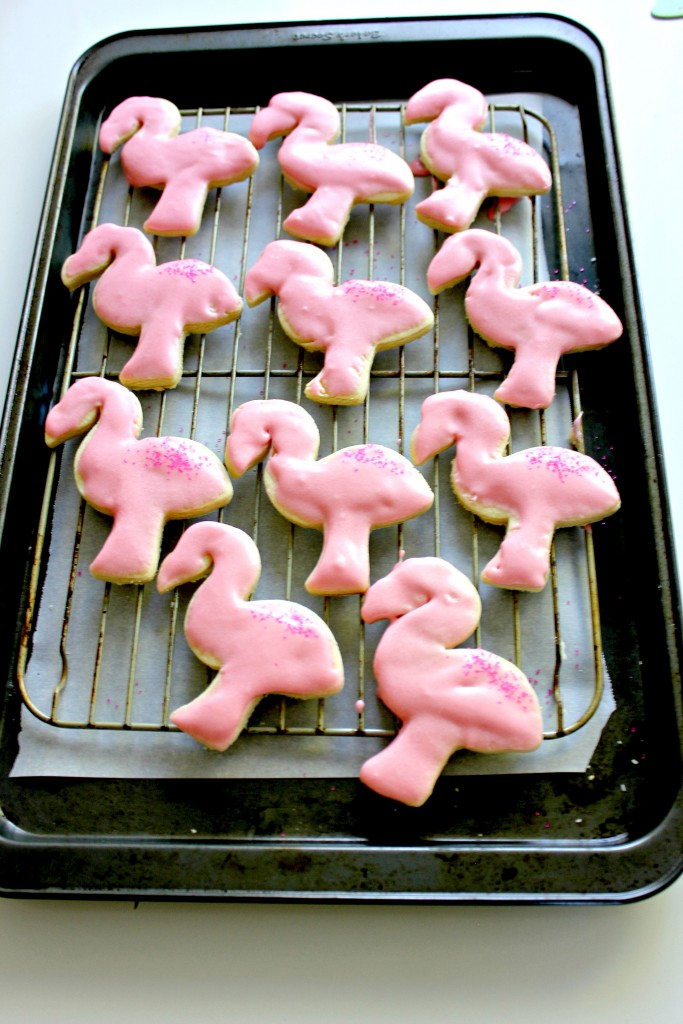
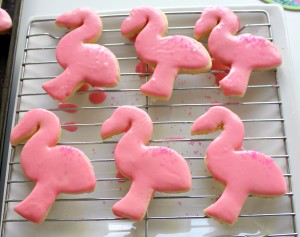
Step 5: In the case of the less graceful of the two flamingo styles and in an attempt to quench my children’s insatiable need for sprinkles, I gave a light dusting of pink sparkling sugar to mimic feathers on the birds upper back, while the icing was still wet.
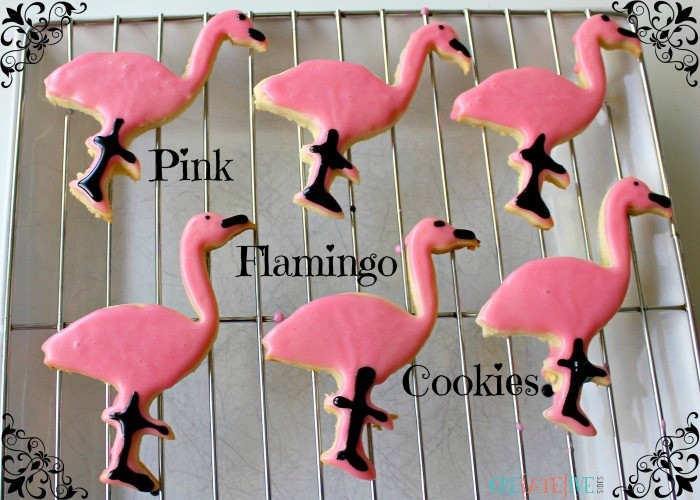
Step 6: Once the more detailed of the flamingo cookies had set, I very carefully used the Wilton Black Cookie Icing (I tried it out on a paper towel first, so as to get the feel of it and only twisted it open the smallest amount I could, so as to have more control) and drew an outline of legs, feet, beaks and eyes onto the flamingos. Once completed, allow them to dry for several hours, even overnight. Which isn’t hard, if say you did the black details after everyone was in bed….
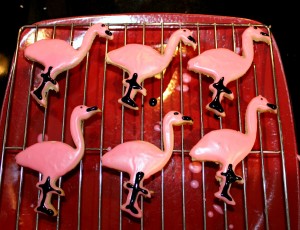
Voila! There you have it, the svelte flamingo cuties co-mingling with their adorable curvy counterparts and all ready to slip and slide!

- 1 cup softened unsalted butter
- 1 cup granulated sugar
- 1 tsp vanilla extract
- 1/2 tsp Wilton Butter Flavour Extract
- 1 egg
- 2 tsp baking powder
- 3 cups all-purpose flour
- 2 cups powdered icing sugar
- 1/4 cup 1% milk (more or less depending on consistency)
- Wilton Concentrated Gel Icing Colours in red
- Wilton Cookie Icing in Black
- Heat oven to 350 degrees and line two cookie sheets with parchment paper.
- Cream butter and sugar together with the help of a KitchenAid stand mixer until creamy.
- Beat in the extracts and egg.
- In a separate bowl, mix together the flour and baking powder, then add 1 cup at a time to the mixer. The dough will become very stiff!
- Flour a work surface.
- Turn the dough out onto floured surface.
- Shape/knead the dough by hand, until it comes together, wetting hands if need be.
- Cut dough in half, to a more manageable size for rolling.
- Using only half the dough at a time, roll out evenly, on a generously floured surface until about 1/4-inch in thickness. Do not roll the dough too thin.
- Cut out desired shapes with cookie cutters. Dip the cutters in flour every couple cookies if they start sticking.
- Carefully lift the cookies and place on the baking sheets lined with parchment.
- Allow to cool completely.
- Mix icing sugar and 1/8 cup (to start) of milk together in a bowl that is large enough to “dip” the cookies into. Keep adding milk until consistency is thin enough to coat a cookie, but not runny.
- Using a toothpick, add the Wilton Gel Red Icing Colours a little at a time, until reaching the desired hue of pink.
- Gently dip and coat each cookie in icing. If the icing is too thick, this will not work and the cookies will break. It needs to be thin enough to smooth itself out and over the edges after (this is achieved best with a thinner milk like 1% rather than whole milk or cream).
- Place on a cooling rack, overtop a cookie sheet or plate, to catch the drips.
- Once the icing has set use the Wilton Black Cookie Icing to add detail to your cookie (outline of legs, feet, beaks and eyes onto the flamingos)
- Once completed, allow them to dry for several hours, even overnight.
I found this glorious sugar cookie recipe entitled Best Sugar Cookie Recipe from In Katrinas Kitchen
Laura Crawford
Latest posts by Laura Crawford (see all)
- What Everyone Needs To Know Before Remodelling - December 5, 2016
- Goodbye Perfectionism - August 4, 2016
- Two Tier Flower Power Cupcakes - March 28, 2016
Leave a Reply