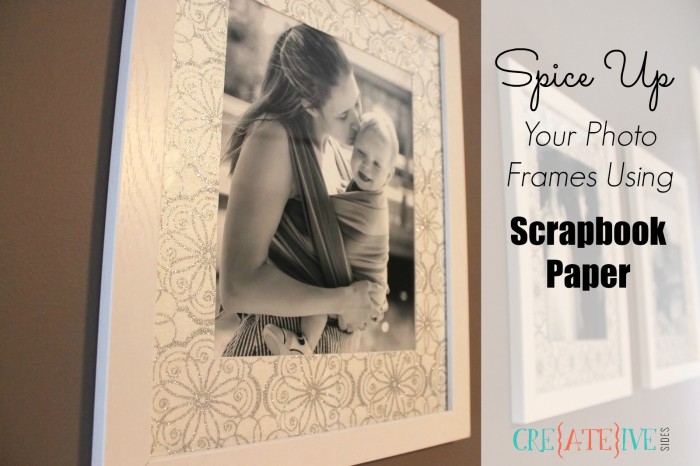
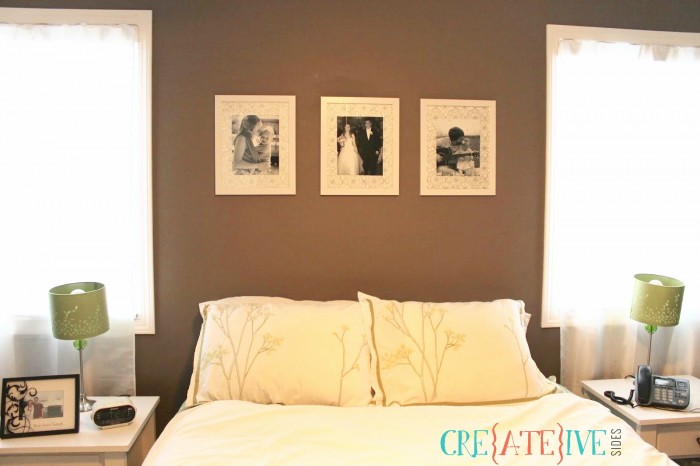
One day I was scrolling Pinterest – as I always do – when I came across a bedroom look that I absolutely loved. Above the bed, they had three photos framed and it looked really beautiful. I knew I wanted to do this in my bedroom!
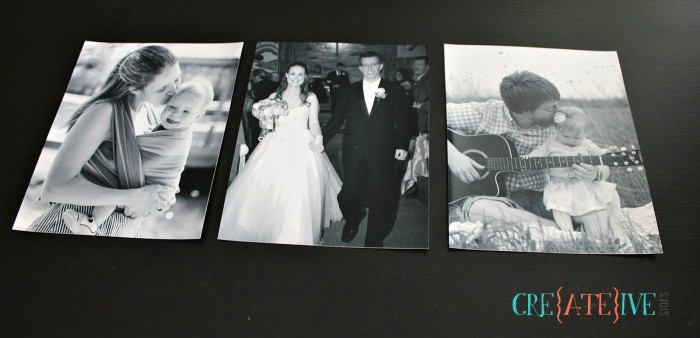
I found the perfect family photos; one of my husband and I on our wedding day, a photo of me wearing my son, and a photo of my daughter and husband with his guitar. I printed them in 8×10 size and purchased frames.
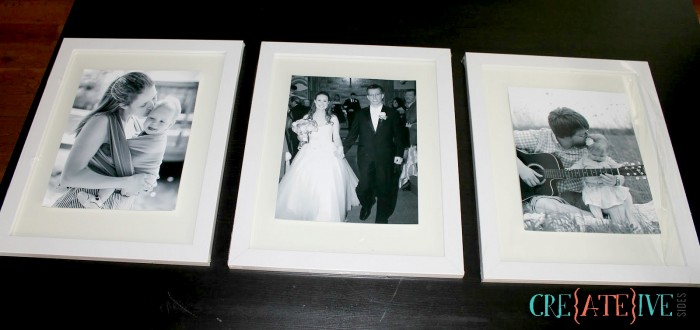
I chose white frames to match our white furniture, however when I set the photos on the frames to see how the display would look, I was a little underwhelmed. I love crisp and clean white, but the frames just didn’t blow me away.
They needed more. I then got a brilliant idea – I could add some fancy paper to the backing to spice them up! I wanted things to be kept simple; definitely not anything too busy, and I soon found some scrapbook paper that was just right. It was the perfect mix of elegance and sparkle.
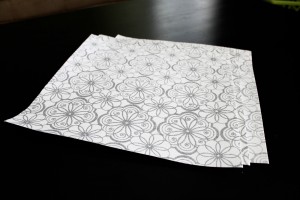
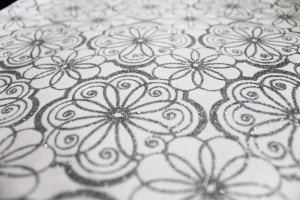
The white with the silver glitter is just gorgeous and catches the light wonderfully. Adding the paper to the frames was fairly straightforward, but here’s how I did it!
How To Spice Up Your Photo Frames Using Scrapbook Paper
Step 1: Take the cardboard backing out of each of the frames.
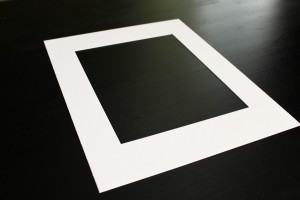
Step 2: Trace the backing shape onto the back of my paper.
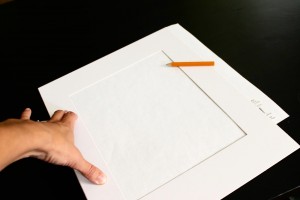
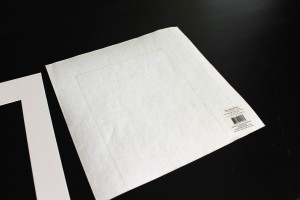
Note: If the scrapbook paper is the same size or smaller than your frame backing, you just cut it out and you’re done!
Mine was unfortunately a bit larger.I cut it out and it looked like this:
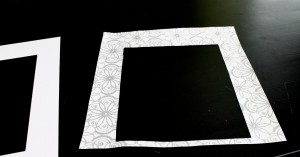
Step 3: Line up the pattern on my remaining paper with the cut out and taped them together. Then re-trace and cut again. I had to do this twice to get the pattern to line up properly and ended up with 3 pieces.
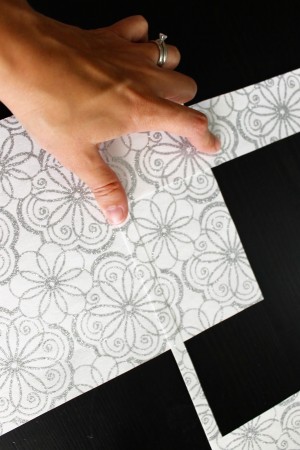
Step 4: After they’re all cut out, tape them together with a bit of scotch tape. I also snipped off the bottom of the original piece so there were less “seams.”
(If you’re doing this with the same dimensions as mine, I would recommend leaving this bit at the bottom until now, to help line up your pattern)
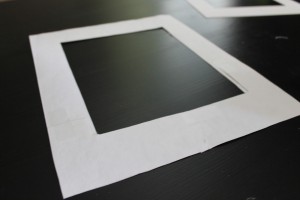
Step 5: Put the paper and backing back into the frames, and hang them up!
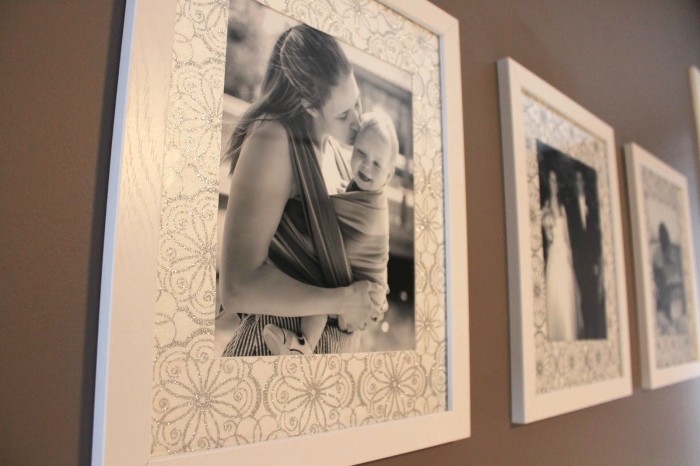
I really love the extra detail and shimmer the paper adds. This was such an easy project and is a great way to spice up your photo frames!
This would also be super fun in a child’s bedroom where you can use more bold patterns and go a bit funky!
Latest posts by Jennifer Lazarski (see all)
- Easy Halloween Handprint & Footprint Craft - October 1, 2016
- Easy Paper Pumpkin Craft - September 20, 2015
- Packing a Great Lunch for Back to School – and Year Round! - September 20, 2015
Leave a Reply