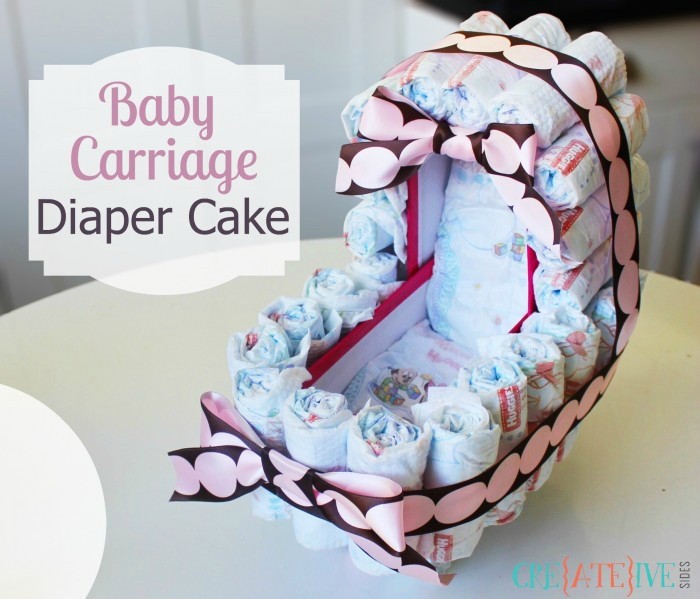
For my second attempt at turning diapers into a ‘cake’, Pinterest and I agreed on a baby carriage design. I thought it was a fun way to gift diapers to a new mom. I made sure that all the diapers were in fact usable by using elastics, ribbon and double sided tape to assemble this little carriage of diapers. So even though it looked cute at the baby shower it was actually functional in the long run as well.
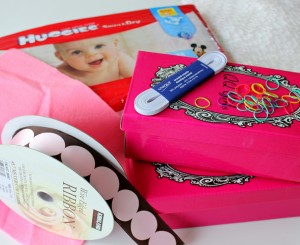 To Make A Diaper Cake Baby Carriage You Will Need:
2 kids size shoe boxes (about 8″x 4″)….bigger boxes work well too, they just require more diapers and result in a larger carriage
Diapers (I used 38 Huggies size 2)
Tiny elastics (I find the rainbow loom style from the dollar store work great)
2 Large elastics or 2 lengths of elastic and two safety pins
Thick decorative ribbon
Scissors
Double-sided tape
Small doll (optional)
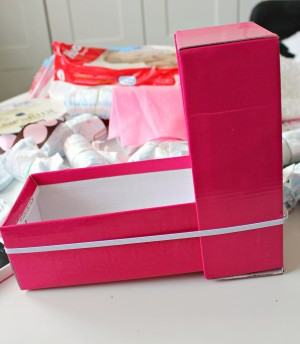
Step 1: Put one box into the other to form an ‘L’ shape. This will be the base of the carriage. Make sure the boxes are a snug fit, otherwise glue into place. Take a large, thick elastic or create your own by safety pinning two separate lengths of elastic to fit the box, one horizontally and one vertically. Attach the elastic that runs vertically first and then place the elastic that will run horizontally along the base overtop.
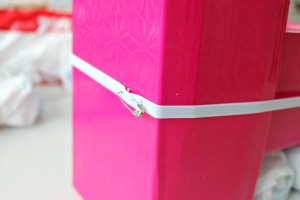
Step 2: Roll the diapers one by one and securing with the tiny elastics (white or clear work best because you don’t see them). The rainbow loom elastics work well because they are thick, if using the thinner tiny hair elastics, you may need 2 per diaper.

Step 3: Place the diapers around the carriage by slipping each one under the elastic around the outside of the box that forms the base of the carriage.
Step 4: Once the base of the carriage is covered, begin working your way up and over the top of the carriage in the same way, with rolled diapers slipped horizontally under the elastic.
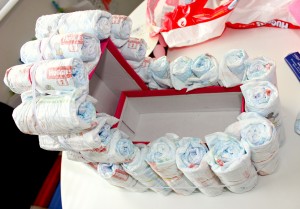
NOTE: Make sure the elastic that runs vertically goes on first beneath the elastic that runs horizontally.
Step 5: Take a diaper (unrolled) and cover the exposed back of the box. Tuck in the top and bottom under the rolled diapers to secure.
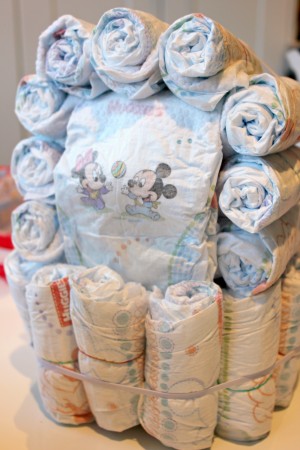
Step 6: Line the inside of the carriage with two diapers.
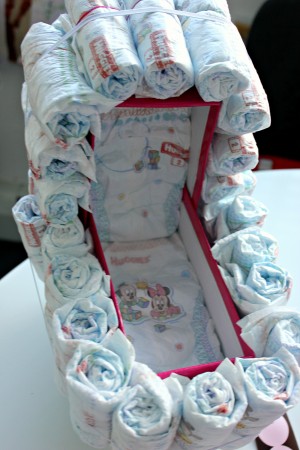
Step 7: Next, make the wheels by putting 4 rolled diapers together with an elastic for each wheel.
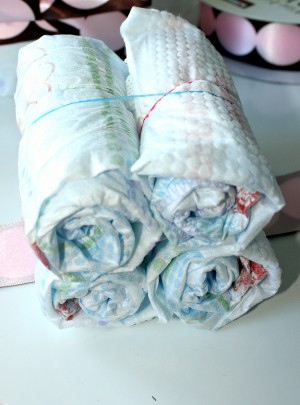
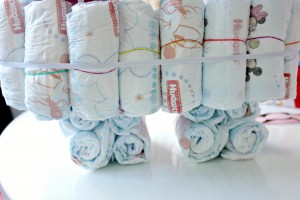
Step 8: Cut a length of ribbon long enough to wrap around the carriage and cover the elastic. Using double-sided tape attach the two ends overlapping and together, making sure to pull the ribbon tight so that it will stay in place.
Step 9: Next measure and cut a length of ribbon to cover the elastic running up and over the carriage, securing again with the double sided tape, once the ribbon has been pulled taut in place.
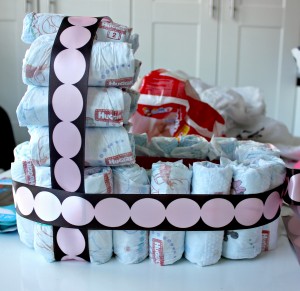
Step 10: Cover the elastic on the wheels with ribbon as well, and using the double-sided tape or hot glue (on the ribbon not the diapers), attach the wheels to the underside of the carriage on the exposed bottom of the box.
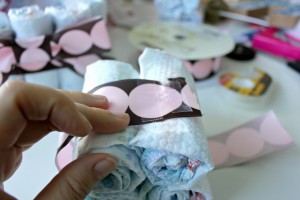
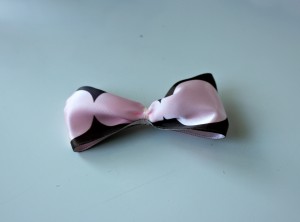
Step 11: Create a bow out of the ribbon by folding the ribbon into a bow shape and wrapping a 1.5″ piece of ribbon around the centre and using the double-sided tape or glue to secure in the back. Use the double-sided tape to attach to the front of the carriage.
Step 12: Using the same process, create a slightly smaller bow and attach it to the top of the carriage.
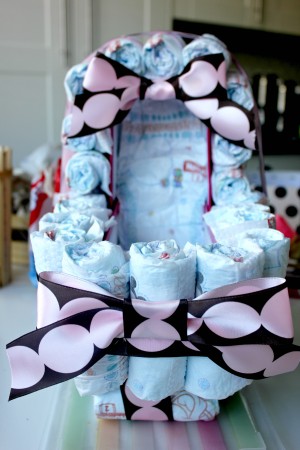
Step 13: Create a small bow for the back, I did this by attaching a clear elastic to the centre of the ribbon and then attaching to the back with more double-sided tape (this is the only diaper that actually had something adhered to it, because I wanted them all to be usable).
Step 13: Lastly, and this is optional (unless you are my daughters in which case this step becomes completely mandatory), add a small doll to the carriage 
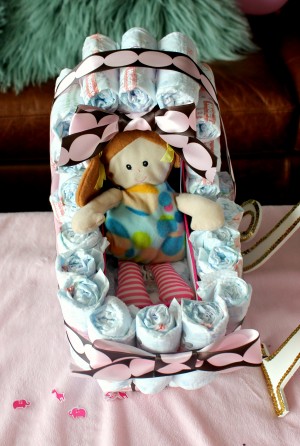
And there you have it, a mini baby carriage out of diapers!!
Inspiration for this design came from www.myloveofstyle.com
This post may contain affiliate links. See our disclosure policy for more information.
Laura Crawford
Latest posts by Laura Crawford (see all)
- What Everyone Needs To Know Before Remodelling - December 5, 2016
- Goodbye Perfectionism - August 4, 2016
- Two Tier Flower Power Cupcakes - March 28, 2016
Leave a Reply