The post Tropical Green Juice appeared first on Creative Sides.
]]>Ingredients
1 handful parsley
1 handful mint
3 – 4 kale leaves
1 lime, zest removed but leave as much pith (the white stuff in between the skin and the fruit) as possible
1/2 pineapple, peeled
1 green apple, cored

Directions
Feed fruits and vegetables through your juicer. I have an Omega J8006 which is a masticating juicer so I do my herbs first, followed by leafy greens and citrus, and I leave my hardest fruits and veg for the end to sort of “clean” as much out of the machine as possible.
Serve over ice. Makes two juices (quantity varies because of natural products).
- 1 handful parsley
- 1 handful mint
- 3 - 4 kale leaves
- 1 lime, zest removed but leave as much pith (the white stuff in between the skin and the fruit) as possible
- 1/2 pineapple, peeled
- 1 green apple, cored
- Feed fruits and vegetables through your juicer, herbs first, followed by leafy greens and citrus. Leave hardest fruits and veg for the end to sort of "clean" as much out of the machine as possible.
- Serve over ice.
The post Tropical Green Juice appeared first on Creative Sides.
]]>The post Cheers To The Holidays appeared first on Creative Sides.
]]>These are some ideas of some magical drinks for your holiday party:

The nice thing about the sangria is you can make it a couple days ahead. The liqueur we love most for this drink is made with 100% BC raspberries and there are no colourings, chemicals or preservatives used in its production. Pure flavour from pure ingredients make pure fun.
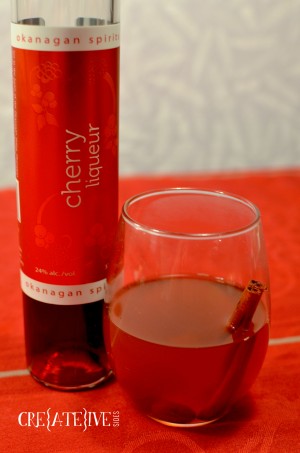
Spice up your holiday season with a spicy seasonal beverage. This warm, luxurious drink pairs nicely with the most blustery of winter days. The cherry and apple flavourings go together like mistletoe and kisses and unite to bring out the very best of the season.
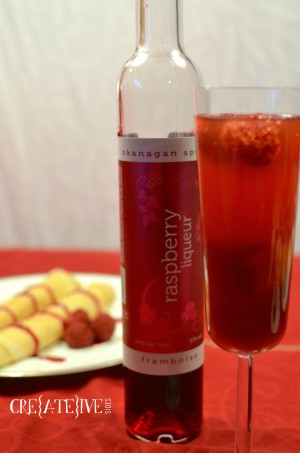
The raspberry liqueur tastes just like fresh picked raspberries (but with a punch) because it’s made from 100% locally grown fruits from British Columbia. You might not be home for the holidays, but your drink will taste like you are right where you belong.
Rosemary Cranberry Simple Syrup Recipe:
Keep it simple this holiday season with this simple syrup for your cocktails that adds remarkable dimension. Suitable for use in alcoholic or non-alcoholic creations, this syrup is easy to make but tastes great.
Drink in the best of the season with these delicious drink recipes. Hosting a memorable event is easy with these fruity treats that are sure to impress your guests. Pop into your local Metro to get everything you need to be ready for your event yet. Tis the season to stock up for entertaining, and Metro has you set in that department so you can sit back, relax and enjoy. Cheers to a happy holiday party!
Disclaimer: Although this post has been sponsored, the opinions and language are my own. If I would not serve it for my family, I would never suggest you serve it to yours.
The post Cheers To The Holidays appeared first on Creative Sides.
]]>The post Focus And Clarity In A Mug appeared first on Creative Sides.
]]>As someone who deals with chronic pain, cares for two small kids, and is growing a business where I work from home, my brain is taxed to the limit. It takes laser focus to get through all that stuff with a smile on my face and the kids by my side. So many days I have just wished that things would come easy, just this once. I am thankful to be so busy, but I need a little kick in the morning to get through everything on my to-do list. Or even to make a teeny-tiny dent.
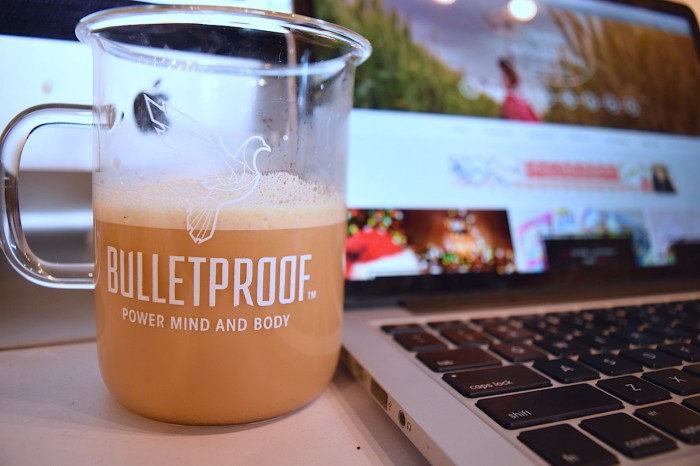
Bulletproof Coffee in my cup gives many, many kicks to get me moving. I’m moving on my business goals, I’m moving on my mommy goals and I’m even moving on my blogging goals. I even got my husband to switch over from the “dark side” (coffee with a gallon of milk and sugar.)
At the best of times I need an extra boost. This past few weeks have been even more full than usual, between planning my daughter’s winter birthday party and the Christmas tree needing a makeover. Beyond that, there’s the shopping and all of the events that come along with being a blogger at Christmas time. Events are like tinsel, bright and shiny but so tightly scheduled they get stuck together. This is prime time, baby.
How ever was I going to get it all done? I’m tired, I’m sore, I’m cranky and to be honest it all felt a bit much. Enter Bulletproof Coffee to save the day. Santa’s sleigh is pulled by 8 tiny reindeer, and my holiday season is pulled by the contents of my coffee mug. What the heck is this stuff, you ask?
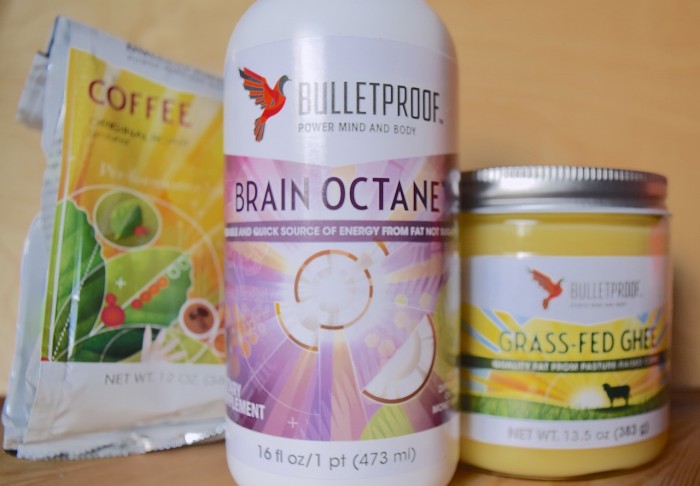
Bulletproof Coffee is Upgraded Coffee blended with grass-fed unsalted butter & Brain Octane Oil. It’s also low toxin, high performance & full of healthy fats to fuel me. It’s a way better energy source than sugar because you don’t crash. But what about the low-toxin part? Well, low-quality beans can actually contain mould. Gross. Upgraded Coffee beans are certified clean so you don’t have to worry about that. Thank goodness. I’ve got enough to worry about!
All that energy did me well. I decorated the Christmas tree with my family and I blogged all the blogs and wrote all the plans and wrangled all the kids and planned the most exciting birthday party ever. I had my best week yet! I was proud of everything I had accomplished and I didn’t feel like I was treading water at a polar bear swim anymore. I really needed this confidence boost Bulletproof Coffee delivers.

I thought I was a bit old to still believe in magic, but this season Bulletproof Coffee helped me believe in the magic of the season and in myself. That gift, my friend, is priceless. It turns out I really needed to give myself a break – a coffee break.
I’m so glad the rain (and brain fog) is gone and I can see clearly now. I’ve got Bulletproof Coffee in my mug and I can take on the world (even tinsel.)
The post Focus And Clarity In A Mug appeared first on Creative Sides.
]]>The post Cold Brew Coffee appeared first on Creative Sides.
]]>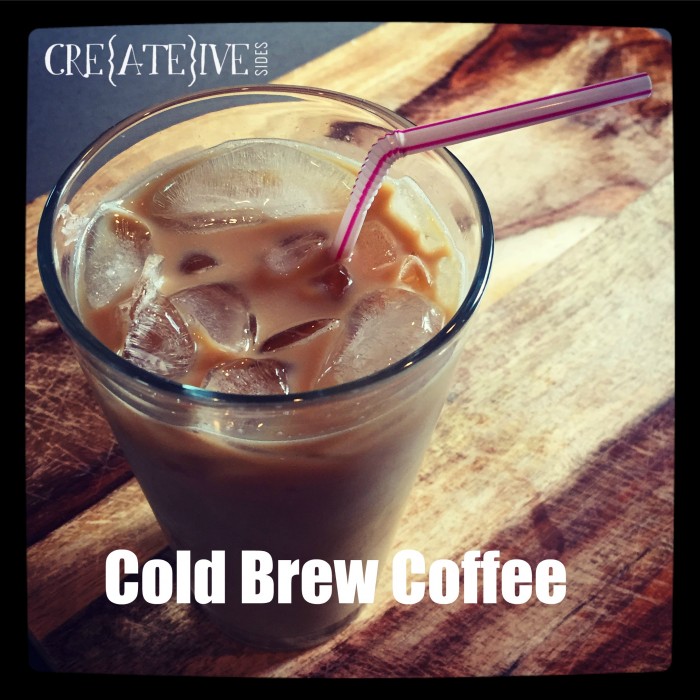
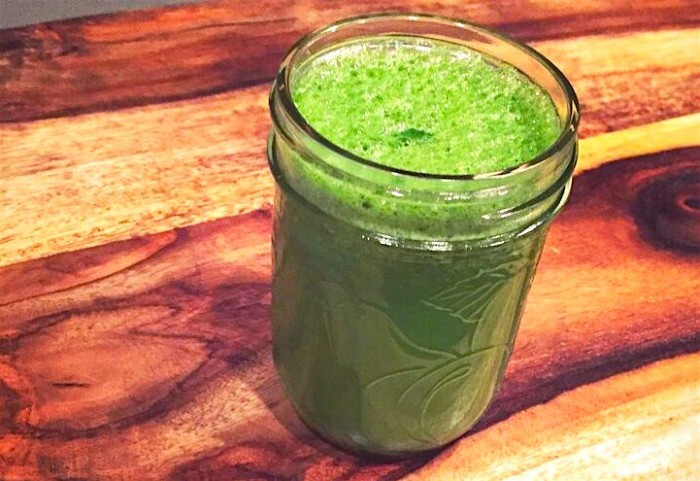
The weather is warming up which means it’s the season of flip-flops, late evening sunsets, and my favourite summer staple: cold brew coffee. Don’t confuse cold brew with iced coffee; this isn’t your traditionally brewed coffee poured over ice. Cold brew takes time and a little love but it’s worth the wait. Removing heat from the brewing process removes coffee’s acidity so you end up with a coffee concentrate that’s subtly sweet. It’s also ridiculously cheap to make so wave goodbye to your overpriced lattes and embrace the magic that is making a week’s worth of coffee for just a couple of bucks.
Ingredients
1 cup coarsely ground coffee
4 cups cold-to-room-temperature water
Directions
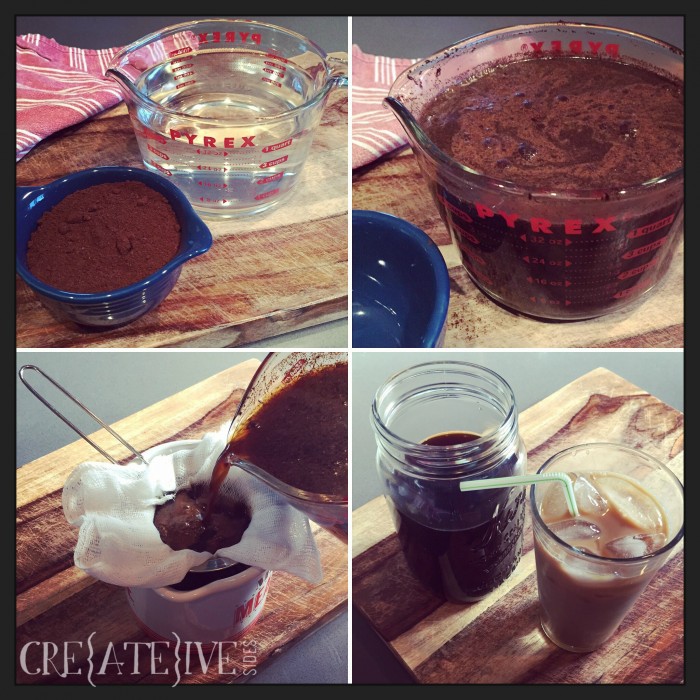
Pour 4 cups of (not hot) water into a container that gives you a bit of stirring room at the top once you add your coffee. Sprinkle coffee over the top and give your mixture a gentle stir to incorporate your grounds and make sure they aren’t dry. Cover container with plastic wrap and store at room temperature for 12 – 24 hours.
Strain mixture through cheesecloth or a very fine sieve. Cover tightly and store in the fridge.
This makes approximately 3-3/4 cups of coffee concentrate. Serve over ice with water or milk, depending on how you like your brew. I’m a fan of a 1:1 coffee concentrate to water ratio with a healthy splash of cream and a dash of maple syrup but half the fun is playing around with ratios and additions to find your perfect cup o’ (cold) joe.
The post Cold Brew Coffee appeared first on Creative Sides.
]]>The post Rosemary Cranberry Simple Syrup Recipe appeared first on Creative Sides.
]]>Simple Syrup Recipe Ingredients
1 lemon
water
1 cup fresh or frozen cranberries
1/2 cup granulated sugar
3 – 4 sprigs fresh rosemary
Directions (Makes 3/4 cup)
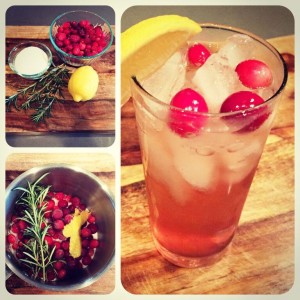
Step 1: Give your lemon a good wash and then use a vegetable peeler to peel off one or two strips of lemon zest. Juice the lemon into a measuring cup and top up the juice with water until you have 1/2 cup of liquid.
Step 2: Add lemon juice/water, lemon zest, cranberries, sugar, and rosemary to a saucepan. Bring to a boil while stirring constantly. Boil until the sugar is dissolved and the cranberries have popped. You can tell they’ve popped because you’ll see the skins split and the syrup will begin to take on a rosy hue.
Step 3: Remove from heat and let steep for two hours.
Step 4: Strain syrup through a fine mesh sieve and discard the solids.
Step 5: Store syrup in a tightly sealed glass jar in the fridge for up to two weeks.
To Use
Fill highball glass 1/2 full with ice. Add 1 ounce of syrup and top with ginger ale or club soda. Garnish with a lemon wedge or sprig of fresh rosemary and some frozen cranberries.
Cheers!

- 1 lemon
- Water
- 1 cup fresh or frozen cranberries
- 1/2 cup granulated sugar
- 3 - 4 sprigs fresh rosemary
- Give your lemon a good wash and then use a vegetable peeler to peel off one or two strips of lemon zest.
- Juice the lemon into a measuring cup and top up the juice with water until you have 1/2 cup of liquid.
- Add lemon juice/water, lemon zest, cranberries, sugar, and rosemary to a saucepan. Bring to a boil while stirring constantly.
- Boil until the sugar is dissolved and the cranberries have popped. You can tell they've popped because you'll see the skins split and the syrup will begin to take on a rosy hue.
- Remove from heat and let steep for two hours.
- Strain syrup through a fine mesh sieve and discard the solids.
- Store syrup in a tightly sealed glass jar in the fridge for up to two weeks.
- To Use: Fill highball glass 1/2 full with ice. Add 1 ounce of syrup and top with gingerale or club soda. Garnish with a lemon wedge or sprig of fresh rosemary and some frozen cranberries.

The post Rosemary Cranberry Simple Syrup Recipe appeared first on Creative Sides.
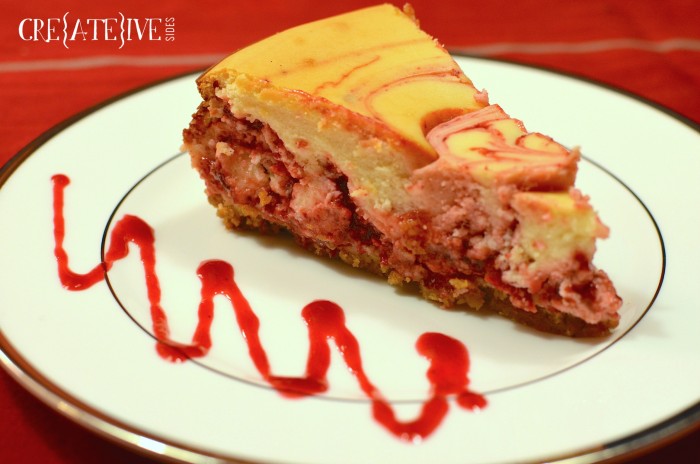
]]>The post Cherry Cheesecake with Spiced Cider *VIDEO* appeared first on Creative Sides.
]]>
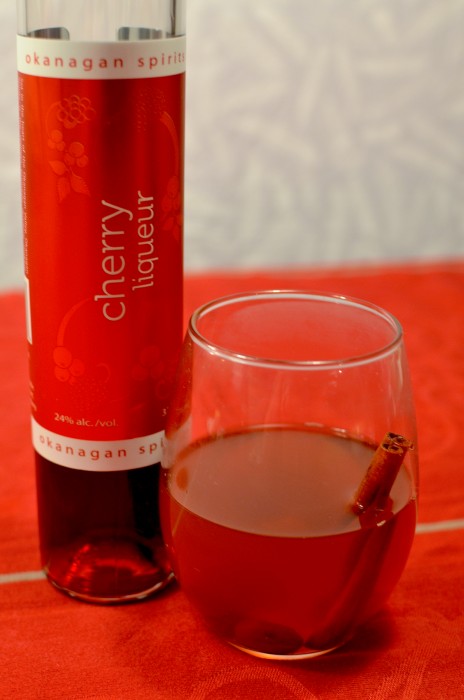
Coming up with a cherry beverage to pair with the cherry cheesecake at first proved challenging, but one look out the window at the cold and blustery day and I knew it had to be warm. Cider immediately came to mind and I could tell the cherry and apple favours would blend perfectly. The result is AMAZING if I do say so myself. This is one drink you will want to make over and over every time the temperatures dip.
- 4 c apple cider
- 1 c Okanagan Spirits Cherry Liqueur
- 2 c spiced rum
- 2 cinnamon sticks
- 1 apple, sliced
- Handful of Okanagan Spirits Drunken Cherries
- Combine ingredients in a saucepan and bring to a boil. Reduce to a simmer for 15-20 min. Serve warm with fresh drunken cherries and a cinnamon stick as a garnish.
- Great tip: Can also be put in a crockpot on low and left to cook for several hours.

- 1 1/4 c graham cracker crumbs
- 1/4 c white sugar
- 1/3 c melted butter
- 1/2 c Okanagan Spirits Drunken Cherries (de-pitted)
- 2 oz Okanagan Spirits Cherry Liqueur
- 540 ml can cherry pie filling
- 1 tsp grated orange rind
- 2 (8oz) packages cream cheese
- 1 1/2 cans sweetened condensed milk
- 4 egg whites
- 1 egg
- 1⁄3 cup bottled lemon juice
- 1⁄2 cup unsifted flour
- 1 pint fresh or frozen cherries (no pits)
- 1/4 c Okanagan Spirits Drunken Cherries (de-pitted)
- 2 oz Okanagan Spirits Cherry Liqueur
- 1/2 c sugar
- 1/4 c water
- 1 tsp orange zest
- Place parchment paper on bottom of 10" springform pan
- Combine 1 1/4 c graham cracker crumbs, 1/4 c white sugar and 1/3 c melted butter in a bowl
- Press into bottom of pan.
- Remove pit from cherries
- Combine 1/2 c Okanagan Spirits drunken cherries, 2 oz Okanagan Spirits cherry liqueur, 1 can of cherry pie filling and 1 tsp grated orange rind in a food processor and blend until smooth. Set aside.
- In a mixer bowl, beat cream cheese until fluffy.
- Gradually beat in condensed milk until smooth.
- Add egg whites, egg, bottled lemon juice; mix well.
- Sift in flour and stir until combined.
- Pour half of batter in prepared pan.
- Spoon 1/2 cup cherry puree evenly over batter.
- Top with remaining batter.
- Drop by spoonfuls 1/2 cup cherry puree over batter; with knife or spatula gently swirl.
- Bake 60 to 65 minutes or until center is set.
- Cool.
- Chill.
- Serve with coulis.
- Combine ingredients in a saucepan; bring to a boil over medium-high heat.
- Reduce heat to medium low; cook about 8 minutes.
- Remove from heat; cool completely.
- Blend mixture in a food processor then press through a fine mesh strainer.
The post Cherry Cheesecake with Spiced Cider *VIDEO* appeared first on Creative Sides.
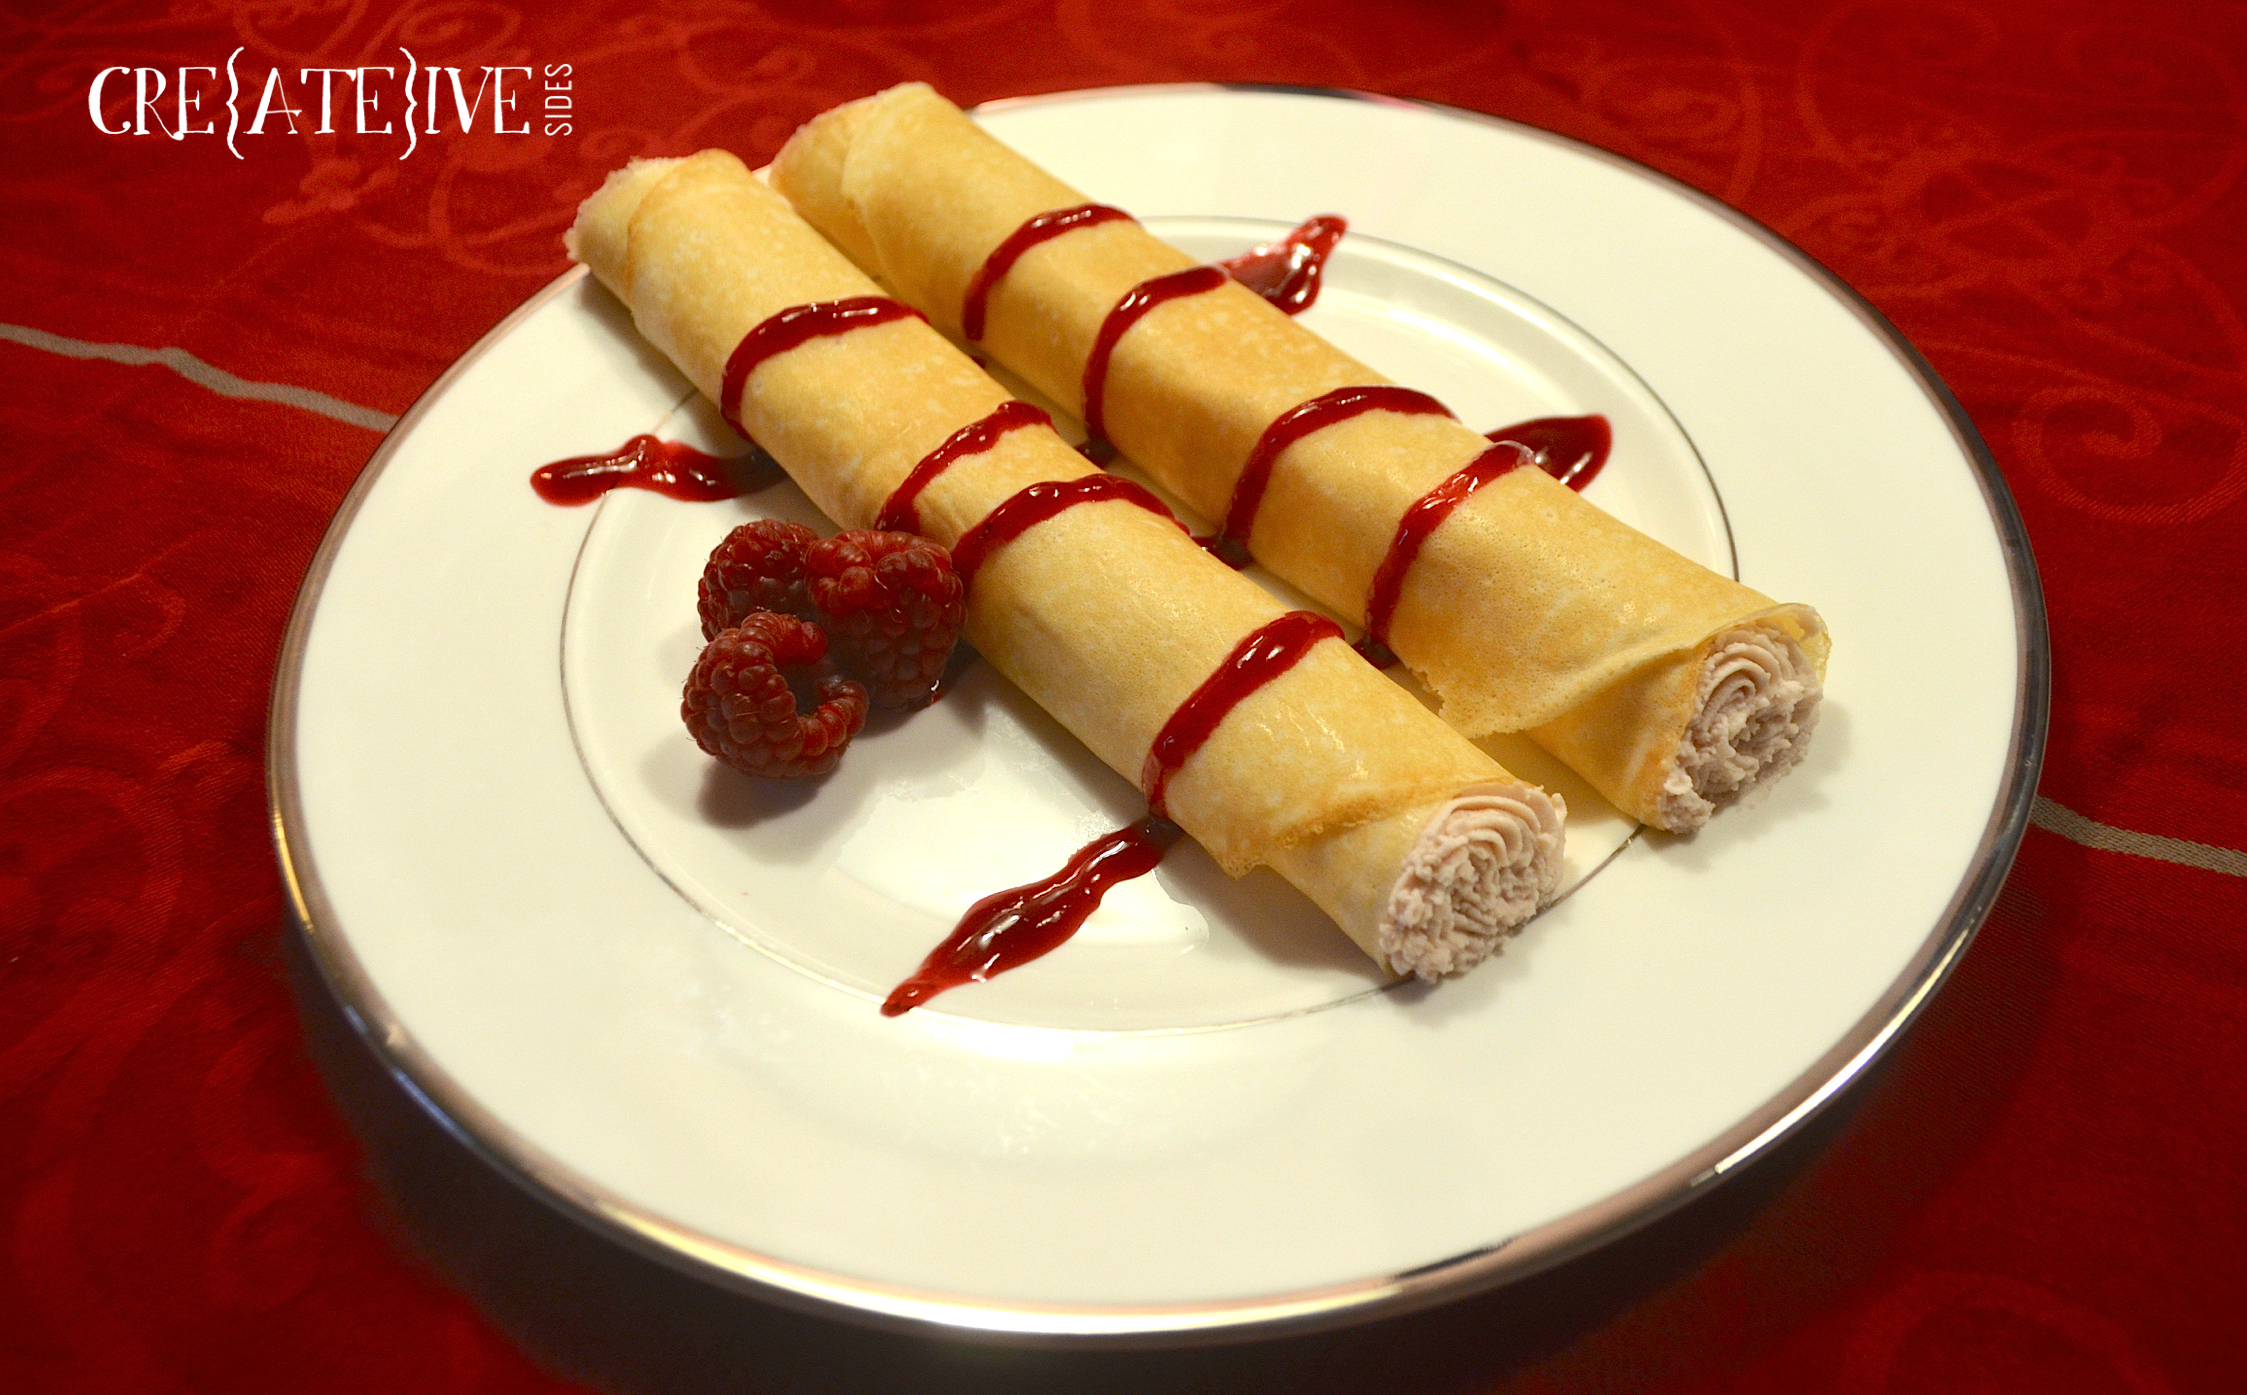
]]>The post Raspberry Mascarpone Crêpes and Raspberry Mango Mimosas *VIDEO* appeared first on Creative Sides.
]]>
Okanagan Spirits Craft Distillery is Western Canada’s oldest craft distillery, using 100% locally grown fruits and grains to make premium, world-class spirits. BC’s original harvest-to-flask distillery now offers a selection of more than 25 internationally awarded spirits, including their signature raspberry liqueur. We were impressed with it’s natural flavour and aroma; it tasted like fresh picked raspberries – with a punch!

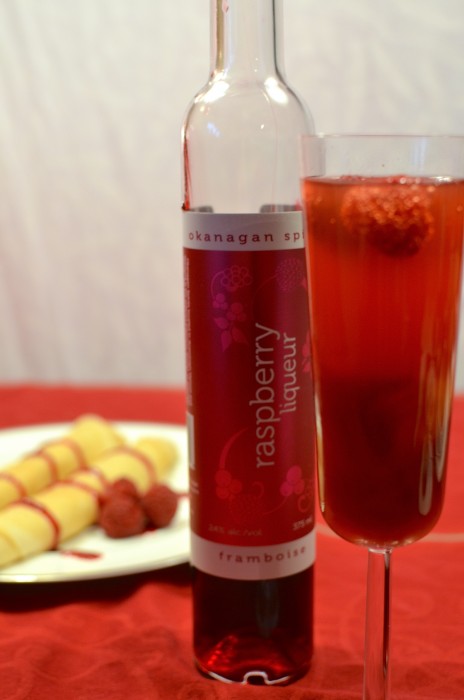
- 2 oz mango juice
- 1 oz Okanagan Spirits Raspberry Liqueur
- 2 oz Prosecco
- Raspberries to garnish
- 2 1/4 c mango juice
- 1 1/2 c Okanagan Spirits Raspberry Liqueur
- 2 1/4 c Prosecco, Champagne or Sparkling White Wine
- Champagne or Sparkling White Wine can be substituted for Processo

- Crêpes: (Makes 15)
- 1/3 c sugar - or less if desired
- 1 tbsp buckwheat flour
- 1 tbsp canola oil or melted unsalted butter
- 1/3 c water
- 1 tsp salt
- 1 tsp vanilla
- 2 eggs
- 1 3/4 c all-purpose flour
- 2 1/4 c milk
- 1 c whipping cream
- 3 tbsp sugar
- 1 oz Okanagan Spirits Raspberry Liqueur
- 8 oz mascarpone cheese
- 1 tsp grated lemon zest
- 1 oz Okanagan Spirits Raspberry Liqueur
- 1 pint fresh raspberries
- 1/2 c sugar
- 1/4 water
- 2 oz Okanagan Spirits Raspberry Liqueur
- 1 tsp lemon zest
- In a large mixing bowl mix together the sugar, buckwheat flour, butter, oil, water, salt, vanilla and eggs.
- Alternate adding the all purpose flour and the milk, mixing well after each addition.
- Ladle batter into crêpe pan or crêpe maker and rotate pan or use spreader.
- Leave to cook for 15-20 seconds.
- Remove with spatula and place on plate.
- In a large mixing bowl, whip cream until stiff peaks have almost formed.
- Mix in sugar and 1oz of liqueur. Be sure not to over-beat or mixture will become butter like.
- Set aside.
- In a separate bowl, mix mascarpone, lemon zest and 1 oz liqueur until creamy.
- Fold in whipped cream.
- Combine ingredients in a saucepan; bring to a boil over medium-high heat.
- Reduce heat to medium low; cook about 8 minutes.
- Remove from heat; cool completely.
- Place mixture in a fine-mesh strainer to remove seeds.
- Mascarpone filling and coulis can be made the day before to reduce prep time.
- Chill beater and bowl before whipping cream.
- If you are short on time, you can buy ready-to-use crêpes at your local supermarket such as Frieda's French Style Crêpes.
All on the table disclosure: While these posts were generously sponsored by Okanagan Spirits Craft Distillery, all opinions and ideas are our own. See more dessert and cocktail recipes here. Read our full disclosure policy here.
The post Raspberry Mascarpone Crêpes and Raspberry Mango Mimosas *VIDEO* appeared first on Creative Sides.
]]>The post Raspberry Mascarpone Chocolate Cups with Raspberry Sangria appeared first on Creative Sides.
]]>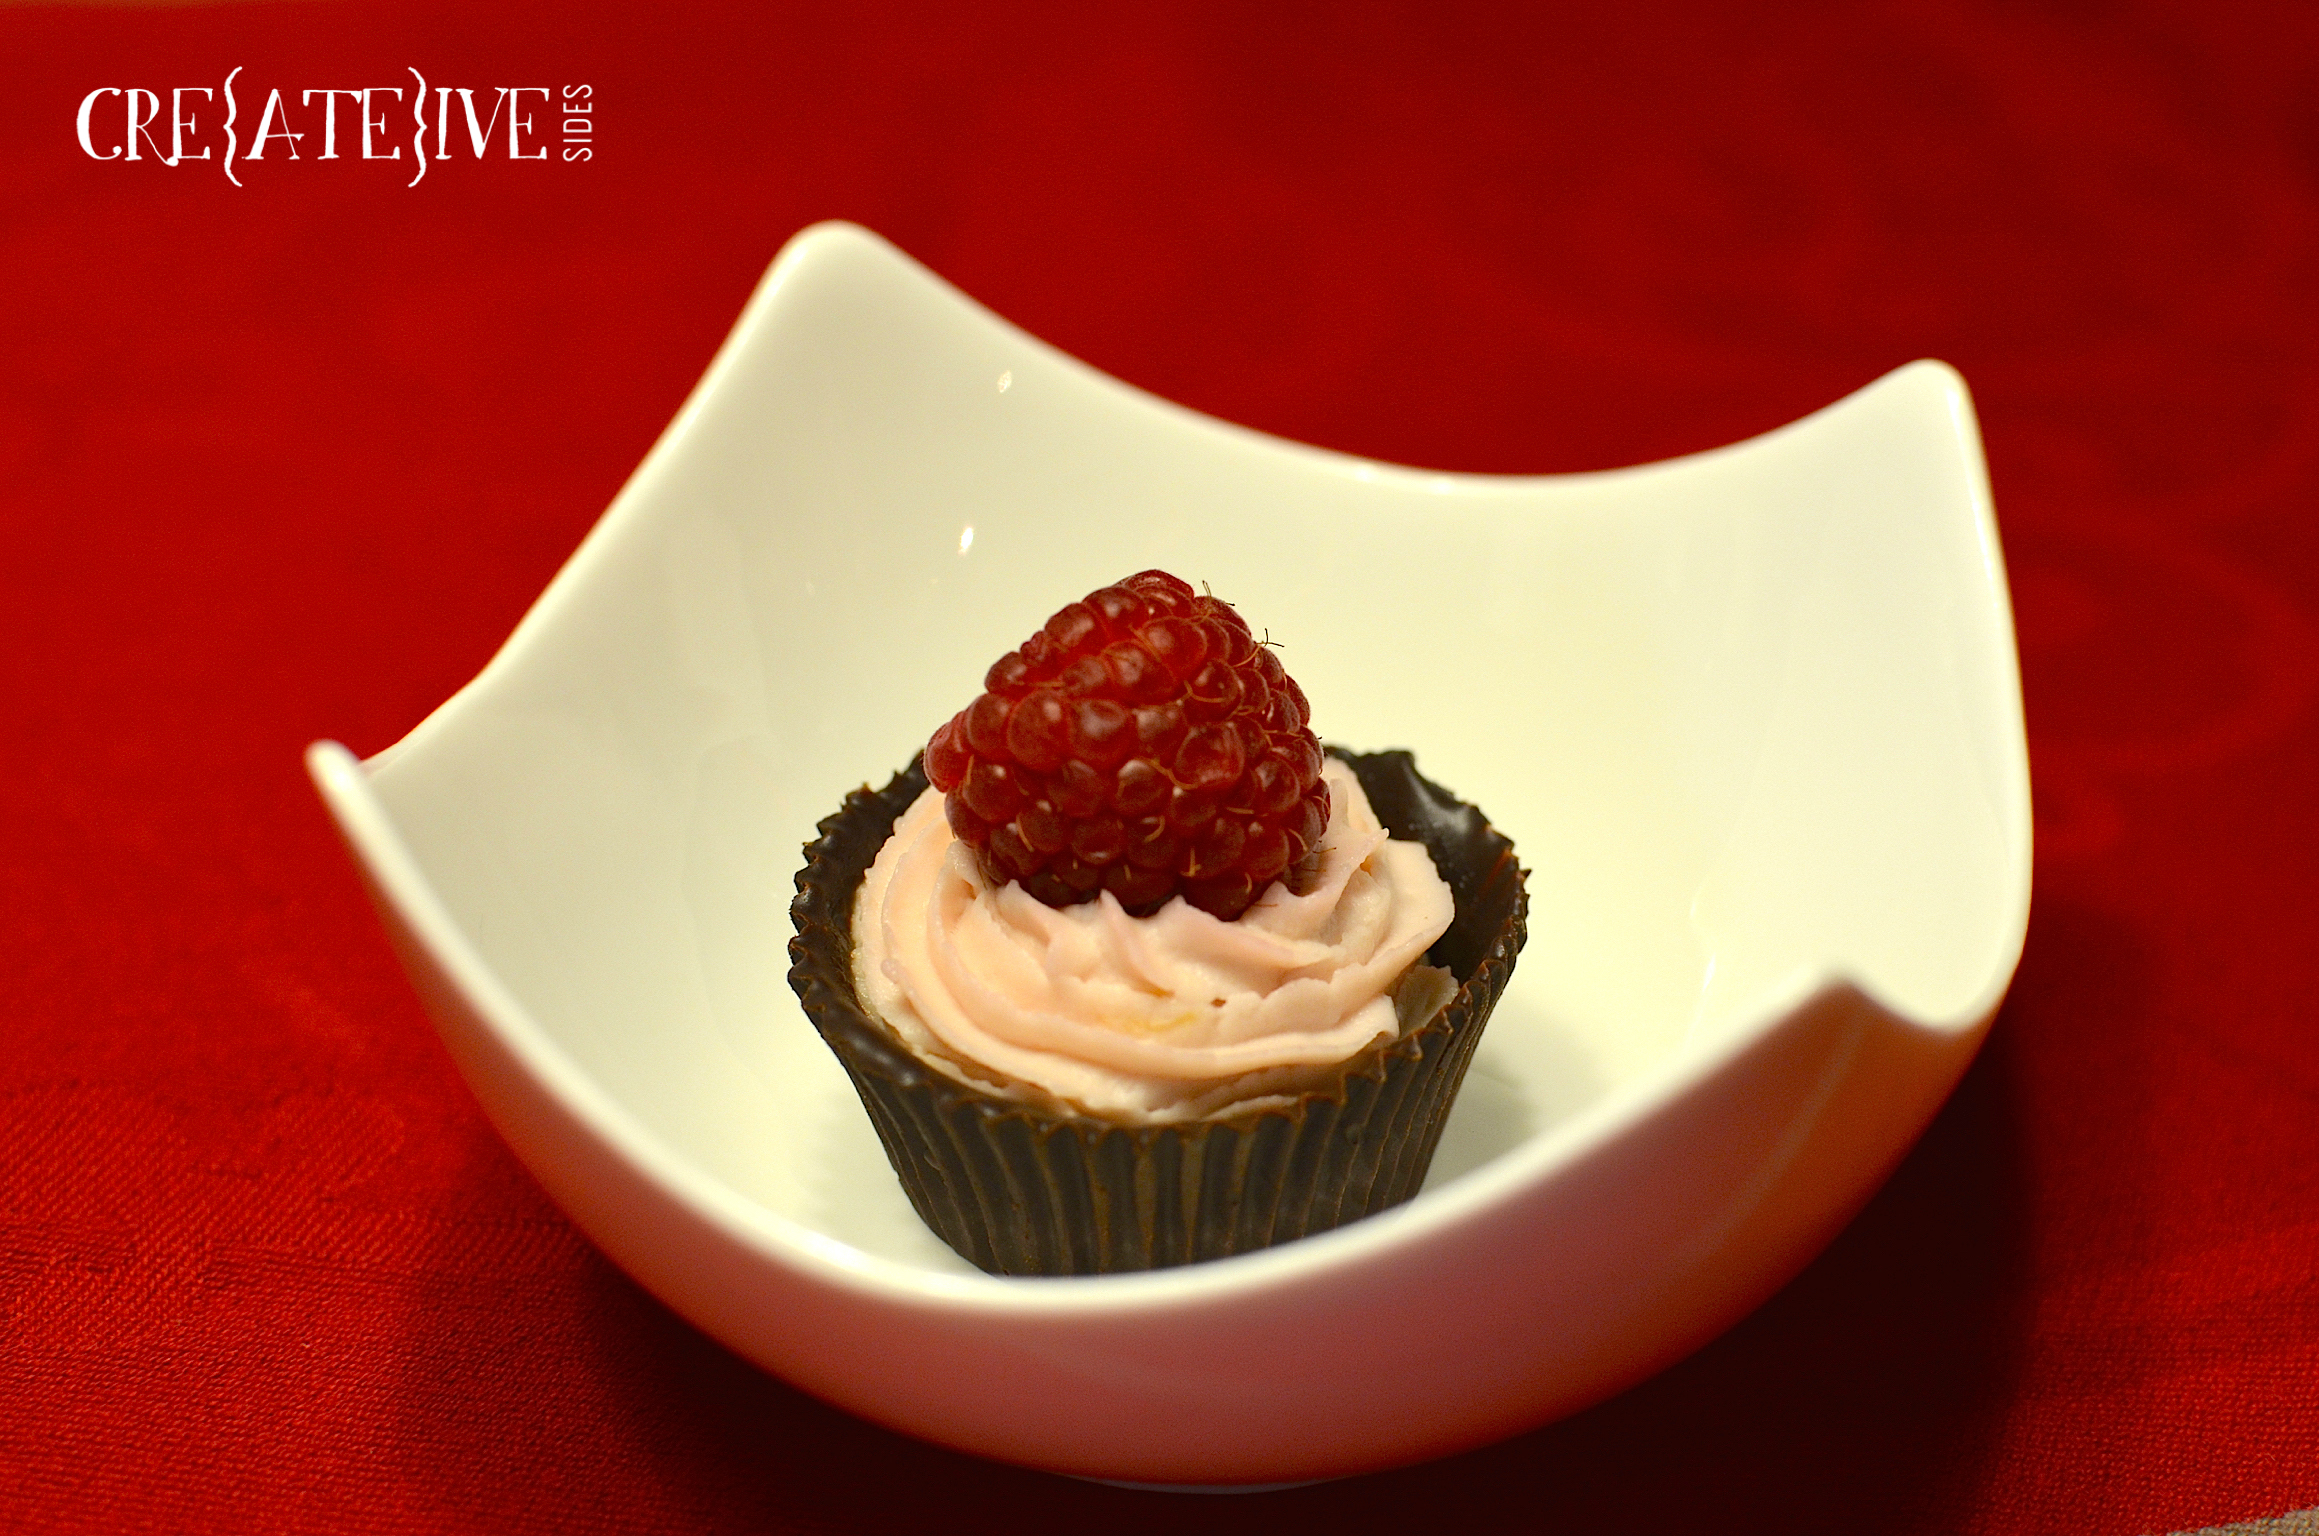
To add a lot of flavour and a touch of sass we used Okanagan Spirits Raspberry Liqueur for both the dessert and sangria – hello versatility! We love that it is made with 100% BC raspberries and there are no colourings, chemicals or preservatives used in its production.
The chocolate cups, coulis and sangria can be made a day or two in advance. The mascarpone filling tastes best prepared the day you will be assembling the dessert.


- 2 c baking chocolate or chocolate chips (melted)
- mini cupcake liners (paper or silicone)
- 1 c whipping cream
- 3 tablespoons sugar
- 1 oz Okanagan Spirits Raspberry Liqueur
- 8 oz mascarpone cheese
- 1 tsp grated lemon zest
- 1 oz Okanagan Spirits Raspberry Liqueur
- 1 pint fresh raspberries
- 1/2 c sugar
- 1/4 c water
- 2 oz Okanagan Spirits Raspberry Liqueur
- 1 tsp lemon zest
- Fresh raspberries
- Spoon 1 tbsp melted chocolate into mini cupcake liner and use the back of a spoon or a pastry brush to cover the entire inside of the liner.
- Place in fridge to harden.
- Remove liner from chocolate once set. It is easier to do while the cups are cold.
- In a large mixing bowl, whip 1 cup of whipping cream until stiff peaks have almost formed.
- Mix in 3 tbsp sugar and 1oz of Okanagan Spirits Raspberry Liqueur. Be sure not to over-beat or mixture will become butter like. Set aside.
- In a separate bowl, cream together 8 oz mascarpone, 1 tsp lemon zest and 1 oz Okanagan Spirits Raspberry Liqueur.
- Fold in whipped cream.
- Place mixture into icing bag and set aside until assembly.
- Combine 1 pint raspberries, 1/2 cup sugar, 1/4 cup water, 2oz Okanagan Spirits Raspberry Liqueur and 1 tsp lemon zest in a saucepan; bring to a boil over medium-high heat.
- Reduce heat to medium low; cook about 8 minutes.
- Remove from heat; cool completely.
- Place mixture in a fine-mesh strainer to remove seeds.
- Spoon or drizzle 1 tsp of raspberry coulis into chocolate cup (liner removed). Pipe in mascarpone filling. Top with fresh raspberry.
- It is always best to make a few more chocolate cups than you think you will need as cups can sometimes crack when removing the liner.
- For best results chill beater/whisk and bowl before whipping cream for mascarpone filling.
- Chocolate cups, coulis and filling can be prepared in advance.

- 1 lemon, sliced
- 1 orange, sliced
- 1 pint of raspberries
- 1 1/2 c red wine
- 1 c Okanagan Spirits Raspberry Liqueur
- 1 1/2 c club soda
- Combine combine fruit, wine and Okanagan Spirits Raspberry liqueur and let marinate for an hour. If you have time let it marinate overnight. Add in club soda just before serving.
- Perrier can be substituted for club soda.
All on the table disclosure: While these posts were generously sponsored by Okanagan Spirits Craft Distillery, all opinions and ideas are our own. See more dessert and cocktail recipes here. Read our full disclosure policy here.
The post Raspberry Mascarpone Chocolate Cups with Raspberry Sangria appeared first on Creative Sides.
]]>The post Pineapple Champagne Bottle Tutorial appeared first on Creative Sides.
]]>I really, really LOVE Pinterest. I also sort of hate Pinterest. You see life was simpler before Pinterest in a way. Before Pinterest a simple bottle of sparkling wine could have been nothing more than a simple bottle of sparkling wine. After Pinterest I can no longer just see a bottle of sparkling wine, but rather a bottle waiting to become a pineapple covered in chocolates. I would have been just fine going thru life not knowing that a bottle could be transformed into a fabulous chocolate covered gift. I wouldn’t have missed it. I would happily have had chocolates and champagne paired together on several occasions, but never put the two together into say a pineapple. Of course now that I have seen the possibilities, there is no going back. Now that I know it exists, I must try it. And because of my endless browsing, in the name of inspiration, on Pinterest I have found a terrific housewarming or hostess gift. It’s a pineapple, made from a bottle of sparkling wine, chocolates, hot glue and some tissue paper. So clearly your life will be forever altered from here forward as well!
What you are going to require for this dashing pineapple of a project:
- Bottle of sparkling wine (though actually any wine bottle would work)
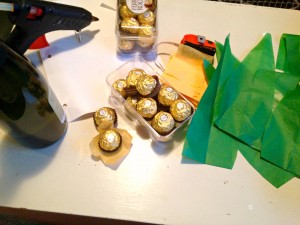
- 36 Ferrero Rocher individually wrapped chocolates
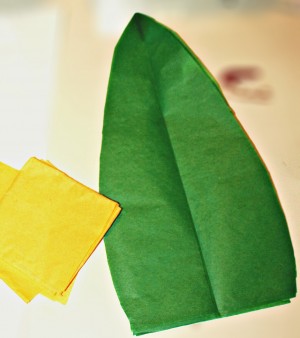
- 1 sheet yellow or orange tissue paper
- 1 sheet green tissue paper
- several pieces of raffia ribbon (found in most craft or dollar stores)
- hot glue gun
- scissors
Step 1: Purchase a bottle of sparkling wine (though really any wine bottle would work).
If you get ID’d, dance for joy, in a cool ‘this is no big deal sort of way’ of course, because it’s important to celebrate the little things in life! And then make sure to only tell your husband about it once, not five times.
Step 2: Warm up the glue gun and gather everything needed for assembly, and pretend that your crafting space is not the basement where old toys go to die (make mental note to scroll Pinterest later for incredible craft spaces…).
Step 3: Cut out 36 squares of yellow paper. I cut mine into 7cm x 7cm squares. I folded the paper over it self four times and measured the first square and then just used it as template to cut out the rest. Aim for smooth cutting lines, but it does not need to be perfect.
Step 4: Cut out the leaves from the green tissue paper. I just used the natural folds that the tissue came folded out of the package with and cut out the largest free hand leaf I could. This gave me six leaves. I creased them down the middle so they would stand up better and look more leaf like.
Step 5: Using the hot glue, dab a small amount on the bottom of the chocolate paper wrapper and stick to the middle of a yellow tissue square.
Step 6: Next gather the tissue around the chocolate with your fingers and add glue to the underneath of the yellow tissue and stick onto the wine bottle. I began at the bottom about a 1/2” up from the base, and worked my way around in a circle.
It’s good point to keep in mind that my camera man is seven.
Step 7: Once the first row is complete start adding the second row, placing the tissue wrapped chocolates somewhat in-between, but above the first row, leaving no spaces and resulting in a more realistic pineapple pattern. I did a total of four rows.
Yup. That’s my basement in all it’s glory in the background there, try not to be too jealous.
Step 8: Glue the green tissue leaves overlapping each other in roughly the size of the bottle neck and slip down over the bottle. I secured the back with a dab of hot glue to hold it in place. Alternately you could just glue the leaves directly onto the bottle, but I didn’t want to put any more glue than I had to onto the actual bottle’s glass. I have to admit I felt a little guilty actually glueing things to a decent bottle of wine….. I really don’t know why but it reminded me of painting quality wood furniture, I felt that even though I loved it, I was going to get in trouble. I don’t know by whom really, because I paid for the wine myself (…did I mention I got ID’d).
Step 9: Twist and wrap strands of raffia ribbon around the base of the leaves, just above the chocolates, tying and then twisting the ends in until pleased with the look.
Finally I took the newly created pineapple back upstairs to the light of day for it’s close up!
Now also allow me to take a moment and suggest carrying the gift to the recipient yourself if your husband is the sort to not so gently knock chocolates off and step on them.
So there you have it, because of Pinterest I can never look at anything the same again. Ever. A champagne bottle can not just be a simple bottle of sparkling wine, no it must become a pineapple covered with chocolates!
Adapted from Cool Creatives
The post Pineapple Champagne Bottle Tutorial appeared first on Creative Sides.
]]>