The post Finding Dory Cupcake Tutorial *VIDEO* appeared first on Creative Sides.
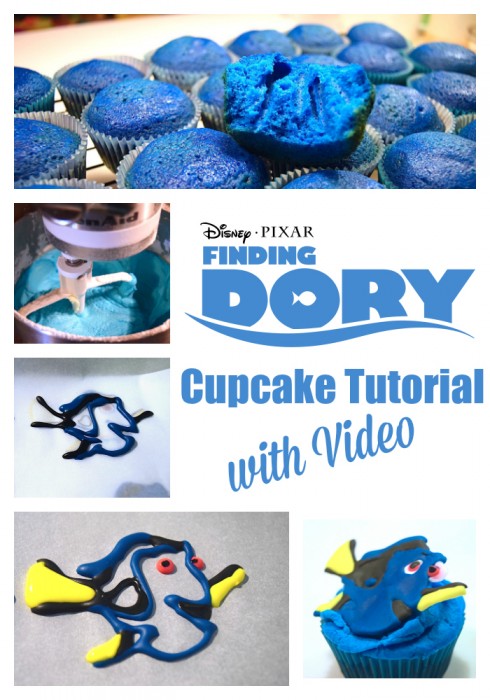
]]>Finding Dory Cupcake Tutorial
Cupcakes and Icing
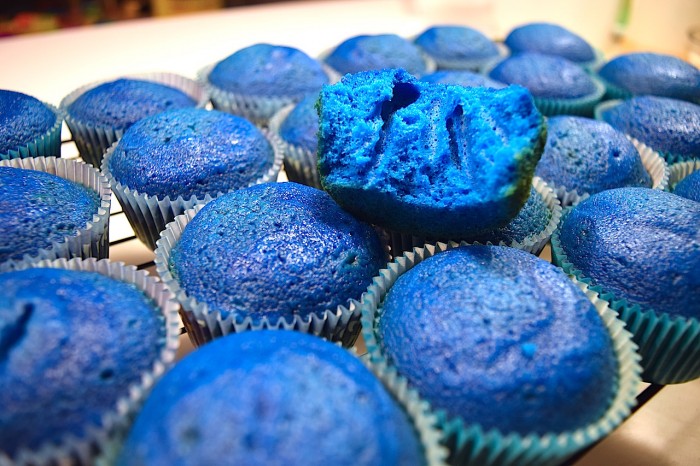
Step 1: Make a batch of your favourite vanilla cupcakes, adding a small amount of Wilton’s Gel Icing Color in Royal Blue into the batter before pouring into the cupcake liners and baking. (I found both Finding Dory themed and plain blue cupcake liners at Michael’s that worked perfectly).
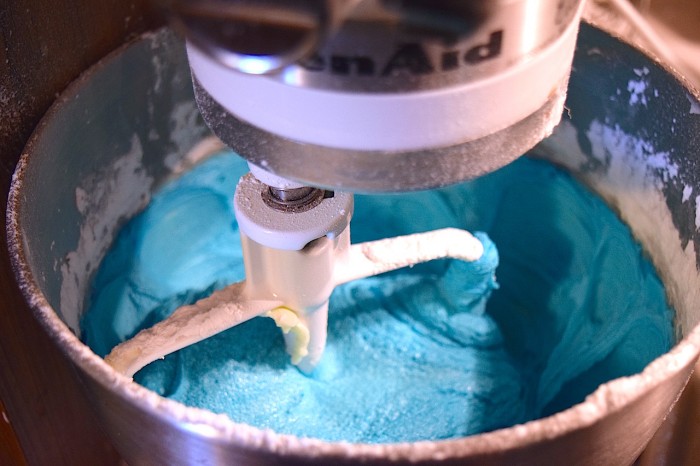
Step 2: While the cupcakes are baking, mix up your buttercream icing (this is my favourite recipe), again adding a small amount of Wilton’s Gel Icing Color in Royal Blue to the mix to match the cupcakes. Spoon the icing into an icing bag fitted with a 1M decorating tip.
Step 3: When the cupcakes are cooled, ice the tops with a simple swirl of the buttercream icing.
Finding Dory Royal Icing Topper
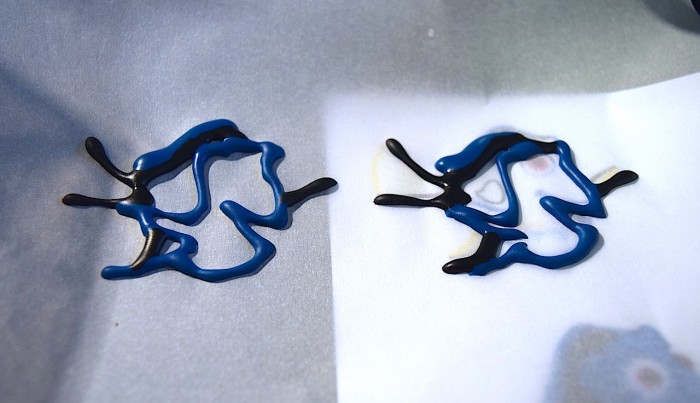
Step 4: Print a colour Dory outline to use as your guide. This one worked well for me.
Step 5: Whip up a batch of Royal Icing, and separate into 4 parts.
Step 6: Using Wilton’s Color Right Performance System, color your separated portions of Royal Icing Blue (20 drops of blue, 1 drop of black), Yellow (20 drops of yellow)and Black (20 drops of black), leaving a very small portion white.
Step 7: Place the printed Dory outline on a large cutting board or cookie sheet and cover with waxed or parchment paper. Secure waxed paper, leaving the dory outline free to reposition as needed.
Step 8: Pour royal icing into individual icing bags fitted with a #2 decorating tip. Use a decorating bag holder or tall glass to hold the bags, ensuring each bag stays upright with the tip flush against the bottom so no icing leaks while not in use.
Step 9: Begin tracing the outline in blue, and follow in black. Let it rest for 10 minutes or until partially set.
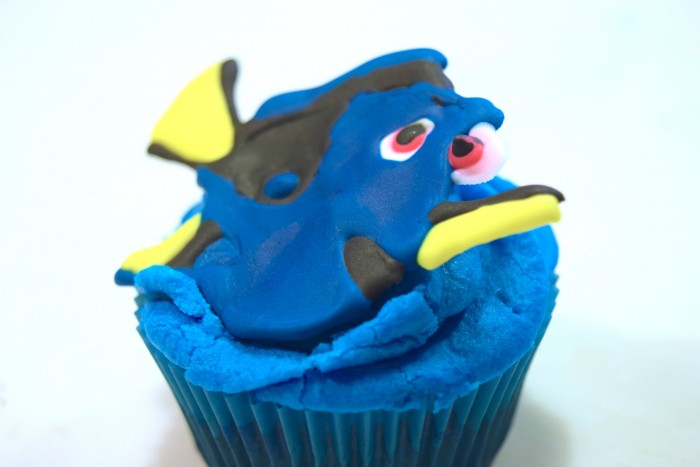
Step 10: Fill in the yellow parts of the fins and the white of the eye. Use a toothpick to place a dot of black in the centre of each eye. *note* in the images and video I started with a pink iris, however it was much too finicky and in the future I’ll omit the pink and stick with simple white and black eyes.
Step 11: Fill in the black are of the mouth and back, using a toothpick to spread and settle the icing in the large areas
Step 12: Fill in the blue of the body, using a toothpick to spread and settle the icing.
Step 13: Let finished toppers set for 4 hours, or overnight before placing on cupcakes.
Step 14: Serve and enjoy!
Watch the above steps in our handy-dandy Finding Dory Cupcake Topper Tutorial video.
If you’re looking for more Finding Dory Party Ideas, this is the place to find them!
The post Finding Dory Cupcake Tutorial *VIDEO* appeared first on Creative Sides.
]]>The post Two Tier Flower Power Cupcakes appeared first on Creative Sides.
]]>
Maybe it’s the string of teasingly sunny days we have experienced lately after weeks of rain. Perhaps it’s the fact that my oldest has the flu again a whole two and half weeks after the last bout. Whatever the cause, I find myself longing for spring and I feel like it’s just around the corner.
I may just be feeling this way because I need to hold out hope for a time with less runny noses, but I did see the first inclinations of cherry blossoms on my block the other night. When Travis got home from work I ran out of the house as fast as I could rushing around the block to soak up any sun left and stretch my legs after being stuck inside all day with a sick kid!
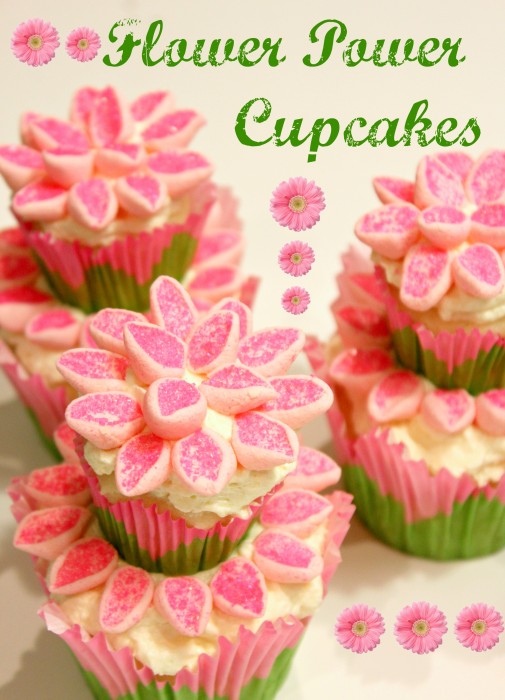
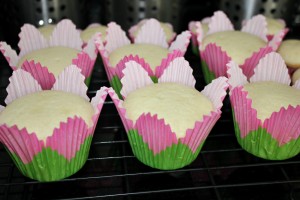
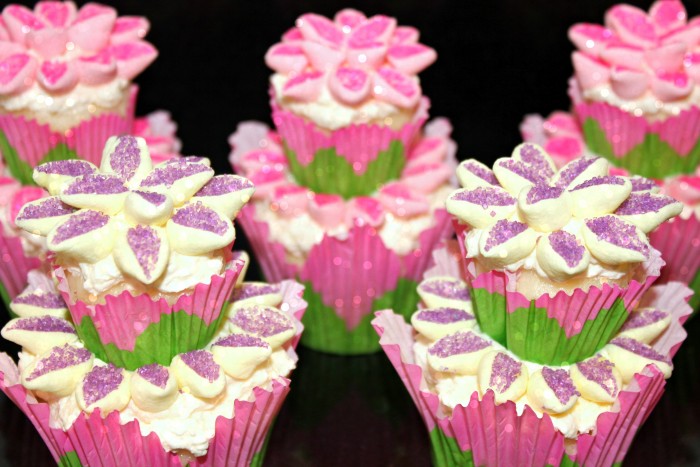
Safe to say I think we need spring and what better way to celebrate and coax on springtime than with a double decker cupcake covered in charming flowers?! Better yet, made with simple flower petals out of marshmallows! Yeah, you’re right, there simply is no better way to prepare for warmer weather and bathing suits than with not one, but two cupcakes.
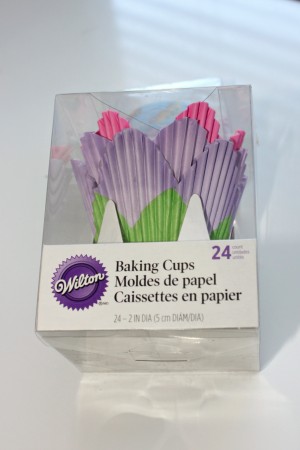
My initial inspiration came from these Wilton cupcake liners I found at Micheals, pink and purple, in both mini and regular size.
Flower Cupcake Instructions
What you will need:
Vanilla cupcake batter (either homemade or a mix works well)
Vanilla frosting
Multi-coloured miniature marshmallows
Wilton Sprinkles in Pink and Purple Sparkling Sugars.
Paper cupcake liners (optional). I chose Pink and Lavender Petal Baking Cups from Wilton
Kitchen scissors
Small ziplock bags
Step 1: Bake a batch of both mini and full sized cupcakes and allow to cool.
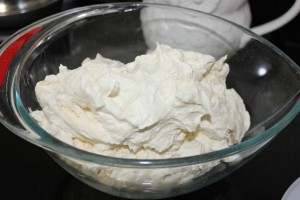
Step 2: Make a fluffy vanilla frosting. I left it white, because it gets mostly covered, but it would be great if it was pink or yellow as well.
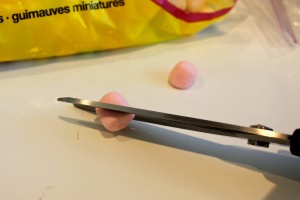
Step 3: I choose to use multi-coloured miniature marshmallows and picked out the colours I wanted – pink and yellow.
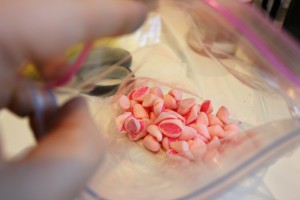
Step 4: Next place sparkling sugar in a ziplock bag (about a 1/4 of cup). I did one with purple and another with pink.
Step 5: Cut each marshmallow diagonally in half with sharp kitchen scissors.
Step 6: Once the marshmallows are cut, place in the ziplock with the decorating sugar and shake. The sugar will adhere itself to the cut, sticky side.
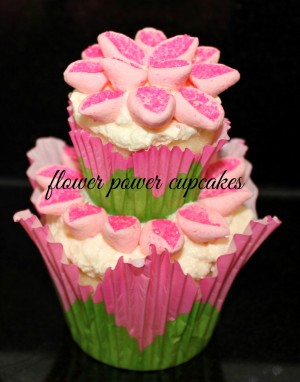
Step 7: Generously frost the bottom, larger cupcake. Frost the mini cupcake and place in the centre, on top of the larger, frosted cupcake to make two tiers.
Step 8: Place the marshmallows, sugar side up onto the frosting as petals, in circular patterns.
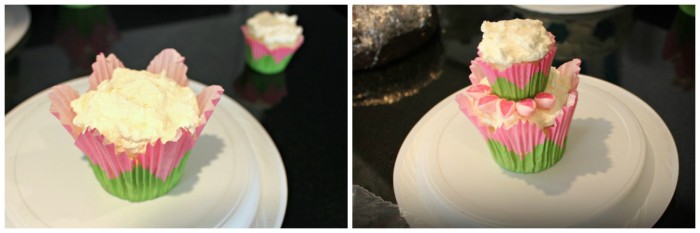
Step 9: On the top cupcake, begin with the petals in the centre and work your way out, creating a flower from the marshmallow petals.
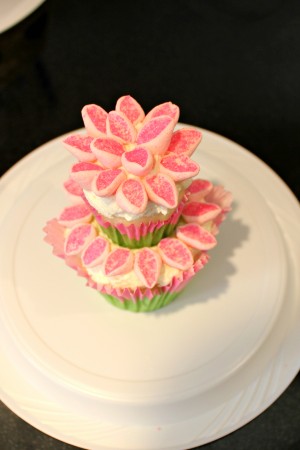

Enjoy!
The post Two Tier Flower Power Cupcakes appeared first on Creative Sides.
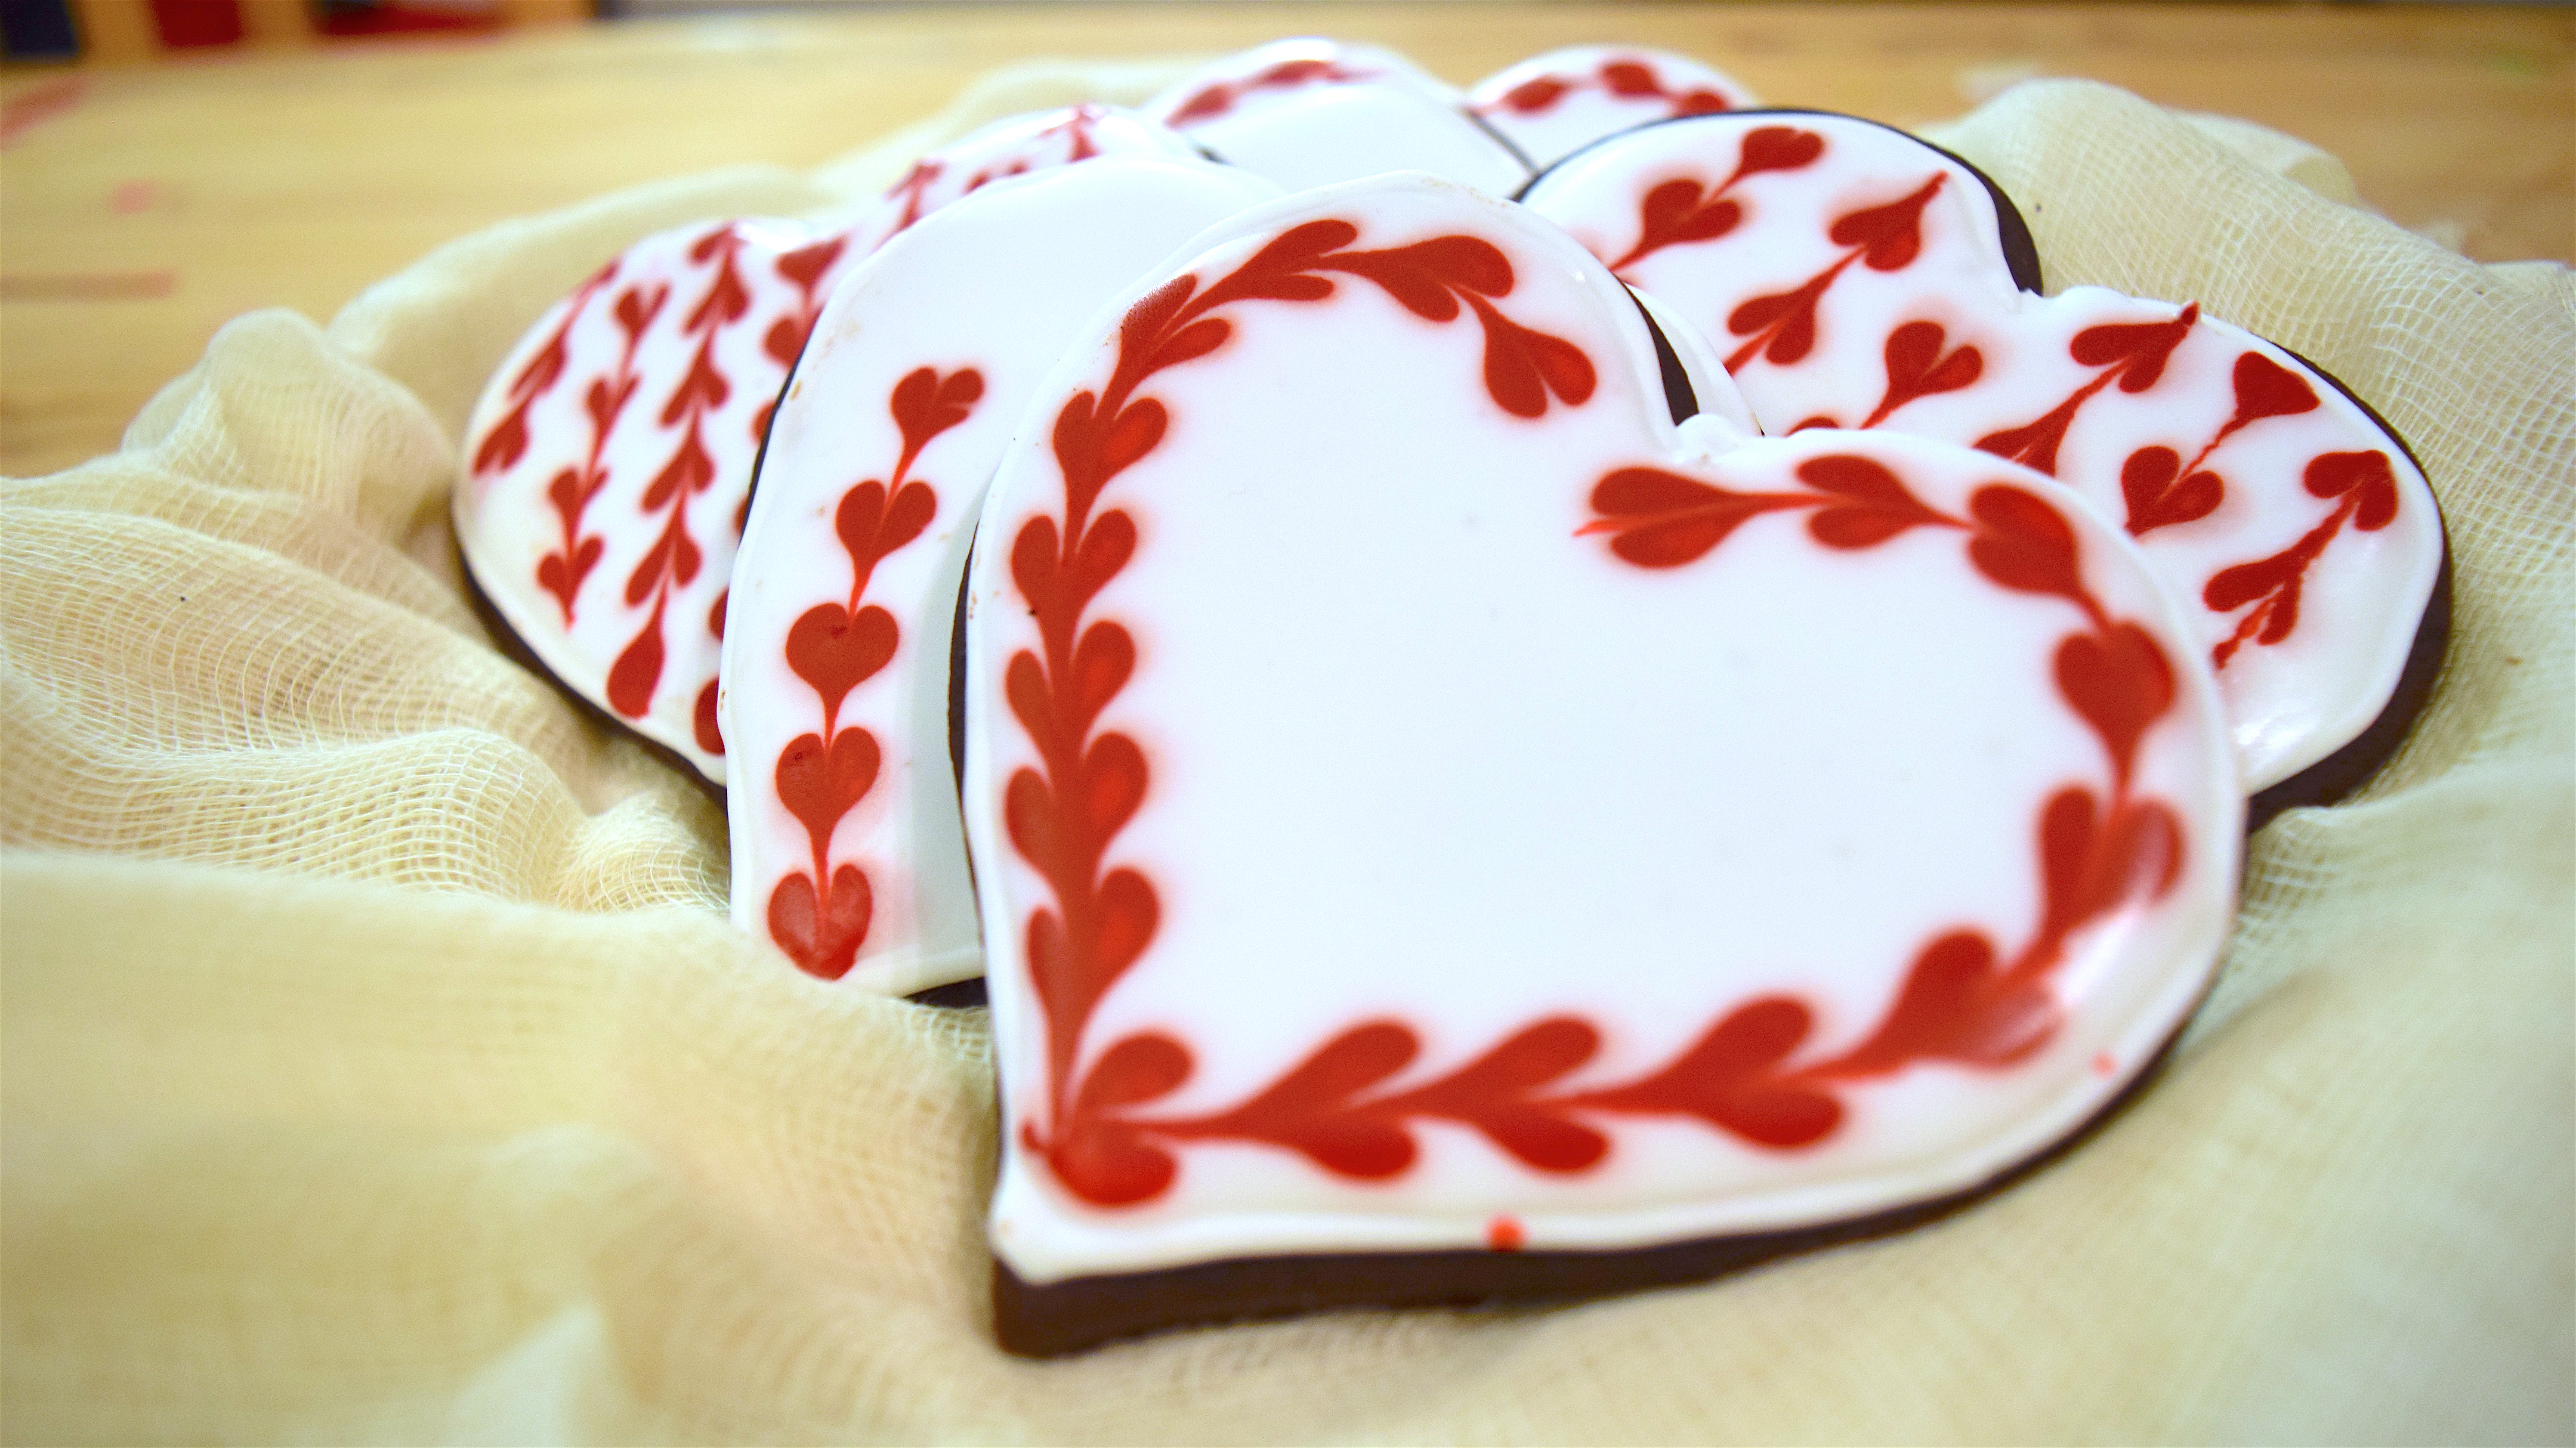
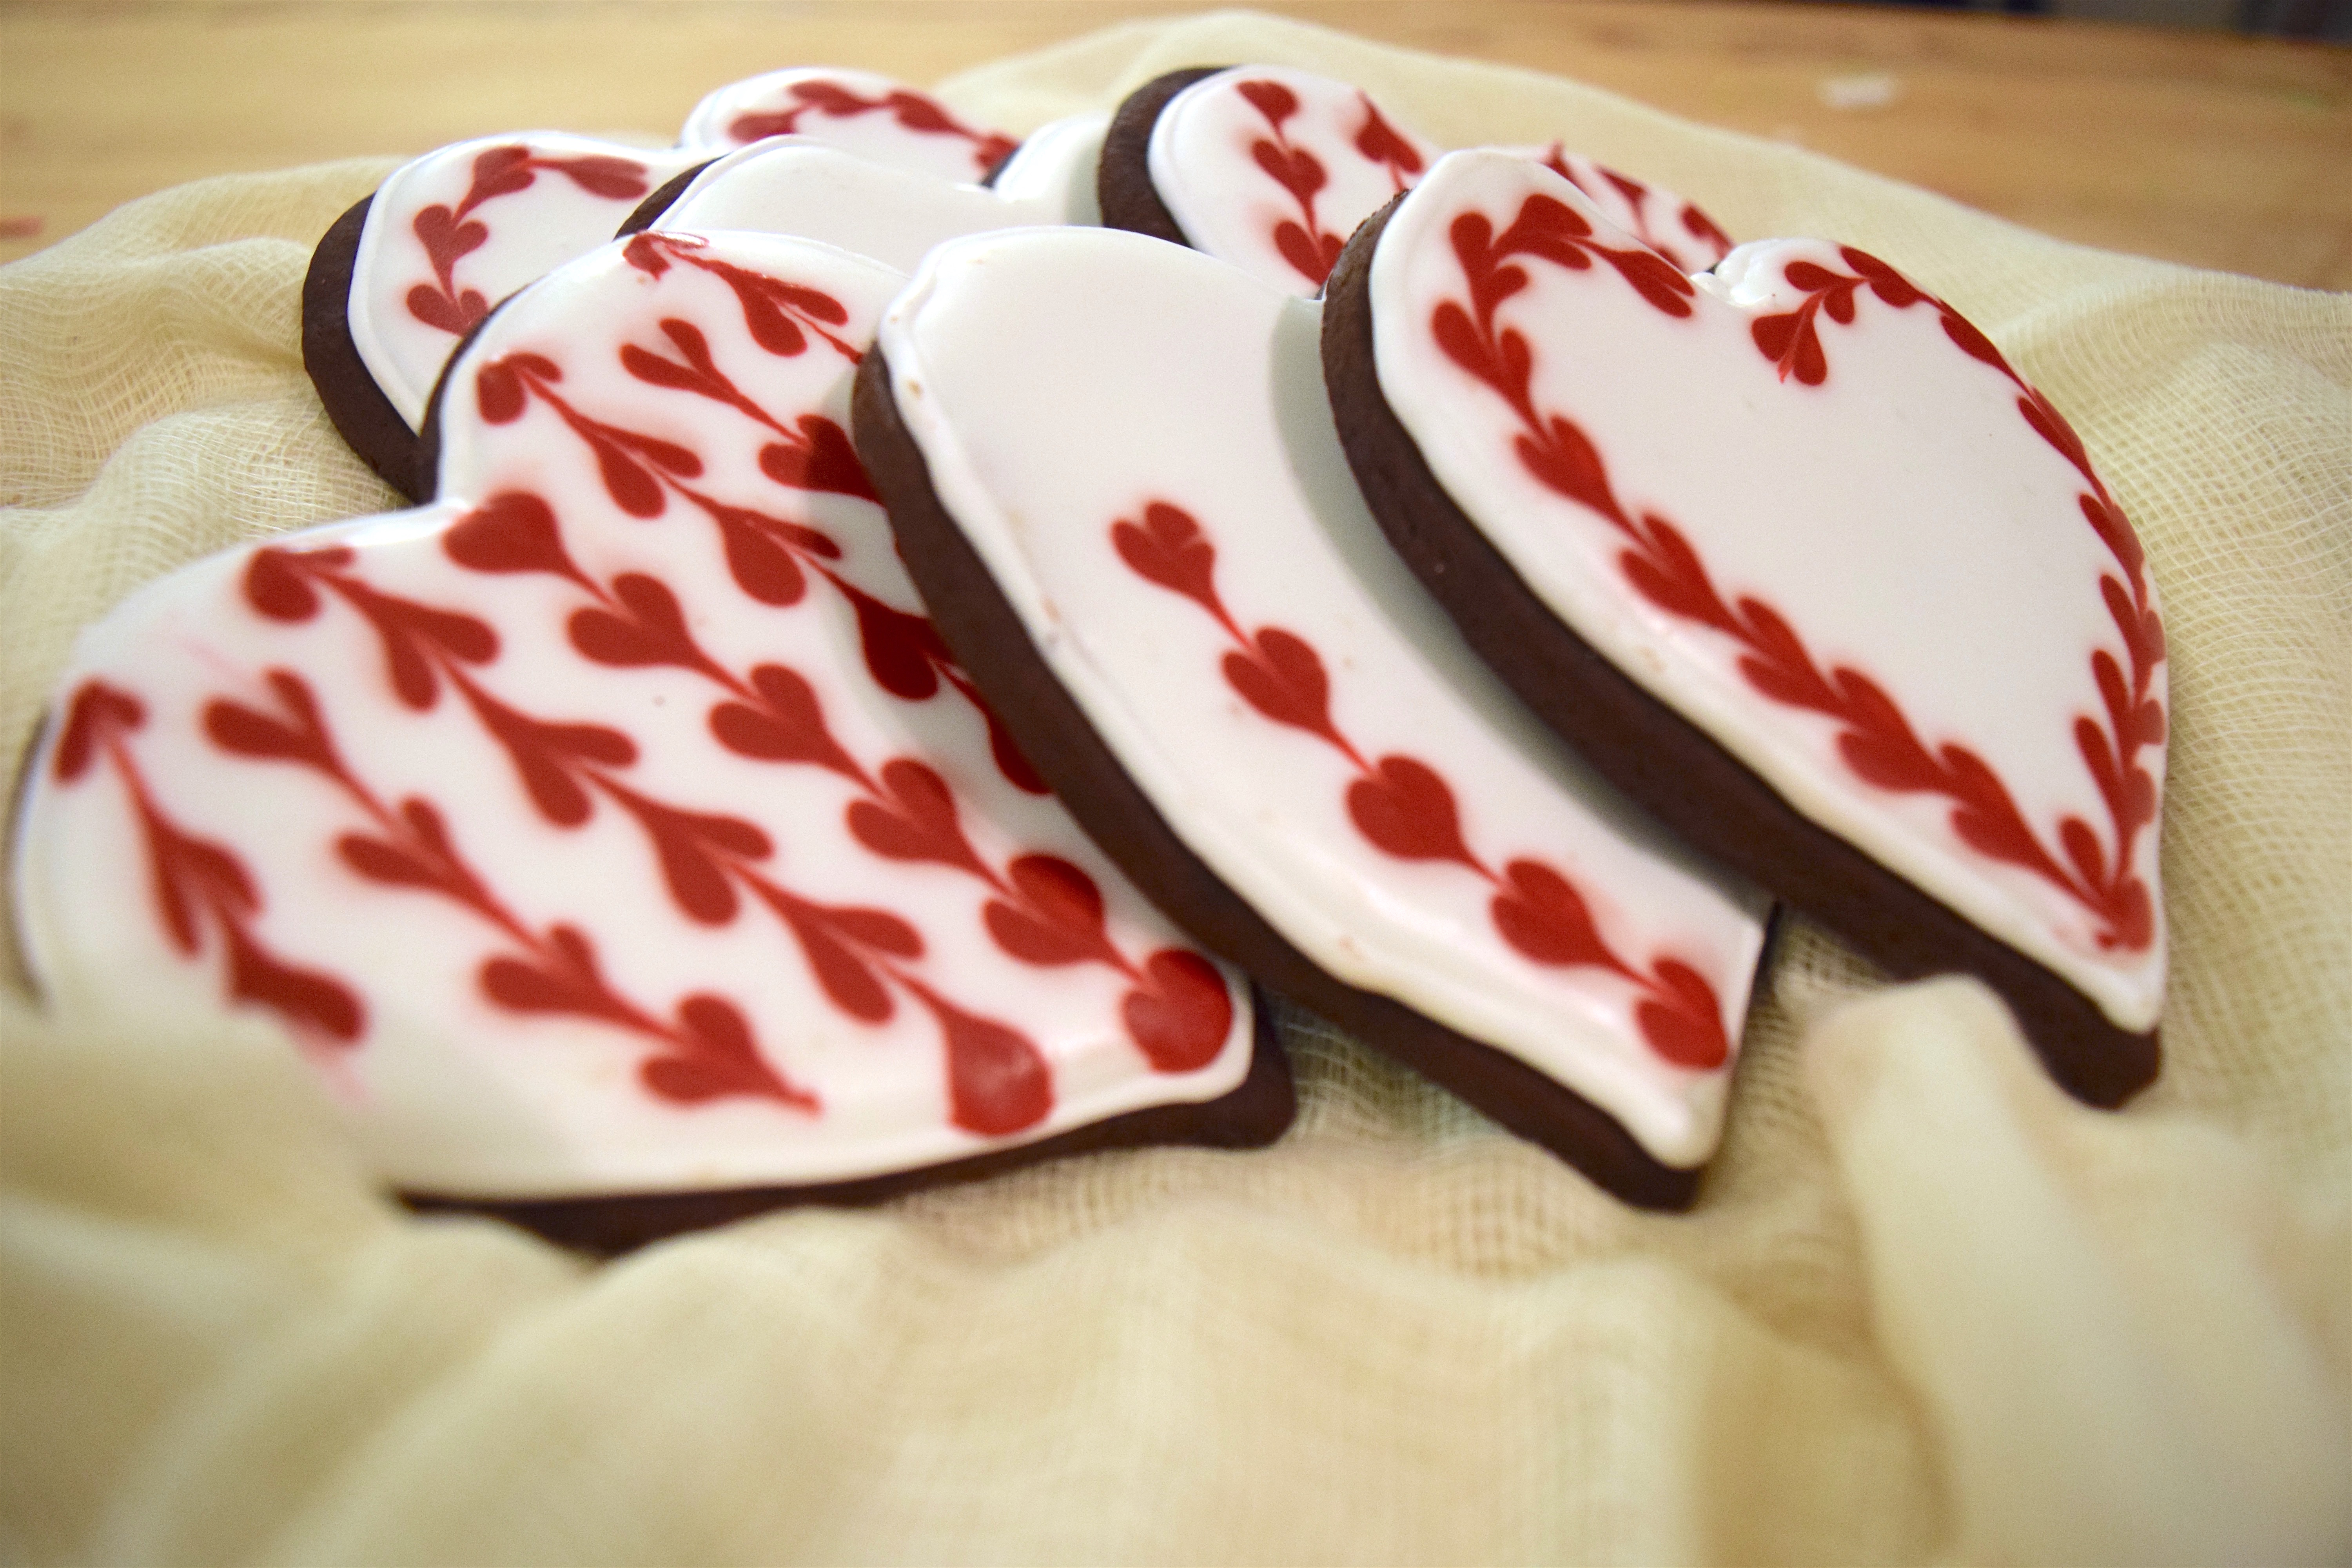
]]>The post Valentine’s Day Chocolate Sugar Cookies appeared first on Creative Sides.
]]>Chocolate Sugar Cookie Recipe
I started with a recipe I found here on Annie’s Eats and made some slight tweaks to come up with a tasty cookie with an incredible texture.

- 1 1/2 cups all purpose flour
- 2/3 cup cocoa powder
- 3/4 cup salted butter (room temperature)
- 1 1/2 cups powdered sugar
- 2 eggs
- 1/2 tsp vanilla extract
- 1/2 tsp caramel extract
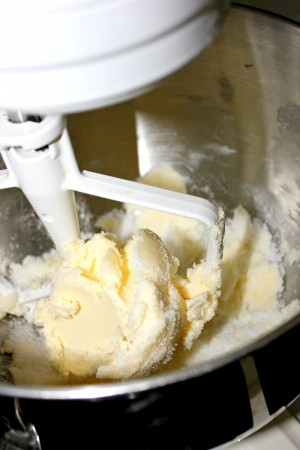
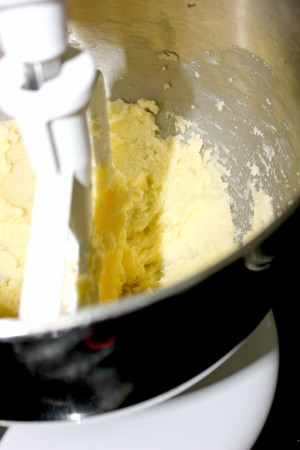
- Combine butter and sugar in medium speed until fluffy and well mixed
- Add in eggs, vanilla and caramel and continue to mix
- In a separate bowl, combine flour and cocoa powder
- Add dry ingredients to wet, mixing on low speed
- Remove dough from bowl and wrap tightly in plastic wrap
- Refrigerate 1-2 hours
- Preheat the oven to 325 F
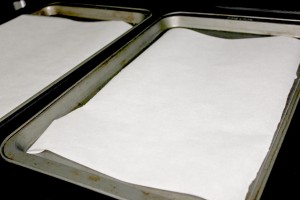
- Line your baking sheet with parchment paper
- Sprinkle cocoa powder on your work surface to prevent sticking
- Roll out chilled dough to desired thickness (I like 1/4 inch)
- Use cookie cutter of choice to cut out cookies and place them on the baking sheet
- Bake 10-15 minutes depending on thickness and size
- Remove from oven and let the cookies rest on the baking sheet for 5 minutes before transferring to a wire rack
- Cool completely prior to decorating
Royal Icing Recipe
The Royal Icing I found to be a bit more tricky. Every recipe I looked at has slight variations on the amounts of the 3 ingredients: powdered sugar, meringue powder and water. I followed one recipe and it was so lumpy and cement-like that I was sure my brand new stand mixer was going to die. As I played around with the amounts and got a bit more confident, I realized that it’s practically impossible to mess up! If its too thick, add more water. Too thin, more sugar.

- 1 package (1 kilo/4 1/2 cups) powdered sugar
- 1/3 cup warm water
- 3 tablespoons meringue powder
- Sift powdered sugar into a large bowl
- Add in water and meringue powder
- Mix on low speed until blended
- Mix on medium-high speed for 7-10 minutes, until stiff and with a matte finish
- Icing consistency will be affected by the temperature and humidity of your environment. You may find that you need more water or more sugar than listed above. Measurements are not strict, adjust as needed to achieve desired consistency.
Decorating Cookies with Royal Icing
I was a little apprehensive when I was finally ready to decorate the cookies; visions of Pinterest fails danced in my head. I did my best to mitigate that outcome by setting up my space as best I could.
Here are the items you’ll need:
Royal Icing
Sugar Cookies
Airtight Containers
Icing Colour
Squeeze Bottle
Icing Bag
Wilton Decorating Tip #2 or #3
Spoon
Toothpick
Parchment Paper
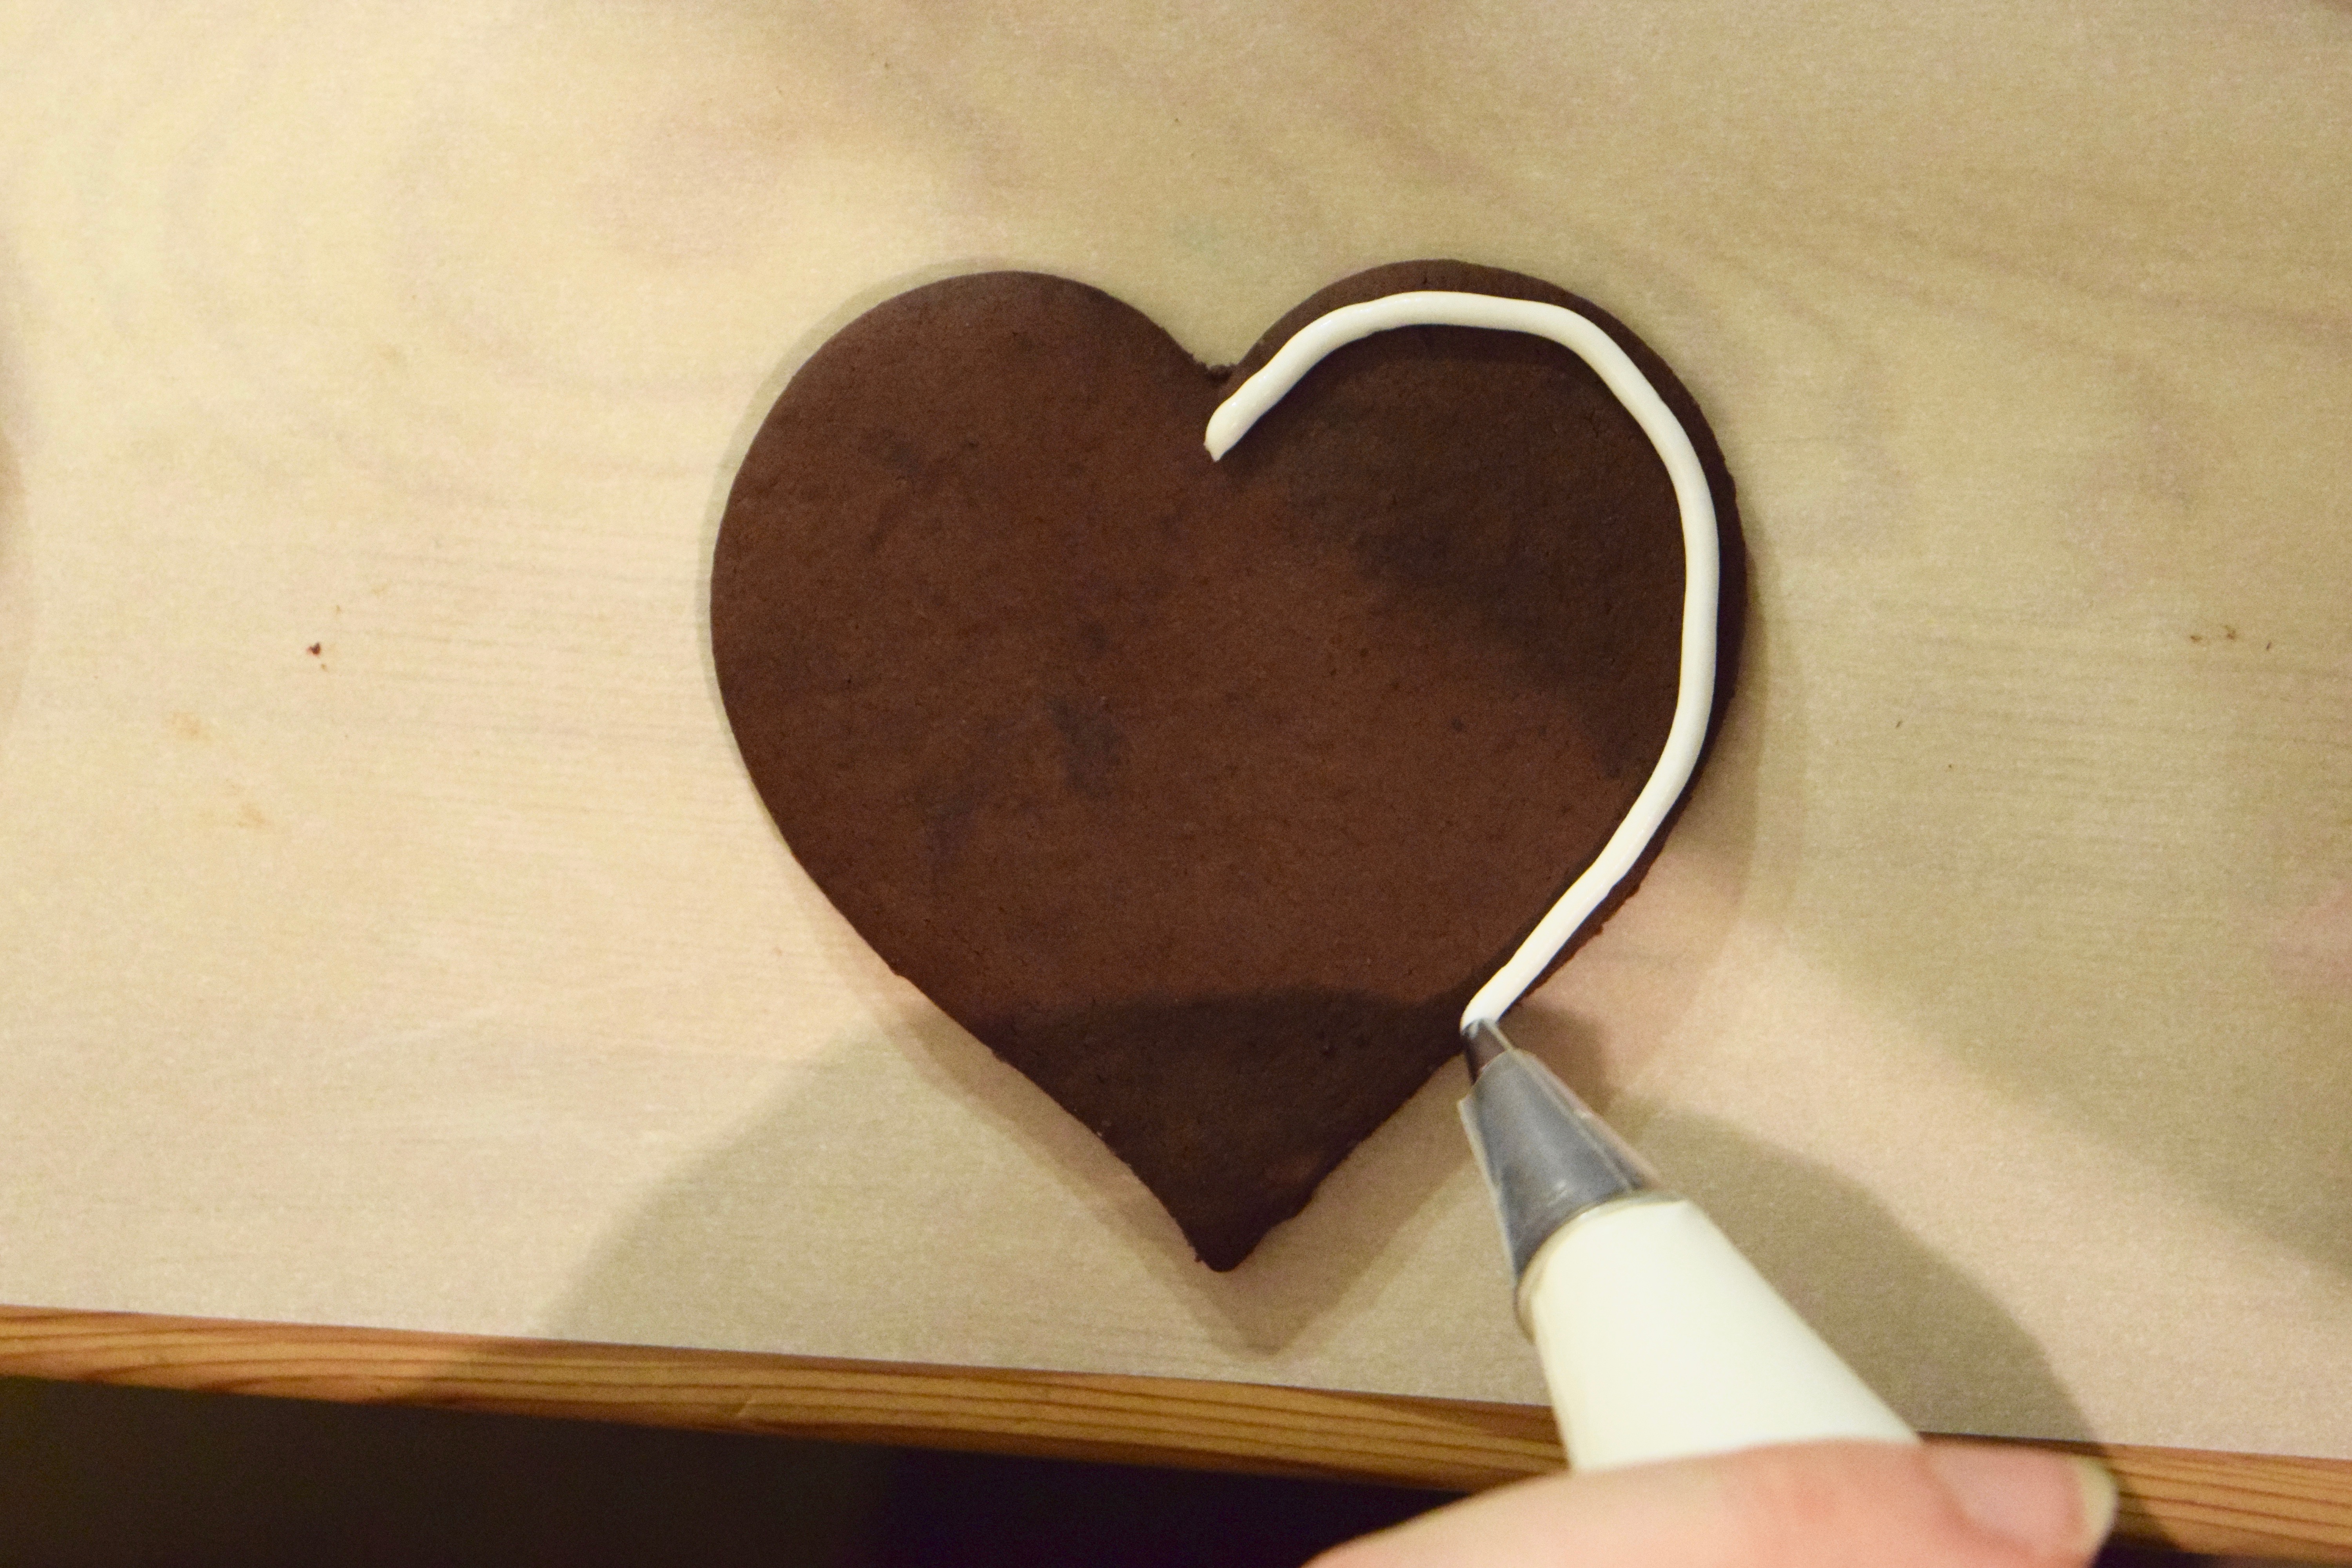
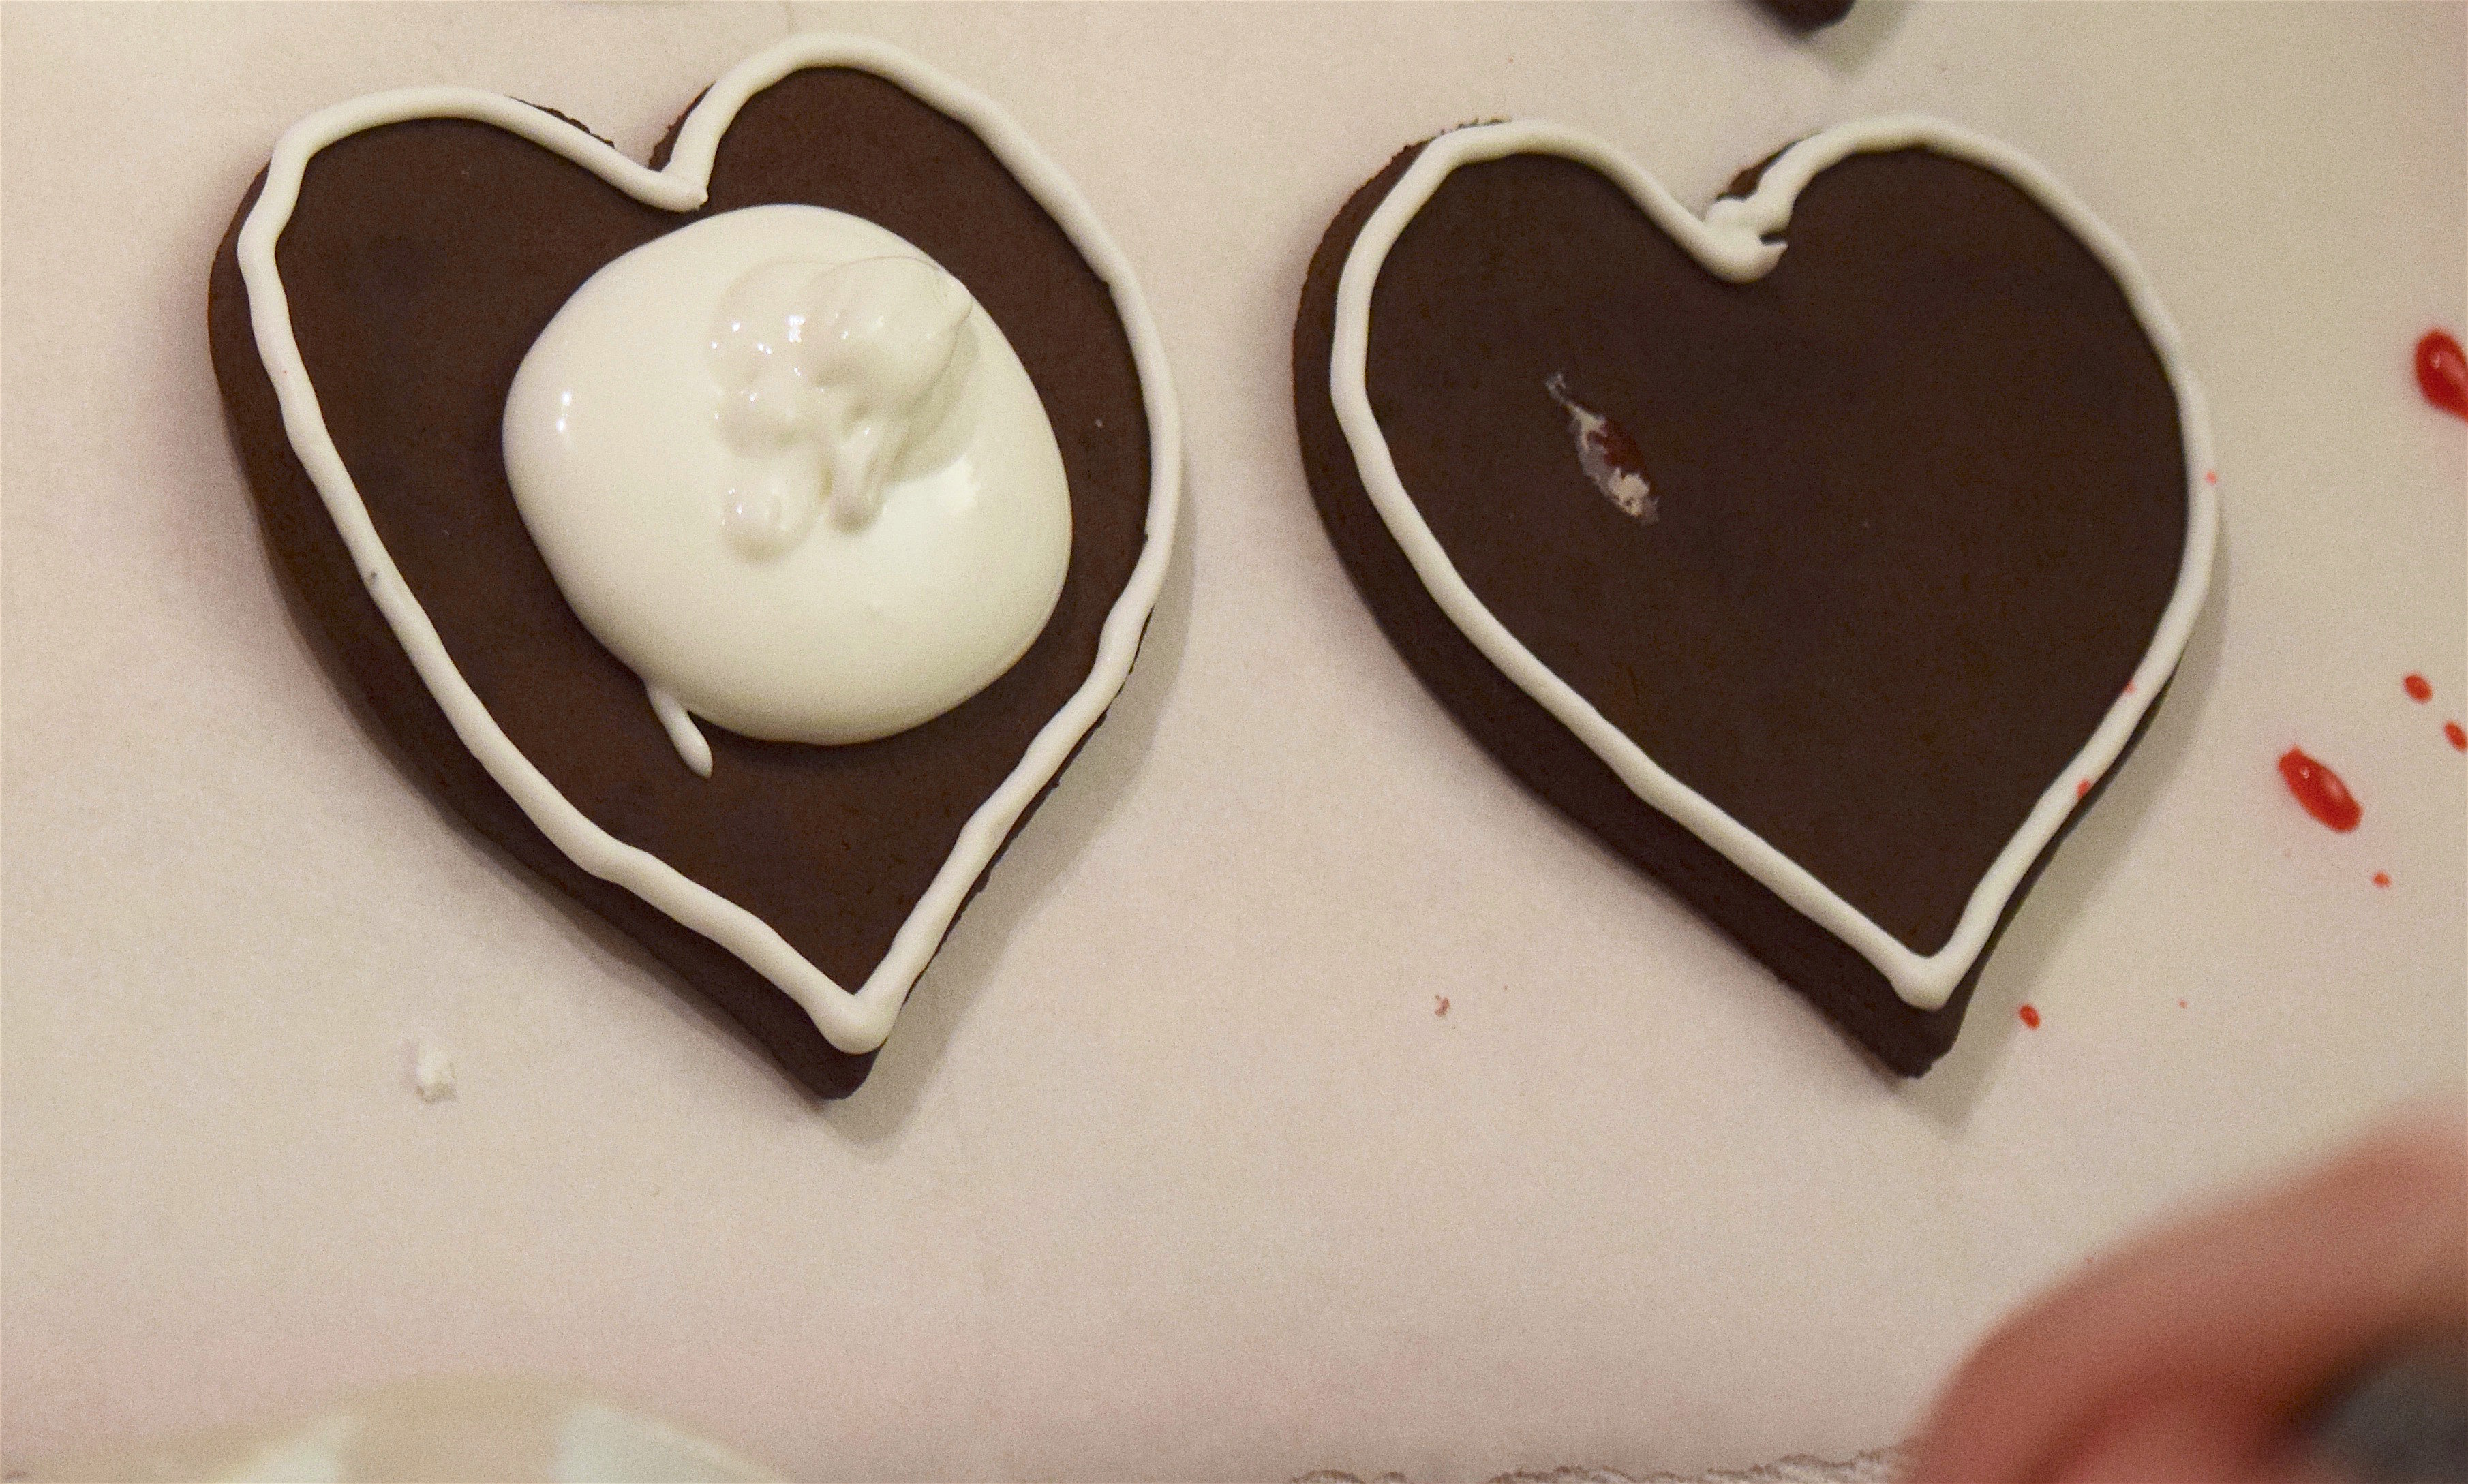
Step 1 – Before you really start: Divide royal icing into 2 airtight containers. Roll out the parchment paper and place your cooled cookies on top. Fit icing bag with Wilton decorating tip #2 or #3 and fill with thicker royal icing. Outline the edges of each cookie with the this icing.

Step 2: Let the outlines dry for 1 hour.
Step 3 – Setting up your Space: While you’re waiting for the cookies to dry, you can get your decorating space ready. Colour 1 container of royal icing red with Wilton Colour Right™ Performance Colour System (40 drops red, 4 drops crimson). Thin both containers of icing by adding a spoonful of water and mixing until you have the desired consistency. Pour red royal icing into squeeze bottle.
Step 4: Spoon the thinned white icing onto the center of the cookie.
Step 5: Using a toothpick, spread the icing until it touches the outline all around the cookie.
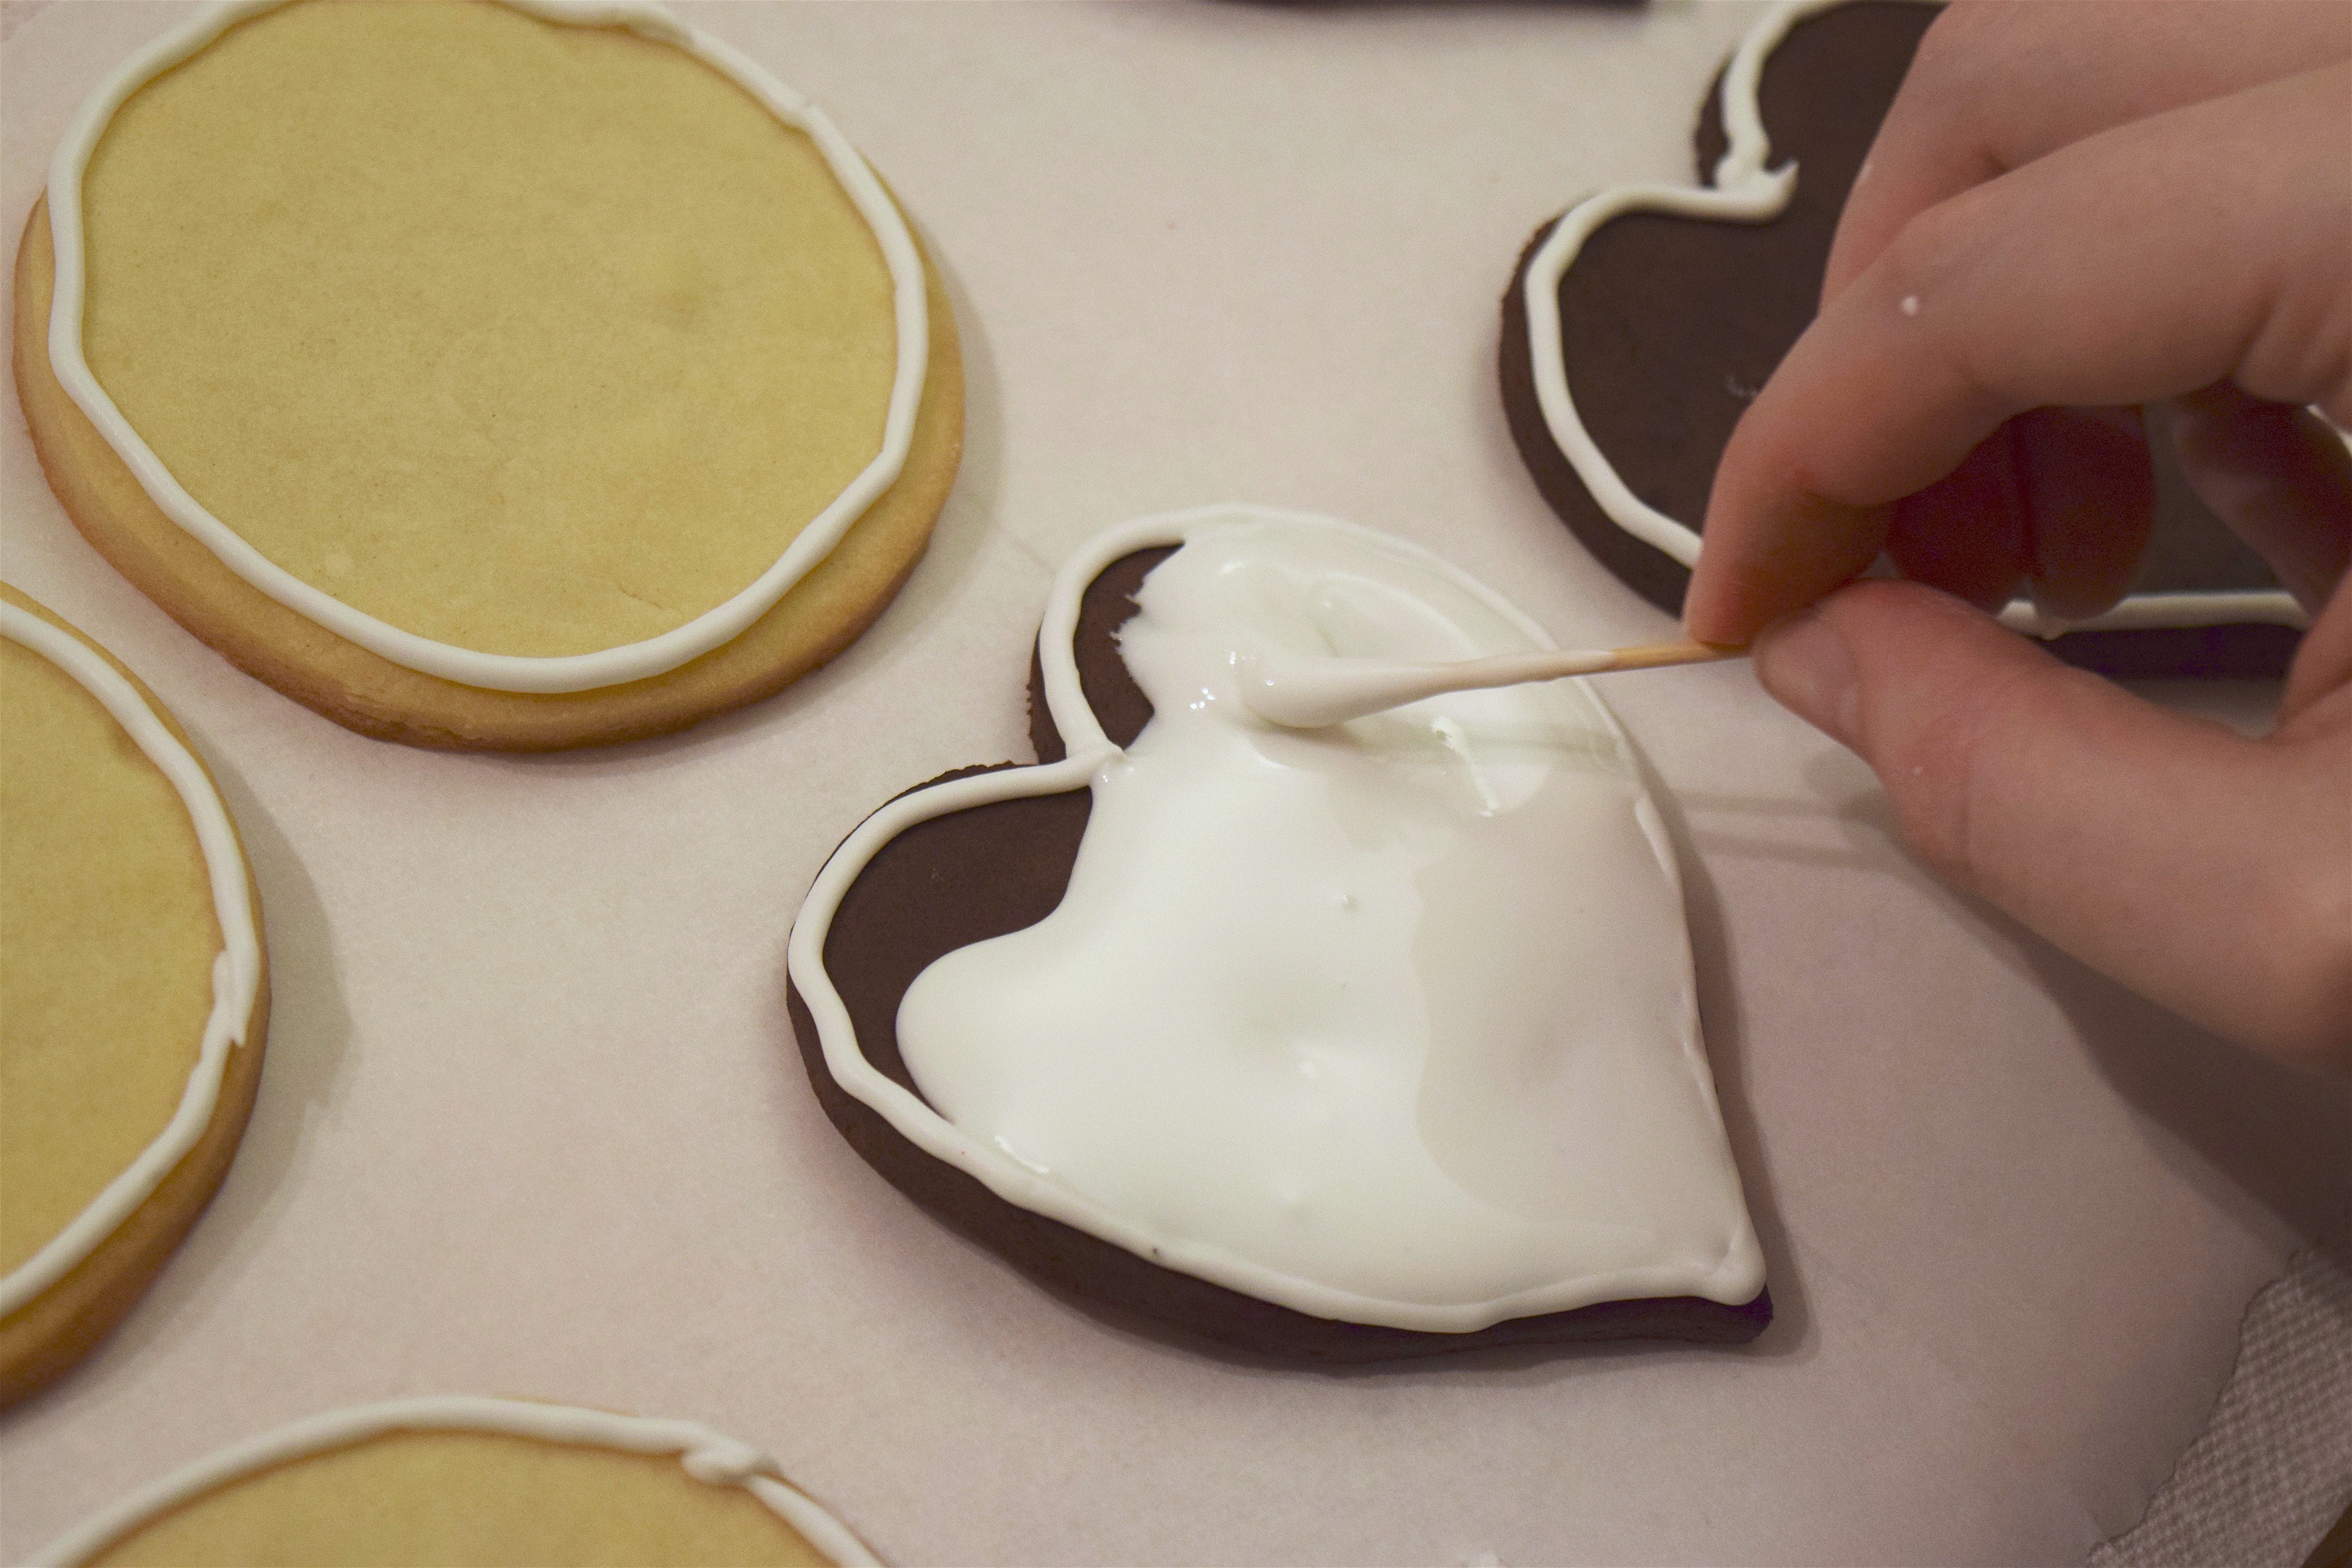
Step 6: Shake the cookie to settle the icing and tap firmly (without breaking the cookie) to bring any air bubbles to the surface. Pop the bubbles with your toothpick.
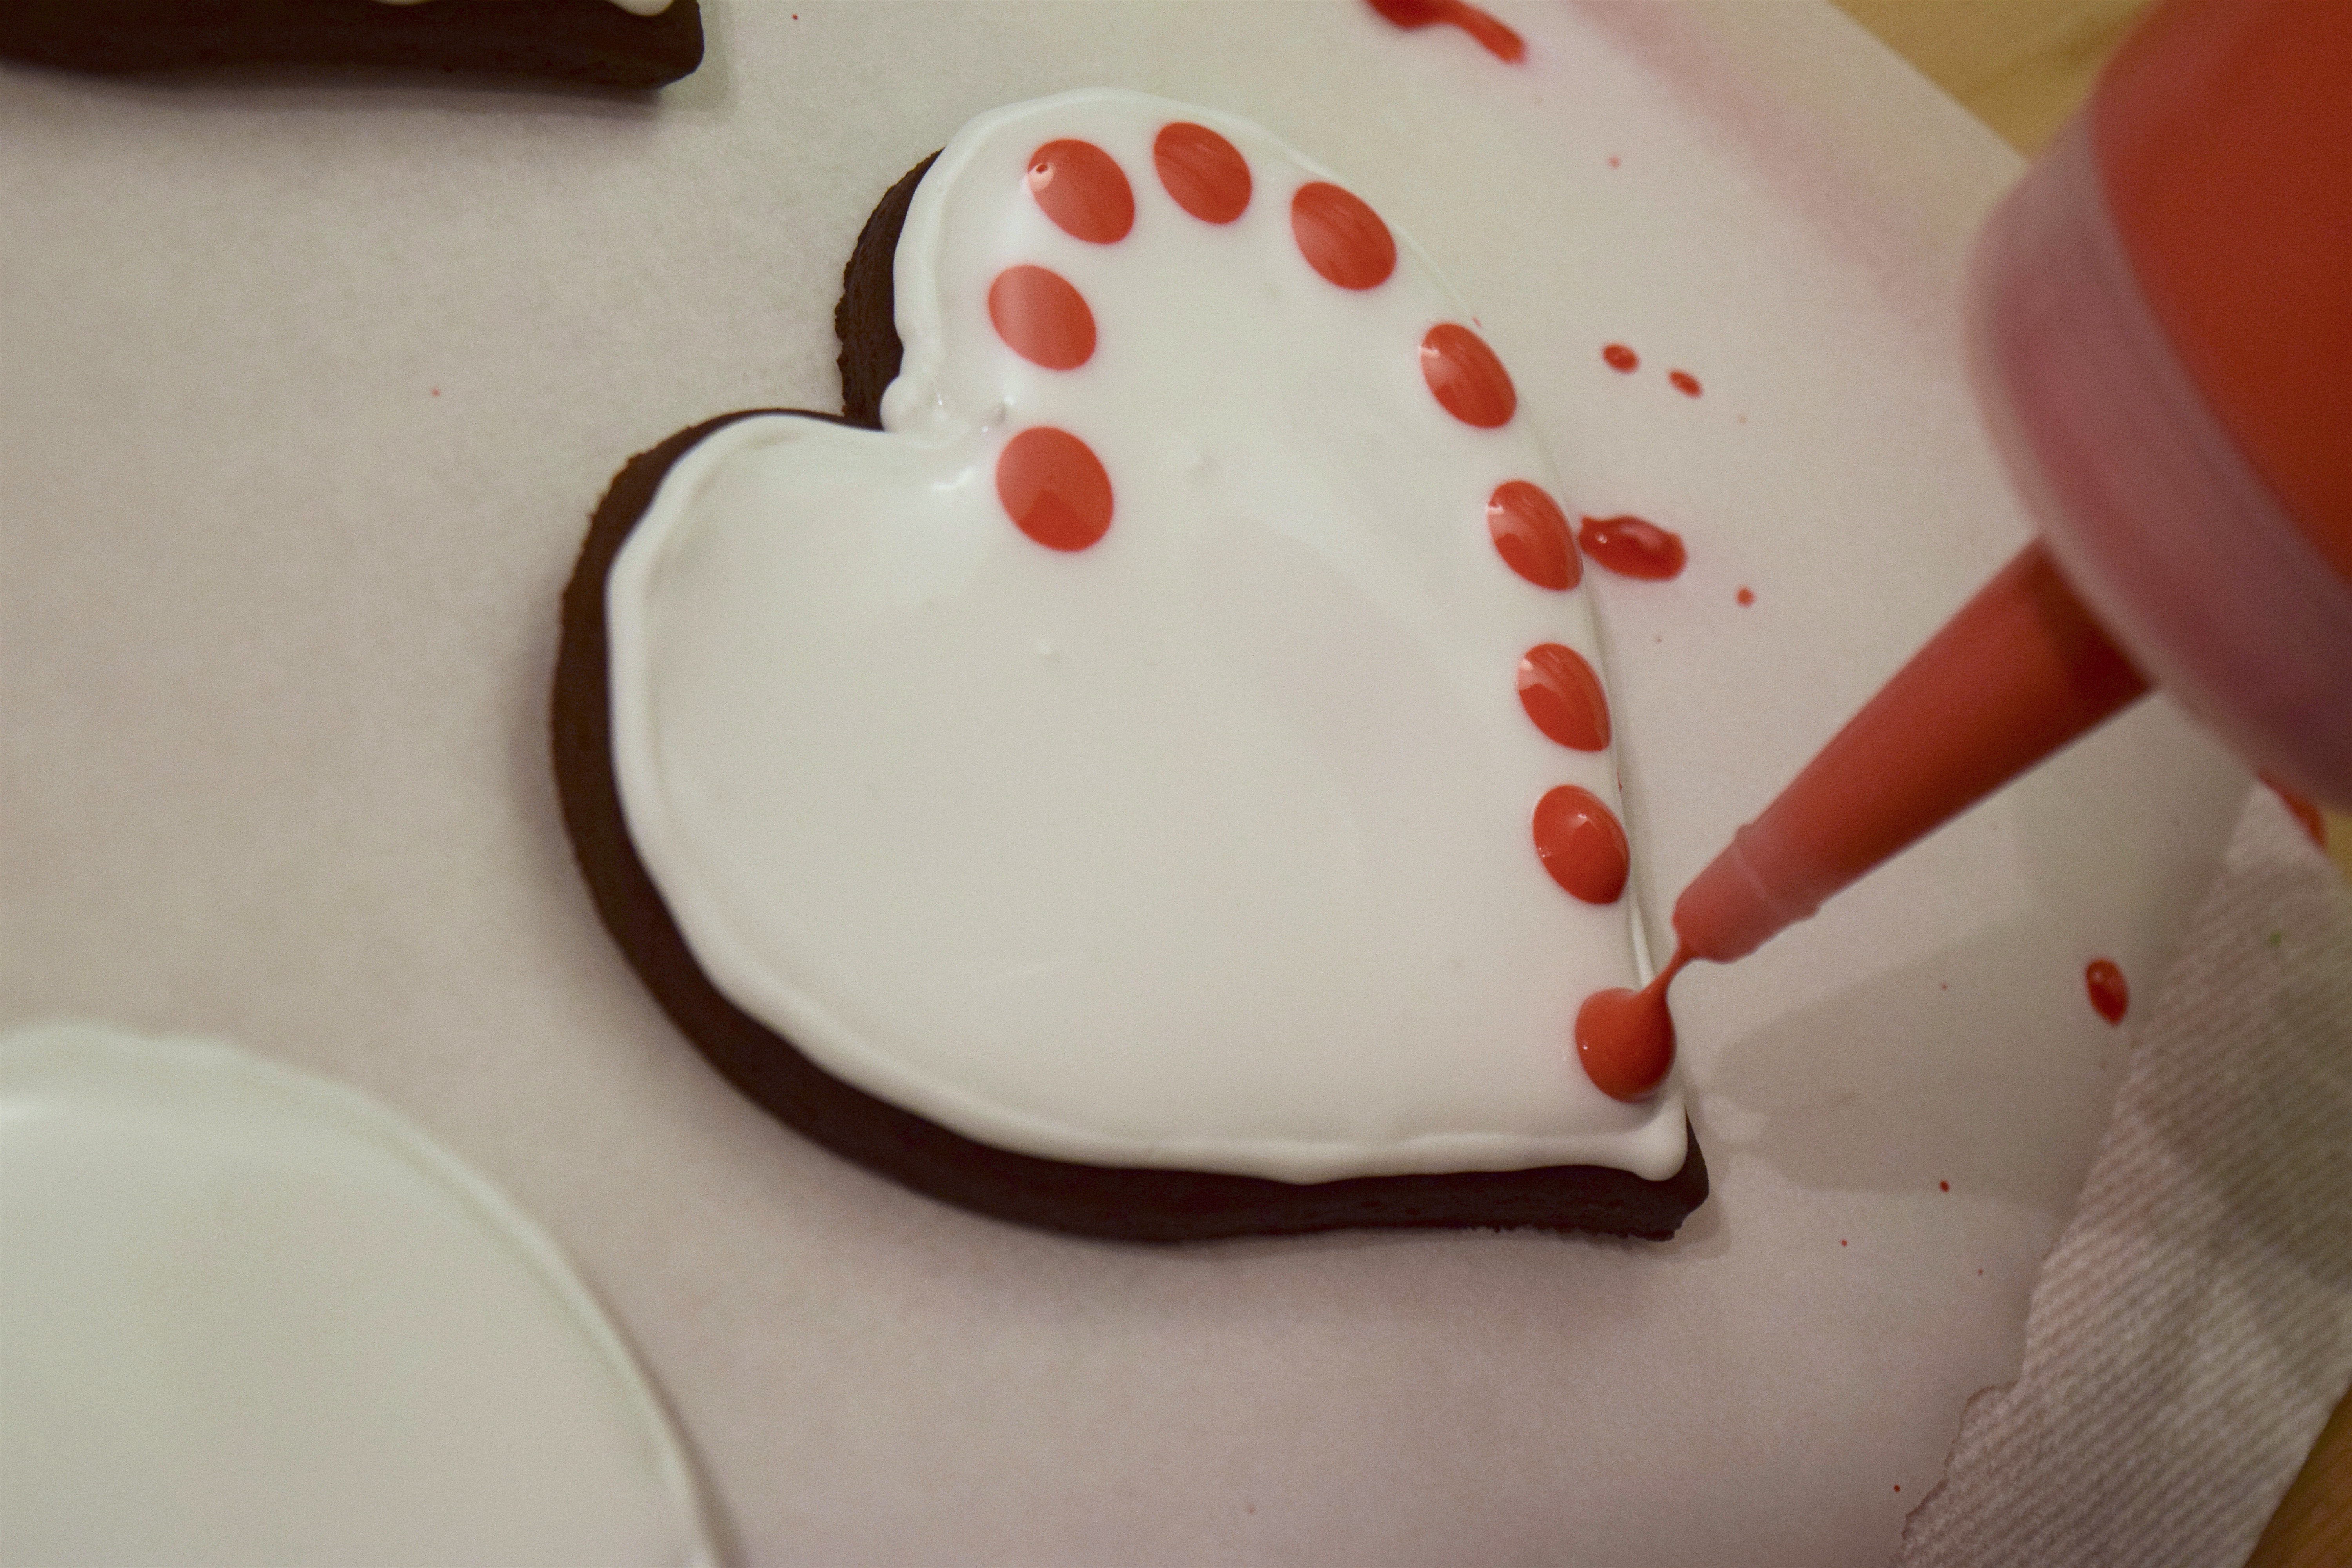
Step 7: Using the squeeze bottle, carefully dot the red icing all around the cookie, about 1/3 of an inch from the edge.
Step 8: Drag a toothpick through the red dots in one continuous motion.
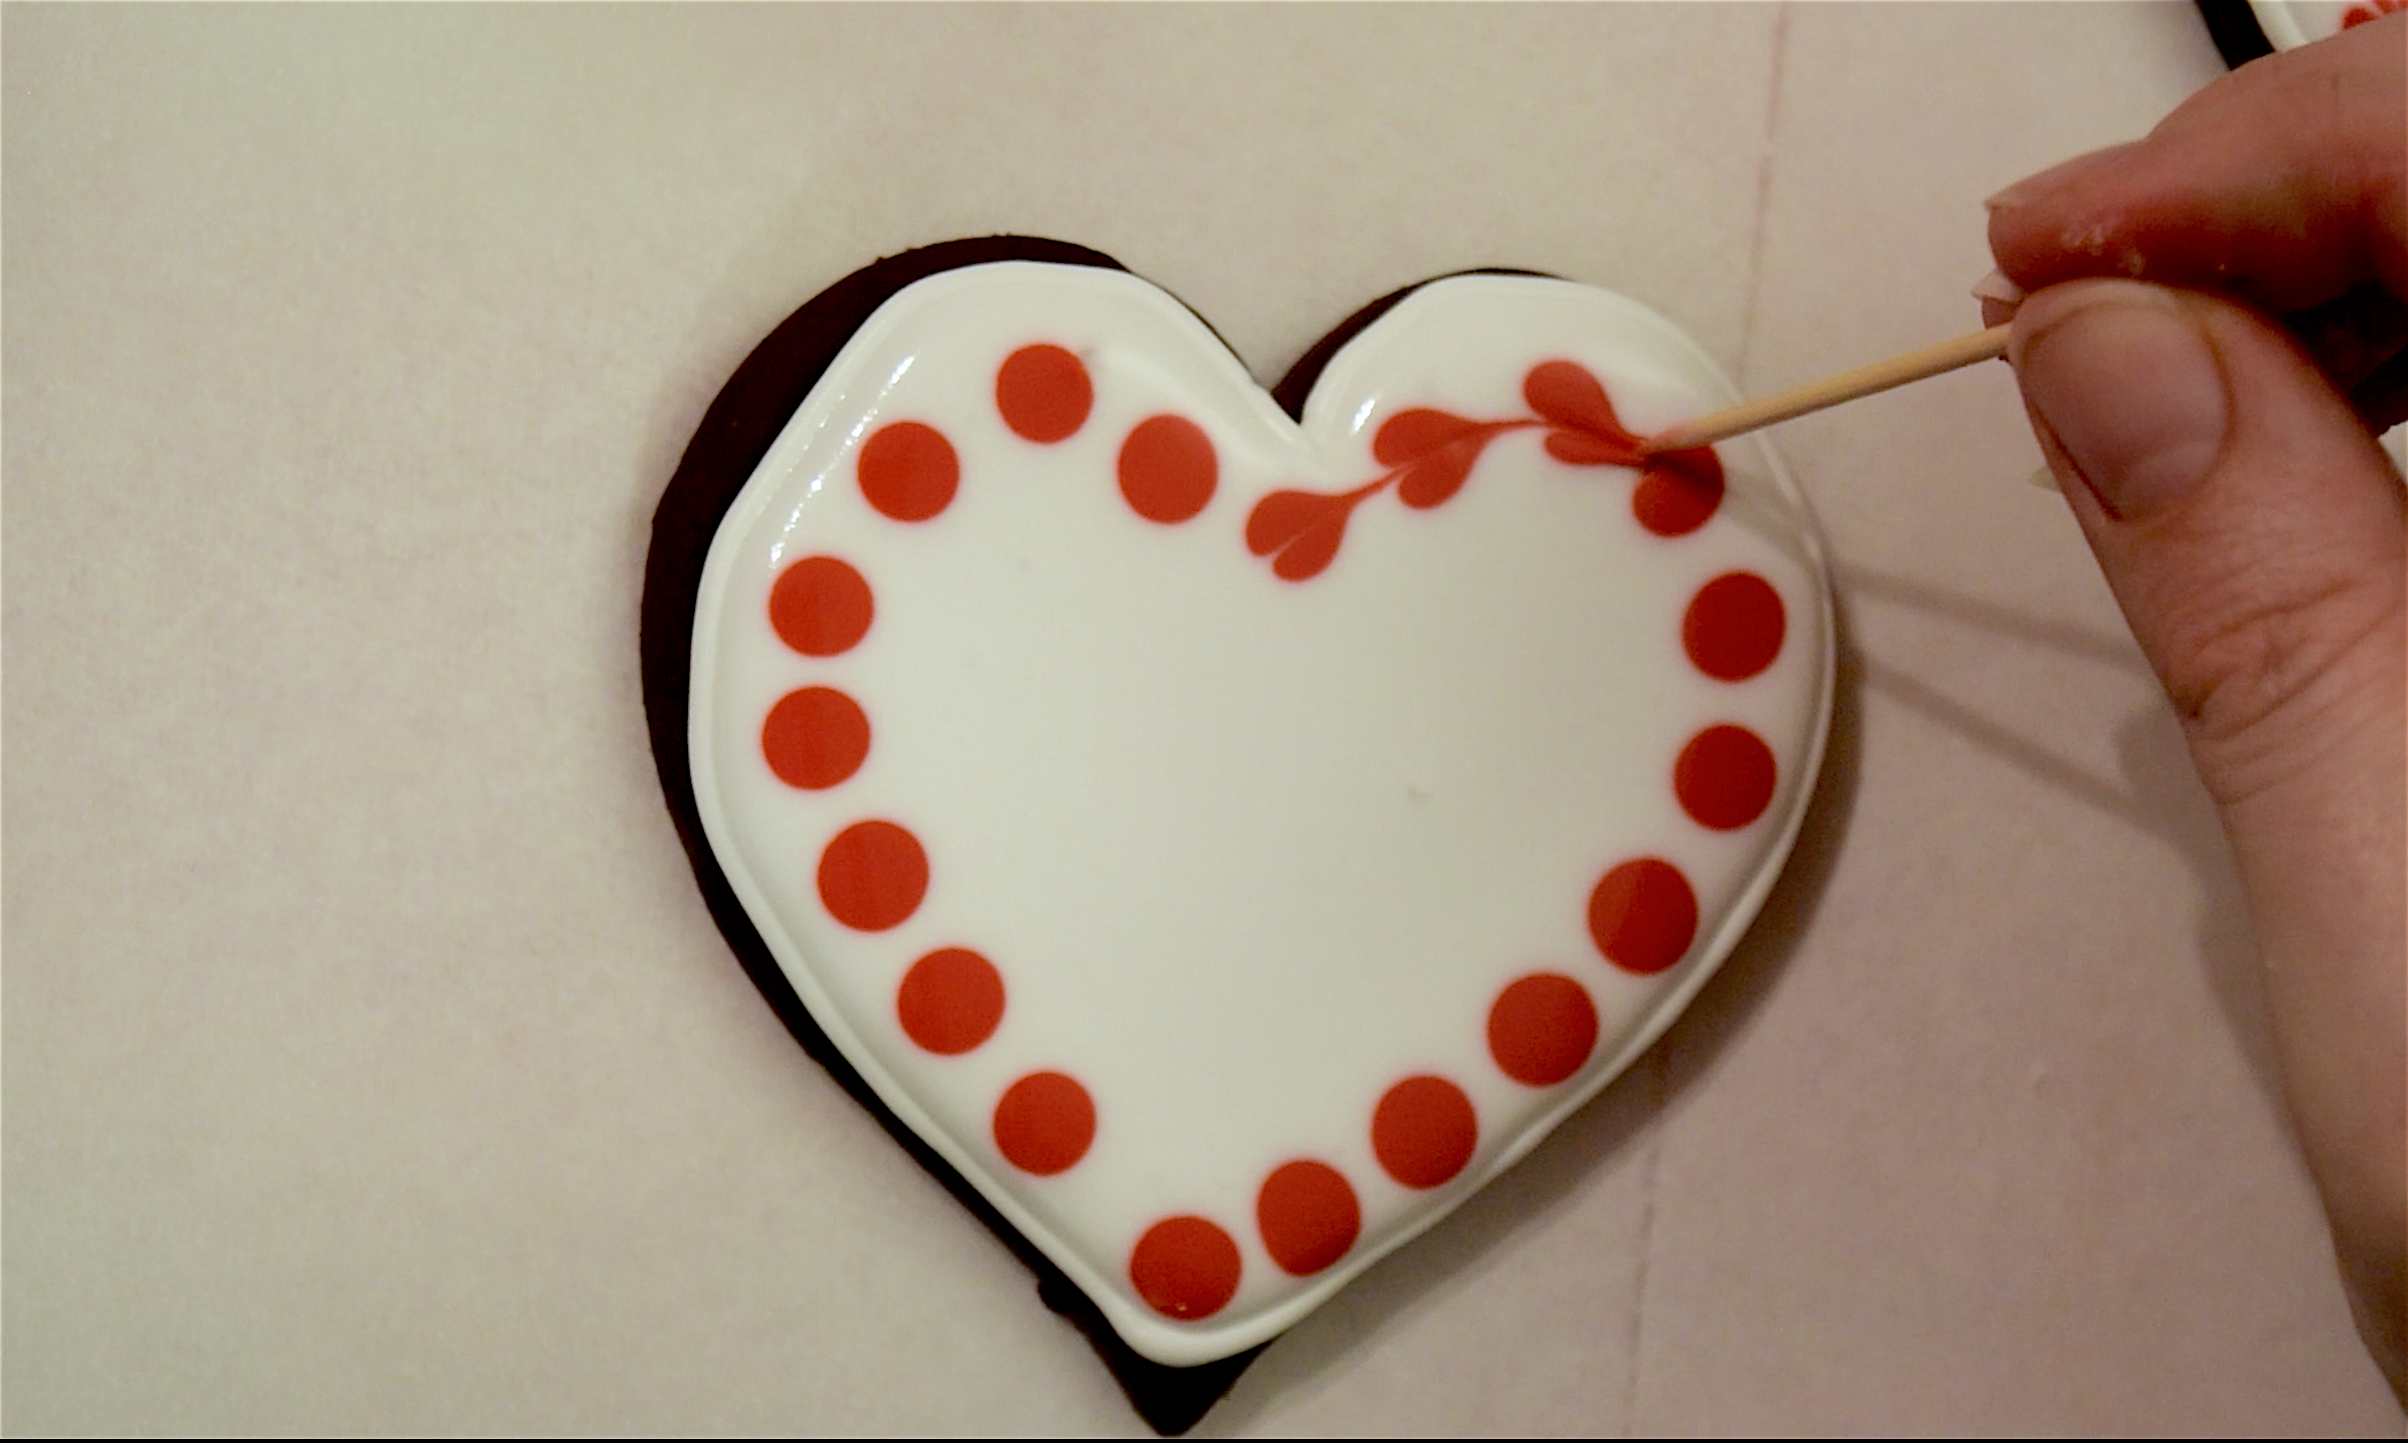
Et voilà! A simple technique with beautiful results. You can use the same steps to create a lot of different heart patterns. Variety is the spice of life after all.
The post Valentine’s Day Chocolate Sugar Cookies appeared first on Creative Sides.
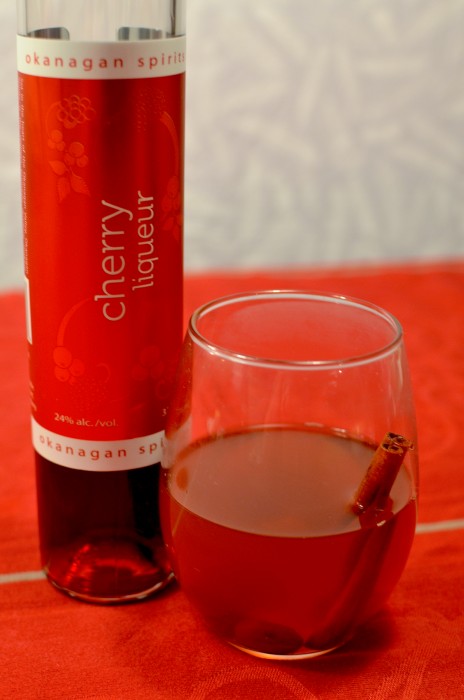
]]>The post Cherry Cheesecake with Spiced Cider *VIDEO* appeared first on Creative Sides.
]]>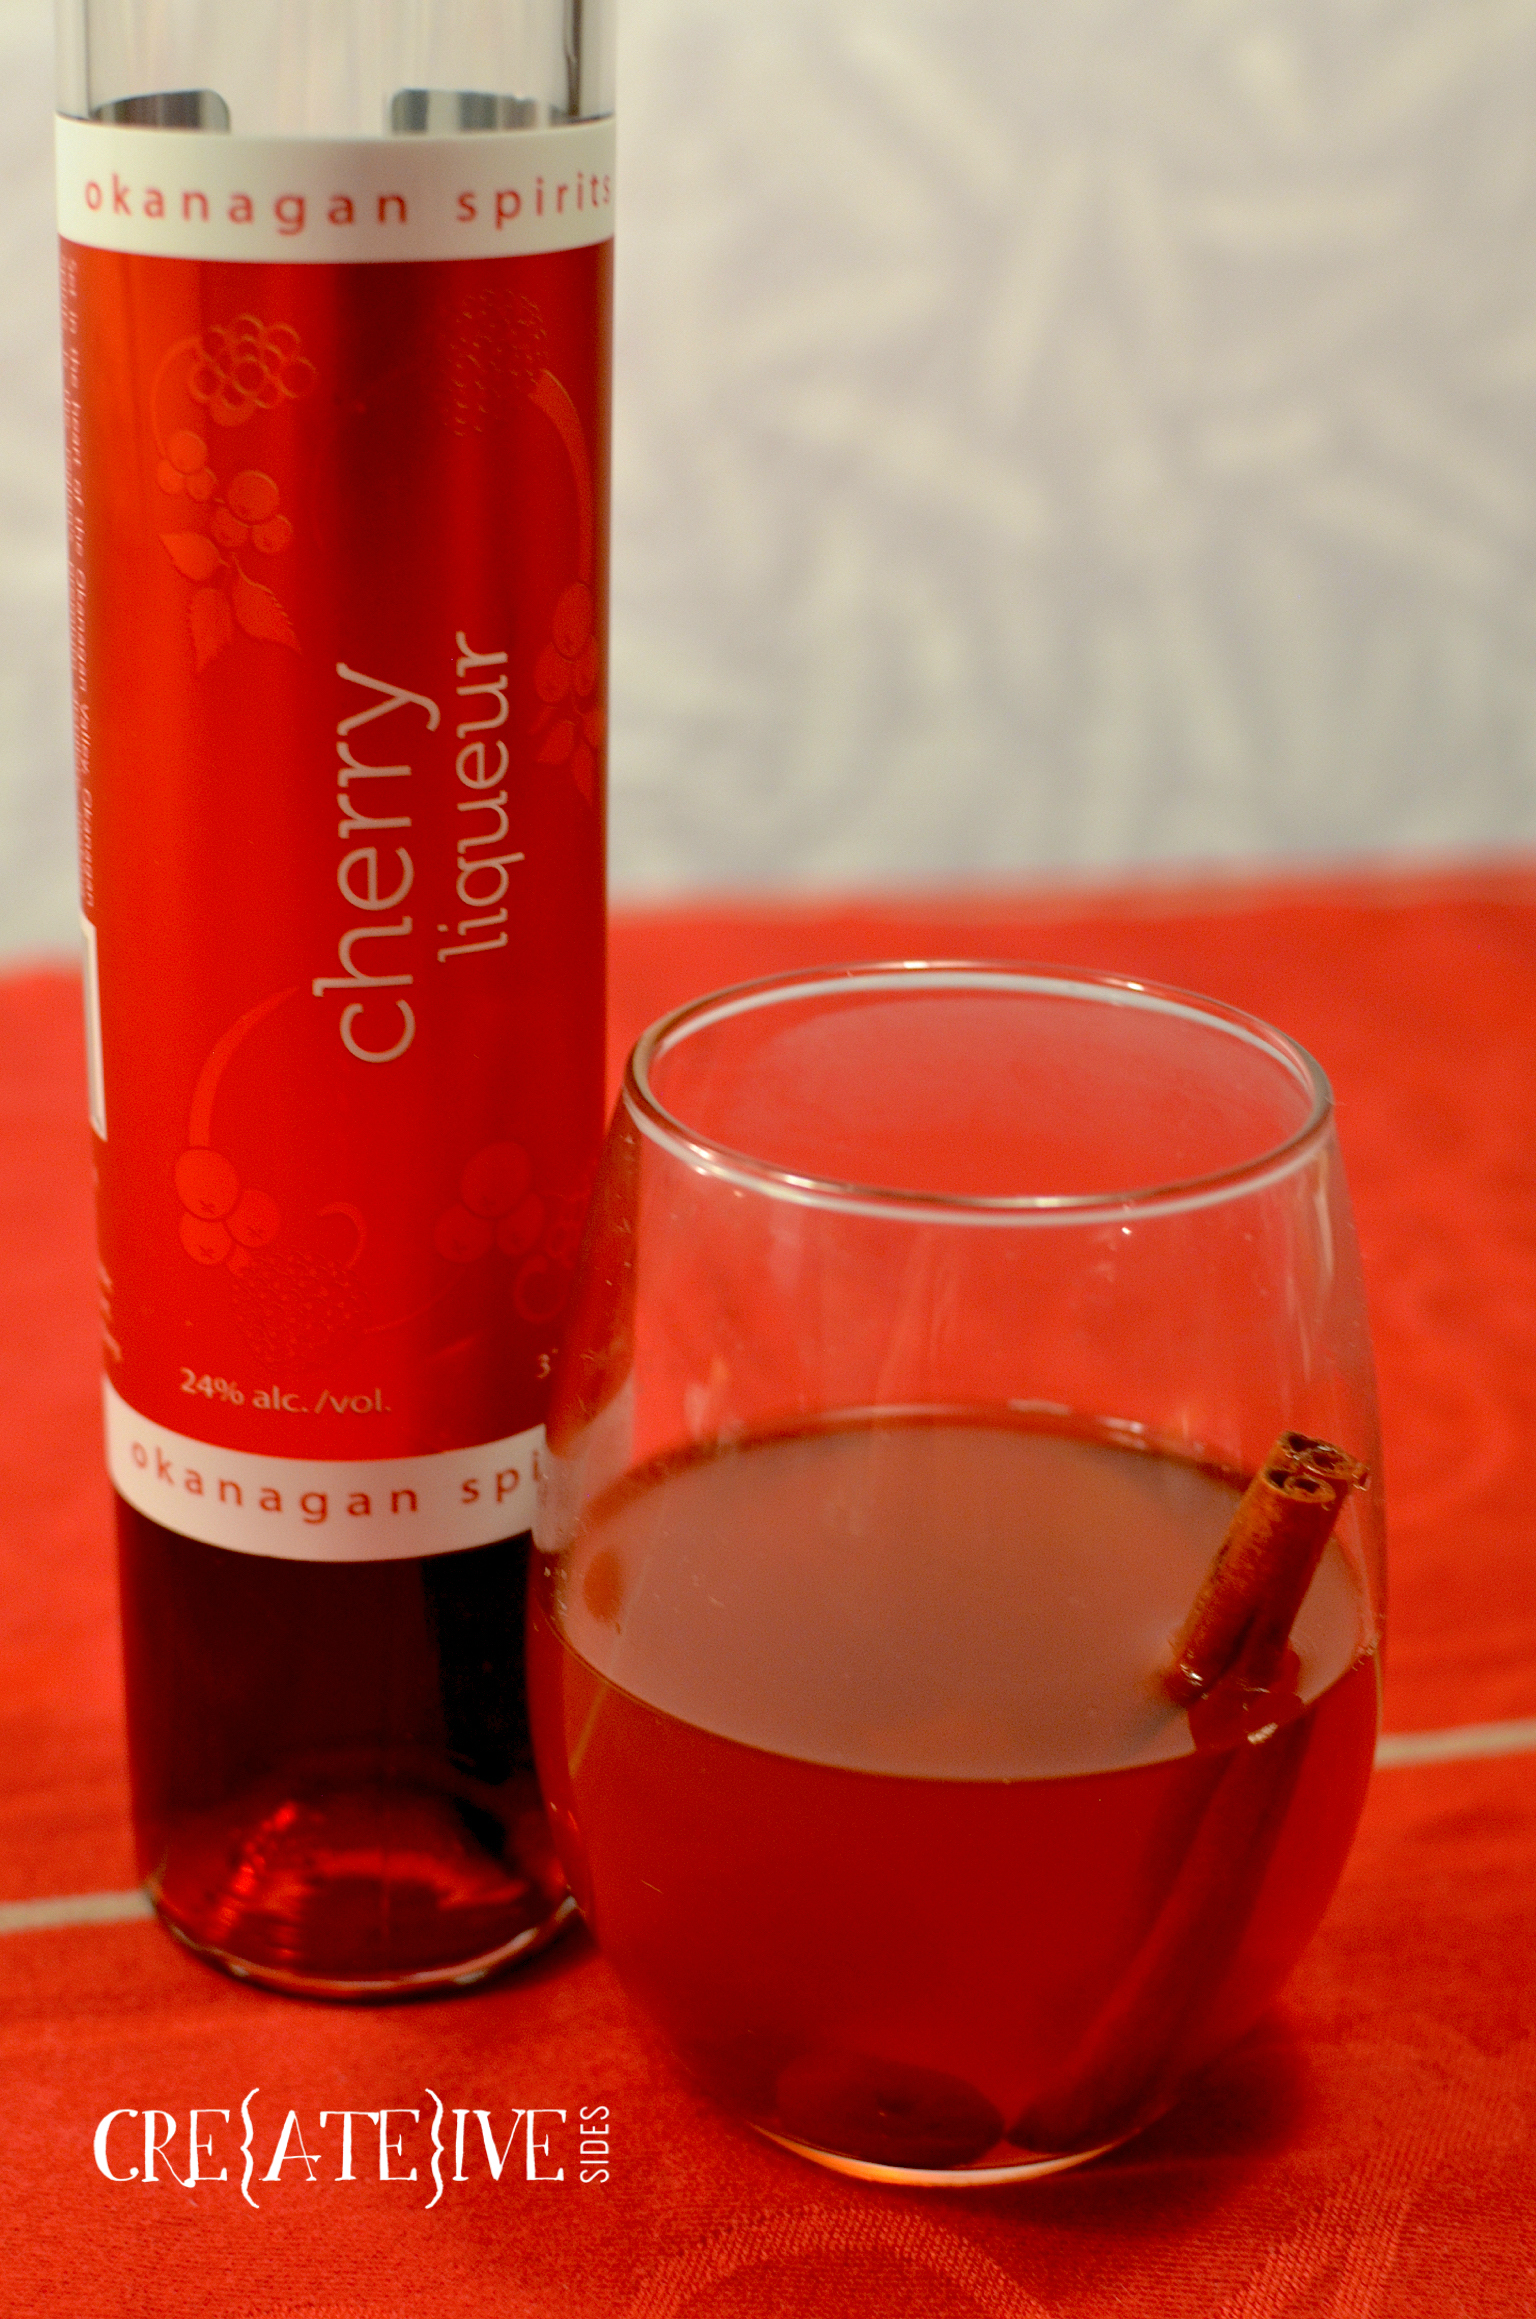
Coming up with a cherry beverage to pair with the cherry cheesecake at first proved challenging, but one look out the window at the cold and blustery day and I knew it had to be warm. Cider immediately came to mind and I could tell the cherry and apple favours would blend perfectly. The result is AMAZING if I do say so myself. This is one drink you will want to make over and over every time the temperatures dip.
- 4 c apple cider
- 1 c Okanagan Spirits Cherry Liqueur
- 2 c spiced rum
- 2 cinnamon sticks
- 1 apple, sliced
- Handful of Okanagan Spirits Drunken Cherries
- Combine ingredients in a saucepan and bring to a boil. Reduce to a simmer for 15-20 min. Serve warm with fresh drunken cherries and a cinnamon stick as a garnish.
- Great tip: Can also be put in a crockpot on low and left to cook for several hours.

- 1 1/4 c graham cracker crumbs
- 1/4 c white sugar
- 1/3 c melted butter
- 1/2 c Okanagan Spirits Drunken Cherries (de-pitted)
- 2 oz Okanagan Spirits Cherry Liqueur
- 540 ml can cherry pie filling
- 1 tsp grated orange rind
- 2 (8oz) packages cream cheese
- 1 1/2 cans sweetened condensed milk
- 4 egg whites
- 1 egg
- 1⁄3 cup bottled lemon juice
- 1⁄2 cup unsifted flour
- 1 pint fresh or frozen cherries (no pits)
- 1/4 c Okanagan Spirits Drunken Cherries (de-pitted)
- 2 oz Okanagan Spirits Cherry Liqueur
- 1/2 c sugar
- 1/4 c water
- 1 tsp orange zest
- Place parchment paper on bottom of 10" springform pan
- Combine 1 1/4 c graham cracker crumbs, 1/4 c white sugar and 1/3 c melted butter in a bowl
- Press into bottom of pan.
- Remove pit from cherries
- Combine 1/2 c Okanagan Spirits drunken cherries, 2 oz Okanagan Spirits cherry liqueur, 1 can of cherry pie filling and 1 tsp grated orange rind in a food processor and blend until smooth. Set aside.
- In a mixer bowl, beat cream cheese until fluffy.
- Gradually beat in condensed milk until smooth.
- Add egg whites, egg, bottled lemon juice; mix well.
- Sift in flour and stir until combined.
- Pour half of batter in prepared pan.
- Spoon 1/2 cup cherry puree evenly over batter.
- Top with remaining batter.
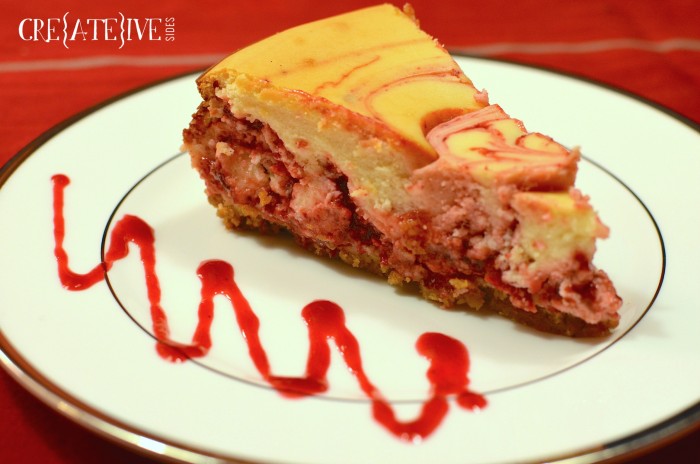
- Drop by spoonfuls 1/2 cup cherry puree over batter; with knife or spatula gently swirl.
- Bake 60 to 65 minutes or until center is set.
- Cool.
- Chill.
- Serve with coulis.
- Combine ingredients in a saucepan; bring to a boil over medium-high heat.
- Reduce heat to medium low; cook about 8 minutes.
- Remove from heat; cool completely.
- Blend mixture in a food processor then press through a fine mesh strainer.
The post Cherry Cheesecake with Spiced Cider *VIDEO* appeared first on Creative Sides.
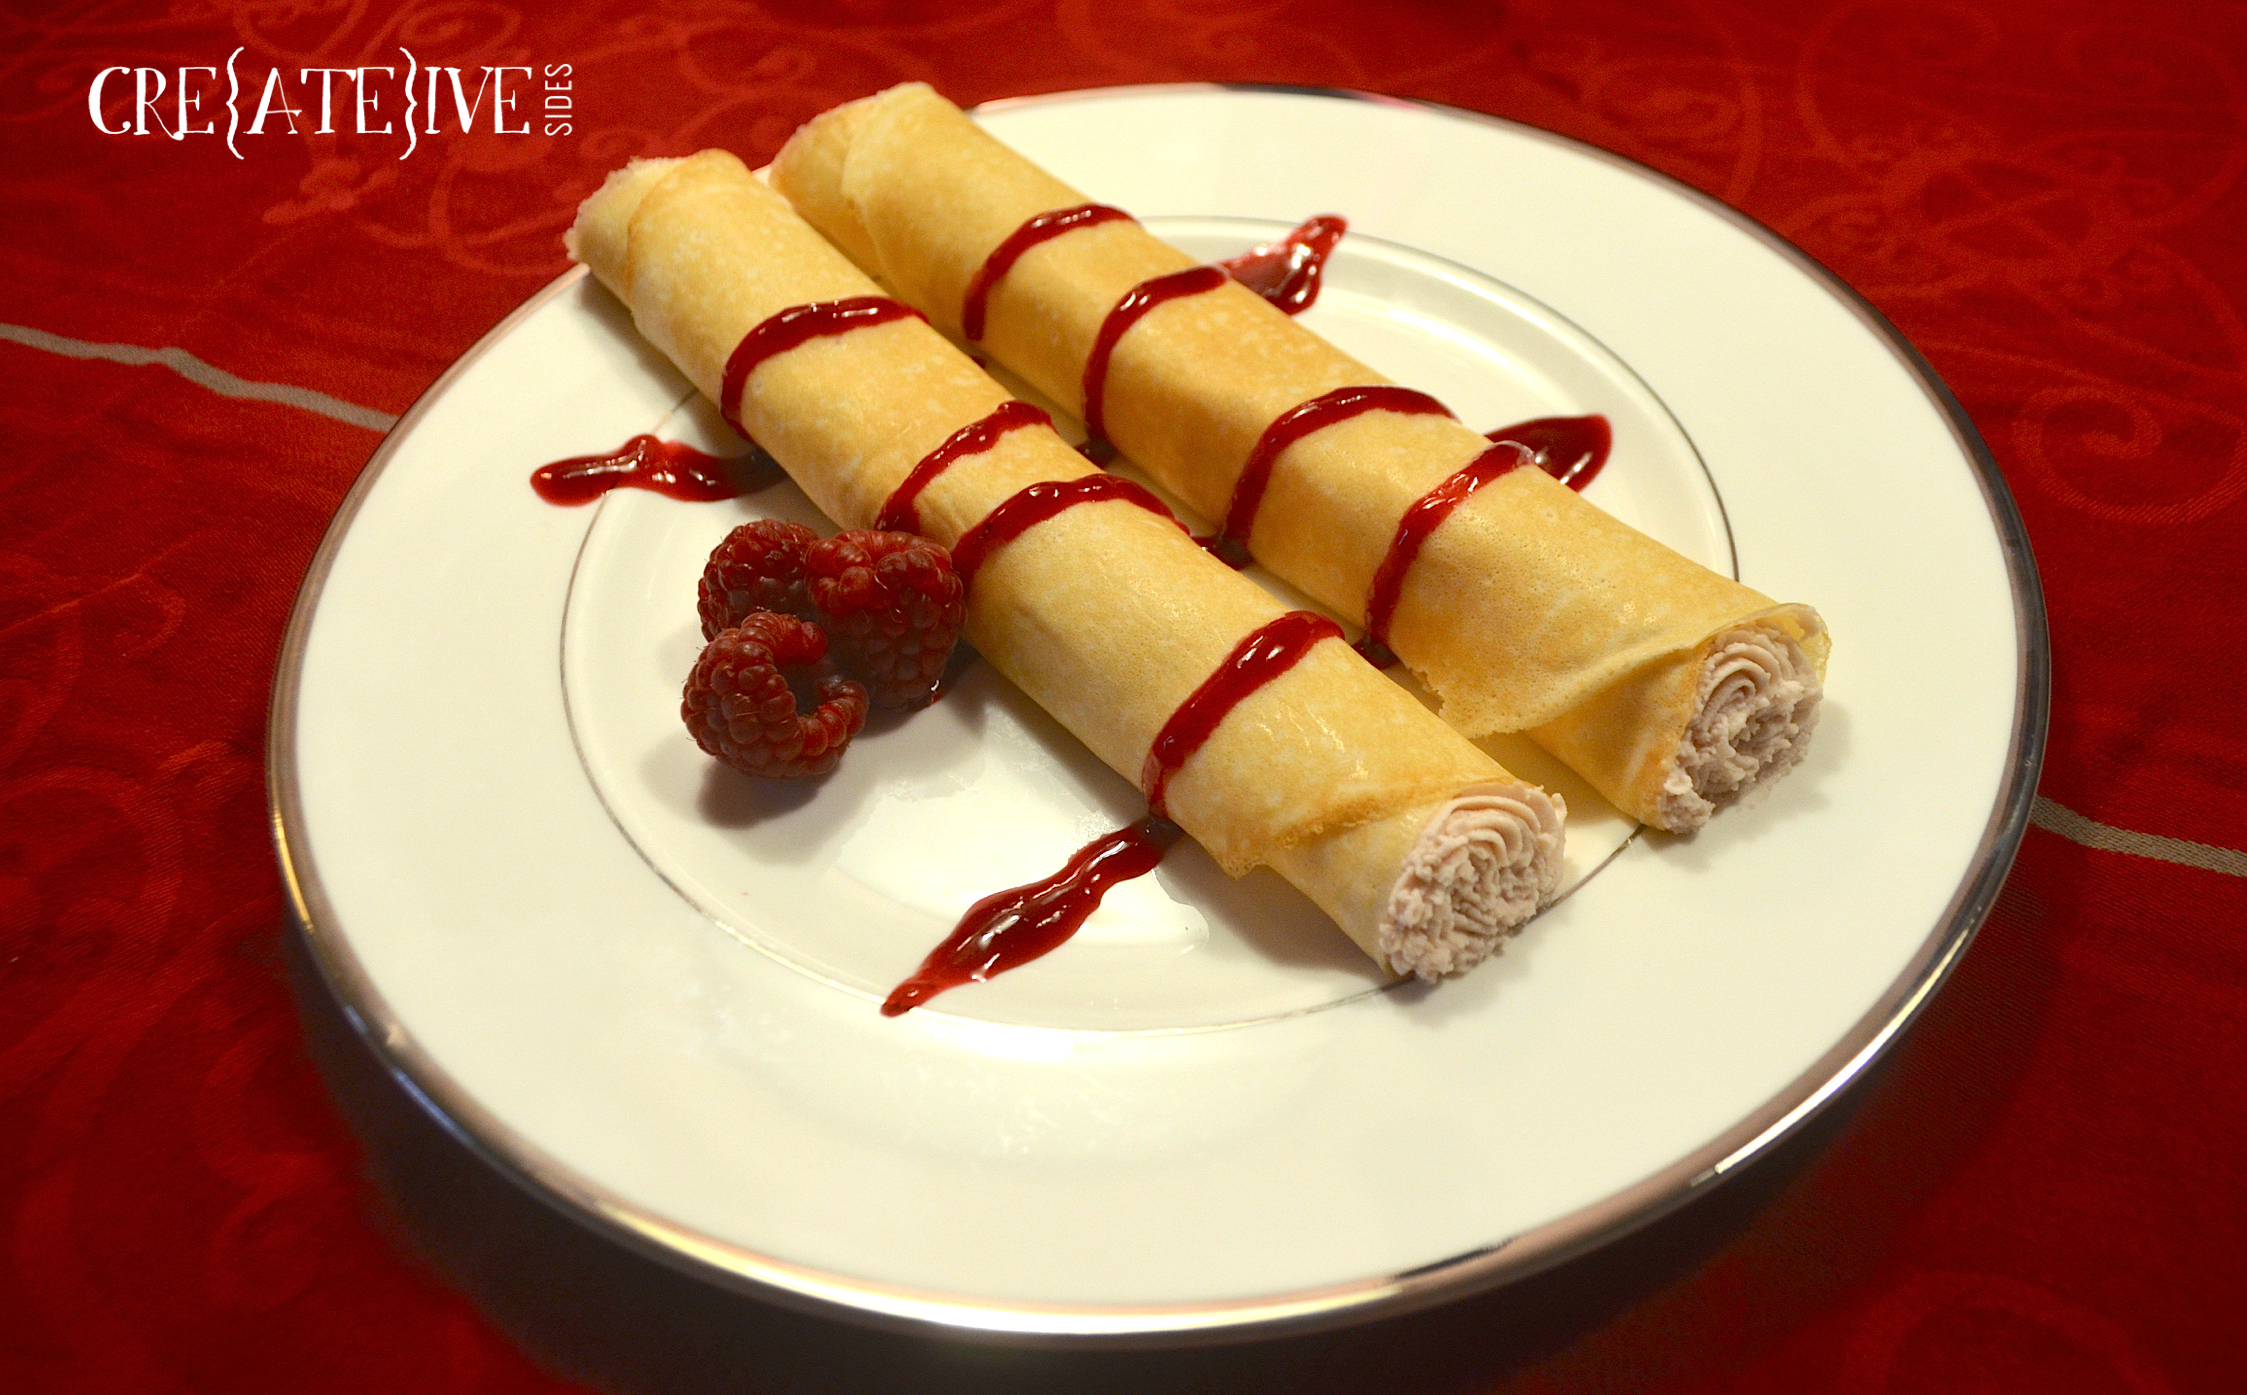
]]>The post Raspberry Mascarpone Crêpes and Raspberry Mango Mimosas *VIDEO* appeared first on Creative Sides.
]]>
Okanagan Spirits Craft Distillery is Western Canada’s oldest craft distillery, using 100% locally grown fruits and grains to make premium, world-class spirits. BC’s original harvest-to-flask distillery now offers a selection of more than 25 internationally awarded spirits, including their signature raspberry liqueur. We were impressed with it’s natural flavour and aroma; it tasted like fresh picked raspberries – with a punch!
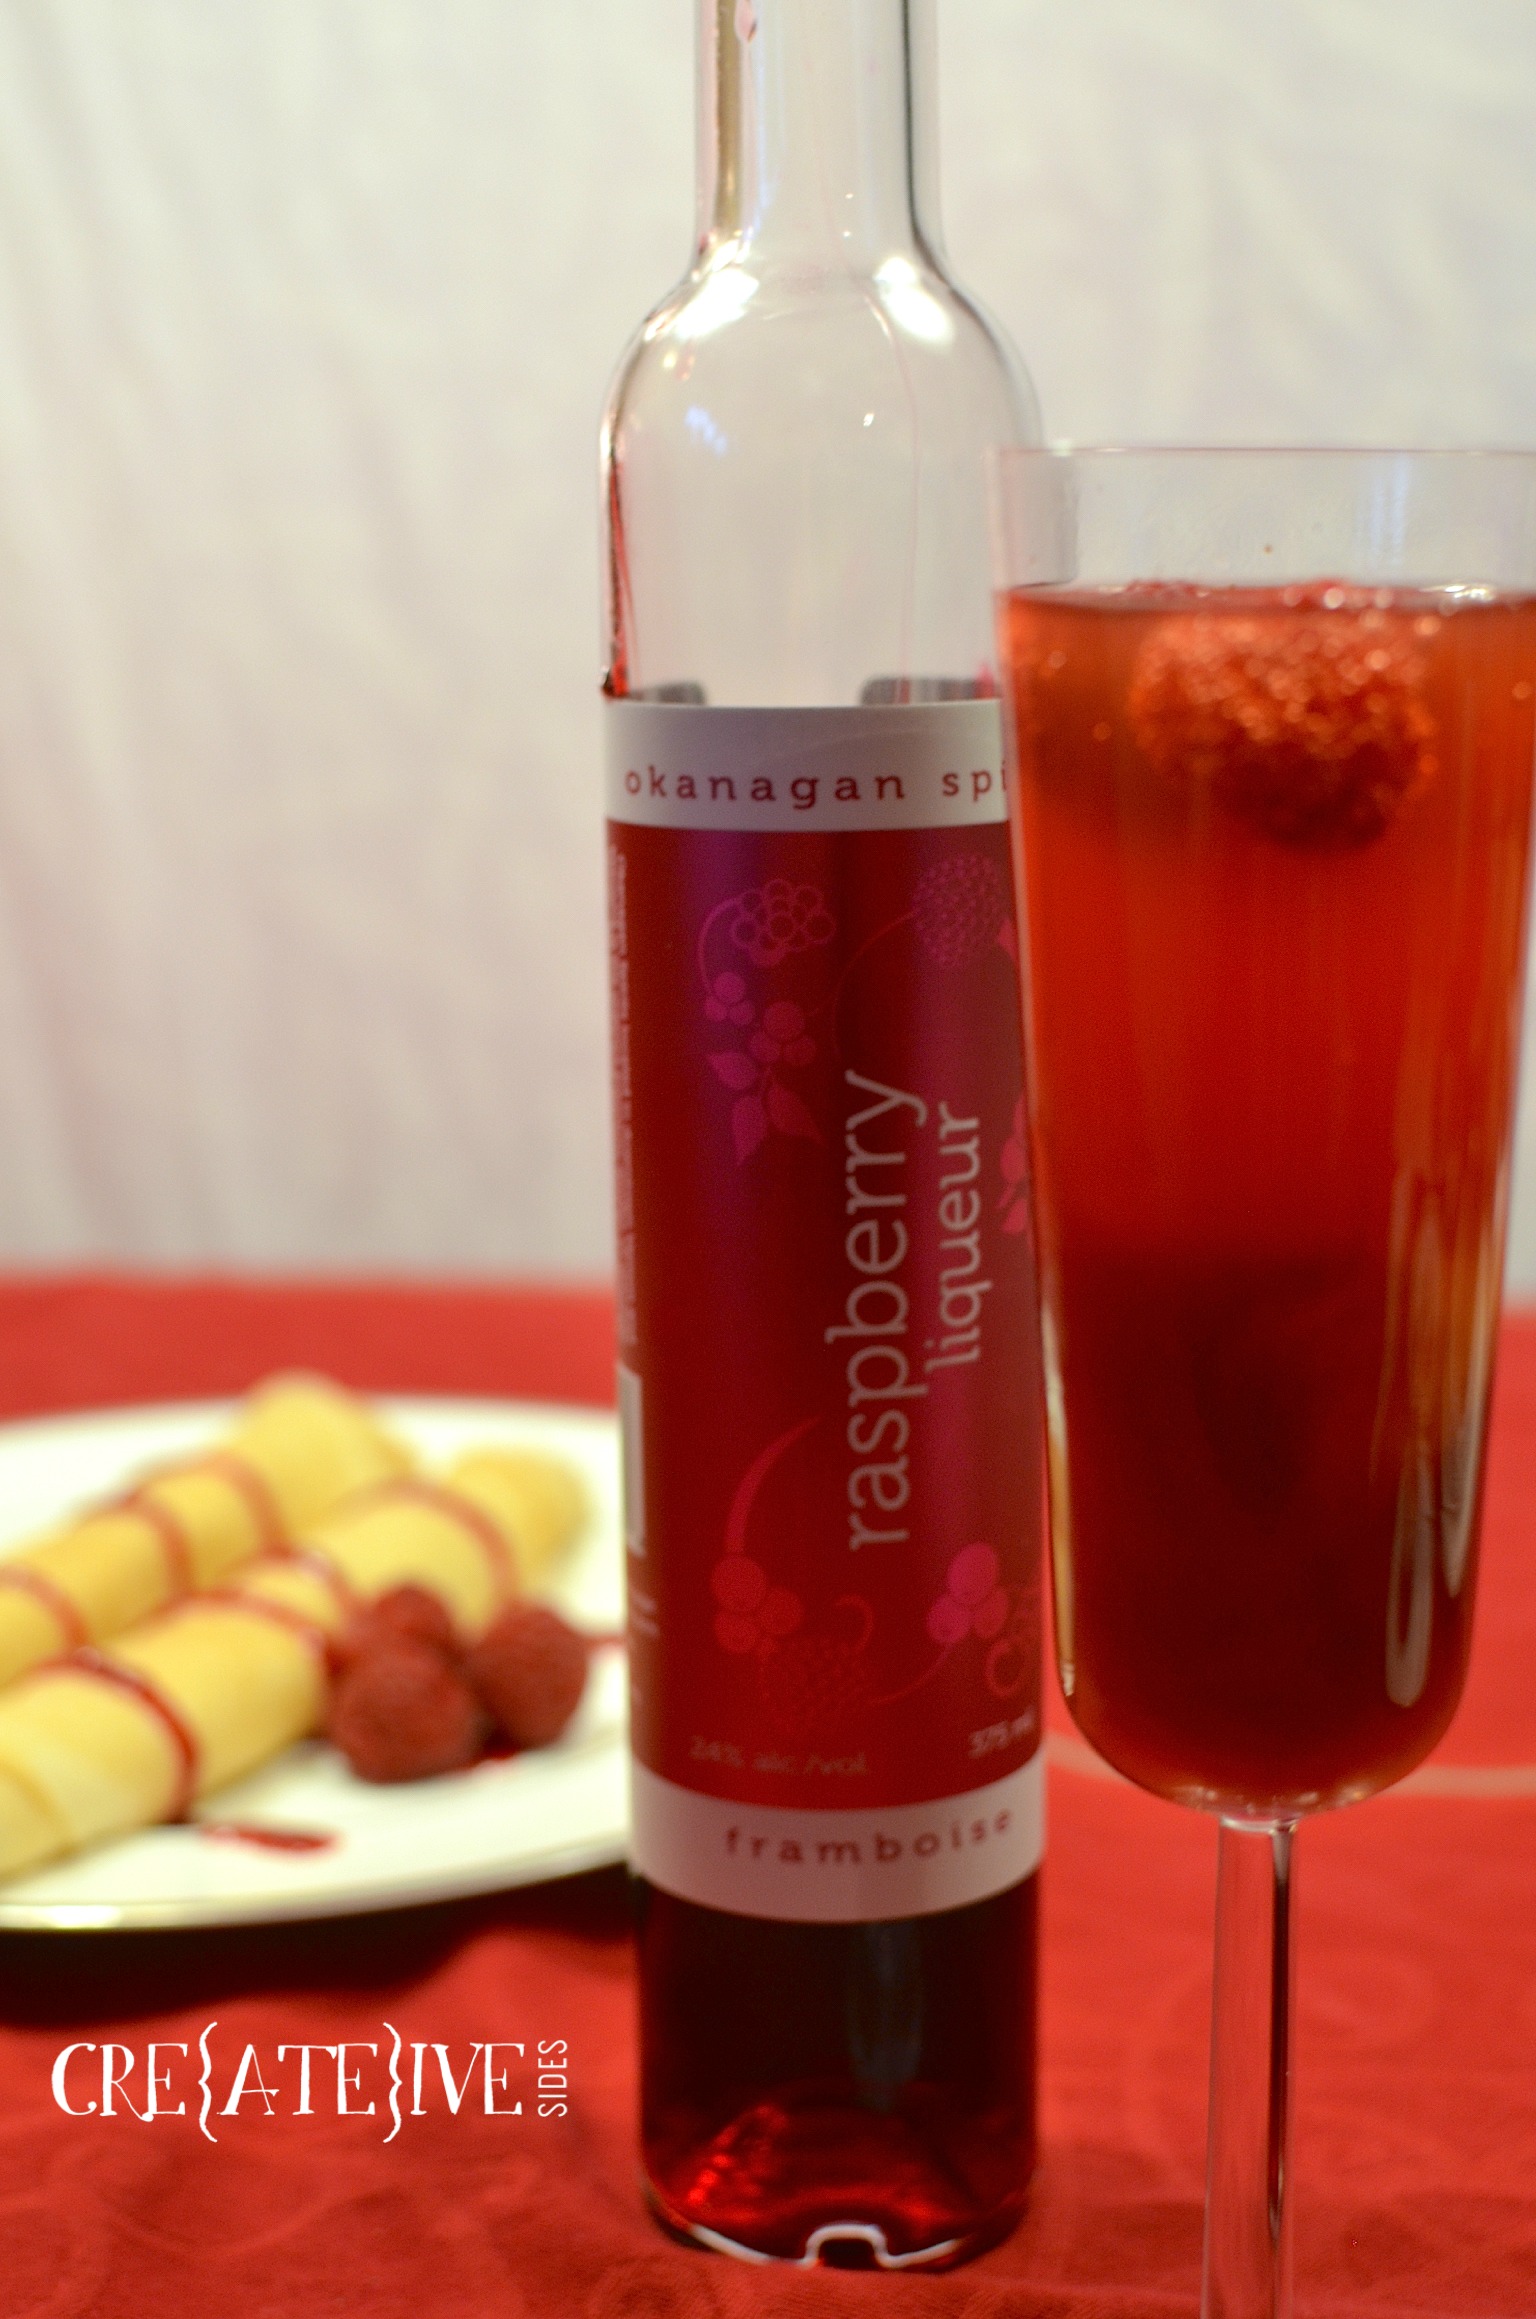
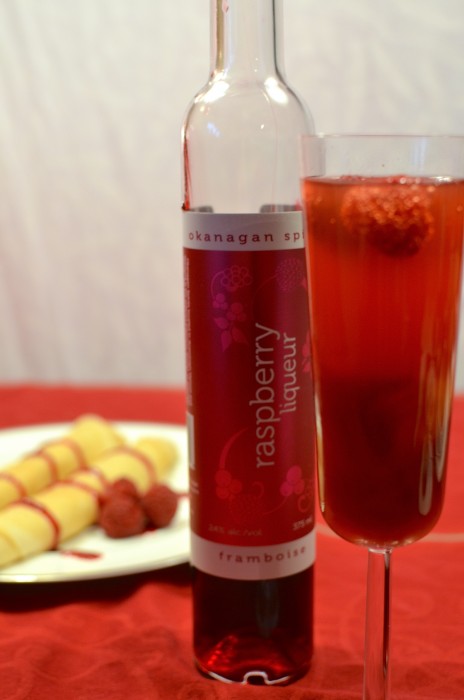
- 2 oz mango juice
- 1 oz Okanagan Spirits Raspberry Liqueur
- 2 oz Prosecco
- Raspberries to garnish
- 2 1/4 c mango juice
- 1 1/2 c Okanagan Spirits Raspberry Liqueur
- 2 1/4 c Prosecco, Champagne or Sparkling White Wine
- Champagne or Sparkling White Wine can be substituted for Processo

- Crêpes: (Makes 15)
- 1/3 c sugar - or less if desired
- 1 tbsp buckwheat flour
- 1 tbsp canola oil or melted unsalted butter
- 1/3 c water
- 1 tsp salt
- 1 tsp vanilla
- 2 eggs
- 1 3/4 c all-purpose flour
- 2 1/4 c milk
- 1 c whipping cream
- 3 tbsp sugar
- 1 oz Okanagan Spirits Raspberry Liqueur
- 8 oz mascarpone cheese
- 1 tsp grated lemon zest
- 1 oz Okanagan Spirits Raspberry Liqueur
- 1 pint fresh raspberries
- 1/2 c sugar
- 1/4 water
- 2 oz Okanagan Spirits Raspberry Liqueur
- 1 tsp lemon zest
- In a large mixing bowl mix together the sugar, buckwheat flour, butter, oil, water, salt, vanilla and eggs.
- Alternate adding the all purpose flour and the milk, mixing well after each addition.
- Ladle batter into crêpe pan or crêpe maker and rotate pan or use spreader.
- Leave to cook for 15-20 seconds.
- Remove with spatula and place on plate.
- In a large mixing bowl, whip cream until stiff peaks have almost formed.
- Mix in sugar and 1oz of liqueur. Be sure not to over-beat or mixture will become butter like.
- Set aside.
- In a separate bowl, mix mascarpone, lemon zest and 1 oz liqueur until creamy.
- Fold in whipped cream.
- Combine ingredients in a saucepan; bring to a boil over medium-high heat.
- Reduce heat to medium low; cook about 8 minutes.
- Remove from heat; cool completely.
- Place mixture in a fine-mesh strainer to remove seeds.
- Mascarpone filling and coulis can be made the day before to reduce prep time.
- Chill beater and bowl before whipping cream.
- If you are short on time, you can buy ready-to-use crêpes at your local supermarket such as Frieda's French Style Crêpes.
All on the table disclosure: While these posts were generously sponsored by Okanagan Spirits Craft Distillery, all opinions and ideas are our own. See more dessert and cocktail recipes here. Read our full disclosure policy here.
The post Raspberry Mascarpone Crêpes and Raspberry Mango Mimosas *VIDEO* appeared first on Creative Sides.
]]>The post Raspberry Mascarpone Chocolate Cups with Raspberry Sangria appeared first on Creative Sides.
]]>
To add a lot of flavour and a touch of sass we used Okanagan Spirits Raspberry Liqueur for both the dessert and sangria – hello versatility! We love that it is made with 100% BC raspberries and there are no colourings, chemicals or preservatives used in its production.
The chocolate cups, coulis and sangria can be made a day or two in advance. The mascarpone filling tastes best prepared the day you will be assembling the dessert.


- 2 c baking chocolate or chocolate chips (melted)
- mini cupcake liners (paper or silicone)
- 1 c whipping cream
- 3 tablespoons sugar
- 1 oz Okanagan Spirits Raspberry Liqueur
- 8 oz mascarpone cheese
- 1 tsp grated lemon zest
- 1 oz Okanagan Spirits Raspberry Liqueur
- 1 pint fresh raspberries
- 1/2 c sugar
- 1/4 c water
- 2 oz Okanagan Spirits Raspberry Liqueur
- 1 tsp lemon zest
- Fresh raspberries
- Spoon 1 tbsp melted chocolate into mini cupcake liner and use the back of a spoon or a pastry brush to cover the entire inside of the liner.
- Place in fridge to harden.
- Remove liner from chocolate once set. It is easier to do while the cups are cold.
- In a large mixing bowl, whip 1 cup of whipping cream until stiff peaks have almost formed.
- Mix in 3 tbsp sugar and 1oz of Okanagan Spirits Raspberry Liqueur. Be sure not to over-beat or mixture will become butter like. Set aside.
- In a separate bowl, cream together 8 oz mascarpone, 1 tsp lemon zest and 1 oz Okanagan Spirits Raspberry Liqueur.
- Fold in whipped cream.
- Place mixture into icing bag and set aside until assembly.
- Combine 1 pint raspberries, 1/2 cup sugar, 1/4 cup water, 2oz Okanagan Spirits Raspberry Liqueur and 1 tsp lemon zest in a saucepan; bring to a boil over medium-high heat.
- Reduce heat to medium low; cook about 8 minutes.
- Remove from heat; cool completely.
- Place mixture in a fine-mesh strainer to remove seeds.
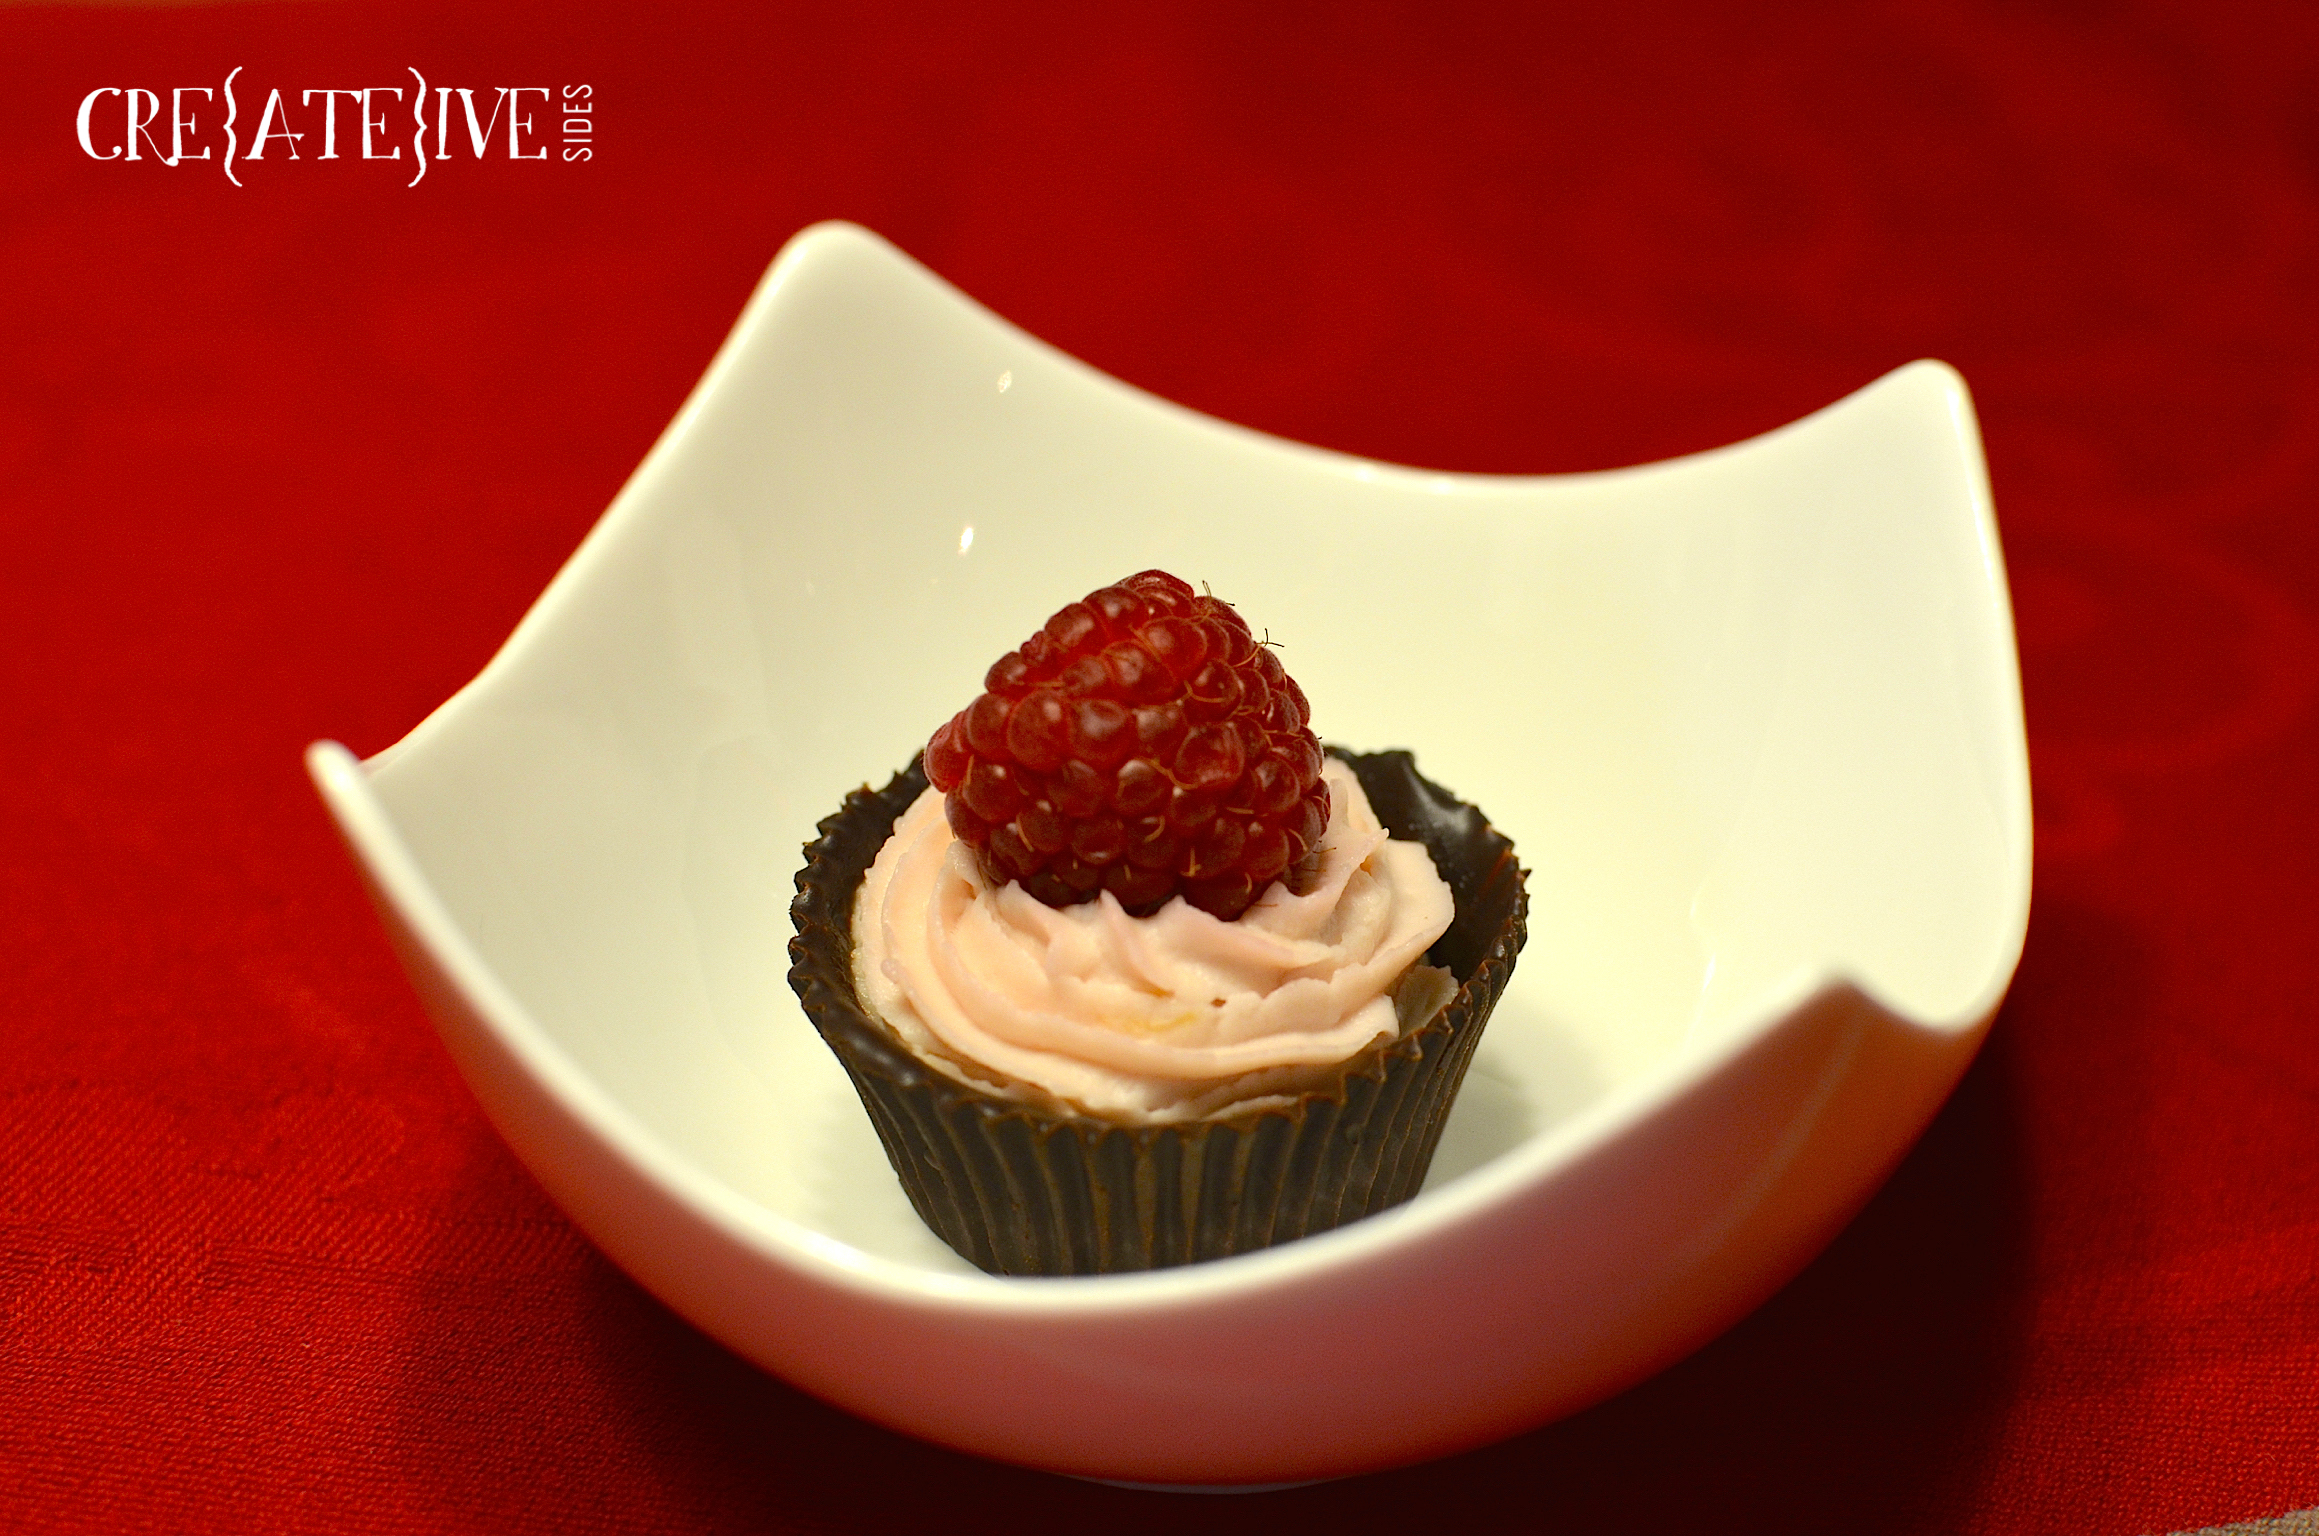
- Spoon or drizzle 1 tsp of raspberry coulis into chocolate cup (liner removed). Pipe in mascarpone filling. Top with fresh raspberry.
- It is always best to make a few more chocolate cups than you think you will need as cups can sometimes crack when removing the liner.
- For best results chill beater/whisk and bowl before whipping cream for mascarpone filling.
- Chocolate cups, coulis and filling can be prepared in advance.

- 1 lemon, sliced
- 1 orange, sliced
- 1 pint of raspberries
- 1 1/2 c red wine
- 1 c Okanagan Spirits Raspberry Liqueur
- 1 1/2 c club soda
- Combine combine fruit, wine and Okanagan Spirits Raspberry liqueur and let marinate for an hour. If you have time let it marinate overnight. Add in club soda just before serving.
- Perrier can be substituted for club soda.
All on the table disclosure: While these posts were generously sponsored by Okanagan Spirits Craft Distillery, all opinions and ideas are our own. See more dessert and cocktail recipes here. Read our full disclosure policy here.
The post Raspberry Mascarpone Chocolate Cups with Raspberry Sangria appeared first on Creative Sides.
]]>The post Pumpkin Rice Krispie Treats appeared first on Creative Sides.
]]>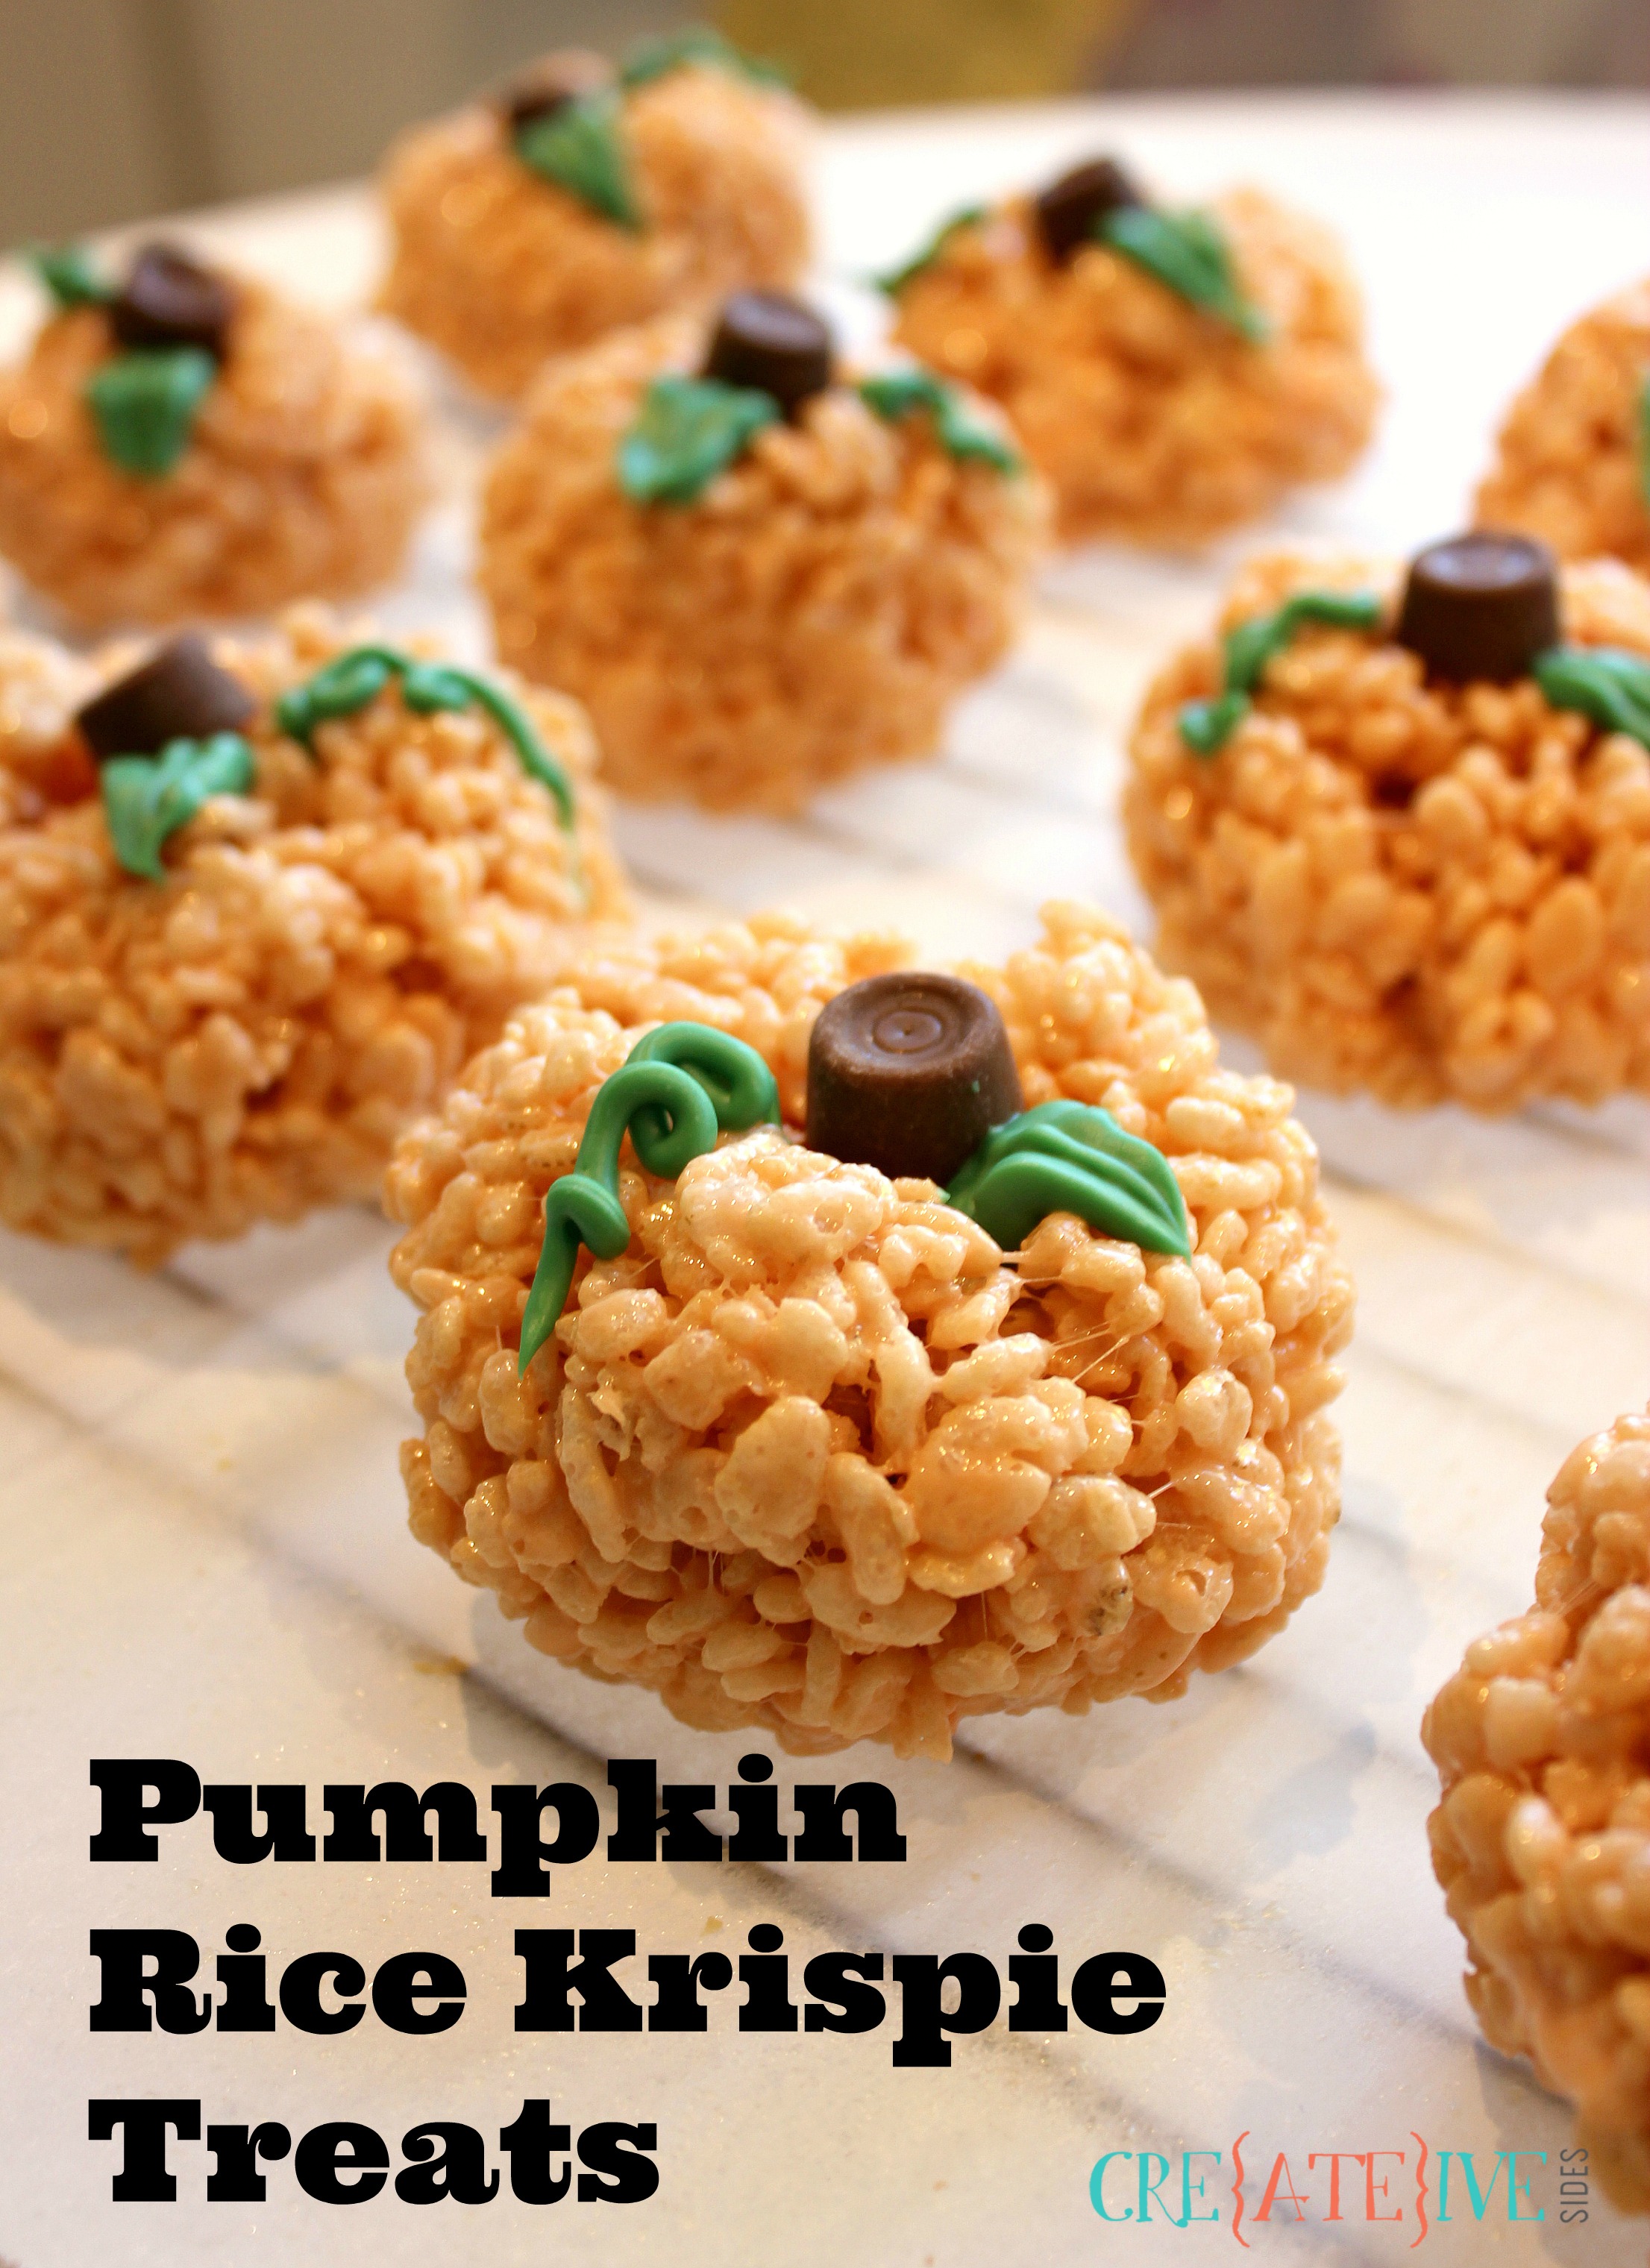
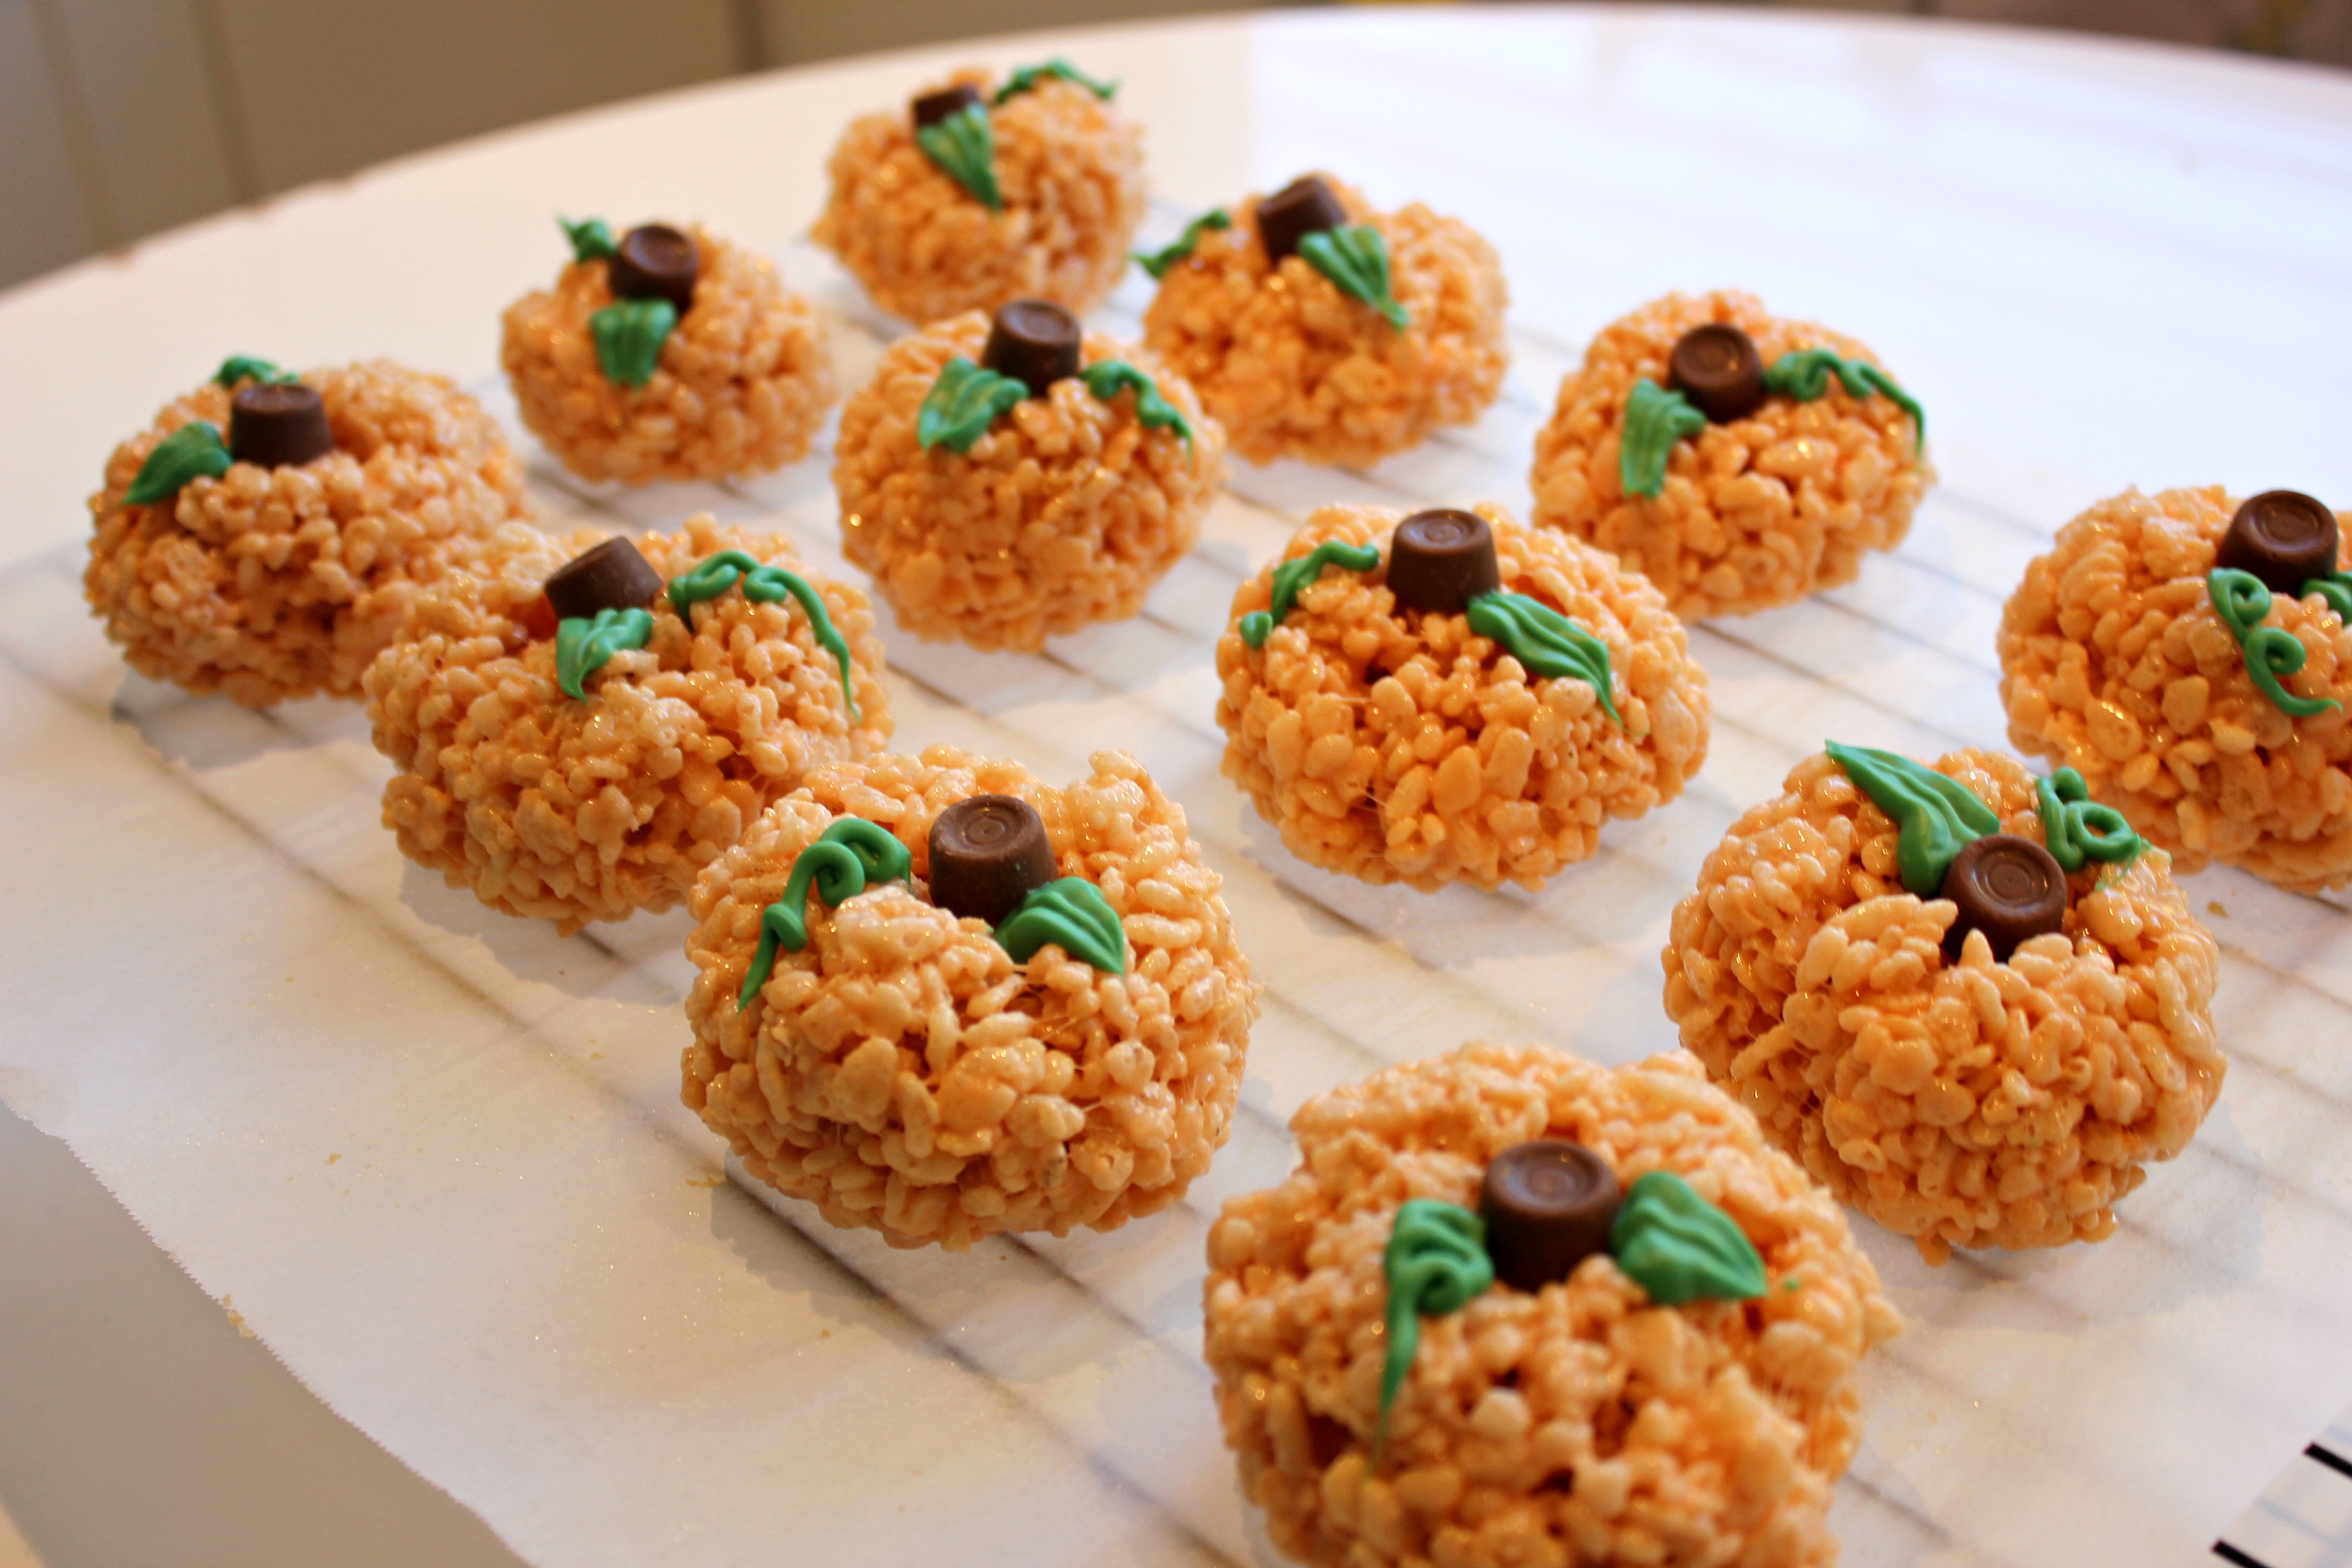
There is no denying that summer is gone. We wear sweaters now and say things like “no, it’s a school night!” and never think twice anymore about warming up the place too much by turning on the oven. Sometimes I find myself reluctant to immediately embrace fall because it means admitting summer is gone, but really autumn days are so beautiful, the colours are so terrific and all the fall fashions are pretty incredible too! So, here I am embracing fall with reckless abandon and creating some pumpkin Rice Krispie treats for Peyton and her classmates to enjoy. These are a fairly simple variation of classic Rice Krispie squares and come together just about as quickly.
Ingredients (yields 12):
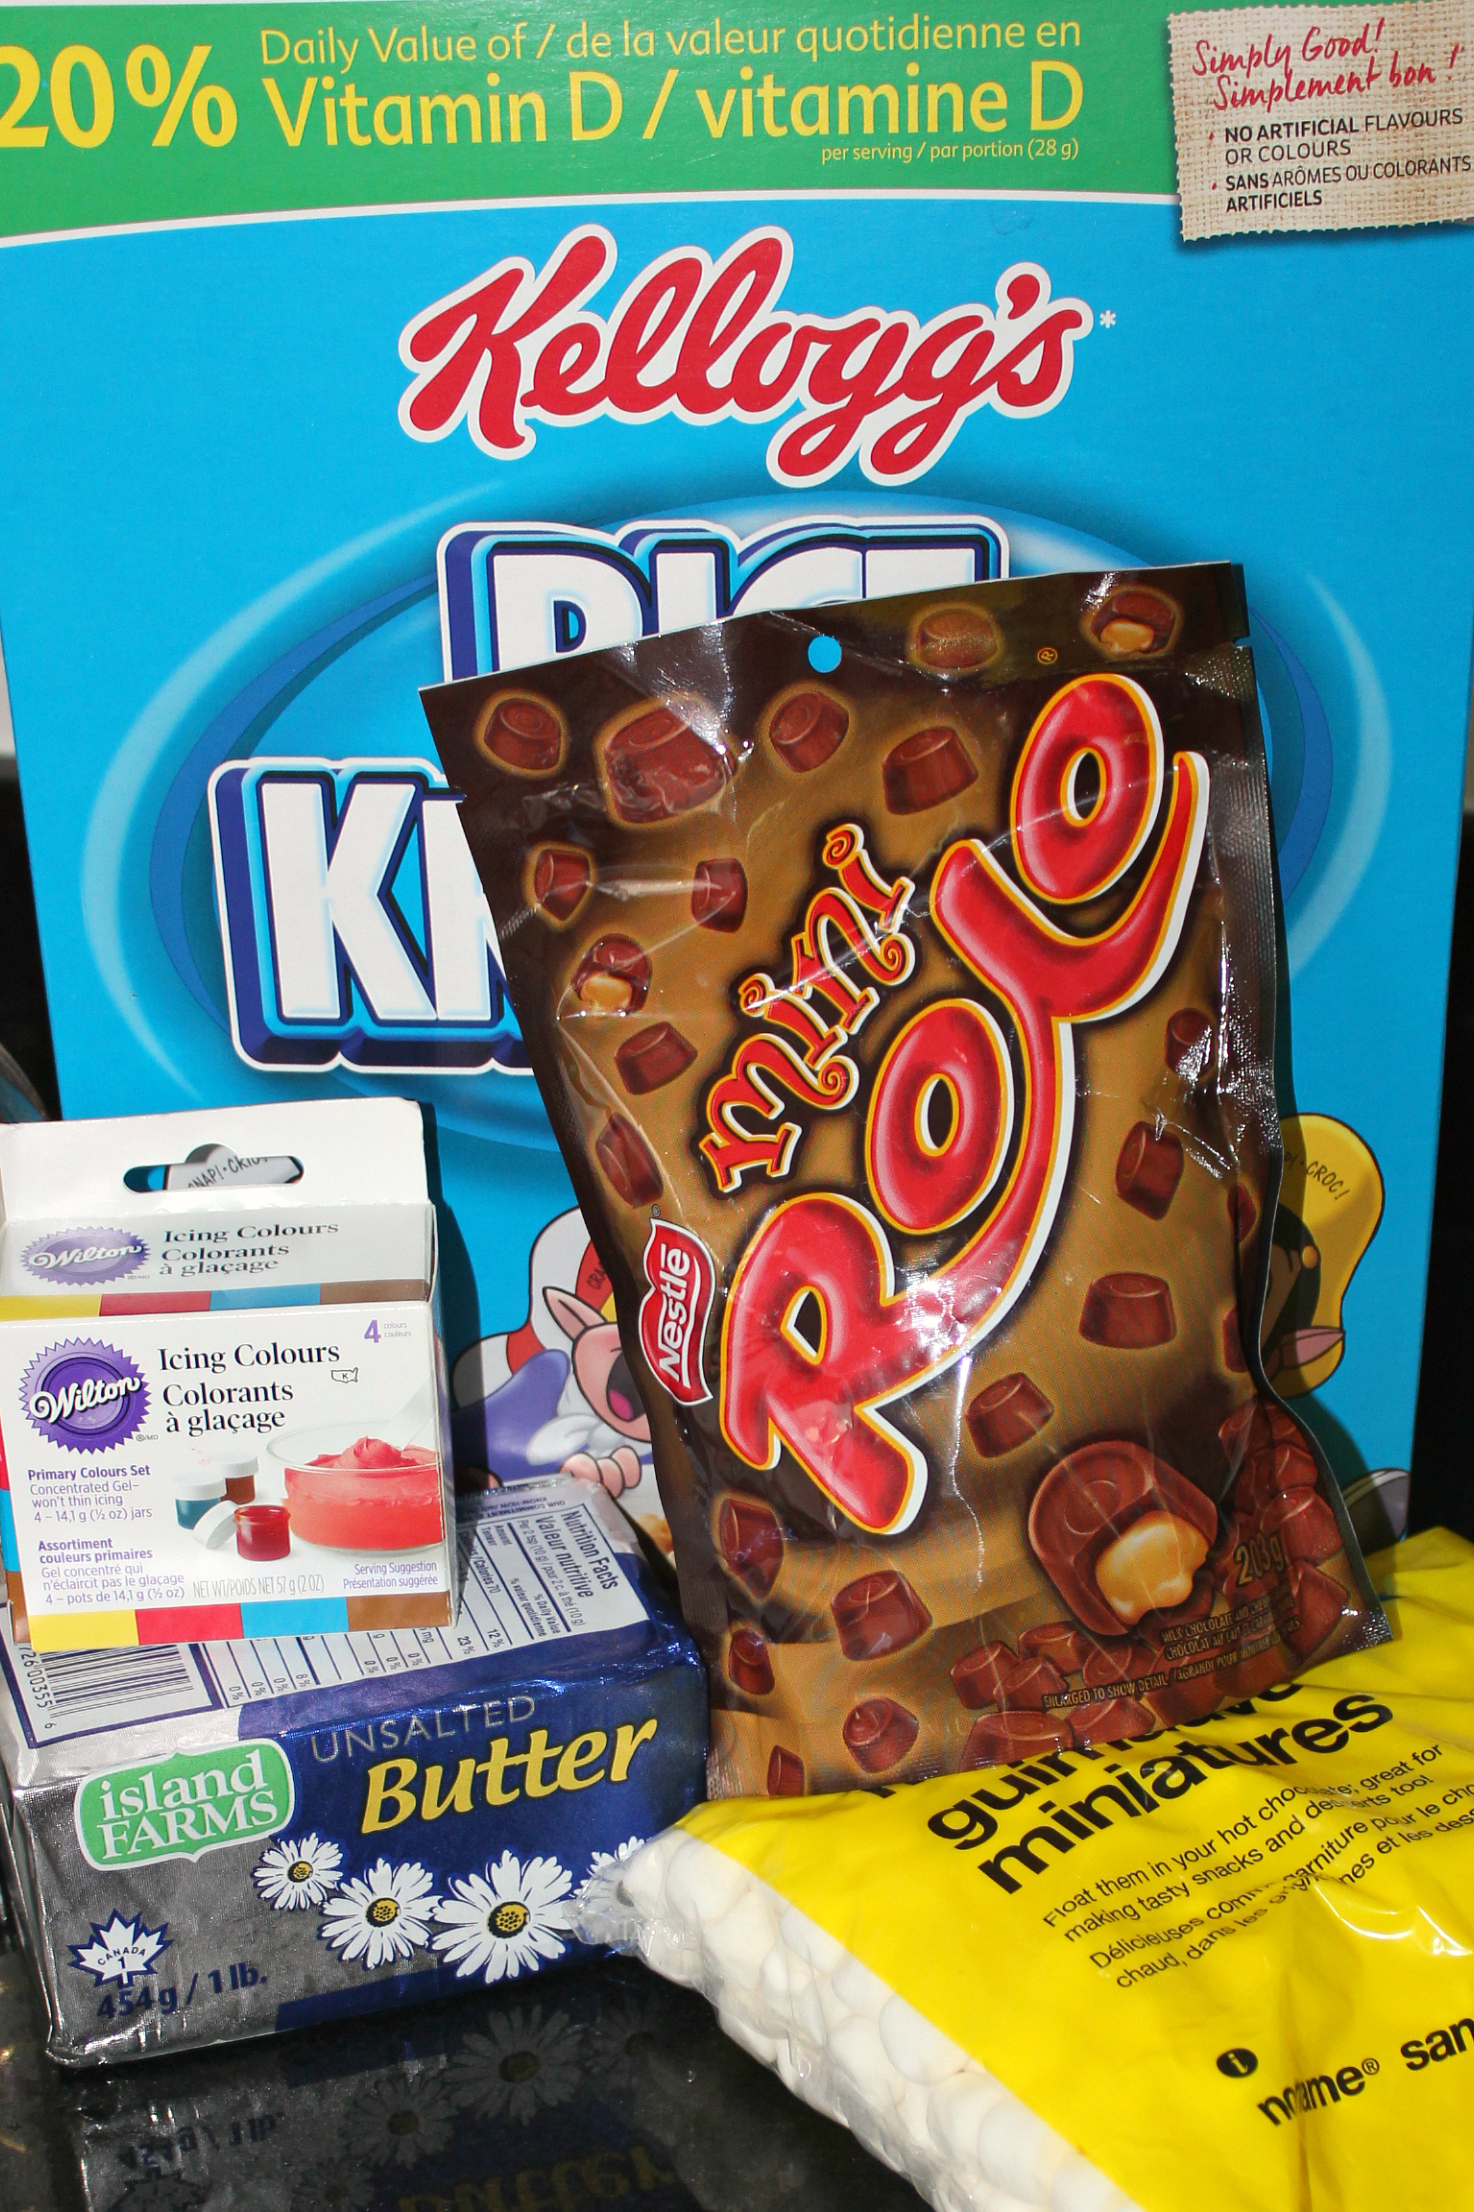
3 Tbsp butter
250g marshmallows (approx 4 cups of mini marshmallows)
5 cups of Rice Krispies
1 tsp vanilla (optional)
Orange (or red and yellow) Wilton Gel Icing Colours
Mini Rolos ( 12 for pumpkin stems)
1/4 cup dark green Wilton Candy Melts
Non stick cooking spray
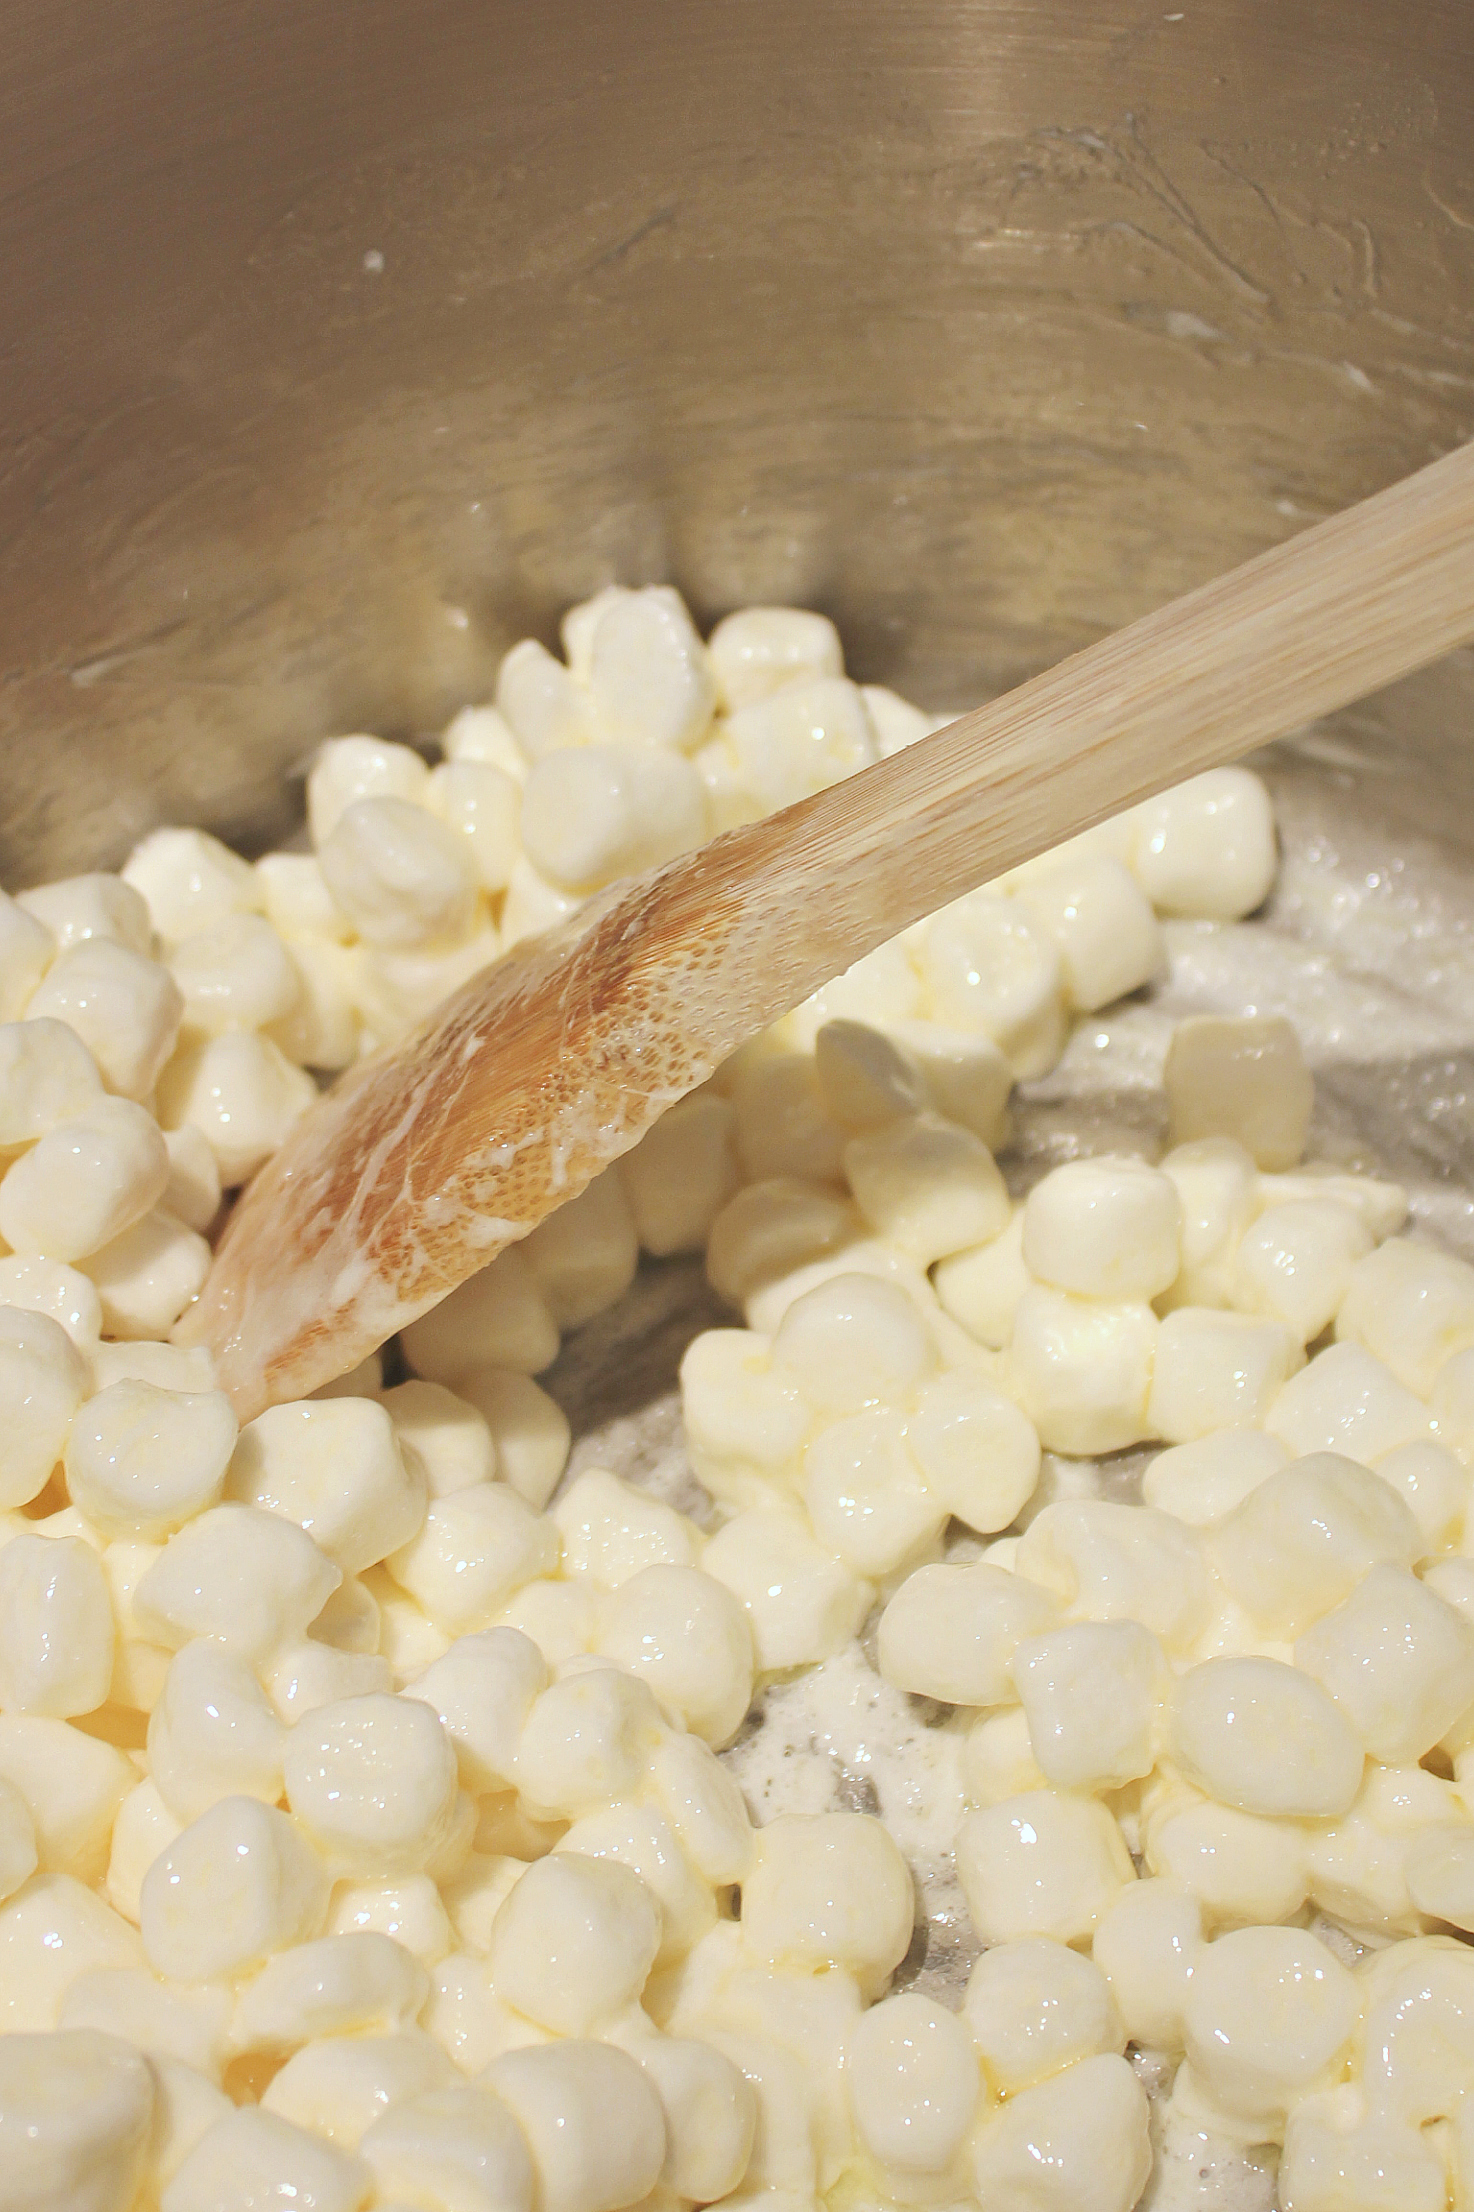
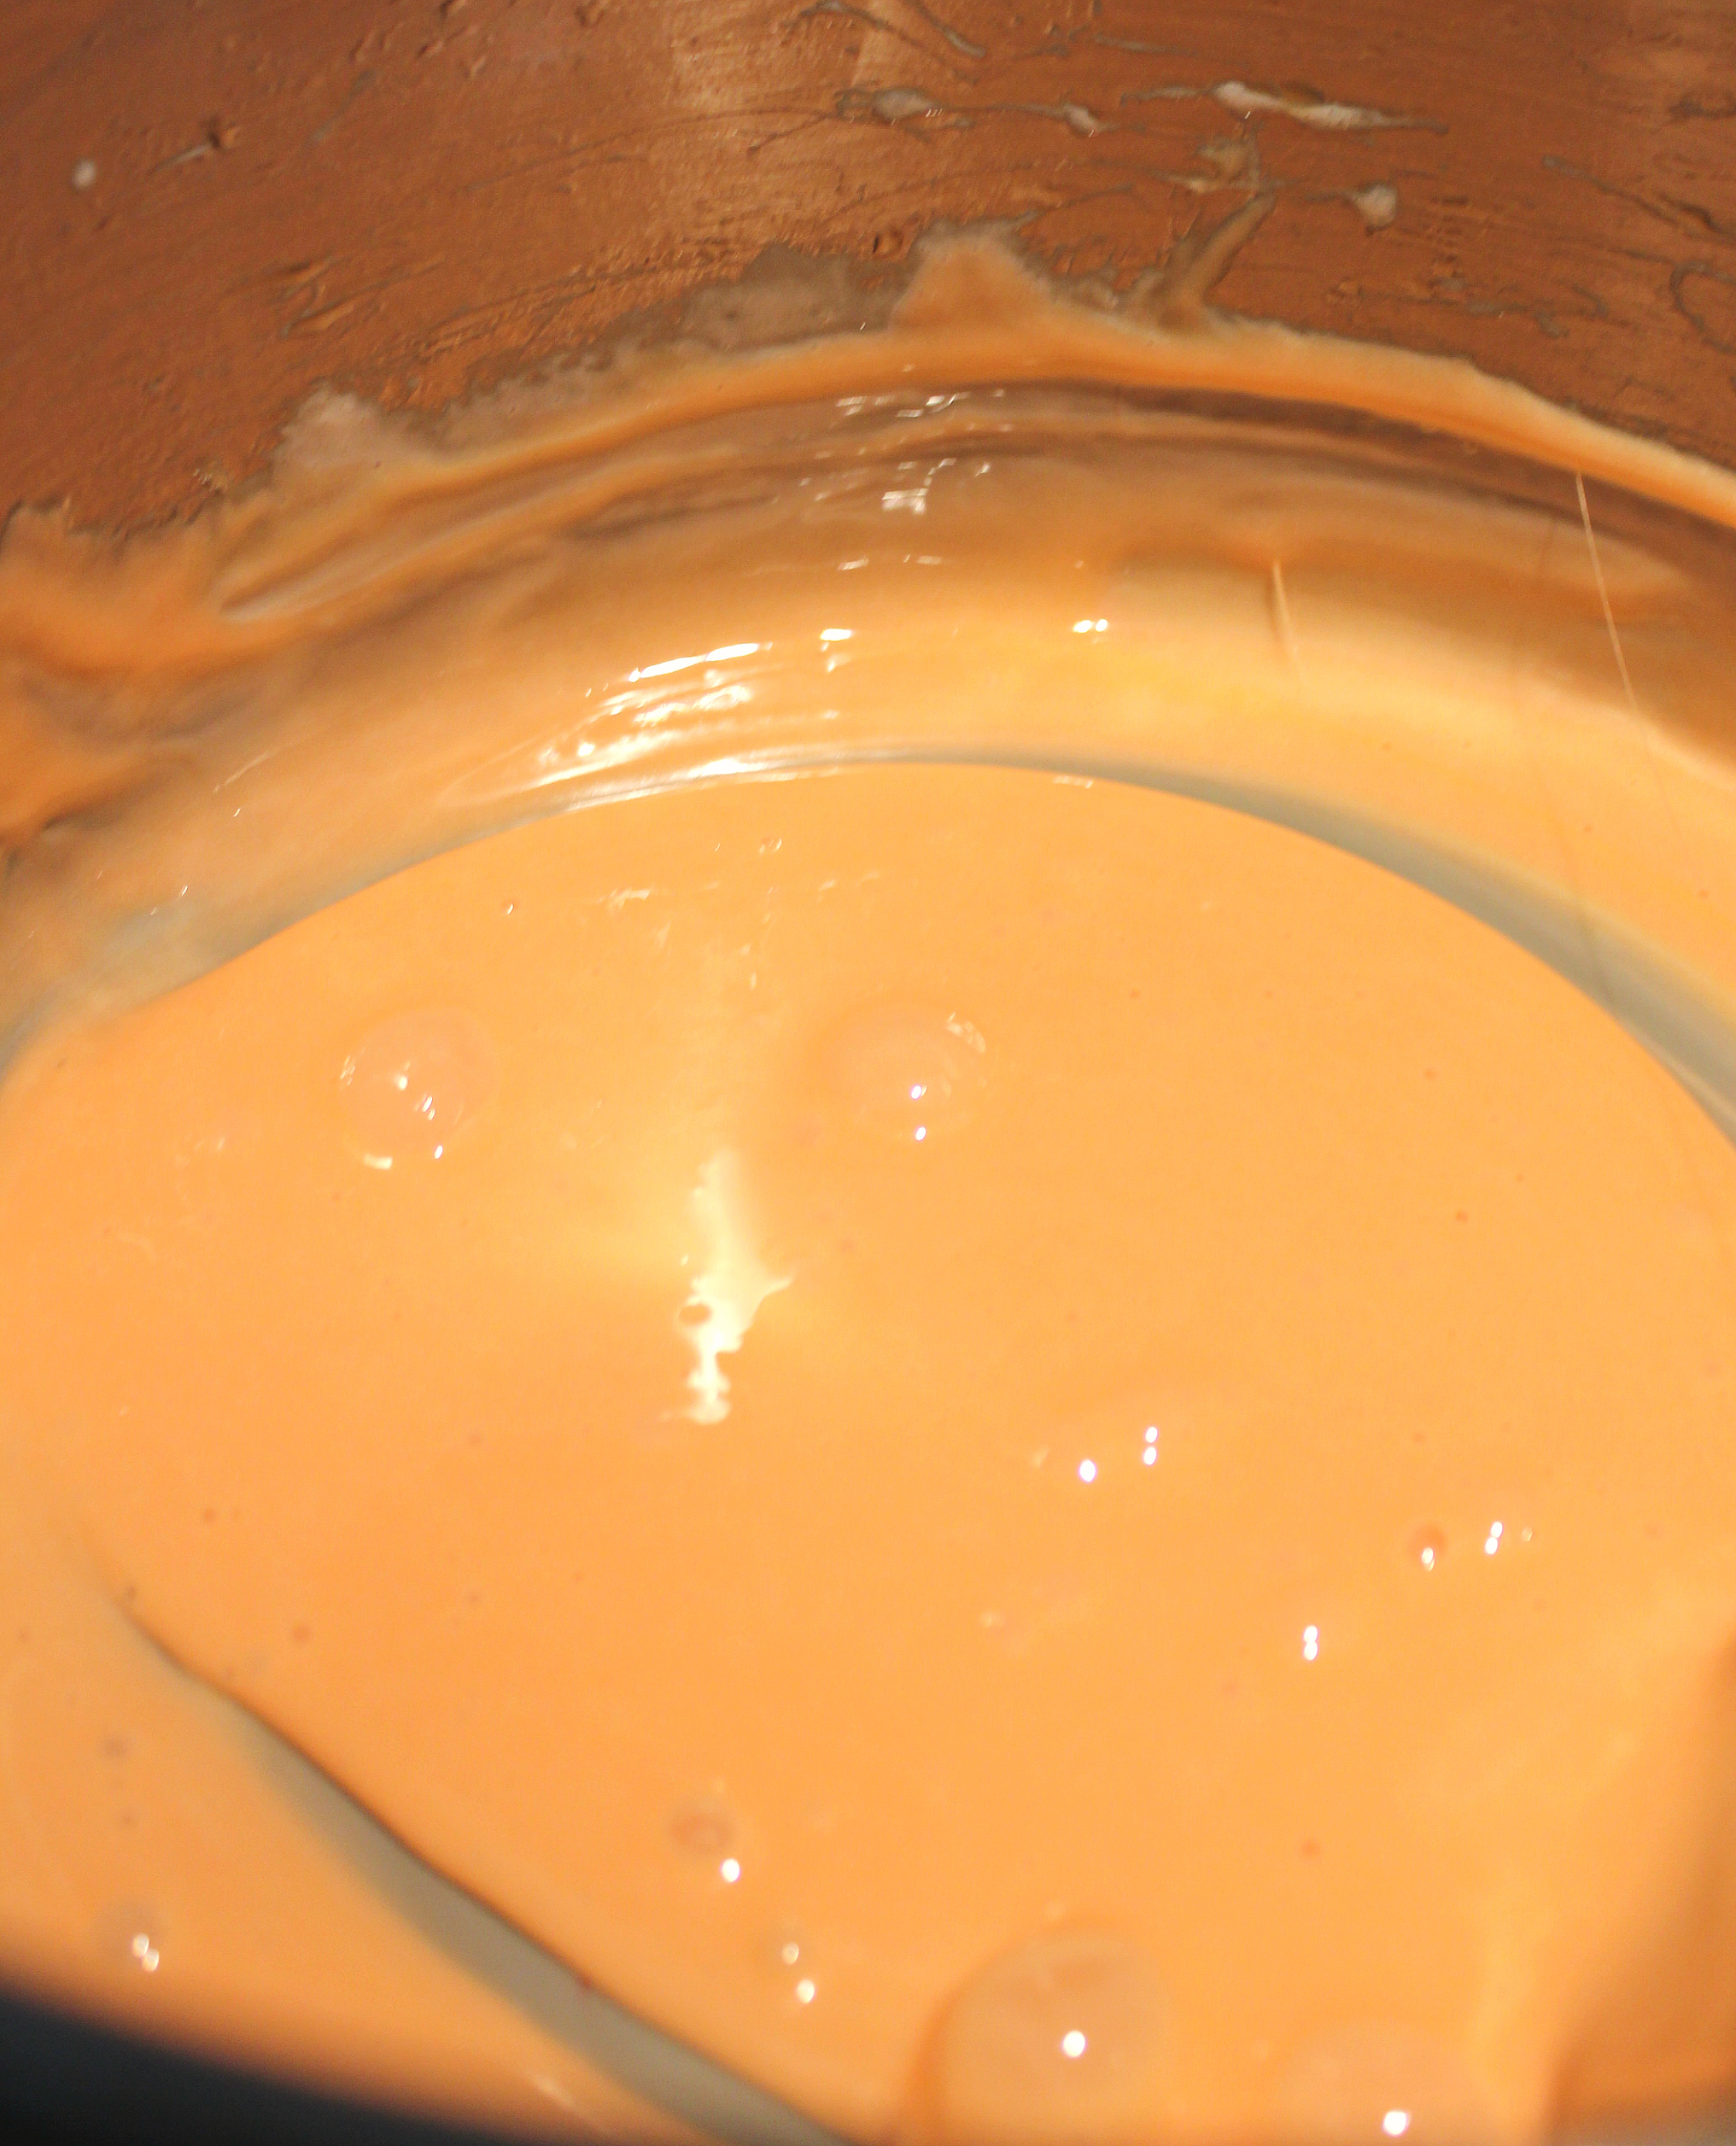
Step 1: In a large pot melt butter and marshmallows over medium heat, stirring until nearly completely melted. Turn off heat.
Step 2: Mix in vanilla, if using, and then add colouring until as orange as you dare, keeping in mind that once the rice cereal is mixed in the colour will not be as strong.
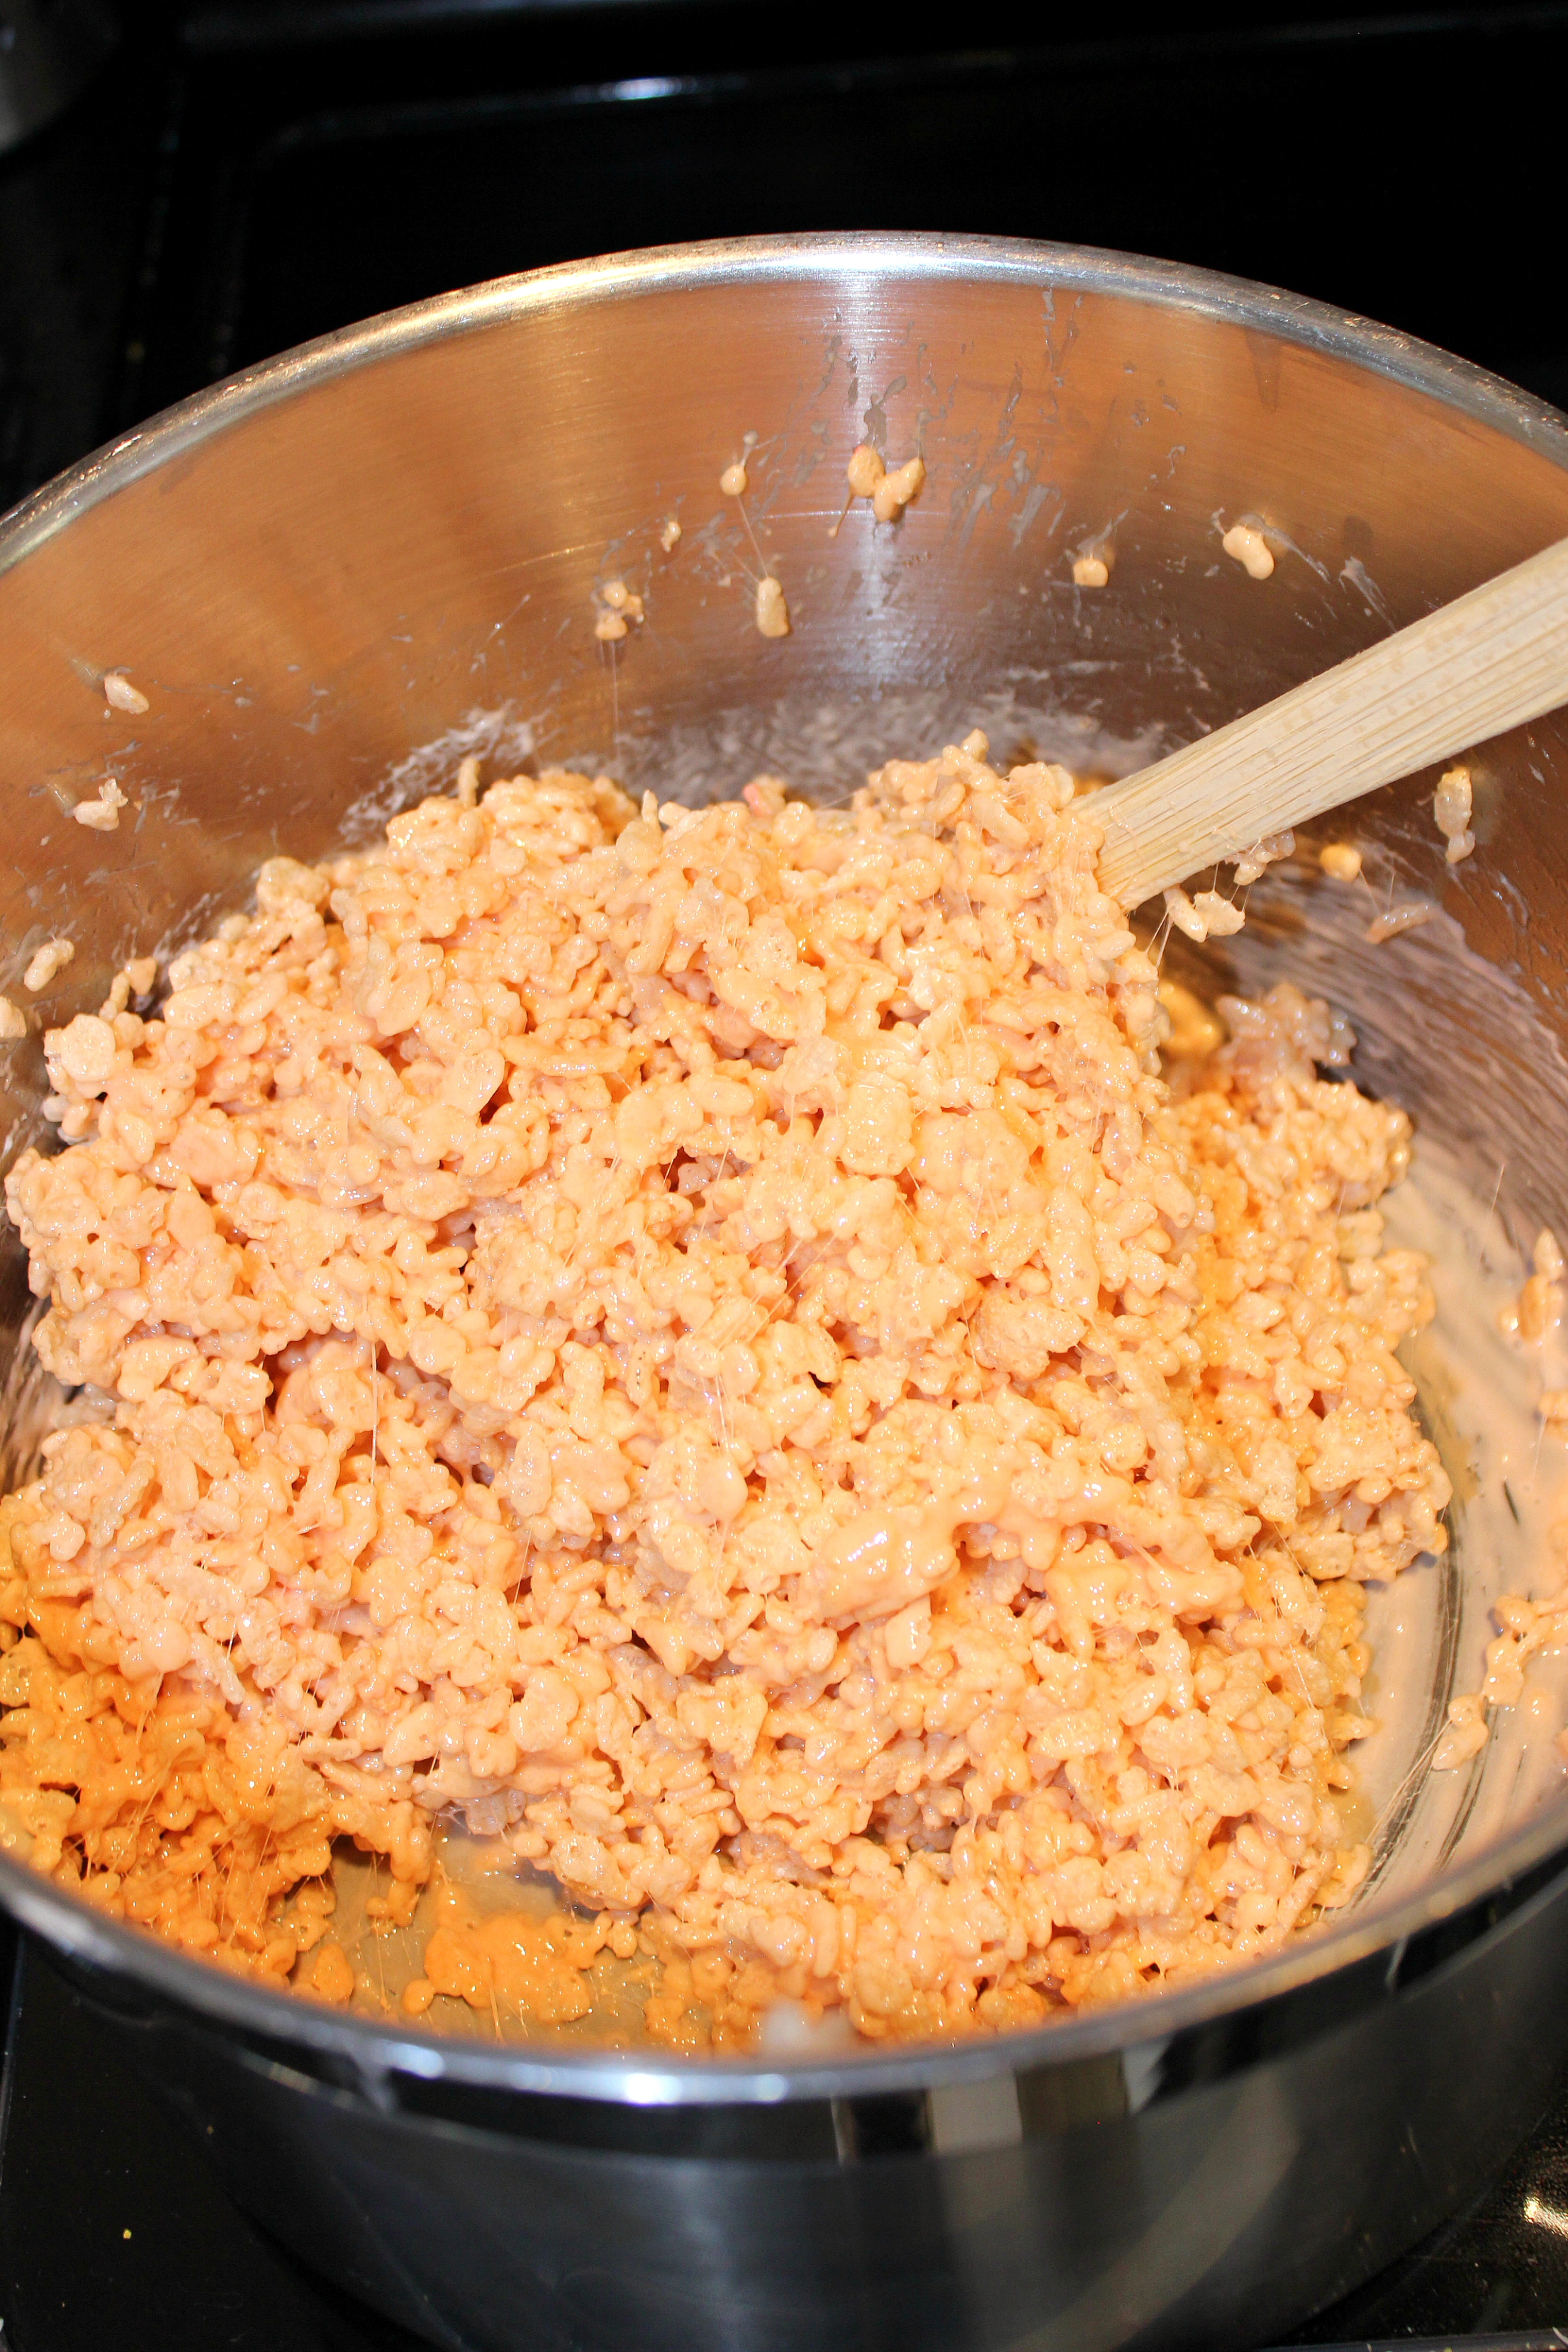
Step 3: Working quickly, pour in the five cups of rice cereal and stir until evenly combined.
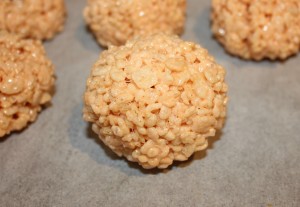
Step 4: Next spray your hands with non stick cooking spray (this makes all the difference between success and a sticky mess) and start shaping the Rice Krispie mixture into balls with your hands (think making small snowballs and firmly roll into a ball between hands) and placing on a parchment lined tray.
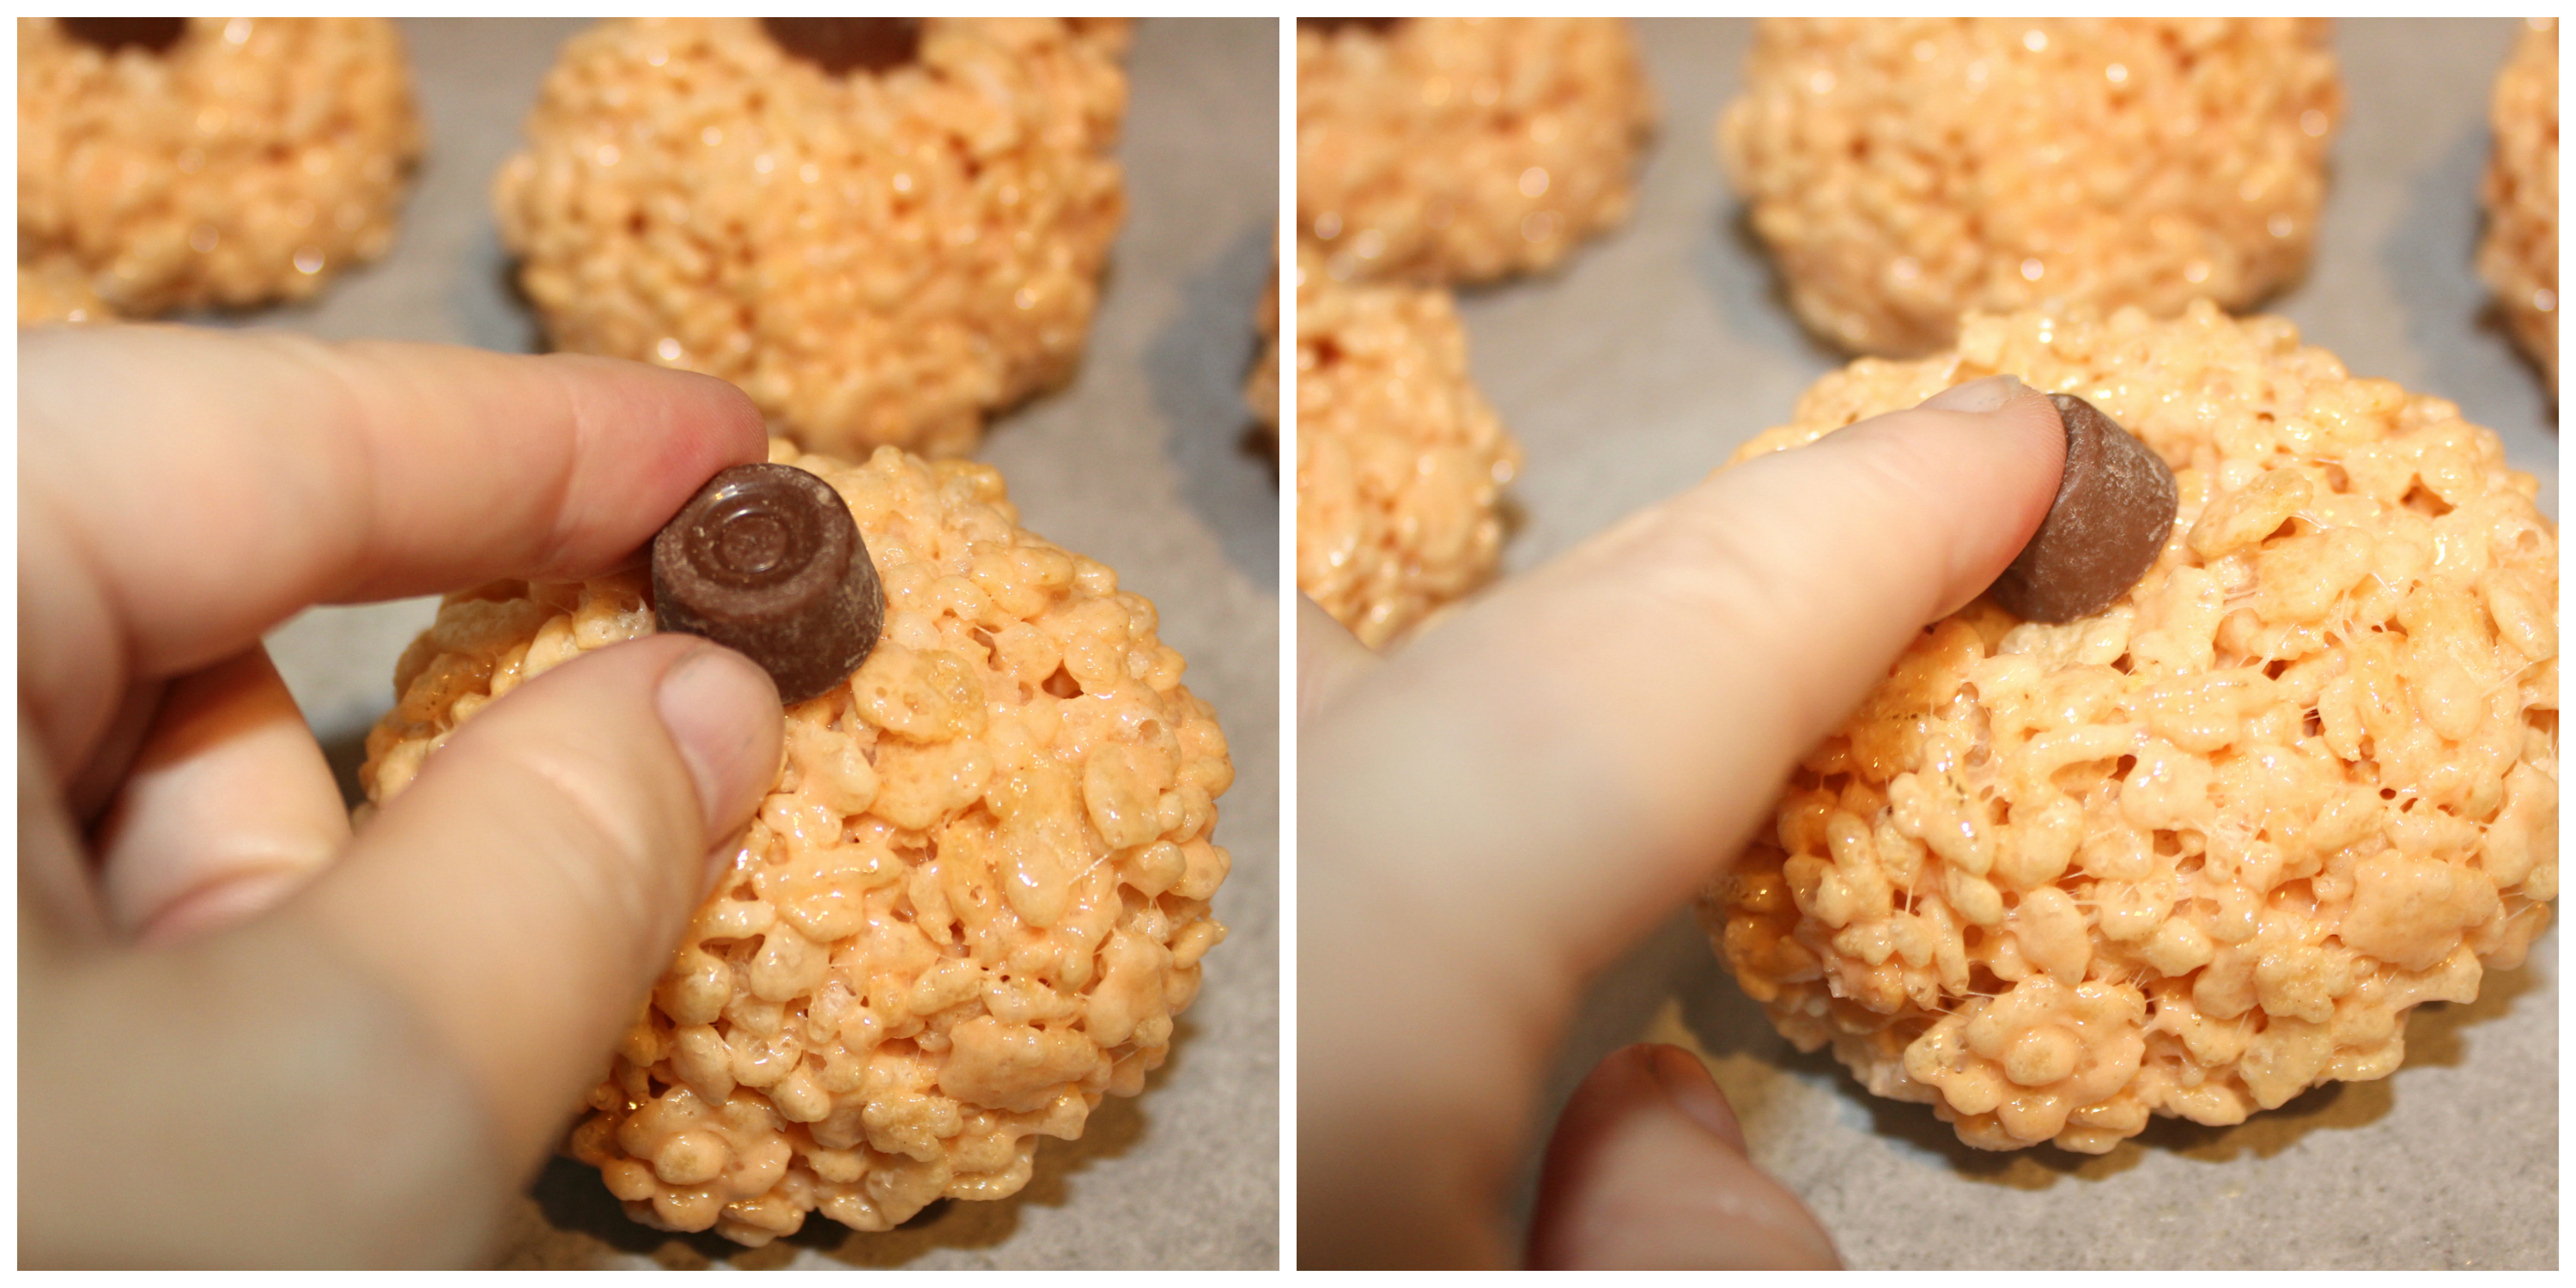
Step 5: Take a mini Rolo and press down into the centre, causing the pumpkin shape.
Step 6: Prepare a piping bag with a medium sized leaf tip (like Wilton #69), and melt the green Candy Melts in the microwave for 30 seconds and stir. Continue in 10 second increments and stirring until completely melted. Pour melted Candy Melts into piping bag and pipe a leaf on each pumpkin top.
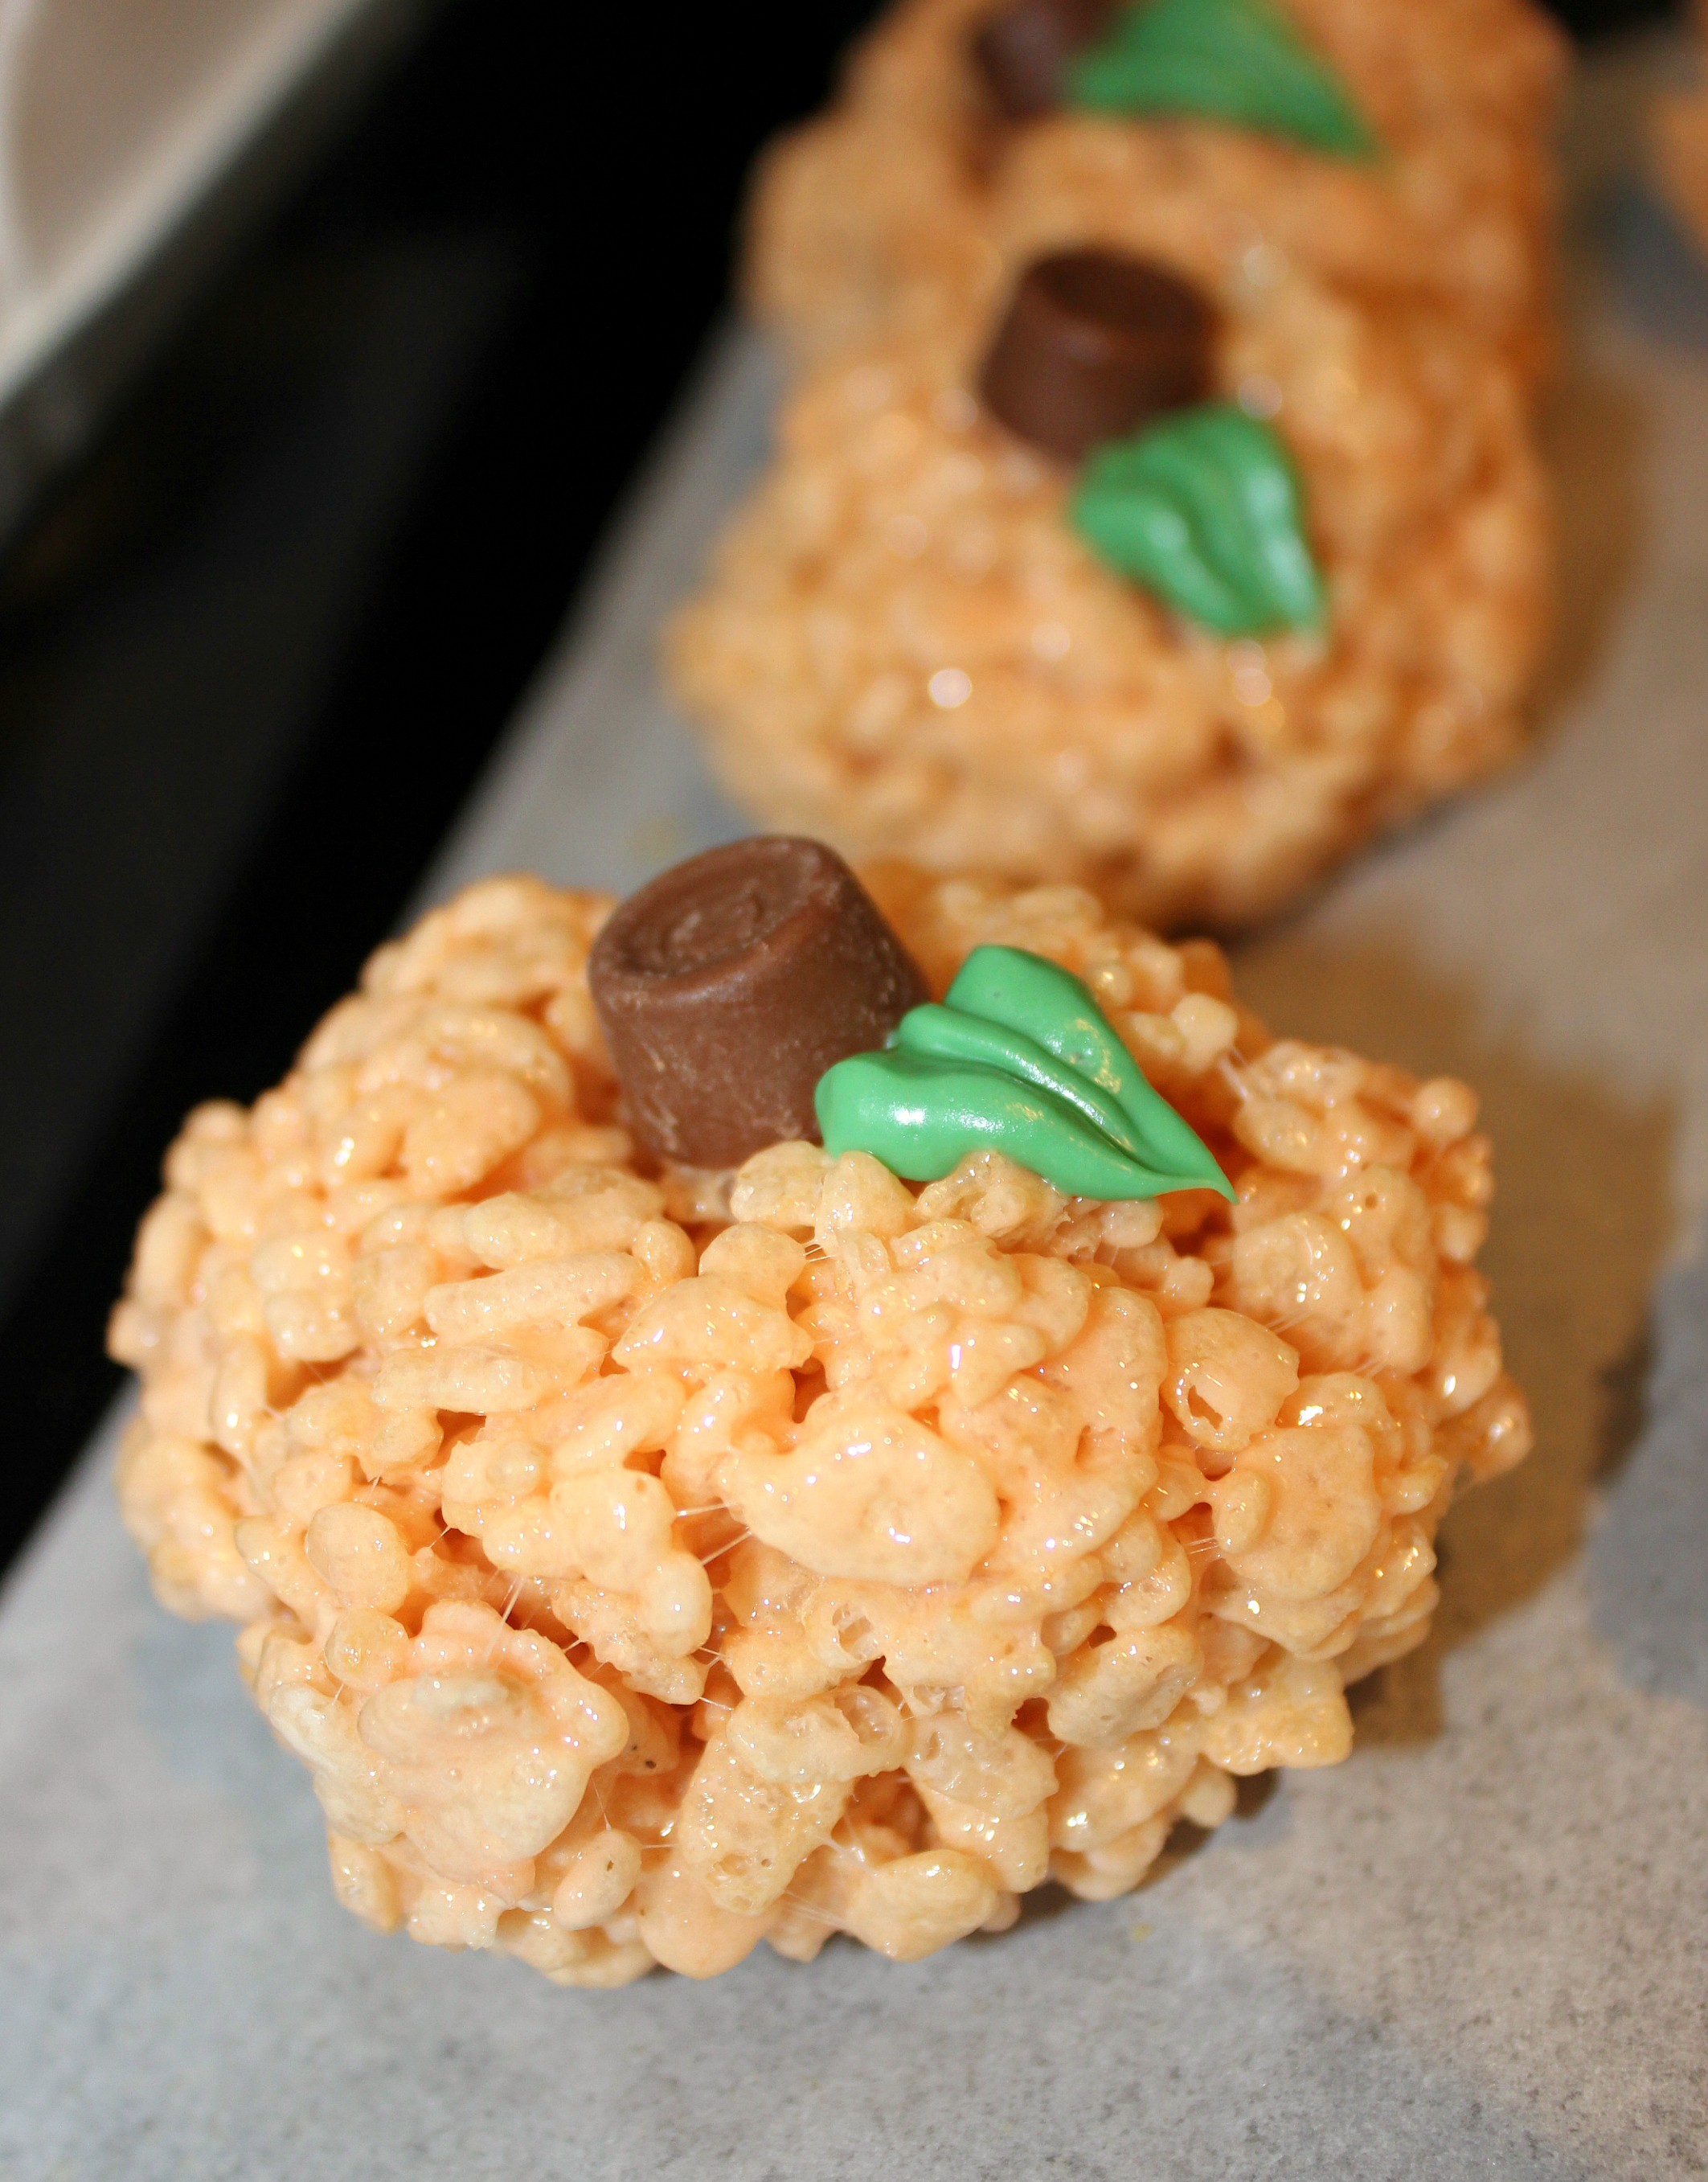
Step 7: Change to a small round tip on the piping bag and add a tendril coil to each of the pumpkins.
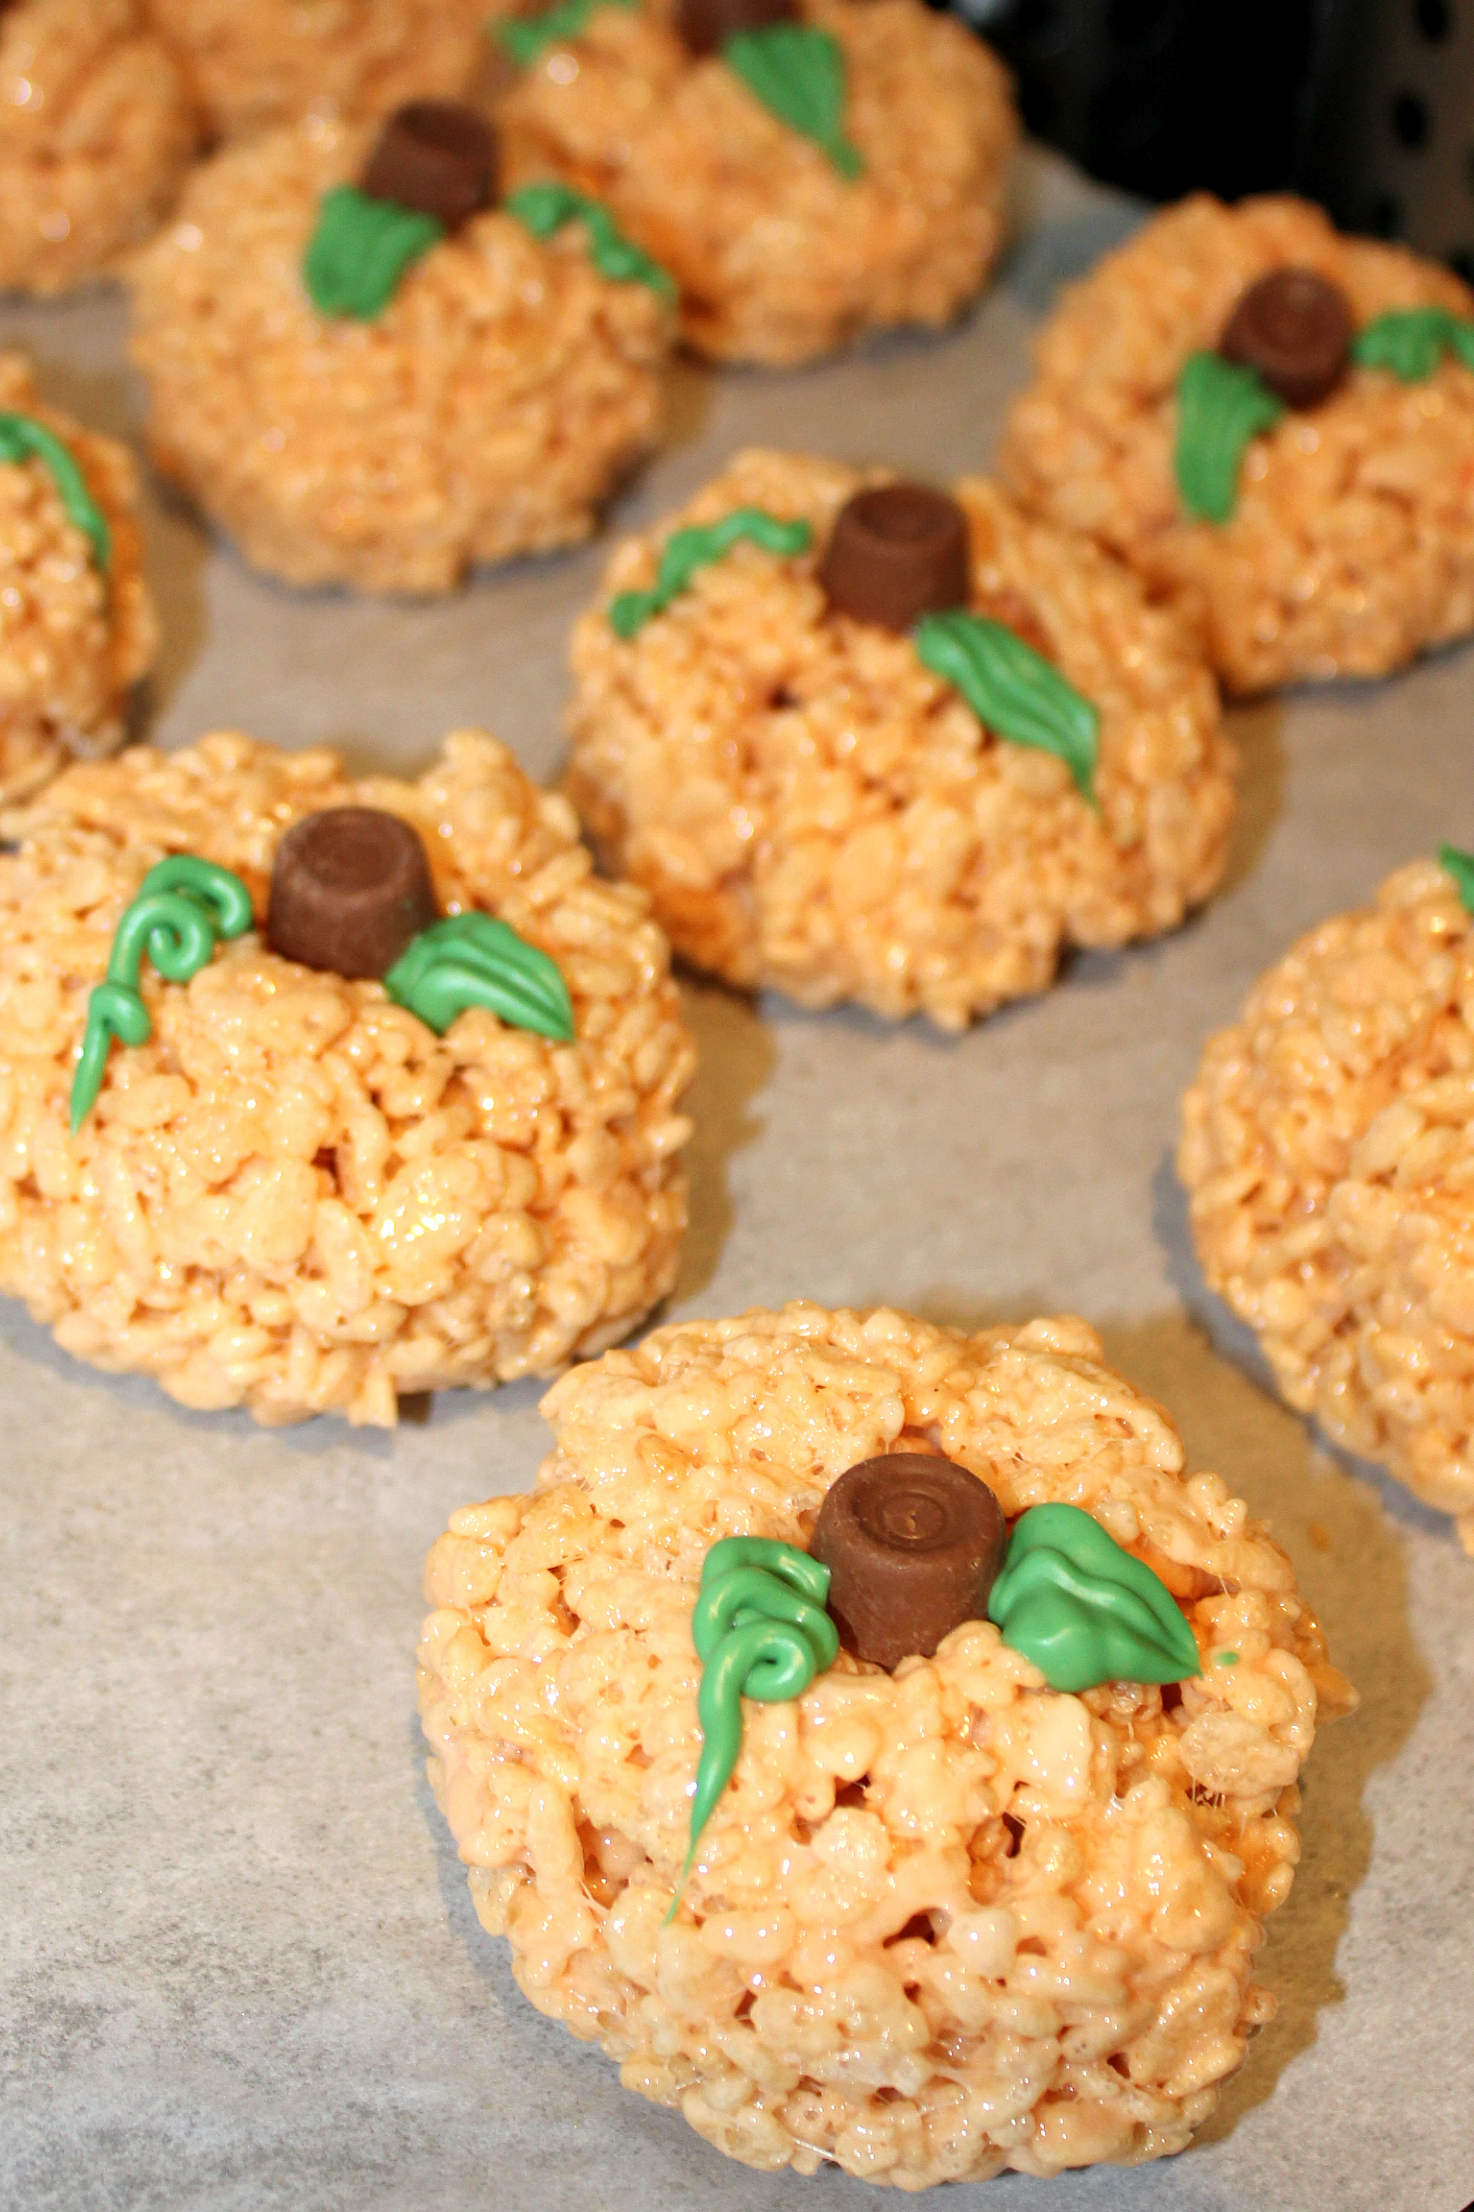
Step 8: Step back and think “hello autumn!” and allow everything to harden and set. Store in an airtight container at room temperature and then go run around embracing everything autumn and fall related!!!!
- 3 Tbsp butter
- 250g marshmallows (approx 4 cups of mini marshmallows)
- 5 cups of Rice Krispies
- 1 tsp vanilla (optional)
- Orange (or red and yellow) Wilton Gel Icing Colours
- 12 Mini Rolos
- 1/4 cup dark green Wilton Candy Melts
- Non stick cooking spray
- In a large pot melt butter and marshmallows over medium heat, stirring until nearly completely melted. Turn off heat.
- Mix in vanilla, if using, and then add colouring until as orange as you dare, keeping in mind that once the rice cereal is mixed in the colour will not be as strong.
- Working quickly, pour in the five cups of rice cereal and stir until evenly combined.
- Spray your hands with non stick cooking spray (this makes all the difference between success and a sticky mess) and start shaping the Rice Krispie mixture into balls with your hands (think making small snowballs and firmly roll into a ball between hands) and placing on a parchment lined tray
- Take a Mini Rolo and press down into the centre, creating the pumpkin shape.
- Prepare a piping bag with a medium sized leaf tip (like Wilton #69), and melt the green Candy Melts in the microwave for 30 seconds and stir. Continue in 10 second increments and stirring until completely melted. Pour melted Candy Melts into piping bag and pipe a leaf on each pumpkin top.
- Change to a small round tip on the piping bag and add a tendril coil to each of the pumpkins.
- Allow everything to harden and set. Store in an airtight container at room temperature.
Inspiration found and recipe adapted from here at Grin and Bake It
The post Pumpkin Rice Krispie Treats appeared first on Creative Sides.
]]>The post Best Ever Chocolate Chip Cookies appeared first on Creative Sides.
]]>
Both of our kids inherited the must-eat-all-the-chocolate gene that their dad and I have so this recipe is used a lot in our house.
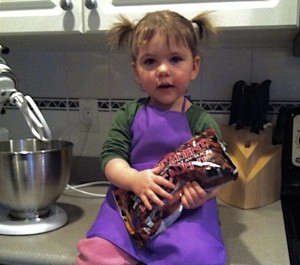
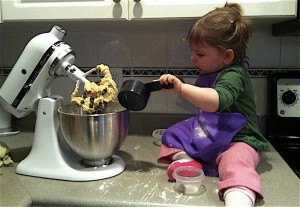
It’s quick to throw together and simple enough for the kids to make. Our daughter was two years old when I turned over the measuring and mixing of this family favourite to our tiny chef.
Pro tip: This batter keeps well in the freezer so you can scoop it out and whip up a batch whenever you have a craving.
- 1 cup (250ml) butter at room temperature
- 3/4 cup (175ml) sugar
- 3/4 cup (175ml) packed brown sugar
- 2 eggs
- 2 tsp (10ml) vanilla
- 2 1/4 cups (550ml) unsifted flour
- 1 tsp (5ml) baking soda
- 1/2 tsp (2ml) salt
- 1 cup (250ml) chopped walnuts or pecans
- 2 cups (300g) chocolate chips
- Preheat oven to 375ºF (190ºC)
- Stir flour with baking soda and salt; set aside.
- In a large mixer bowl, cream butter with sugar, brown sugar, eggs and vanilla.
- Gradually blend dry mixture into creamed mixture.
- Stir in nuts and chocolate chips.
- Drop by tablespoon onto ungreased cookie sheets covered in parchment paper.
- Baked for 9 to 11 minutes or until golden brown.
The post Best Ever Chocolate Chip Cookies appeared first on Creative Sides.
]]>The post S’mores Campfire Cake appeared first on Creative Sides.
]]>
Every couple of years my husband’s (large, loud, fun) family has a reunion. Everyone gets together and camps, all 70 plus of us. I call it ‘Let’s Go Camping With the Crawfords!’ Unfortunately you have to understand something – I am a city girl. I am not saying I am proud of it (ok, I sort of am), but prior to our wedding I had never actually seen anyone outside of the movies wear cowboy boots. Not for real at least. But you learn fast that telling your husband’s uncle “I like your high heeled, snake skin boots!” will not make you any friends. Really the only thing worse is accidentally screaming when you unknowingly step on the head of the bear skin rug. Yup. There was actually an honest to goodness conversation regarding whether we would have an arm wrestling contest at our wedding or not. We did not (the gift opening was a different story mind you). So, clearly I have a lot of making up to do in many ways. Thirteen years later, cowboy boots and hunting are still not on my horizon, so how will I do that? Through food of course (and my winning personality…).
Even though both my parents were originally from small towns, we never once went camping. Not ever. Hawaii yes, camping no. My first camping experience was as a teen with a friend’s family. So I think it’s safe to say I do not come across it naturally. And to say I feel a little out of my element is an understatement. But that does not stop me from trying (and this will be the first reunion where I won’t have a new baby…. hello 34 degree weather and no nursing!!!). So with both kids clad in adorable cowgirl boots and hats, we will show up with this cake and leave the arm wrestling to hubby!
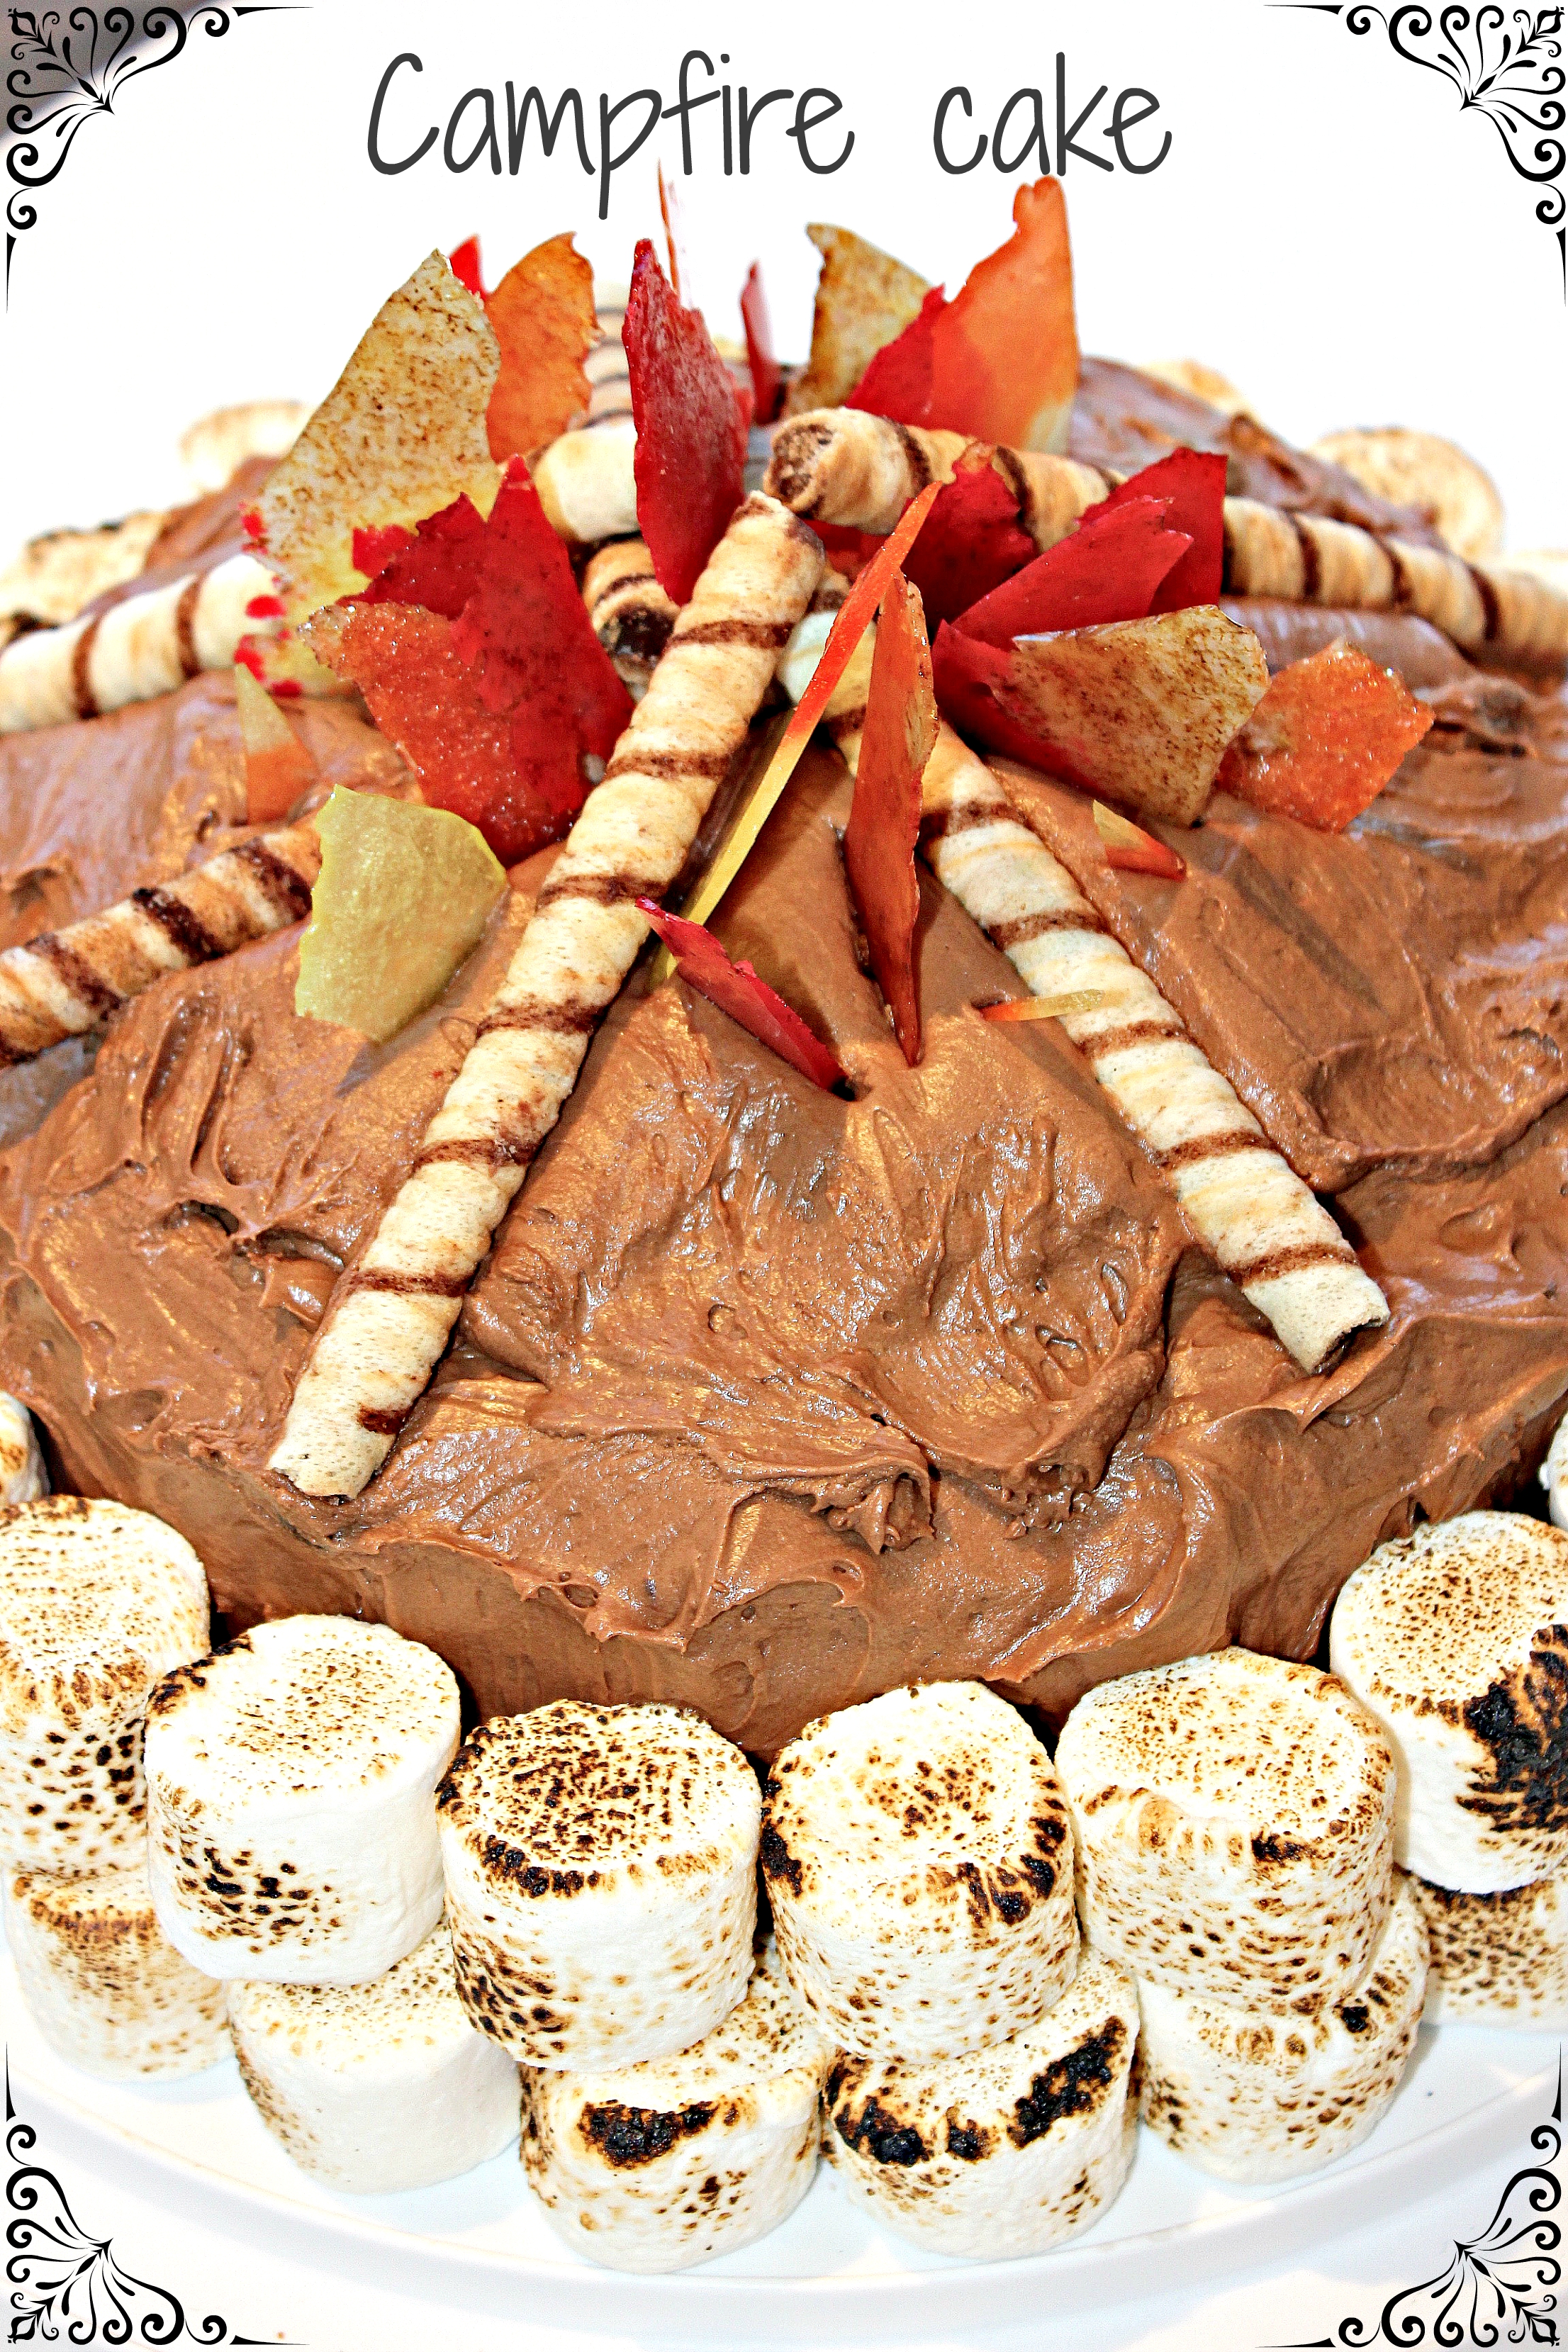
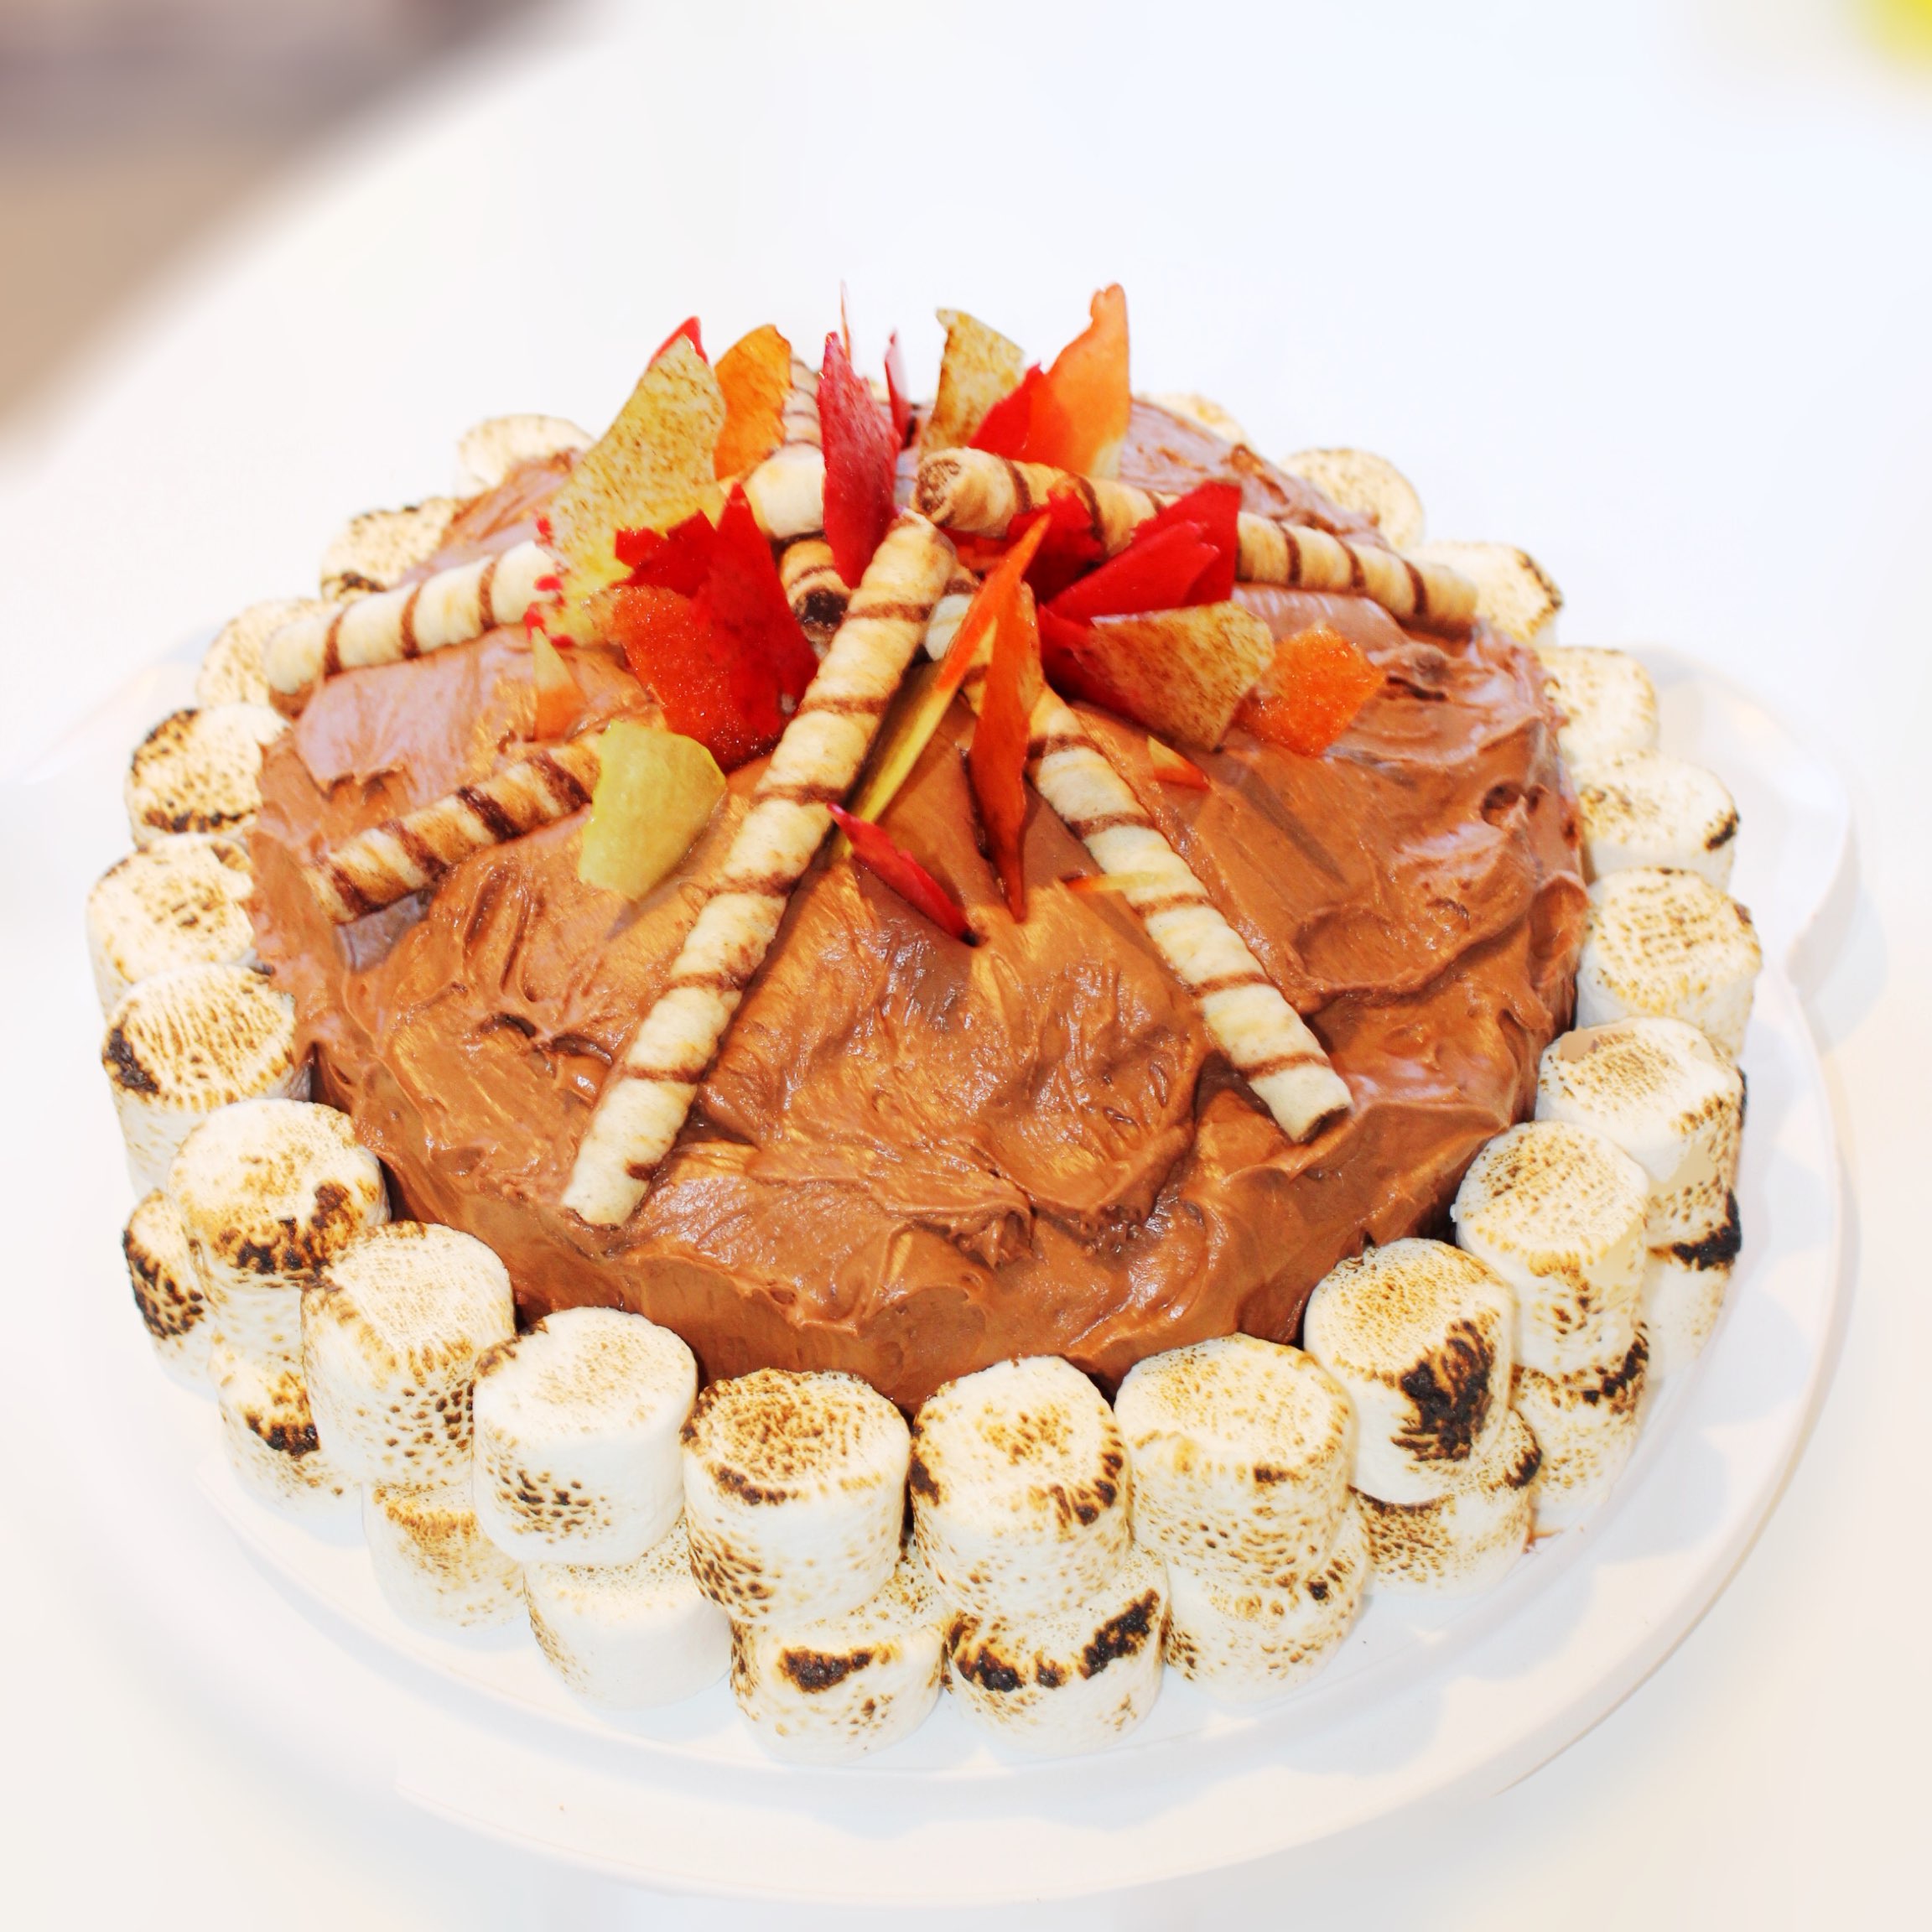
S’mores Campfire Cake
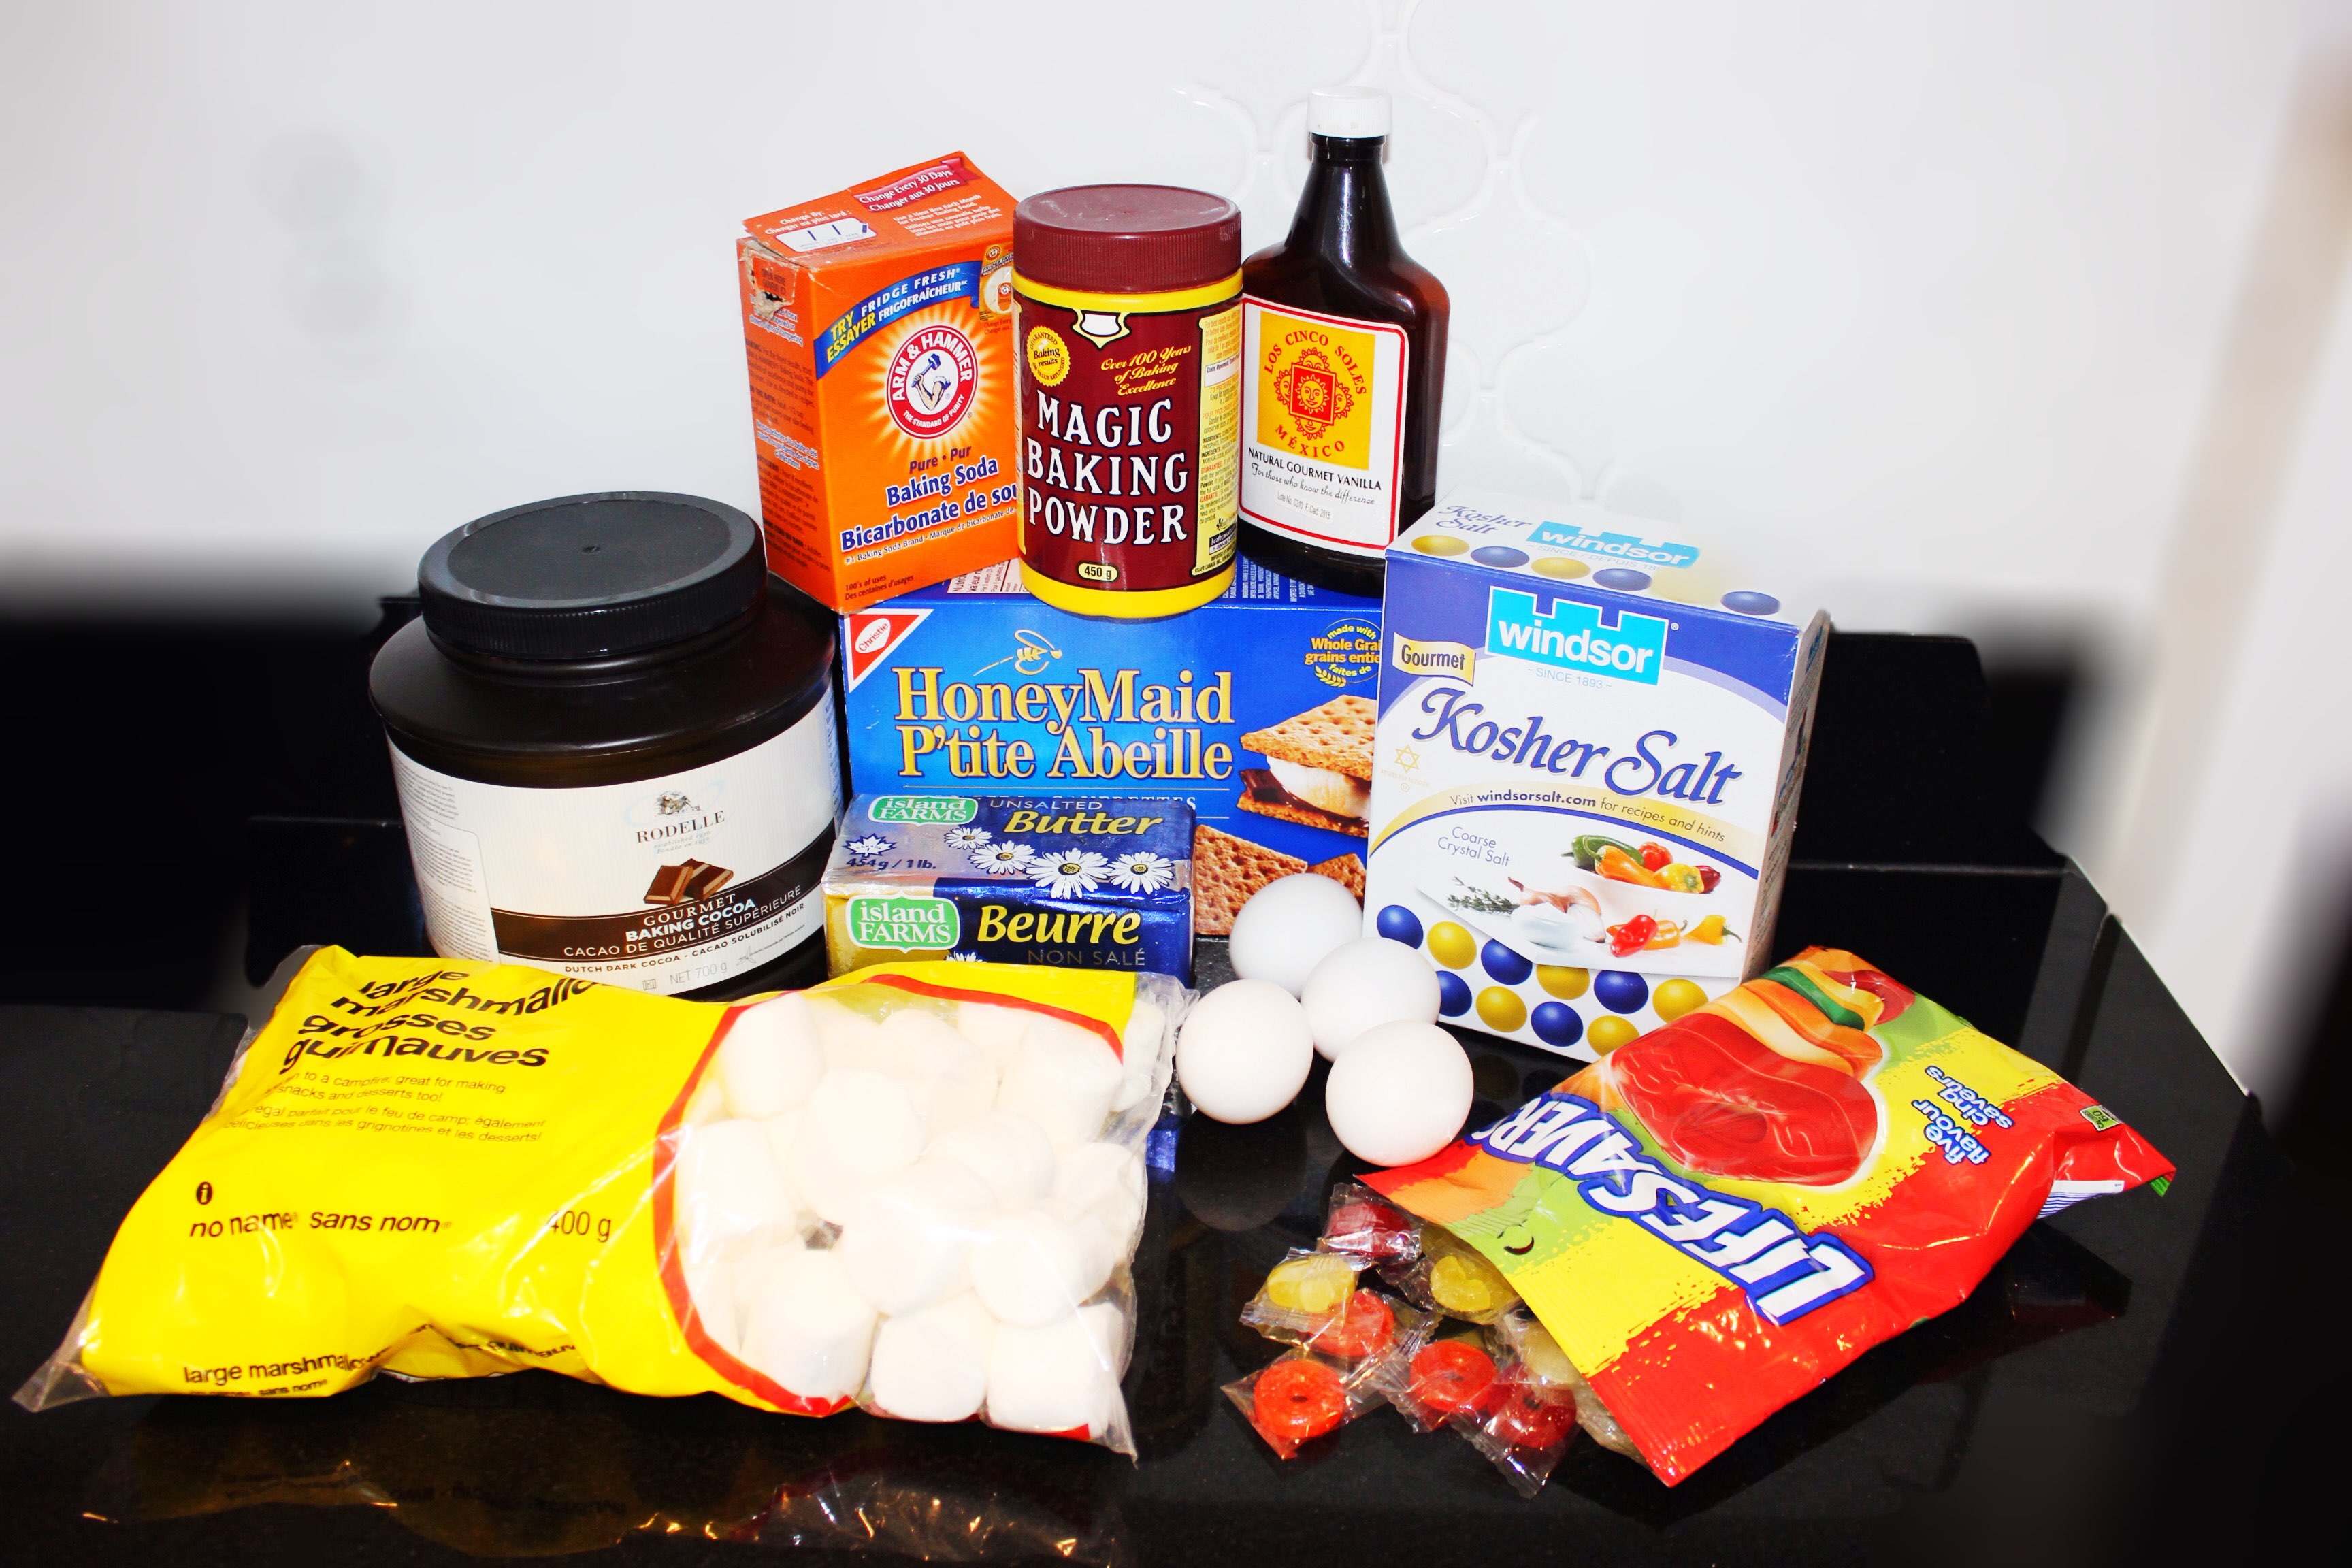
Items Needed:
Brown Butter Graham Cracker Crust
18 Large Graham Crackers
1/2 cup Granulated Sugar
1/2 teaspoon Windsor Kosher Salt
3/4 cup (12 Tbsp) Unsalted Butter
Dark Chocolate Cake
2 cups Boiling Water
1 cup Rodelle Gourmet Baking Cocoa (Dutch process cocoa powder)
1 cup soft Unsalted Butter
2 1/4 cups Sugar
4 large eggs
1 Tablespoon vanilla
2 3/4 cups All Purpose Flour
2 teaspoons Baking Soda
1/2 teaspoon Baking Powder
1/2 teaspoon Windsor Kosher Salt
Chocolate Ganache
2/3 cup Hershey’s Milk Chocolate Chips
1/2 cup Whipping Cream
Chocolate Frosting
1 cup Hershey’s milk chocolate chips
1 cup Hershey’s semi-sweet chocolate chips
1/2 cup Unsalted butter
1 cup Arvand double creme yogourt
4 1/2 cups Icing Sugar
1 teaspoon vanilla extract
Campfire Decorations
18 Lifesavers hard candies in red, yellow and orange
400g bag of Large Marshmallows (about 50 individual marshmallows)
Crème Roulée European style rolled wafers
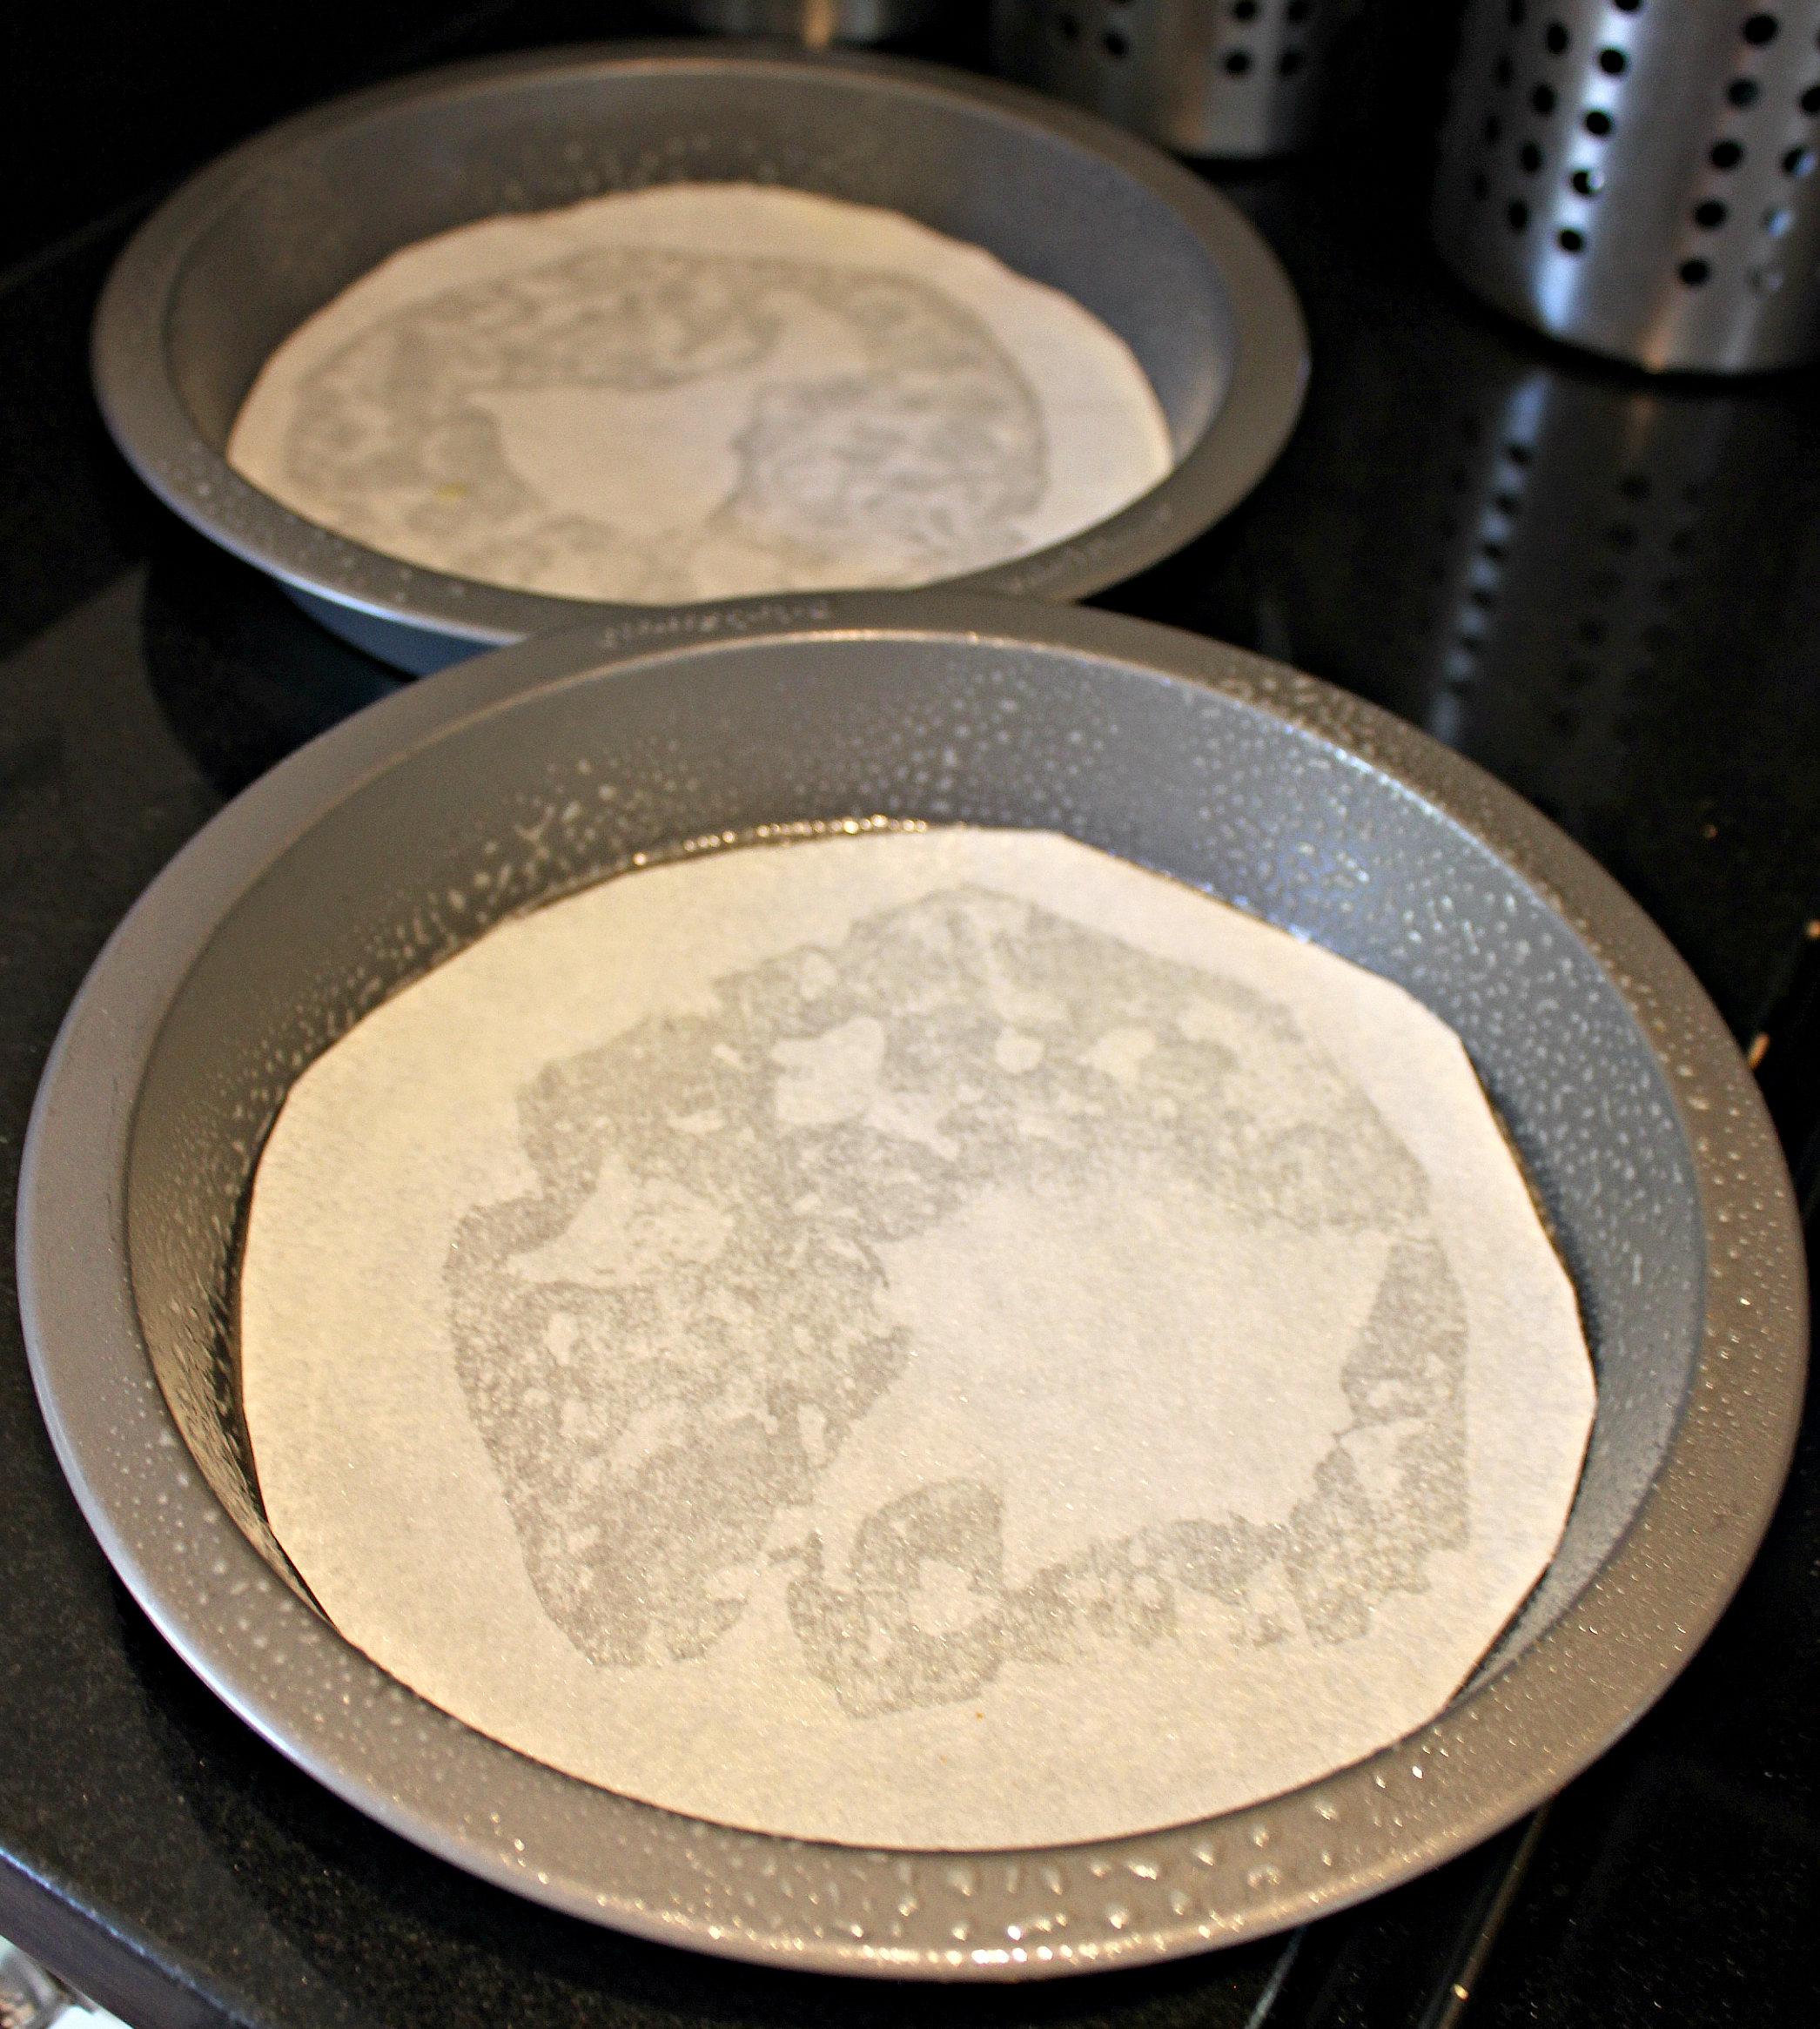
Step 1: Preheat oven to 350 degrees and line the bottom of two 9in cake pans with parchment paper, then spray sides and bottom generously with non-stick spray.
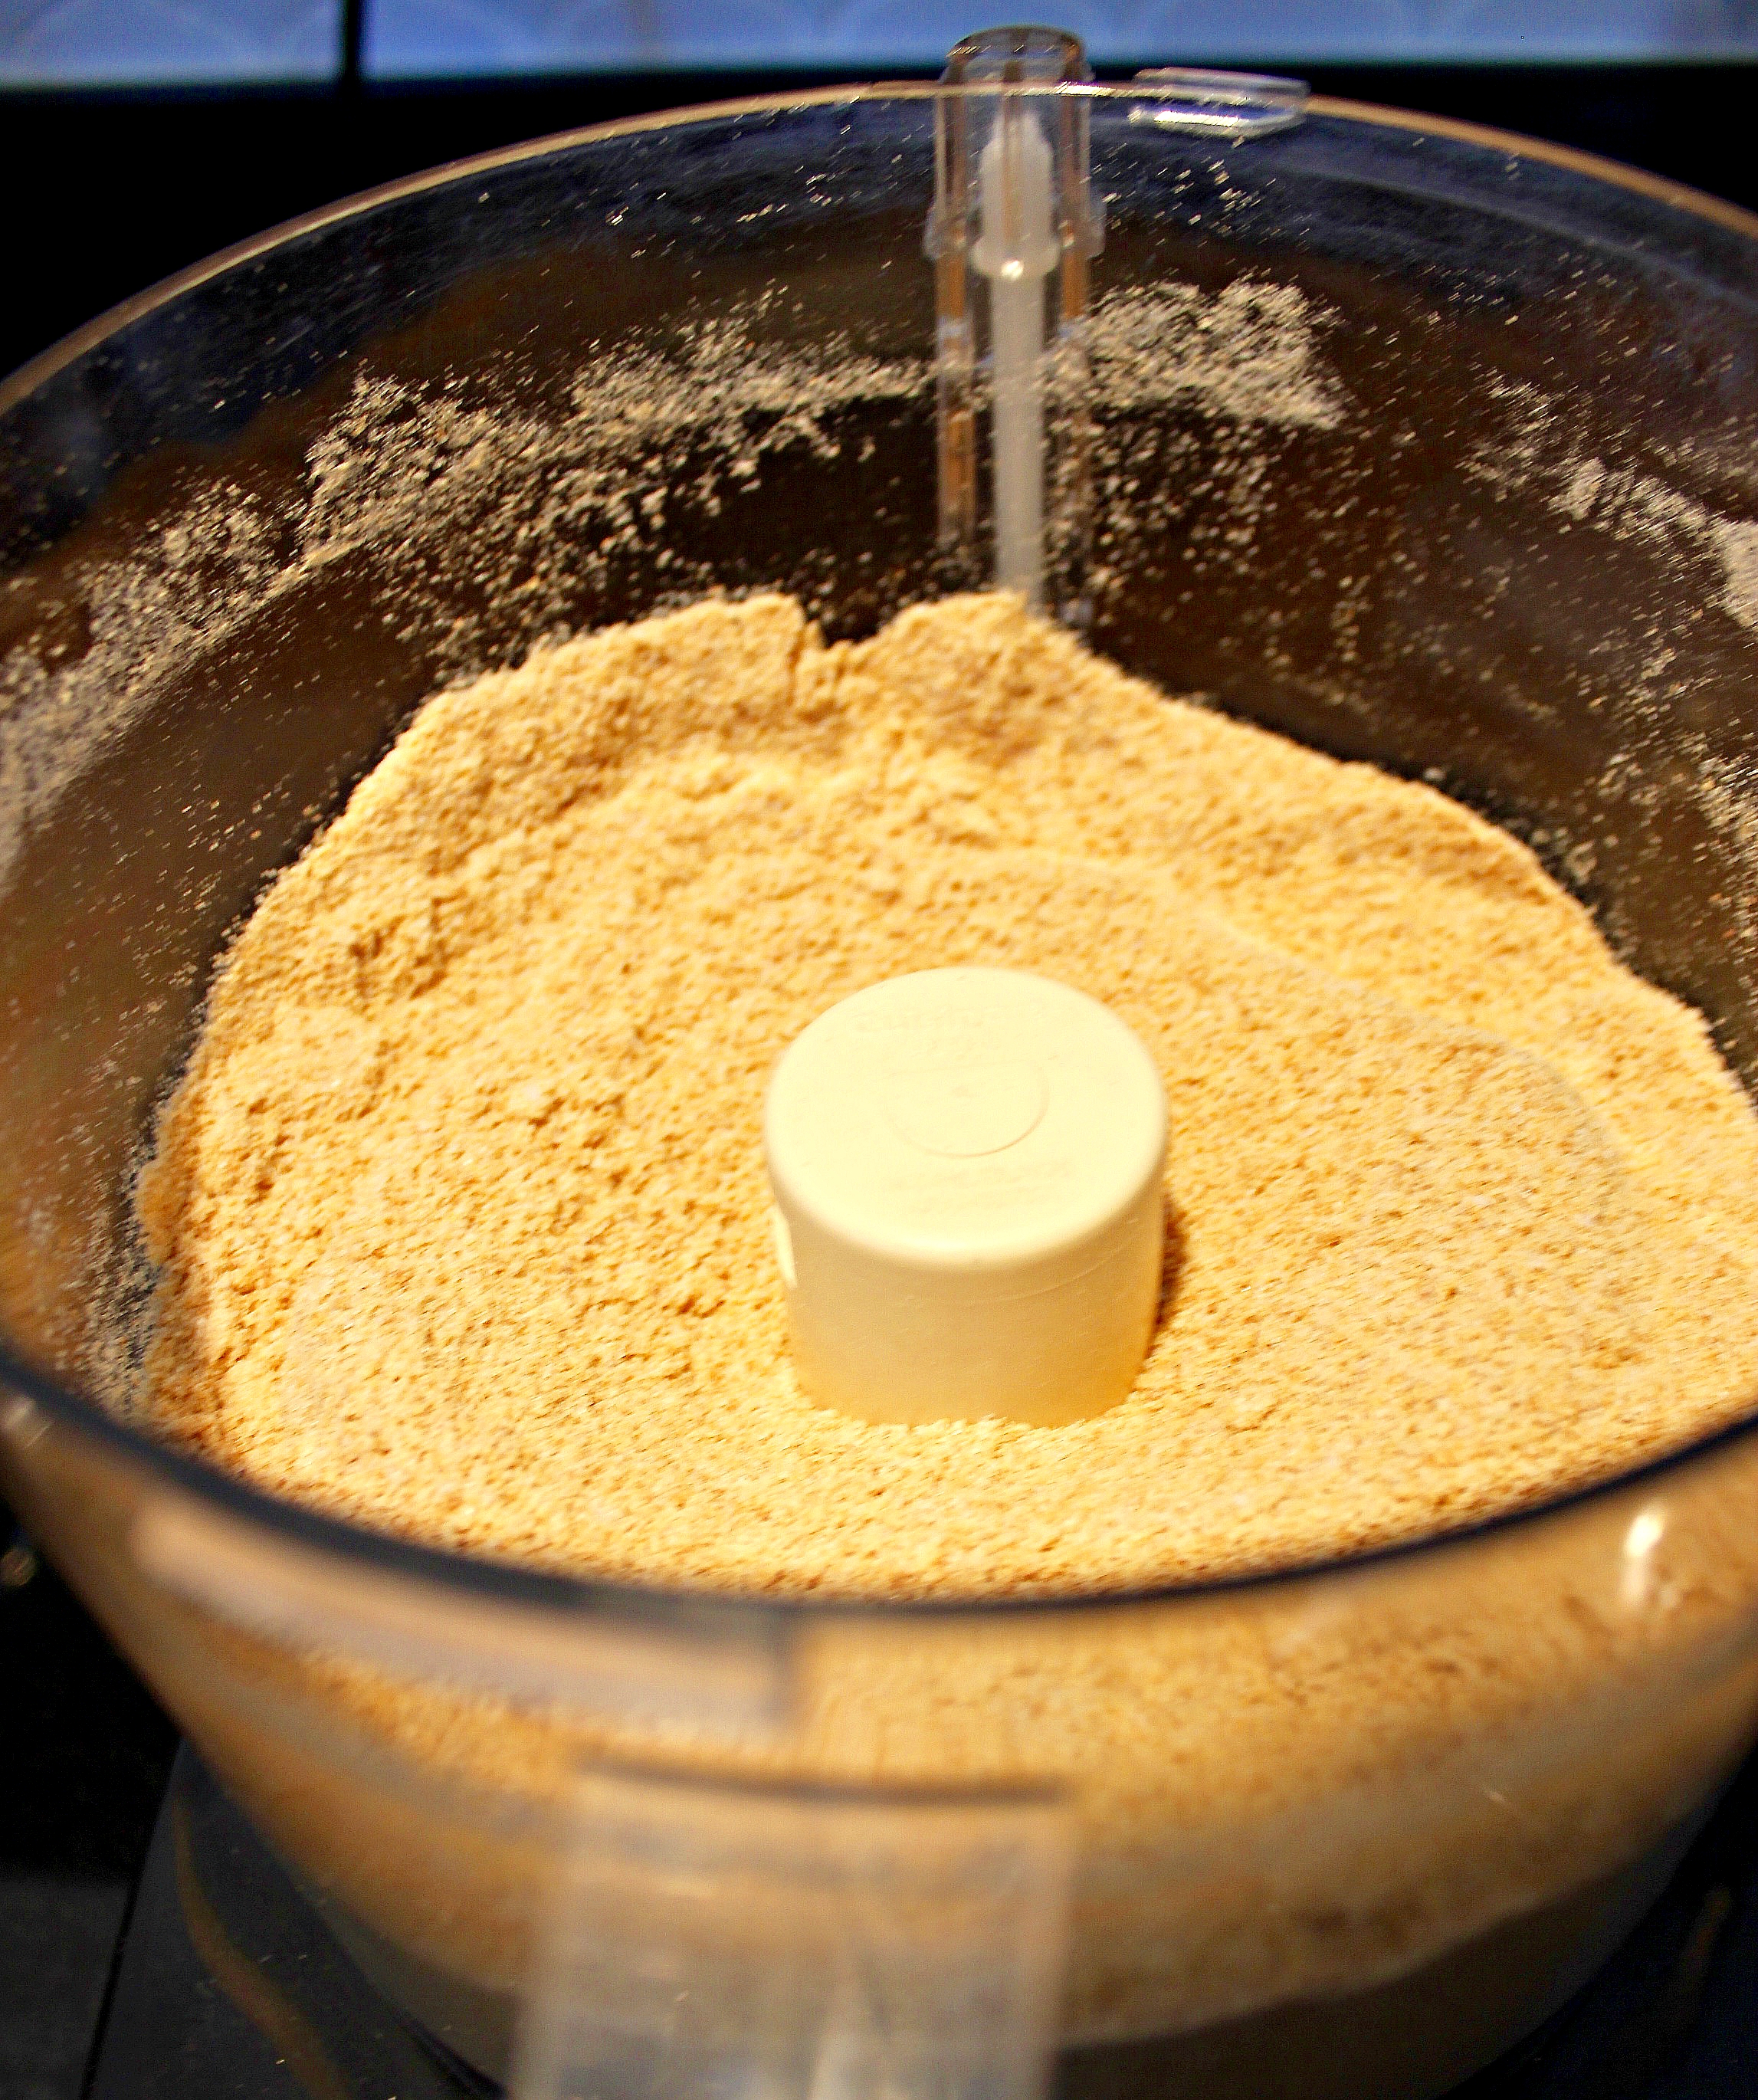
Step 2: Break up 18 Graham Crackers into a food processor (hello my trusty Cuisinart Food Processor!). Add 1/2 cup of sugar and 1/2 teaspoon salt.
Step 3: Pulse the food processor until very finely ground, uniform crumbs form.
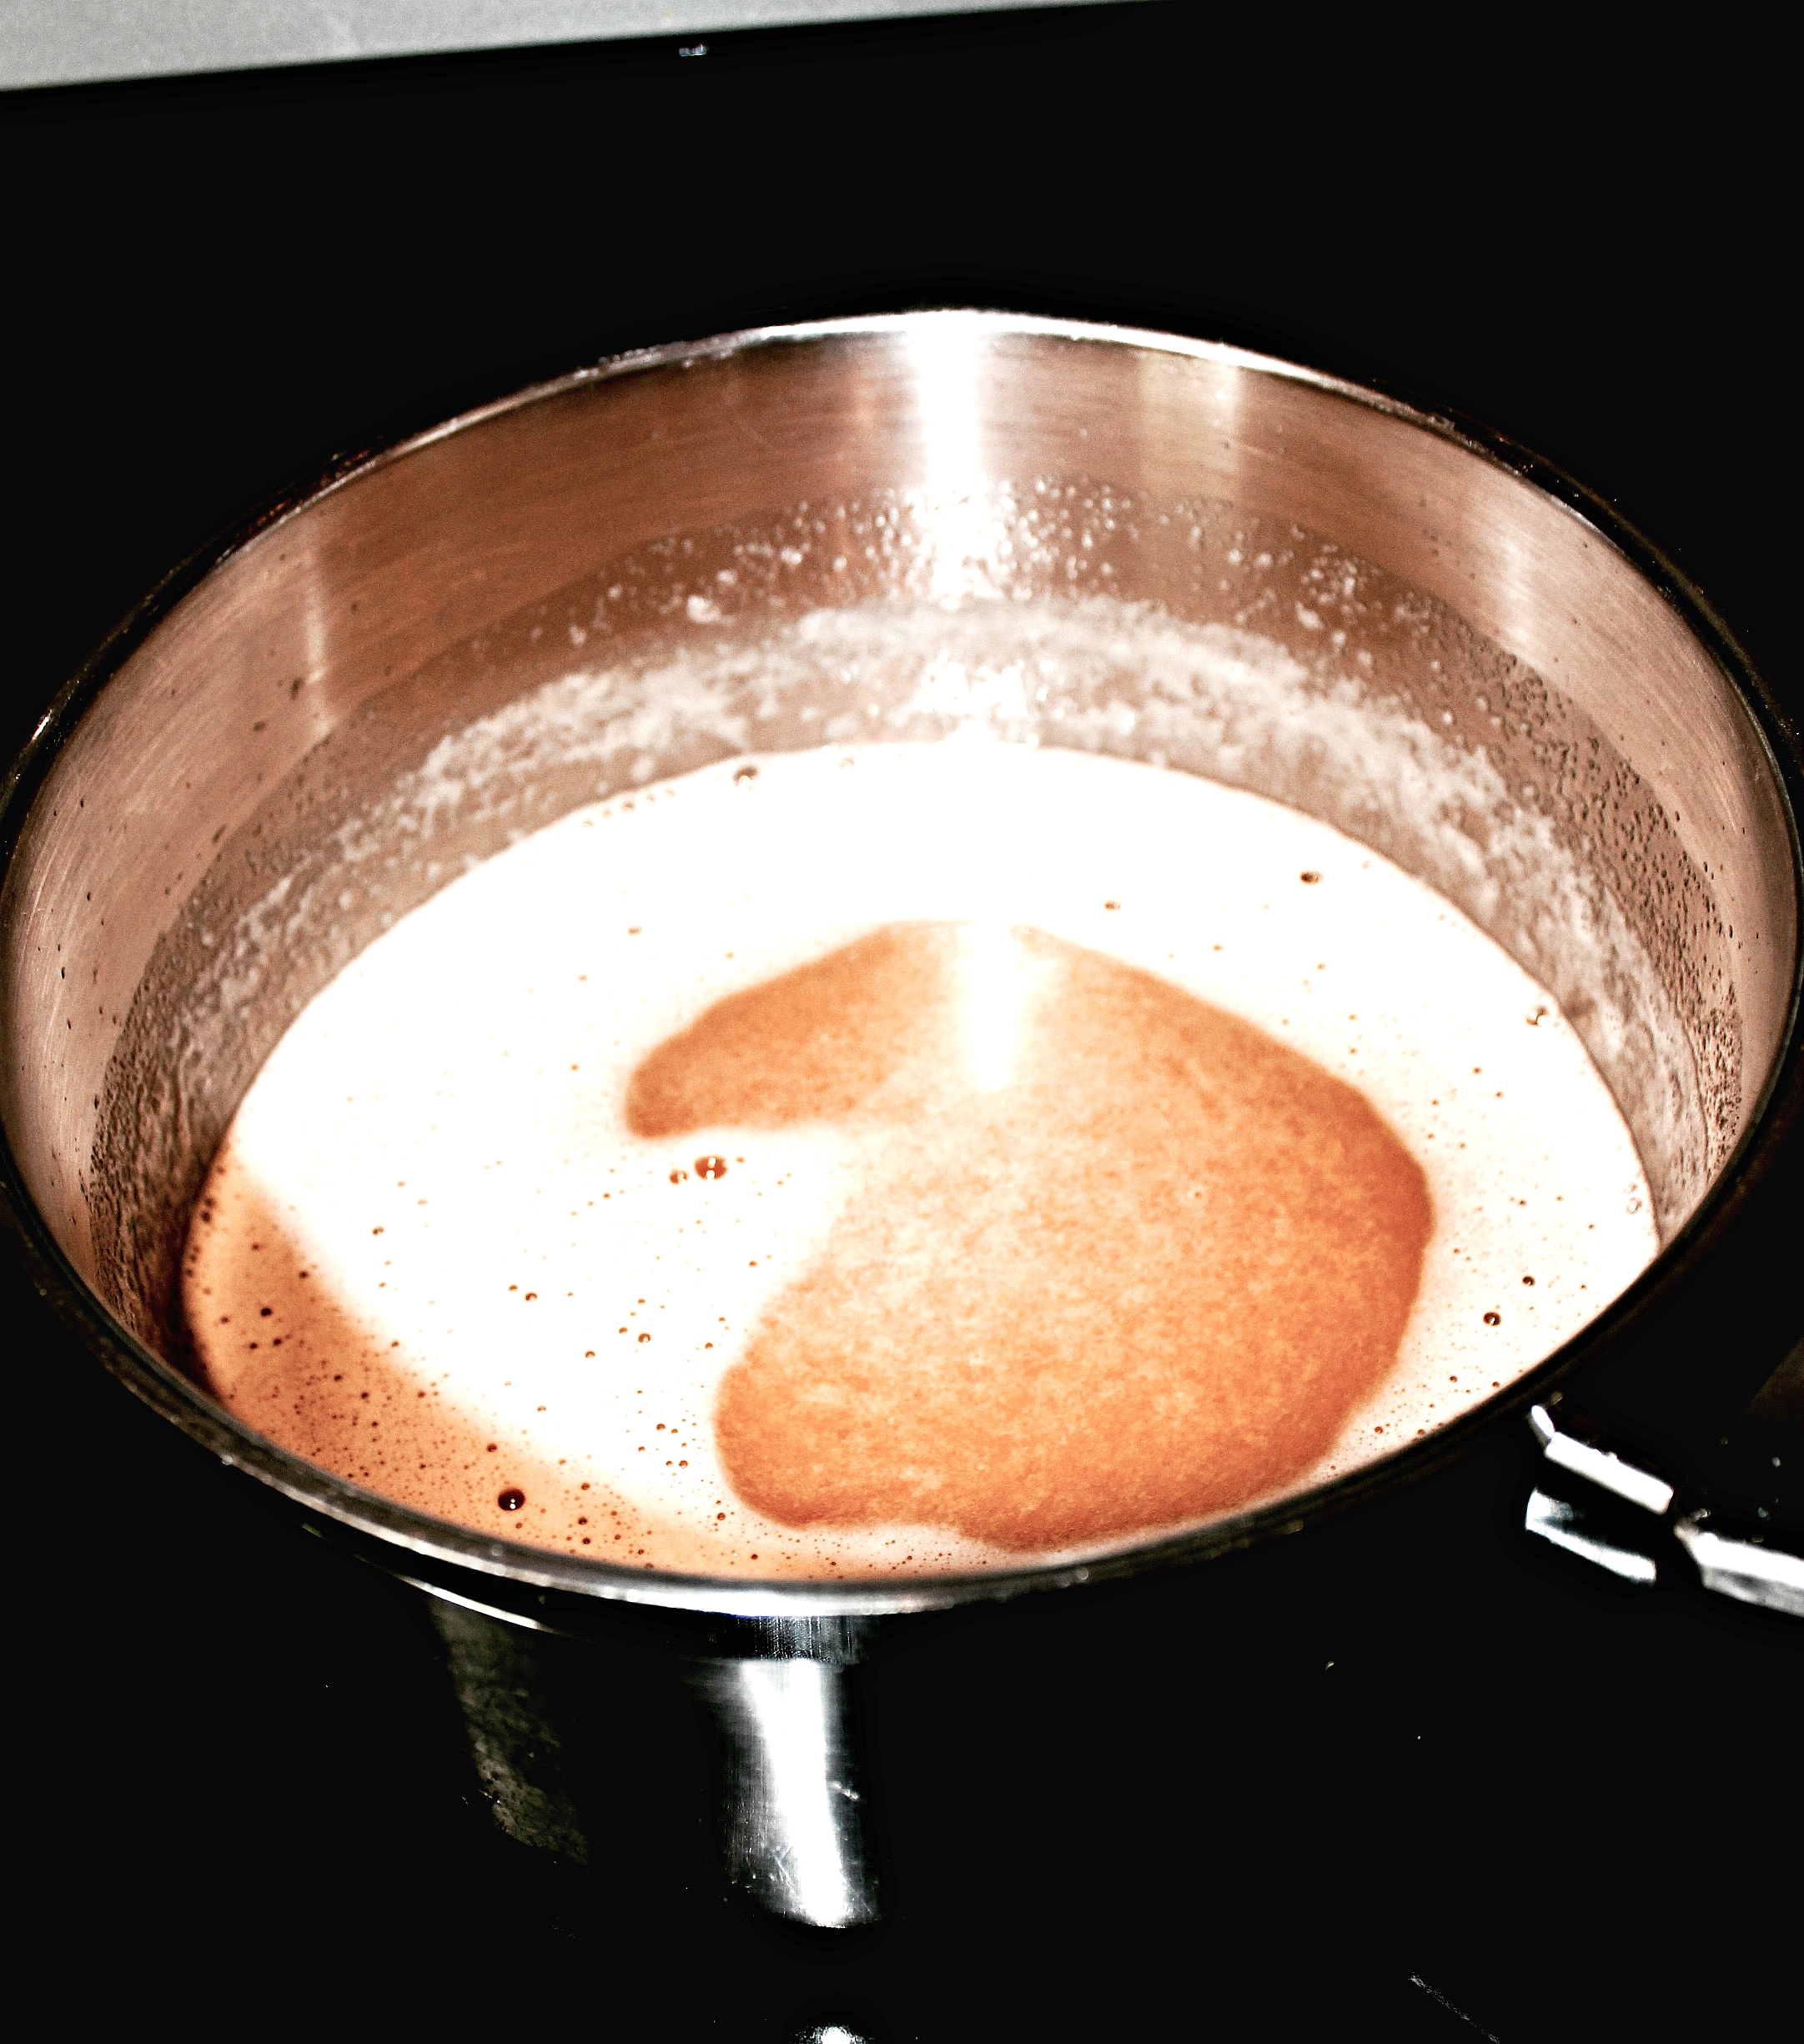
Step 4: Brown butter by melting 3/4 of cup (12 Tbsp) butter in a medium, heavy bottomed pot over medium heat. Don’t stir, but swirl the butter around by moving the pot itself every few seconds. Watch the whole time, until butter is a golden brown colour. It will turn brown at the edges first, hence the swirling, so nothing burns. Watch carefully, the bits in the bottom can turn black and burn quickly, and it will continue to brown a few seconds even after you remove it from the heat.
Step 5: Place graham cracker crumbs in a bowl and pour browned butter over top, making sure to scrape out all the brown bits in the bottom of the pan. Stir together, taste and decide that this alone could be dessert. Like an amazing graham cracker pudding dessert of sorts. It’s safe to say you have never had graham crackers taste this amazing before. Resist getting a spoon and sitting down. Remind yourself of the end goal. The in-laws, think of the in-laws!!!
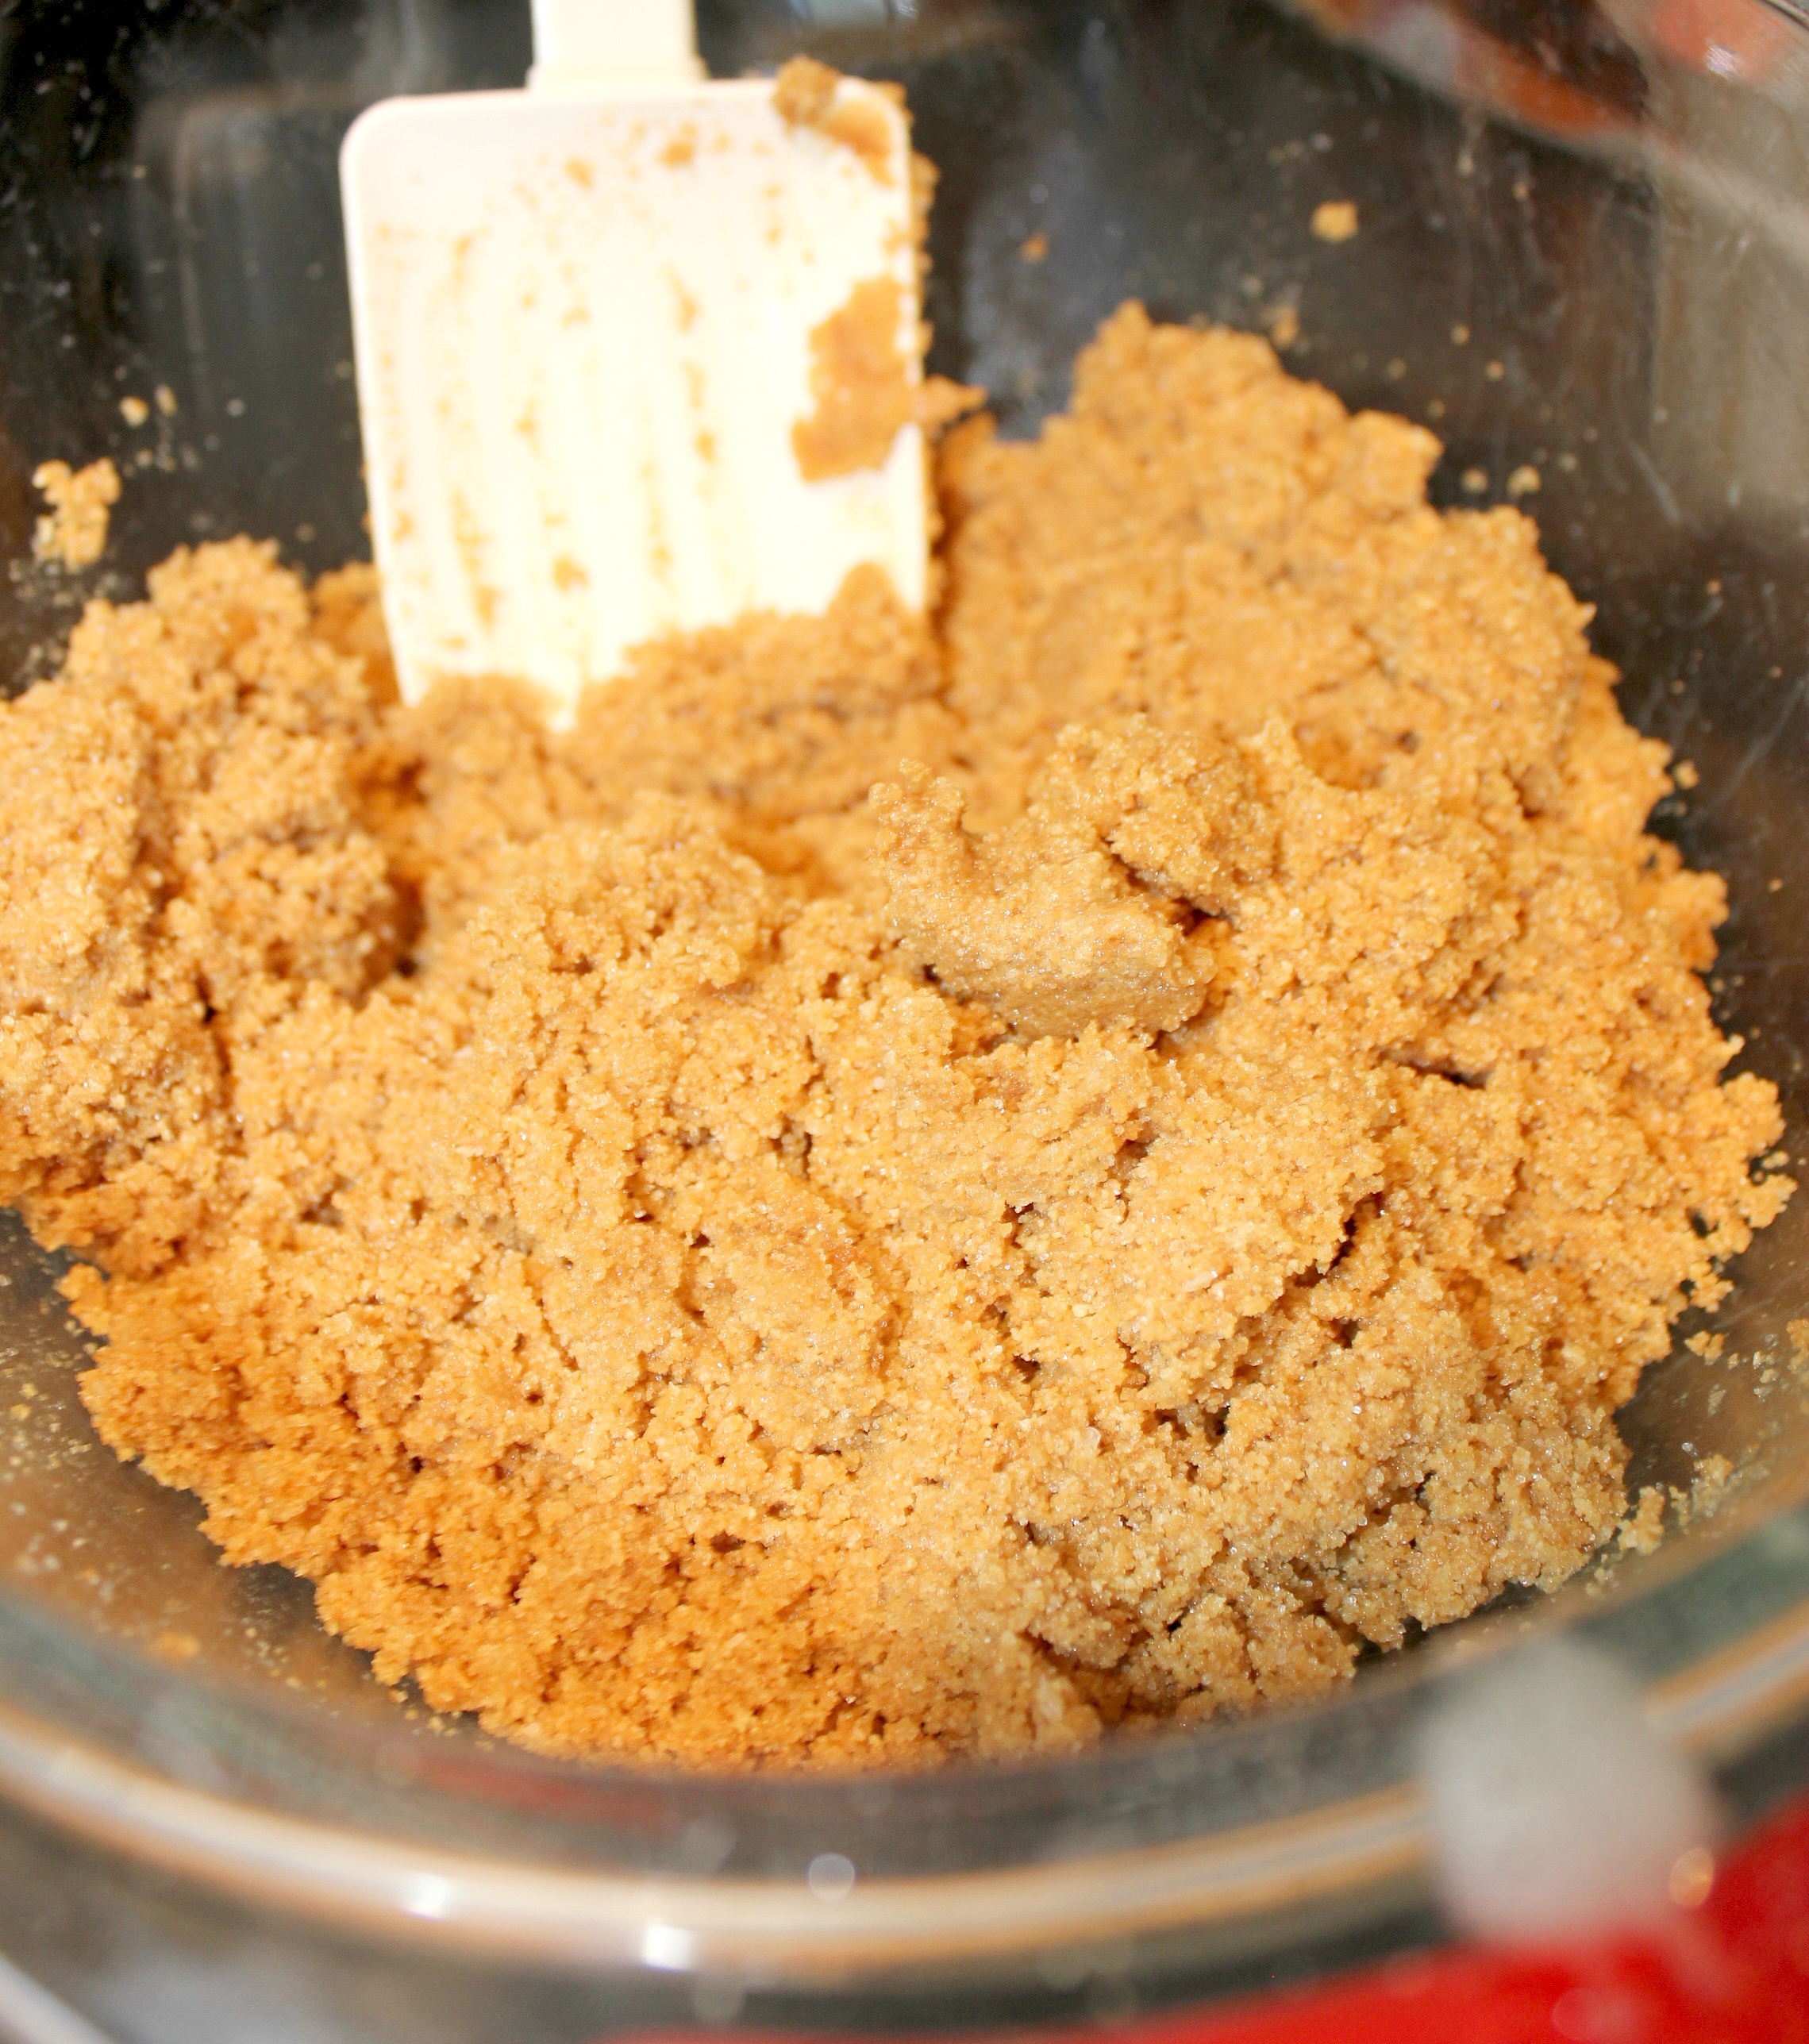
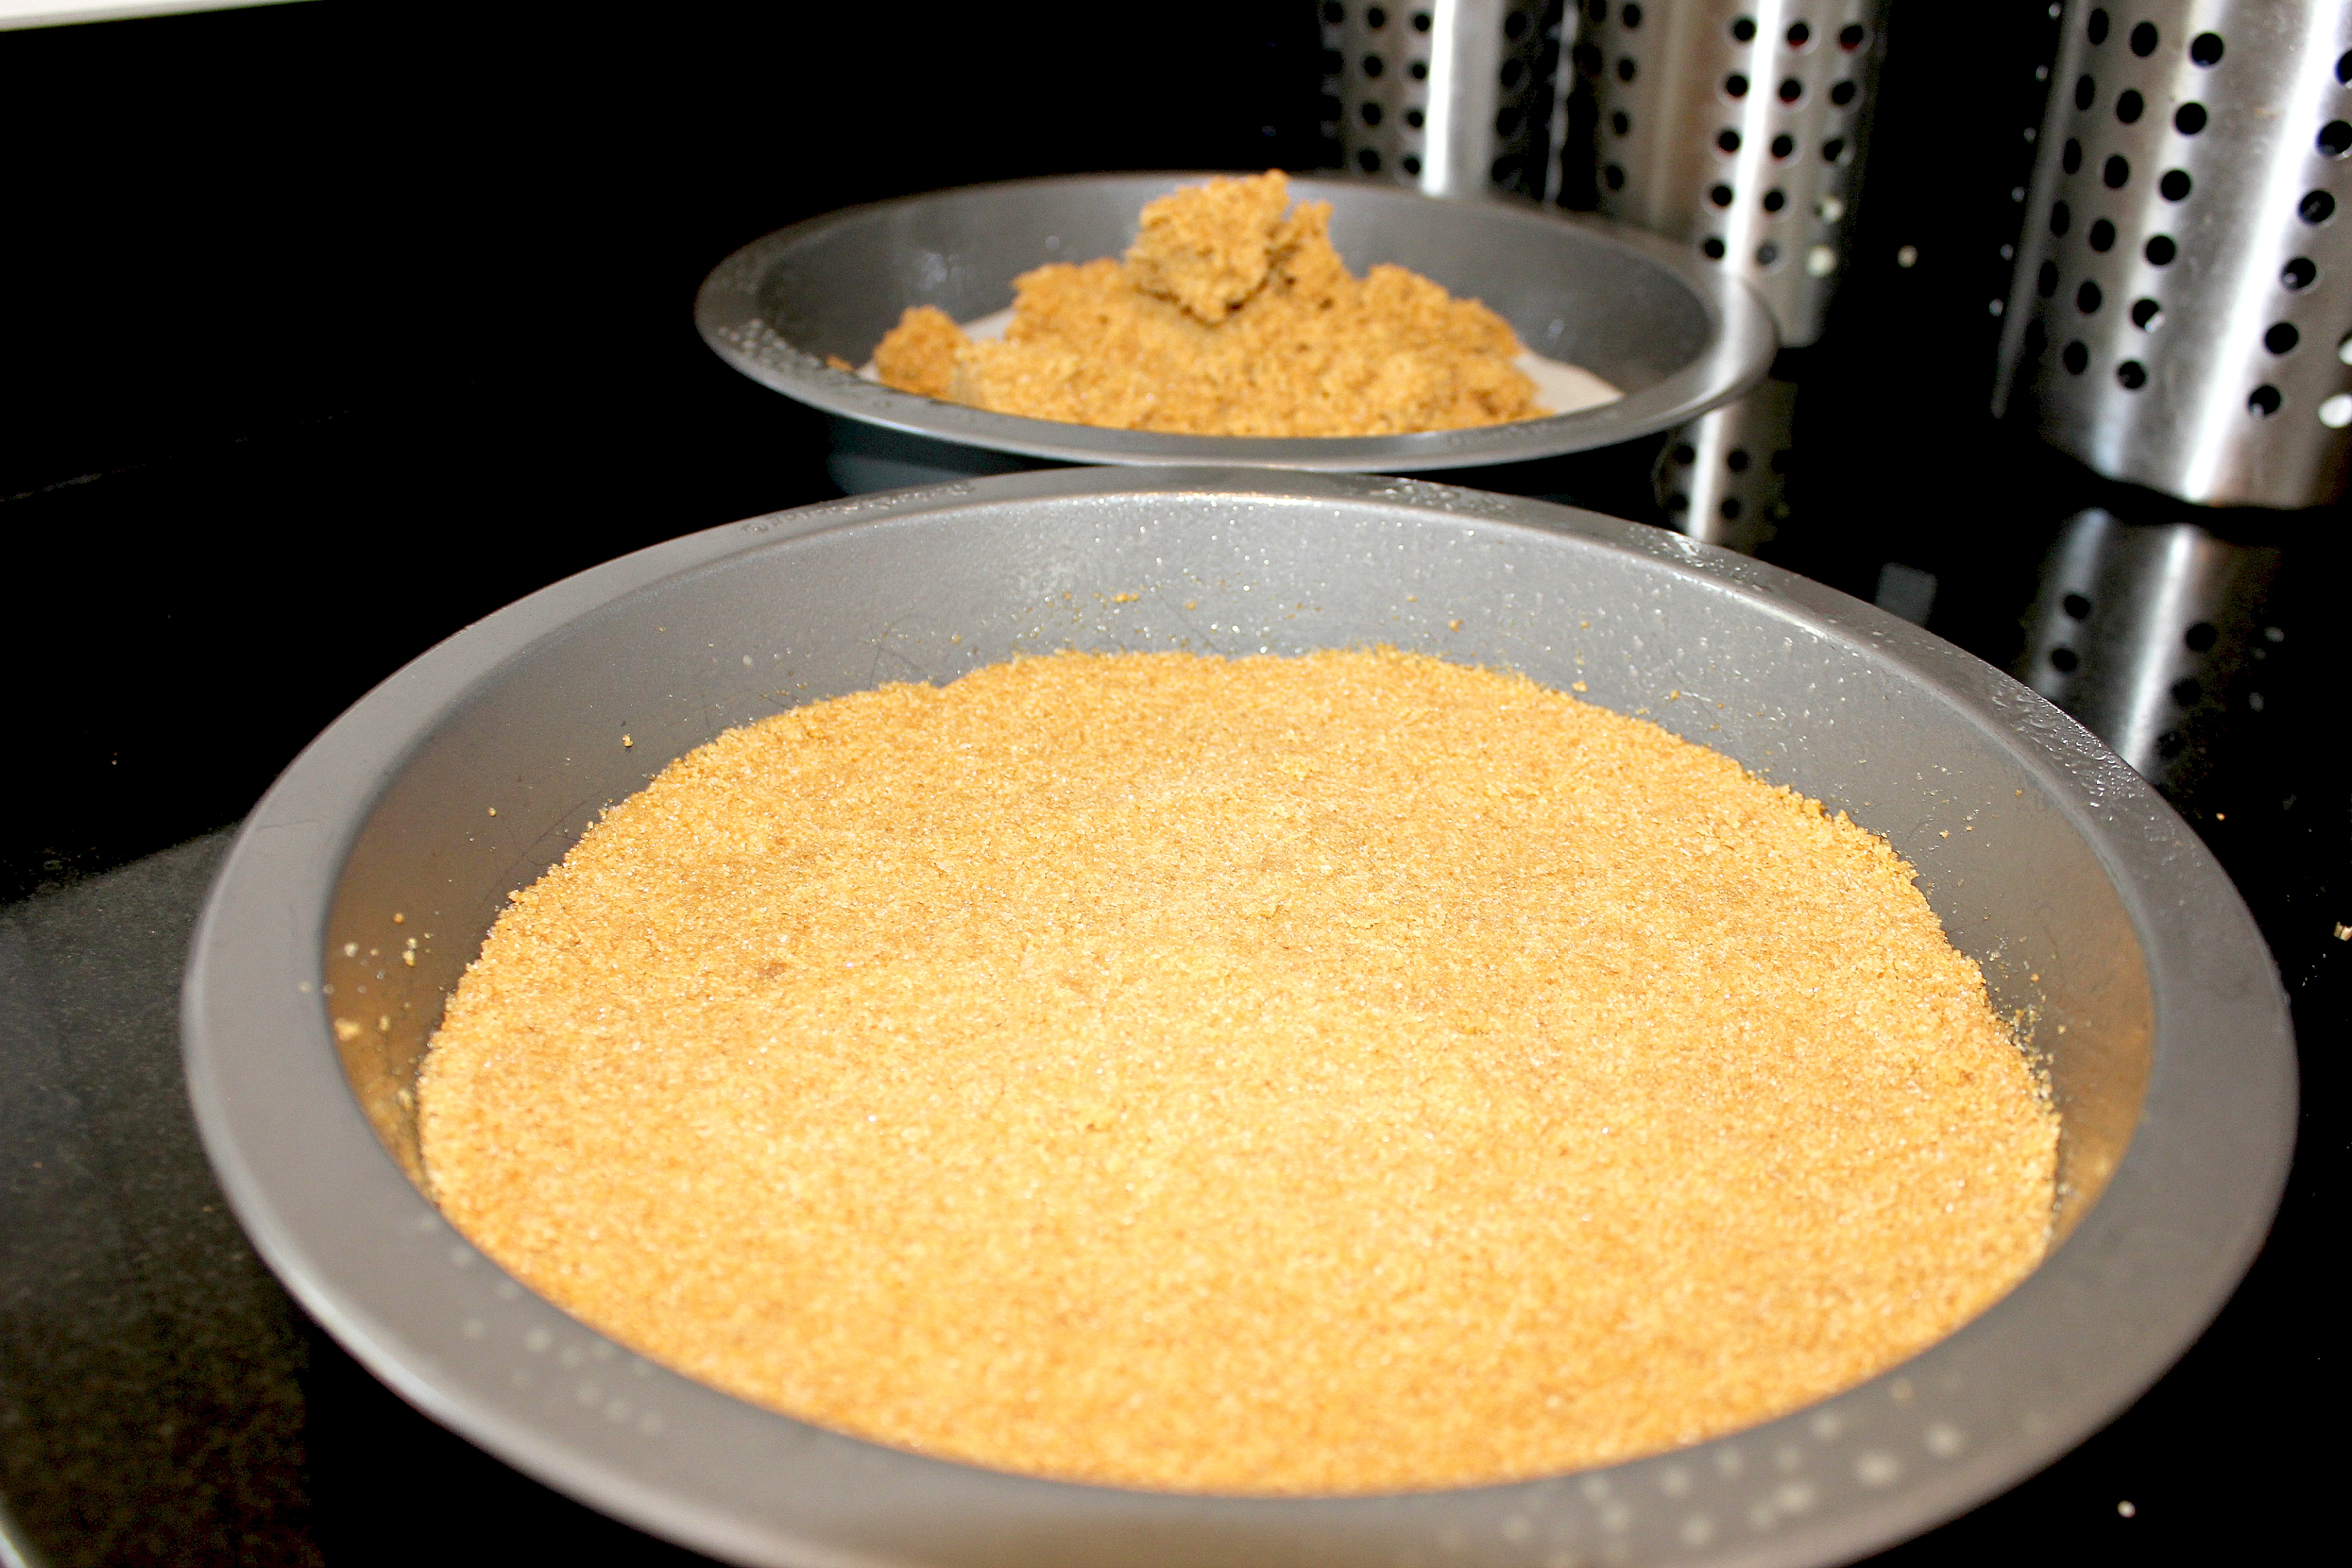
Step 6: Evenly press the graham cracker mixture of your dreams into each of the greased pans.
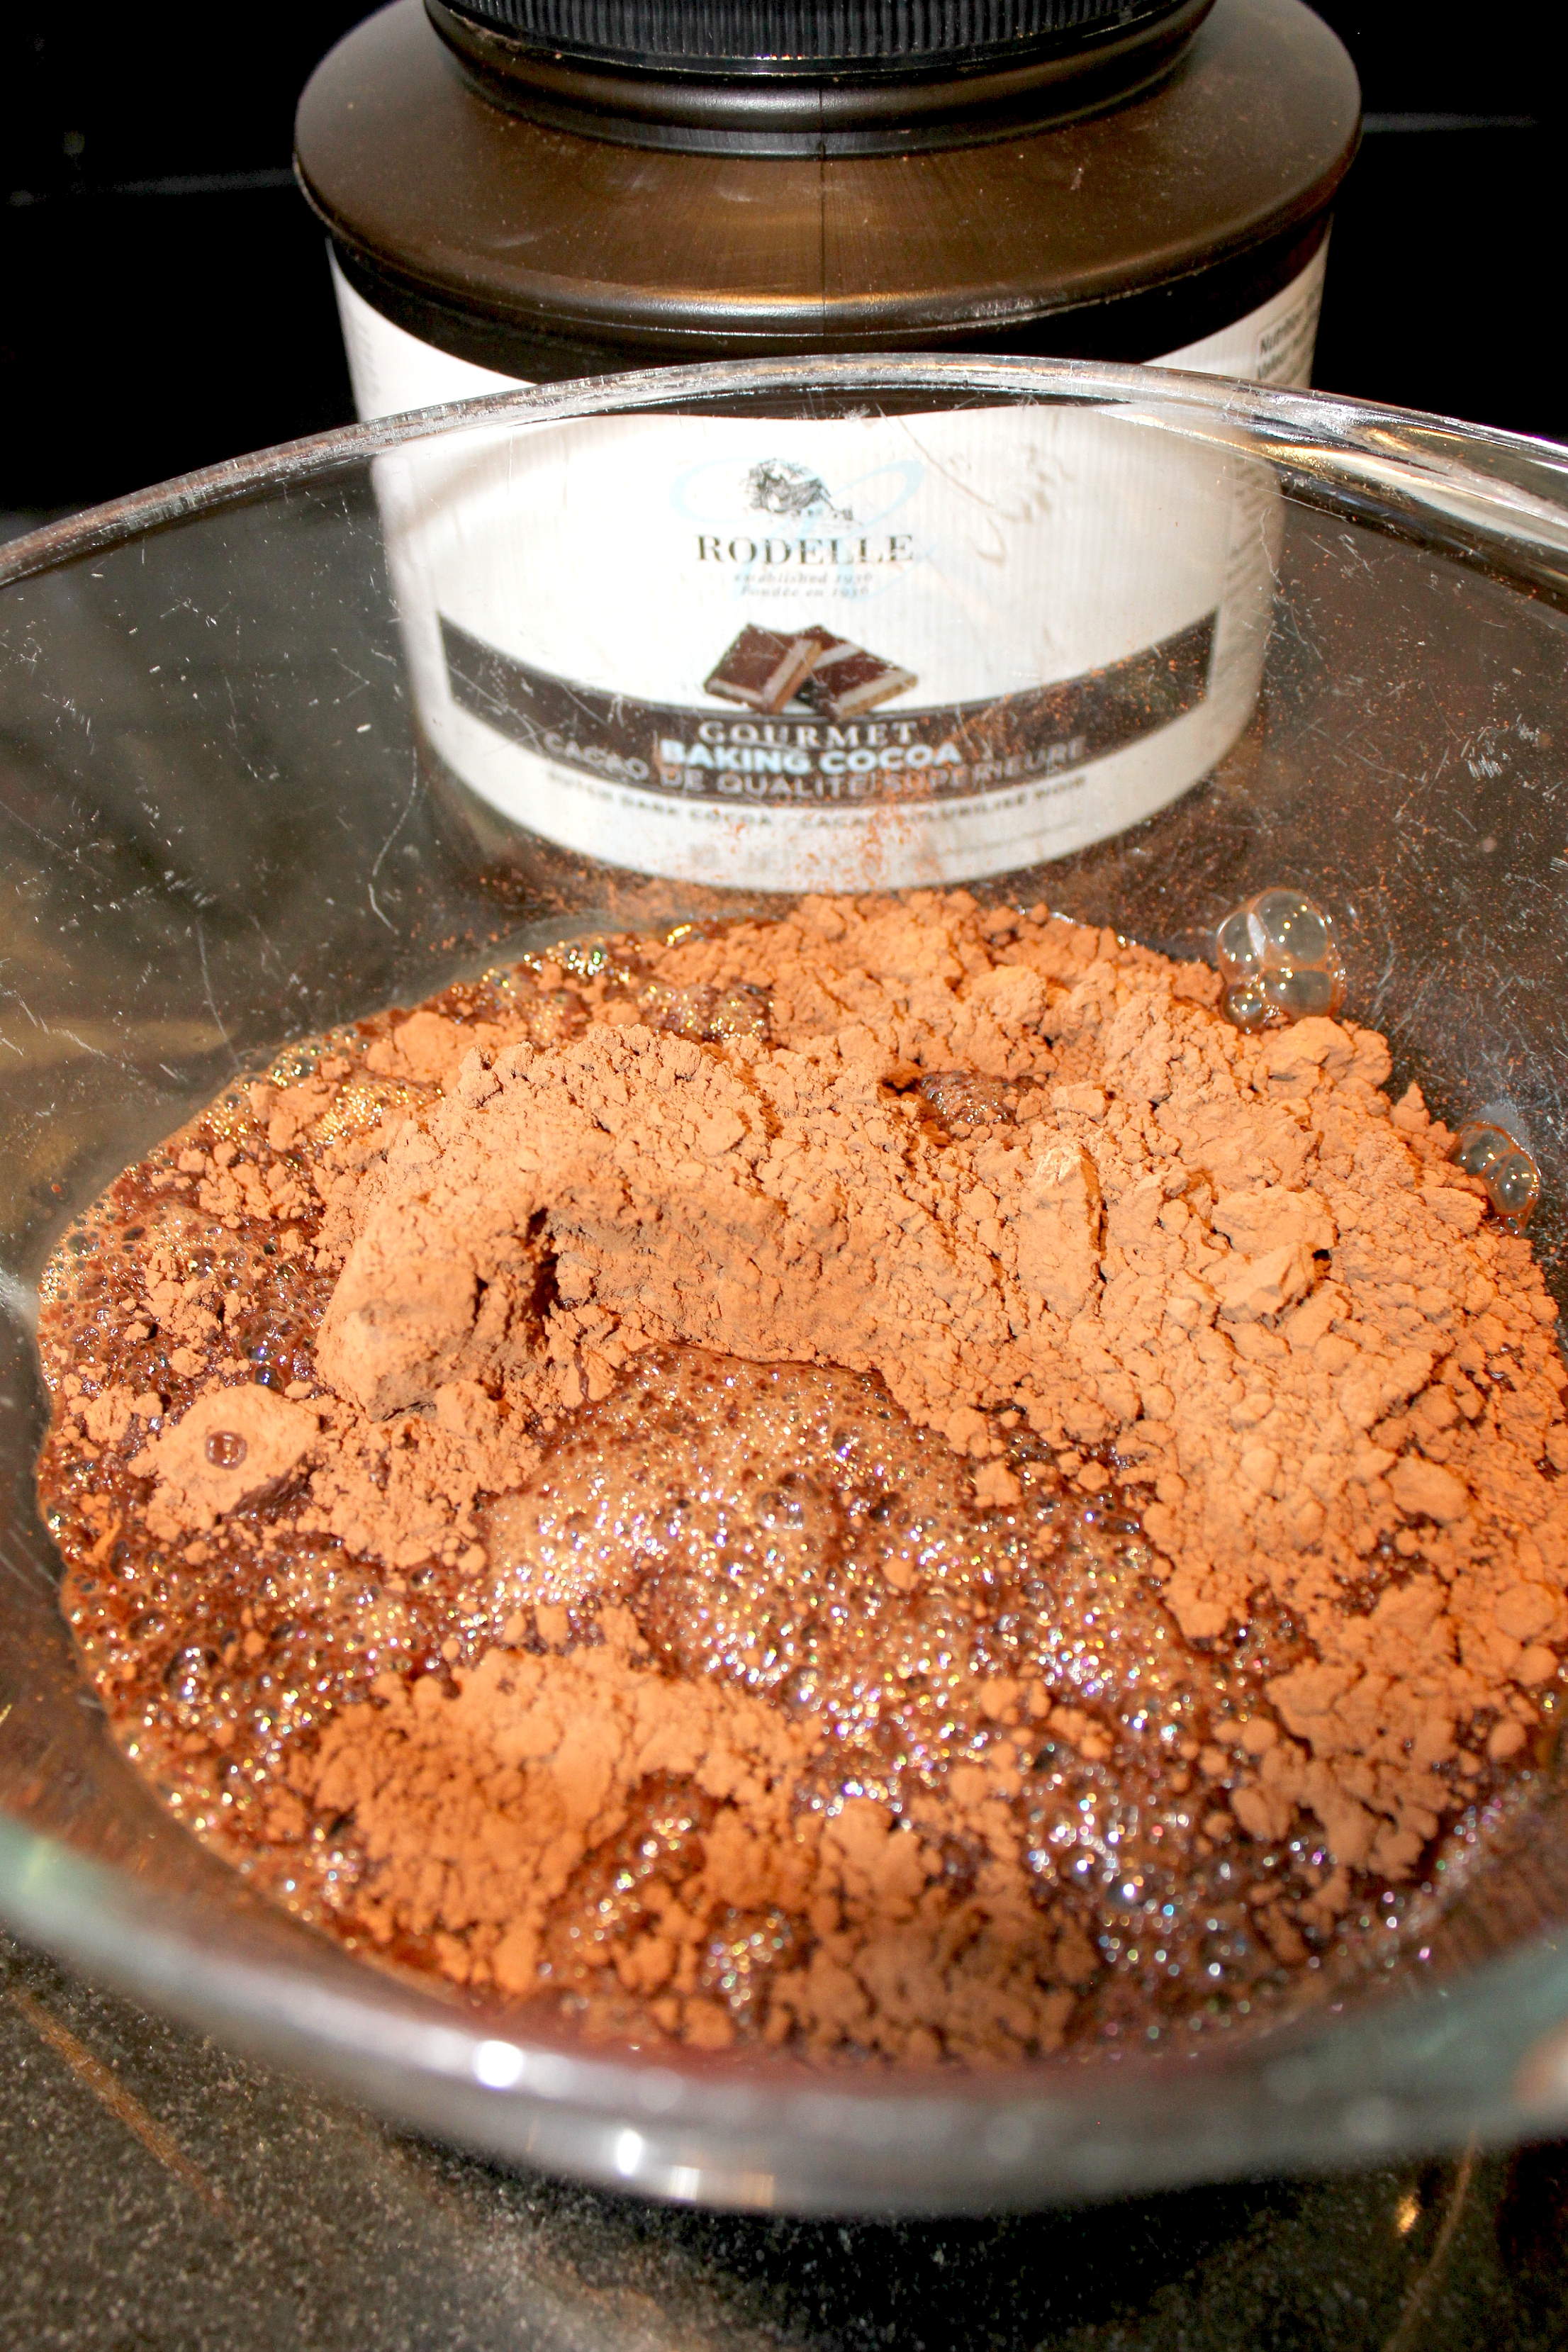
Step 7: Place 1 cup Rodelle Gourmet Baking Cocoa in a bowl. I get this Rodelle cocoa at Costco (several at a time, for the fear of them no longer carrying it next visit), because you know when recipes refer to using ‘Dutch process cocoa powder’ and you just use the stuff that your mother always used and wonder why people actually like cocoa? Well this is why. What a difference it makes. Seriously, one more level of yum to whatever you are making!
Step 8: Pour 2 cups boiling water over cocoa powder and whisk together. Set aside.
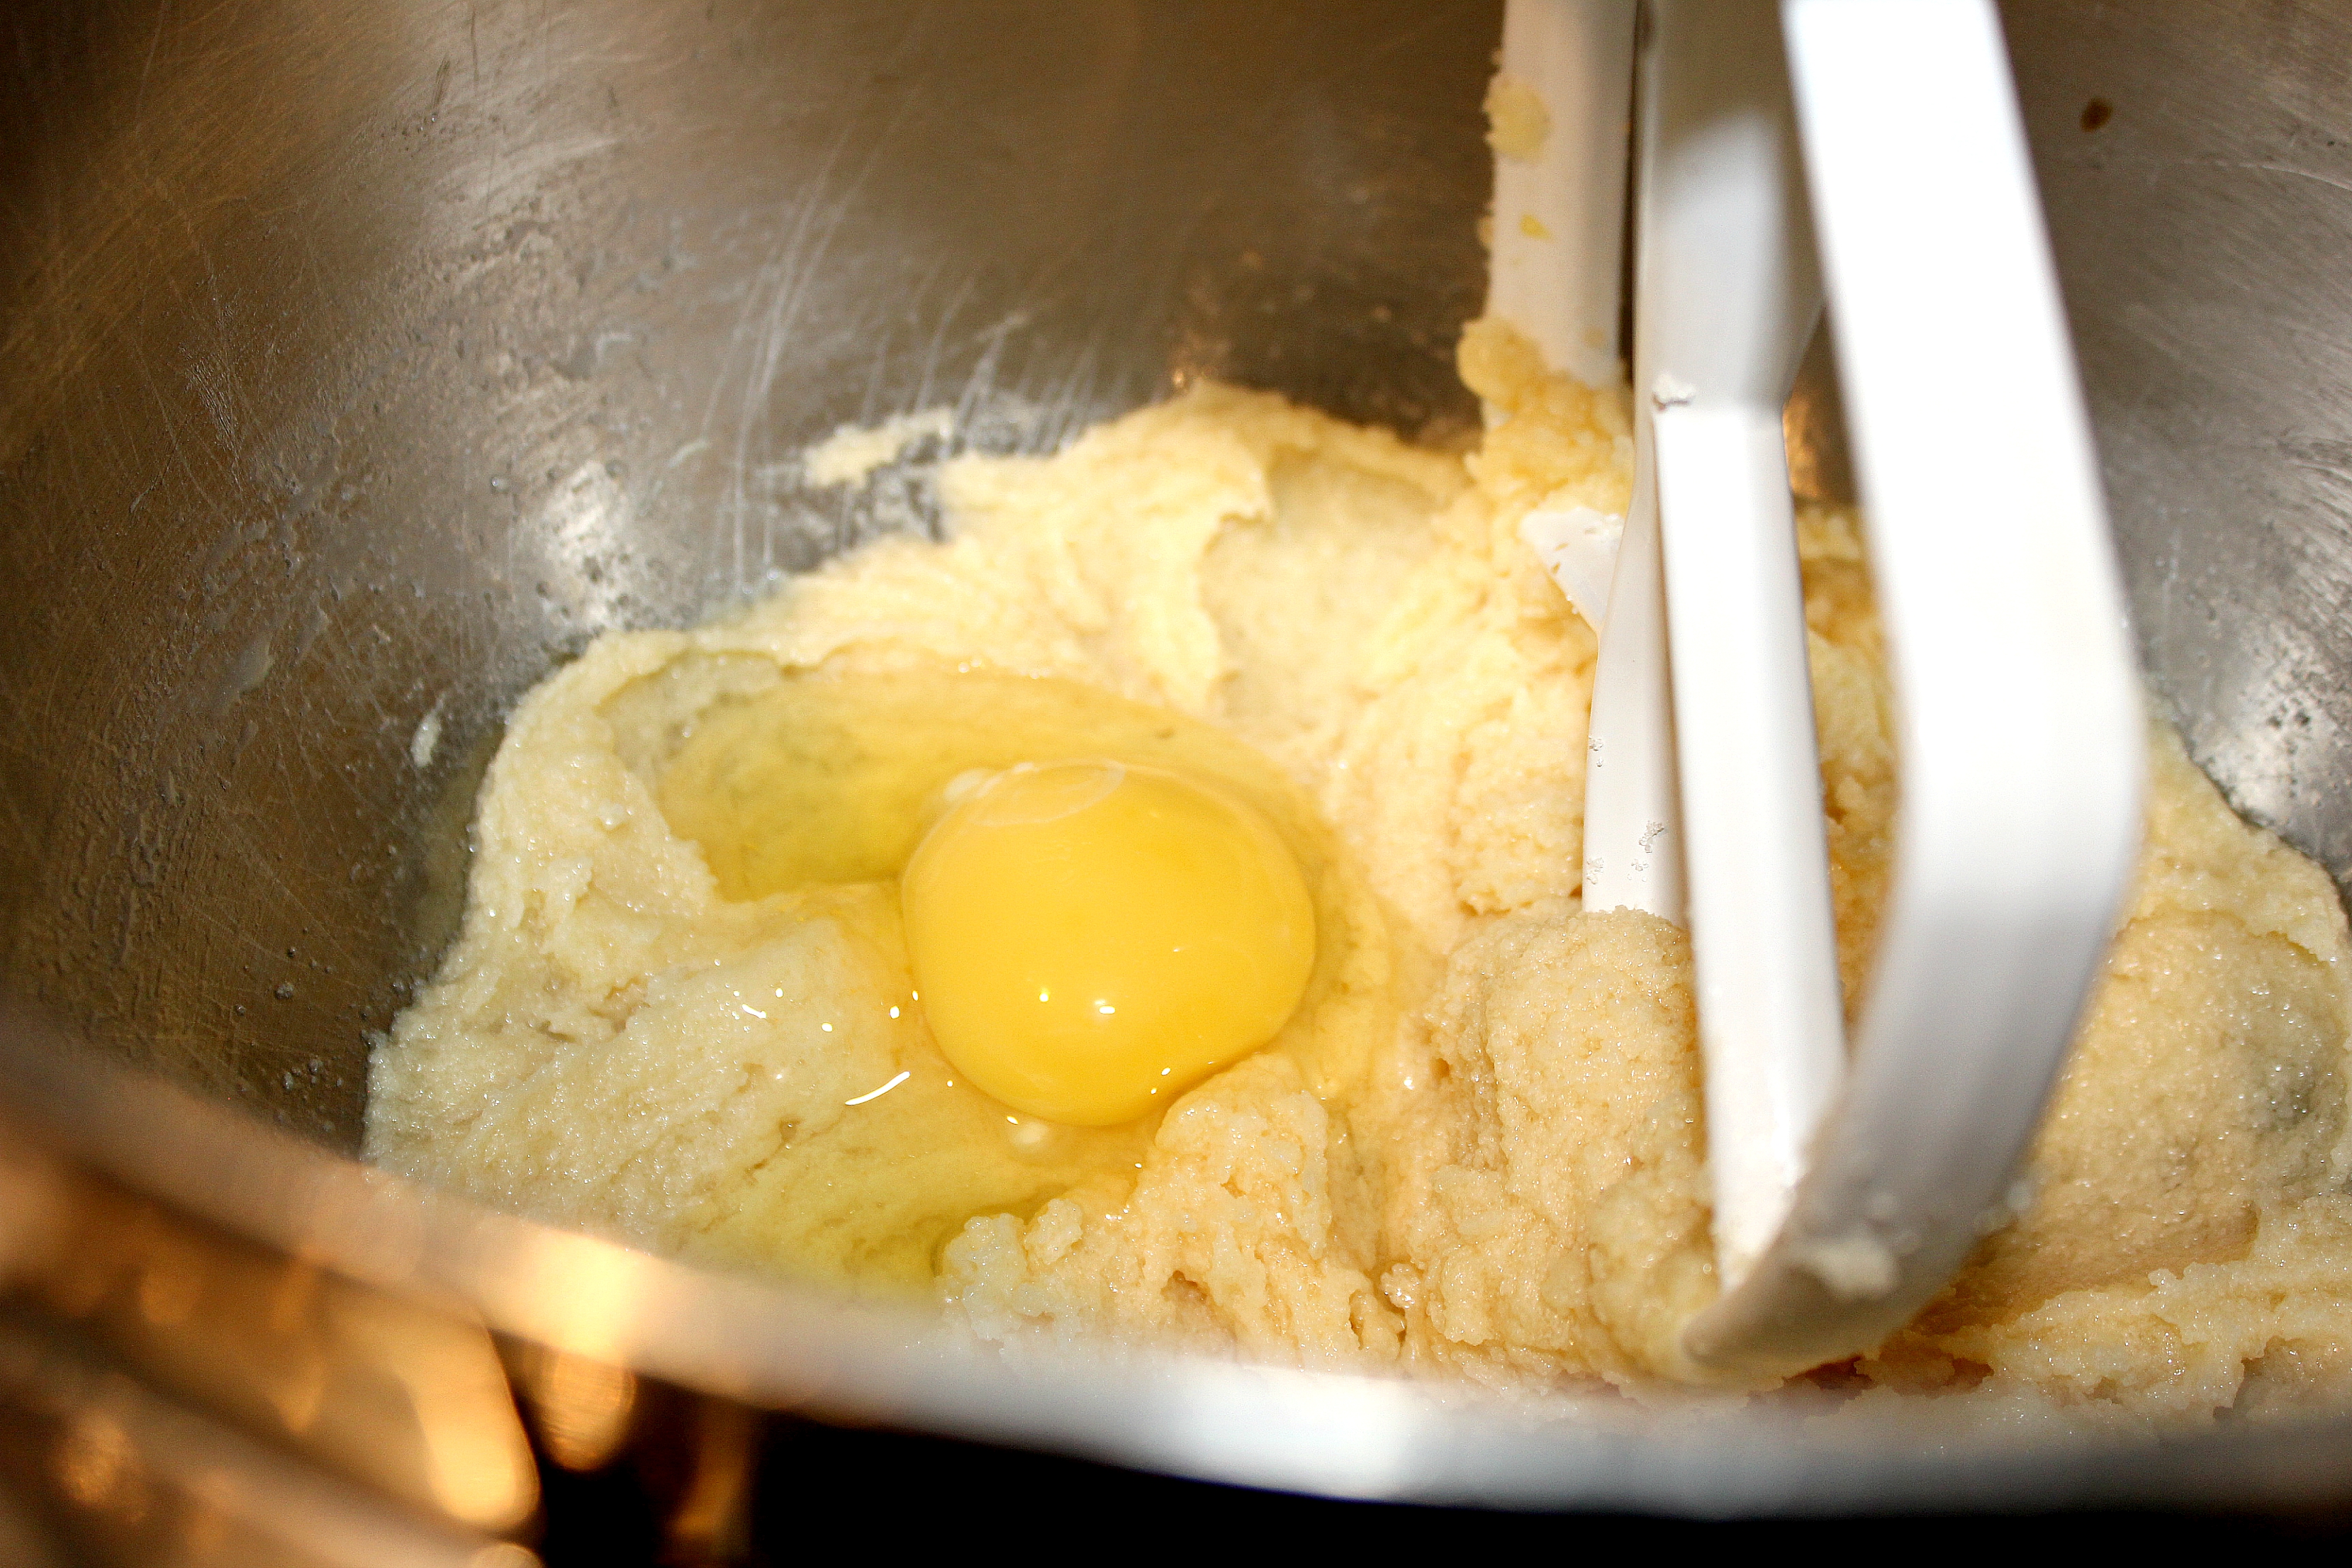
Step 9: Put 1 cup room temperature butter and 2 1/4 cups granulated sugar into a KitchenAid stand mixer and beat until light and fluffy.
Step 10: Add the vanilla and the eggs one at a time mixing until completely combined after each.
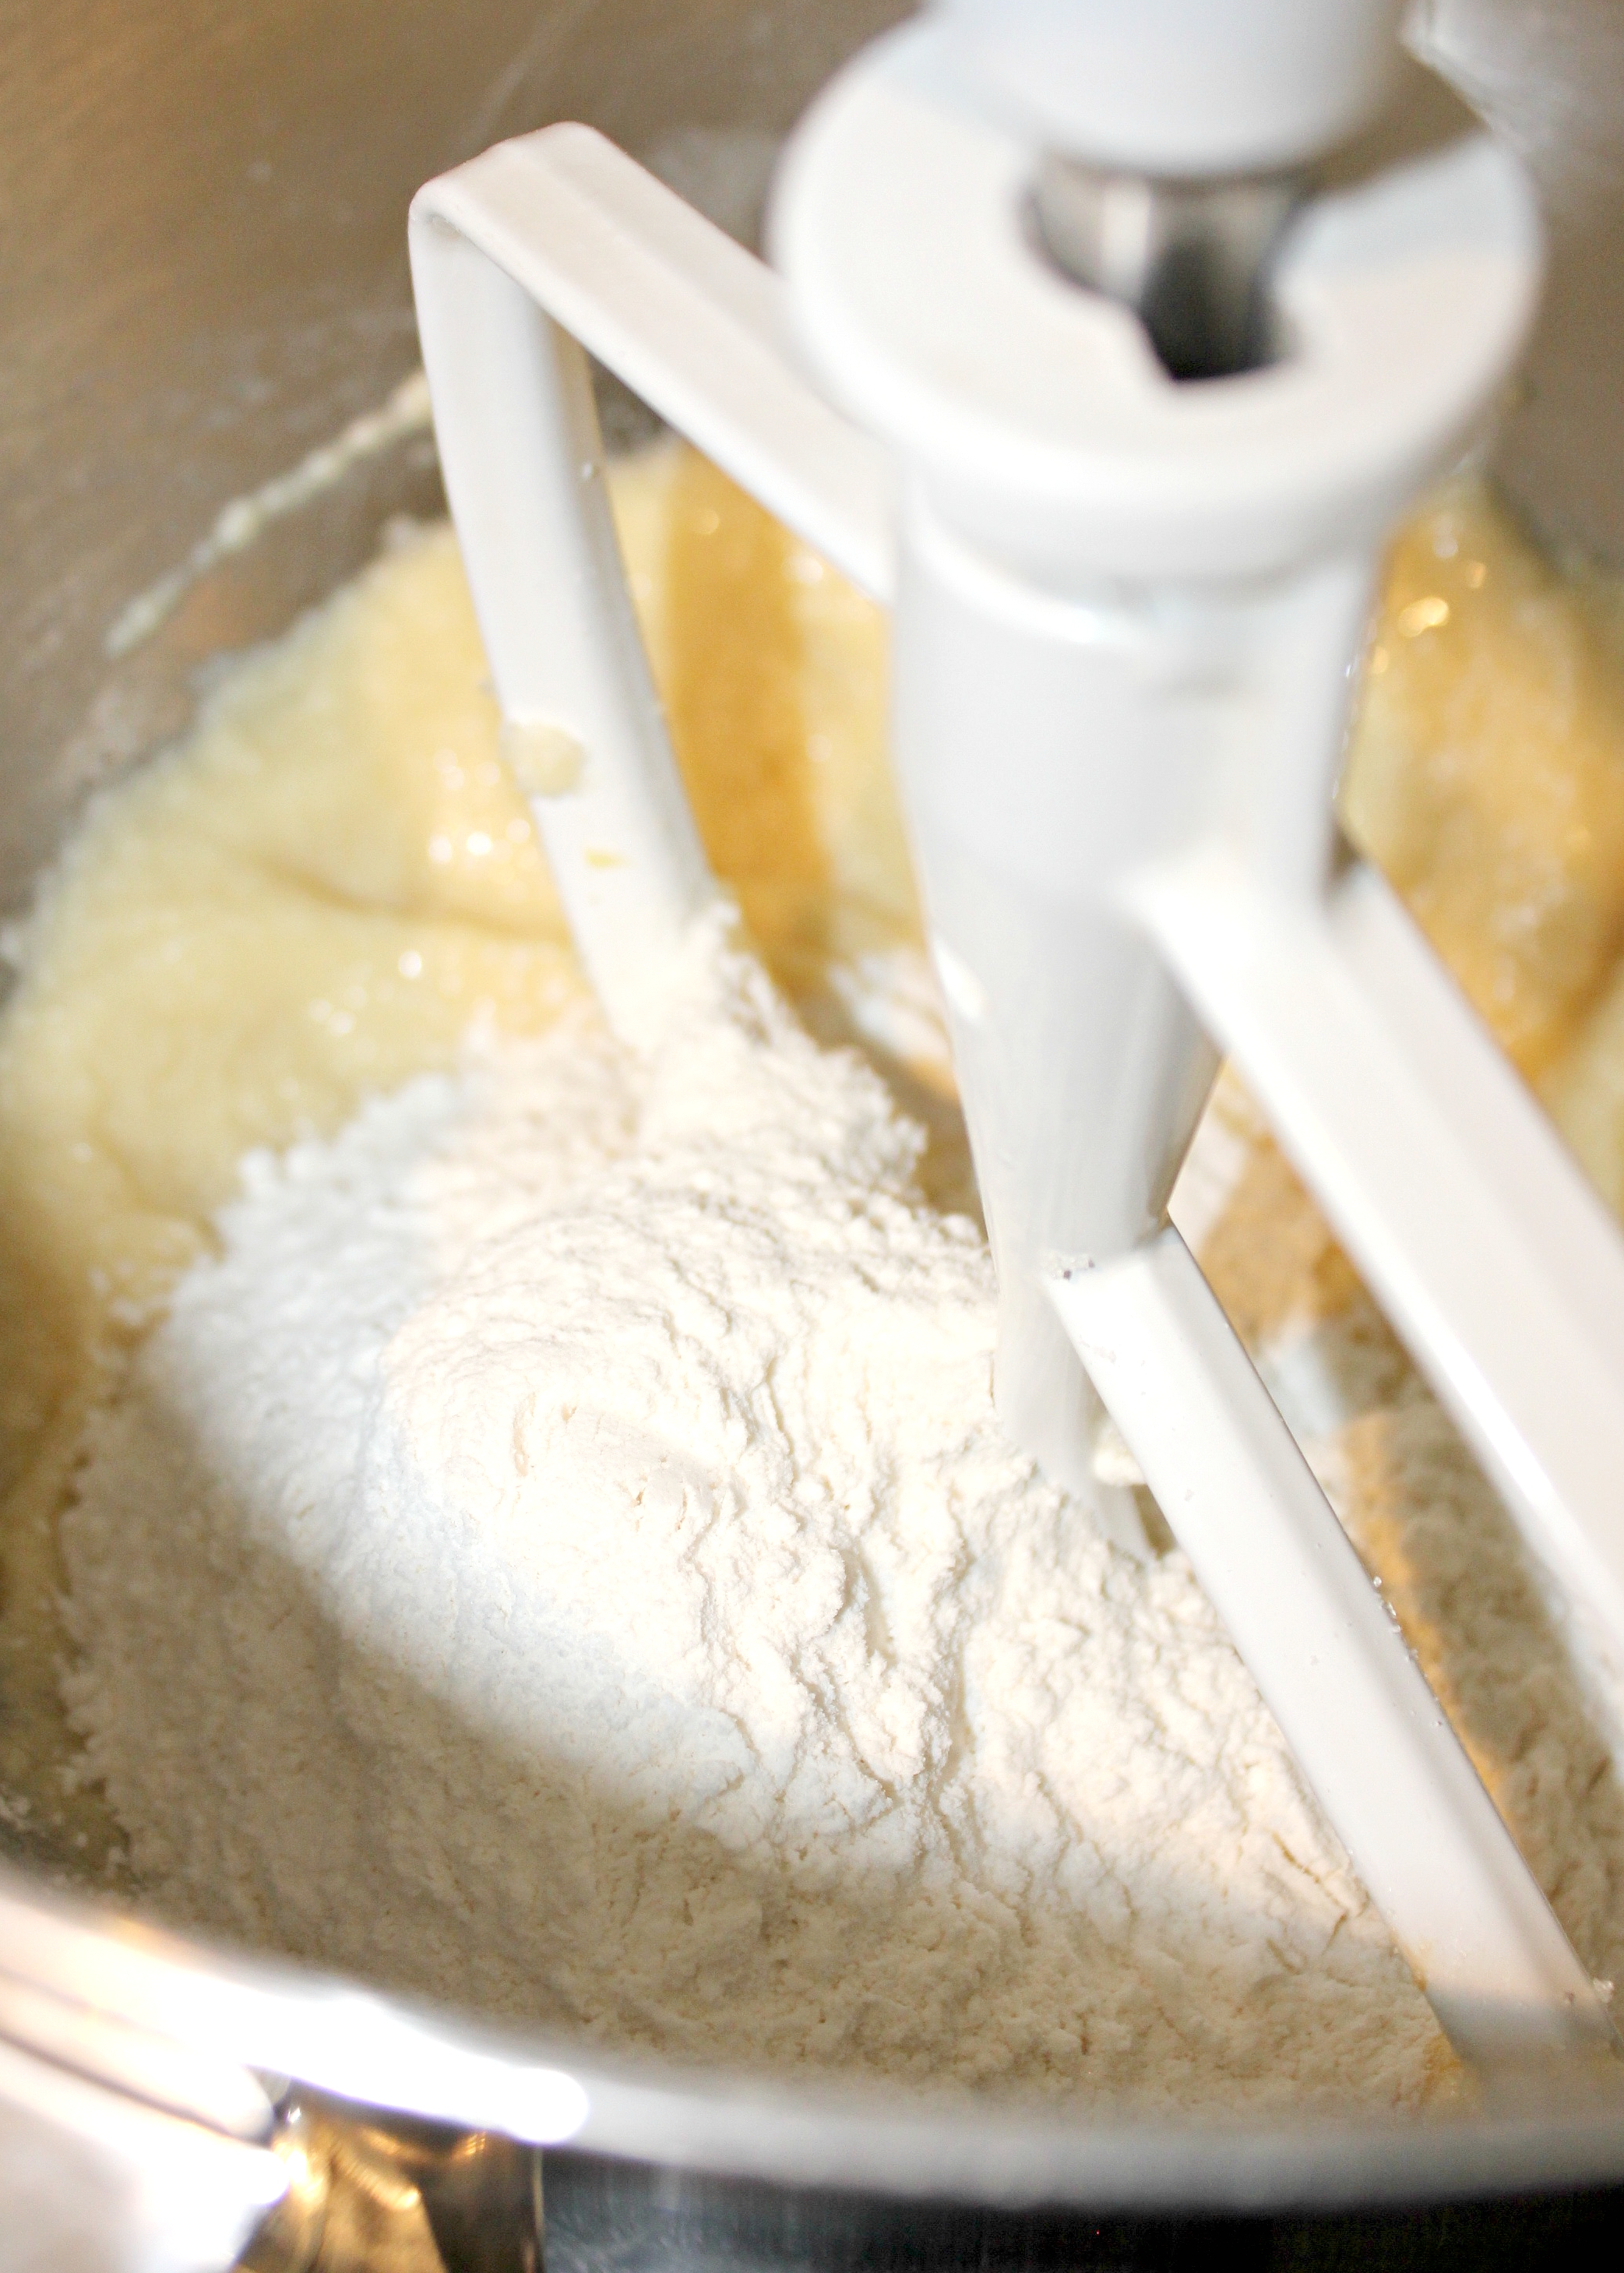
Step 11: Whisk the flour, baking soda, baking powder and salt together in a separate bowl.
Step 12: Gently add half the dry ingredients to the mixer. Mix on low until combined. Then slowly pour in half the chocolate mixture to the batter with the mixer running on low. Repeat with the remaining dry ingredients and chocolate. Mix into a smooth batter.
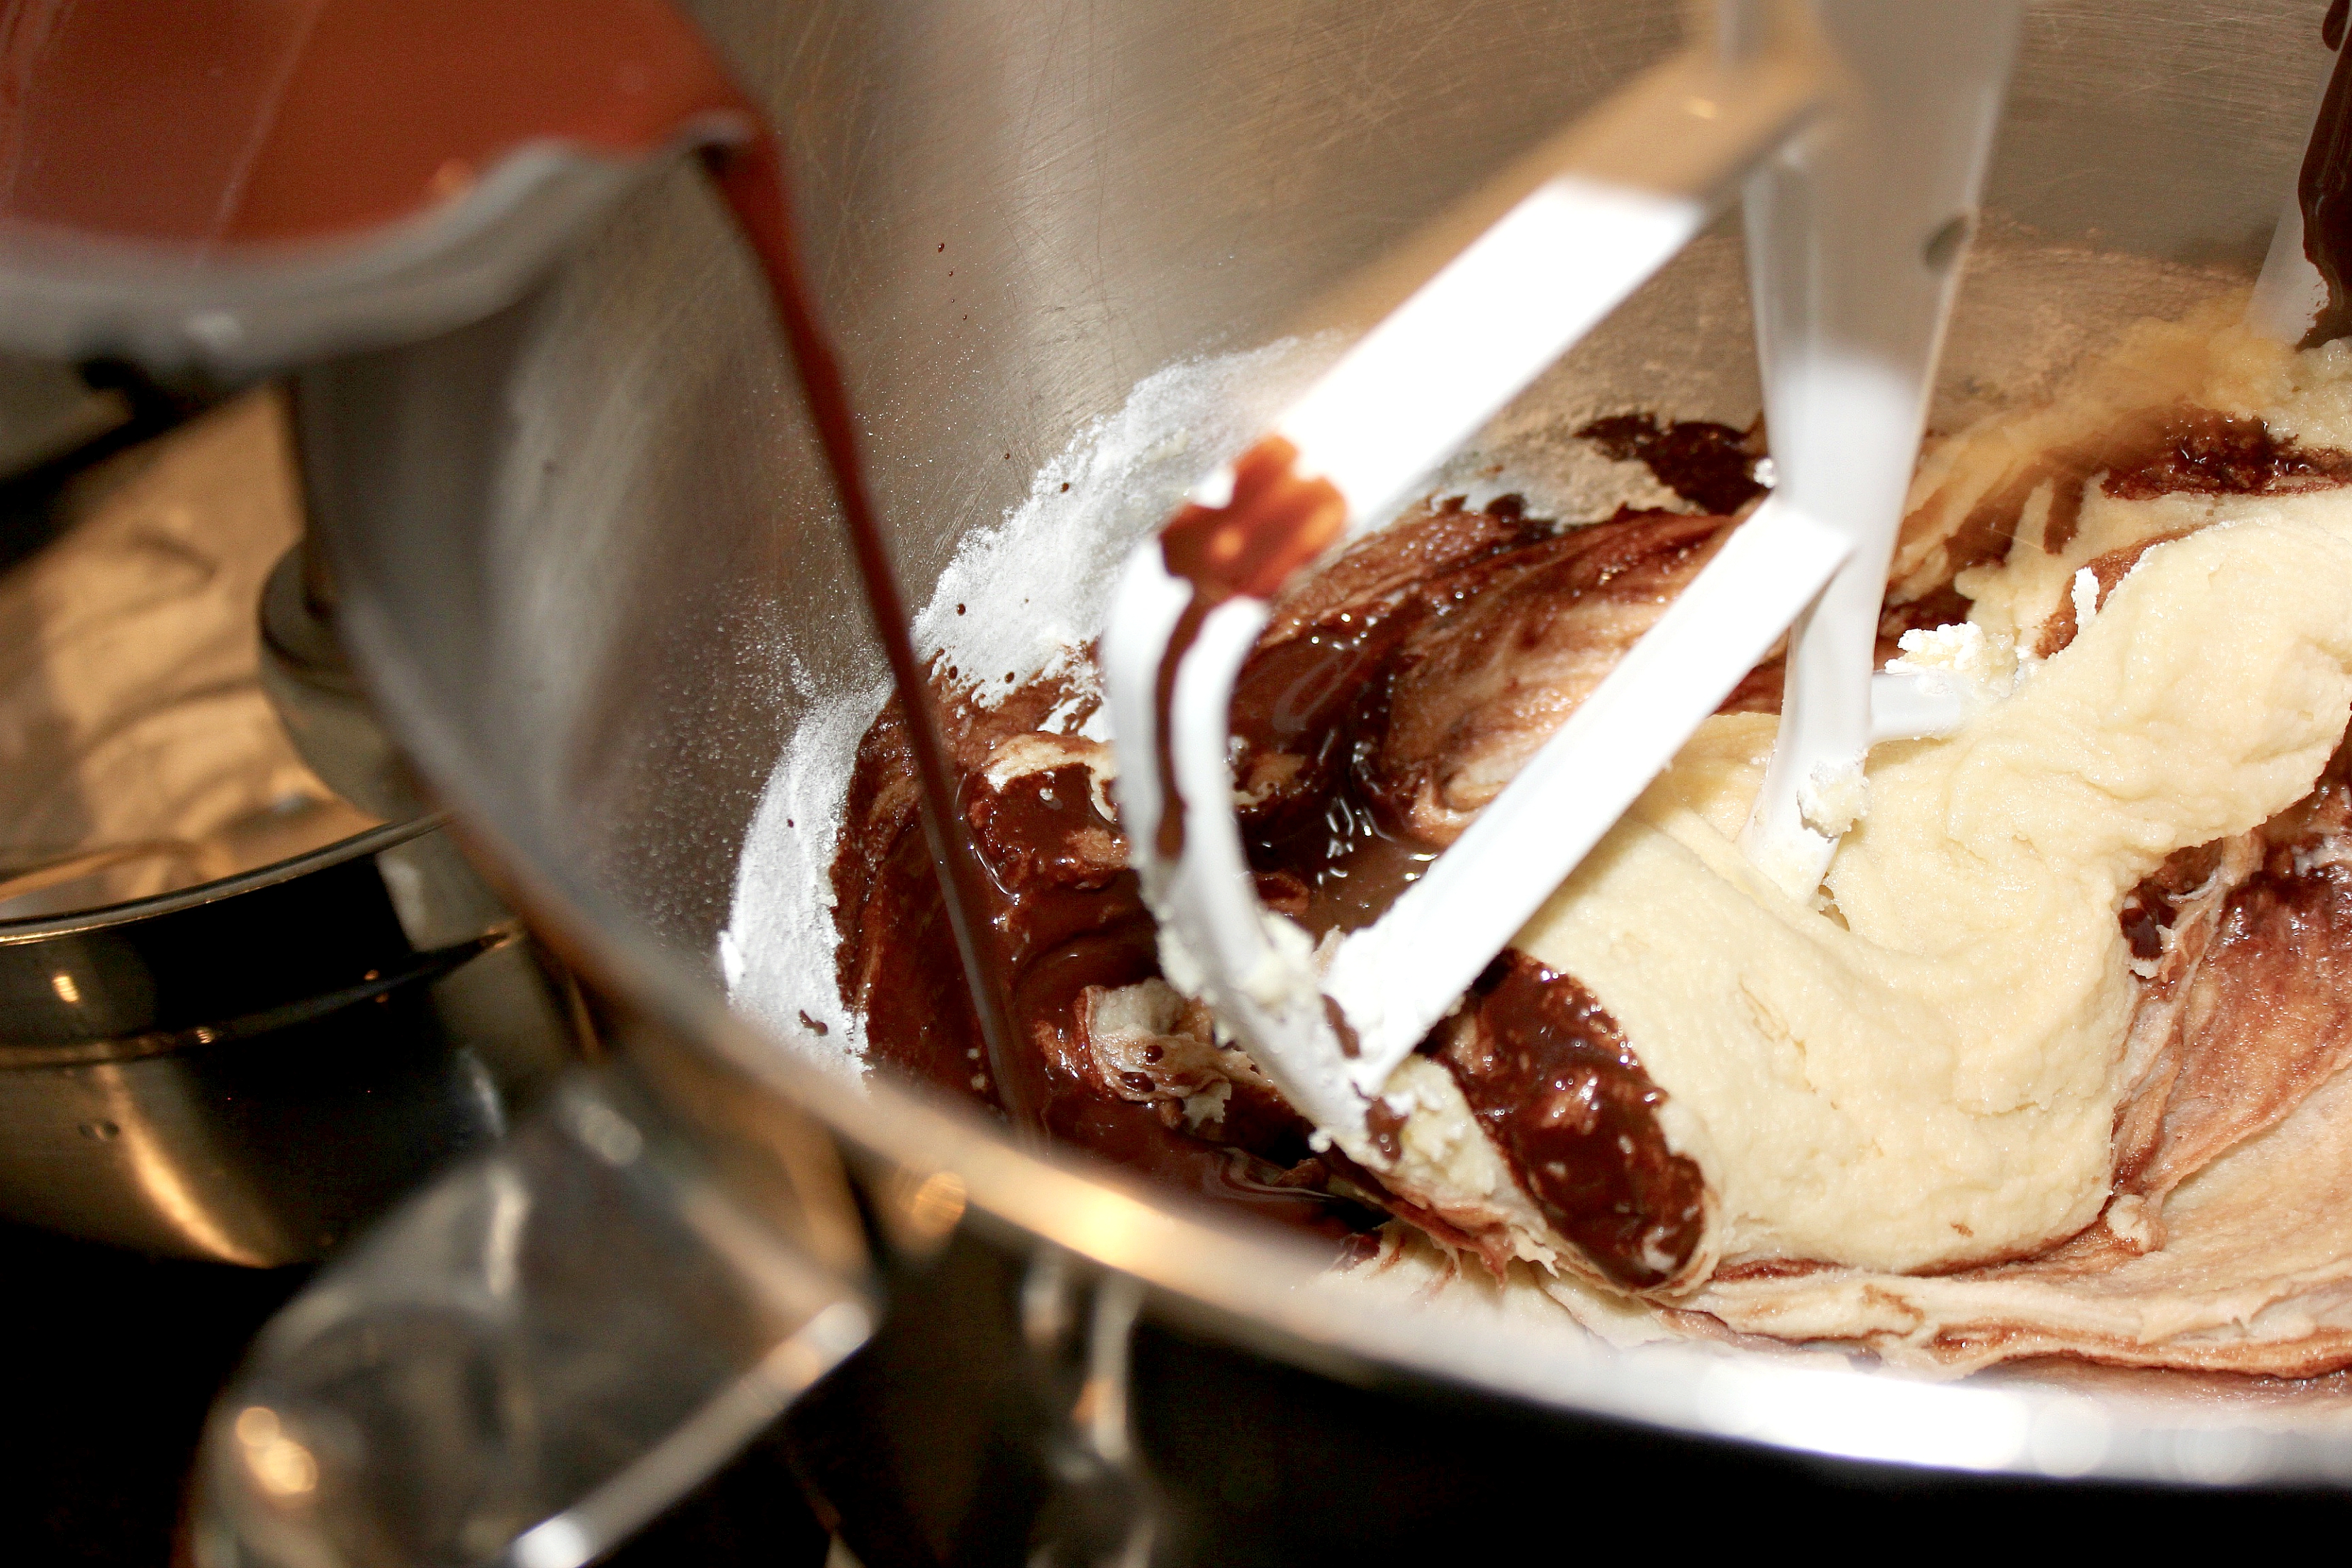
This makes a very velvety batter, when all is said and done.
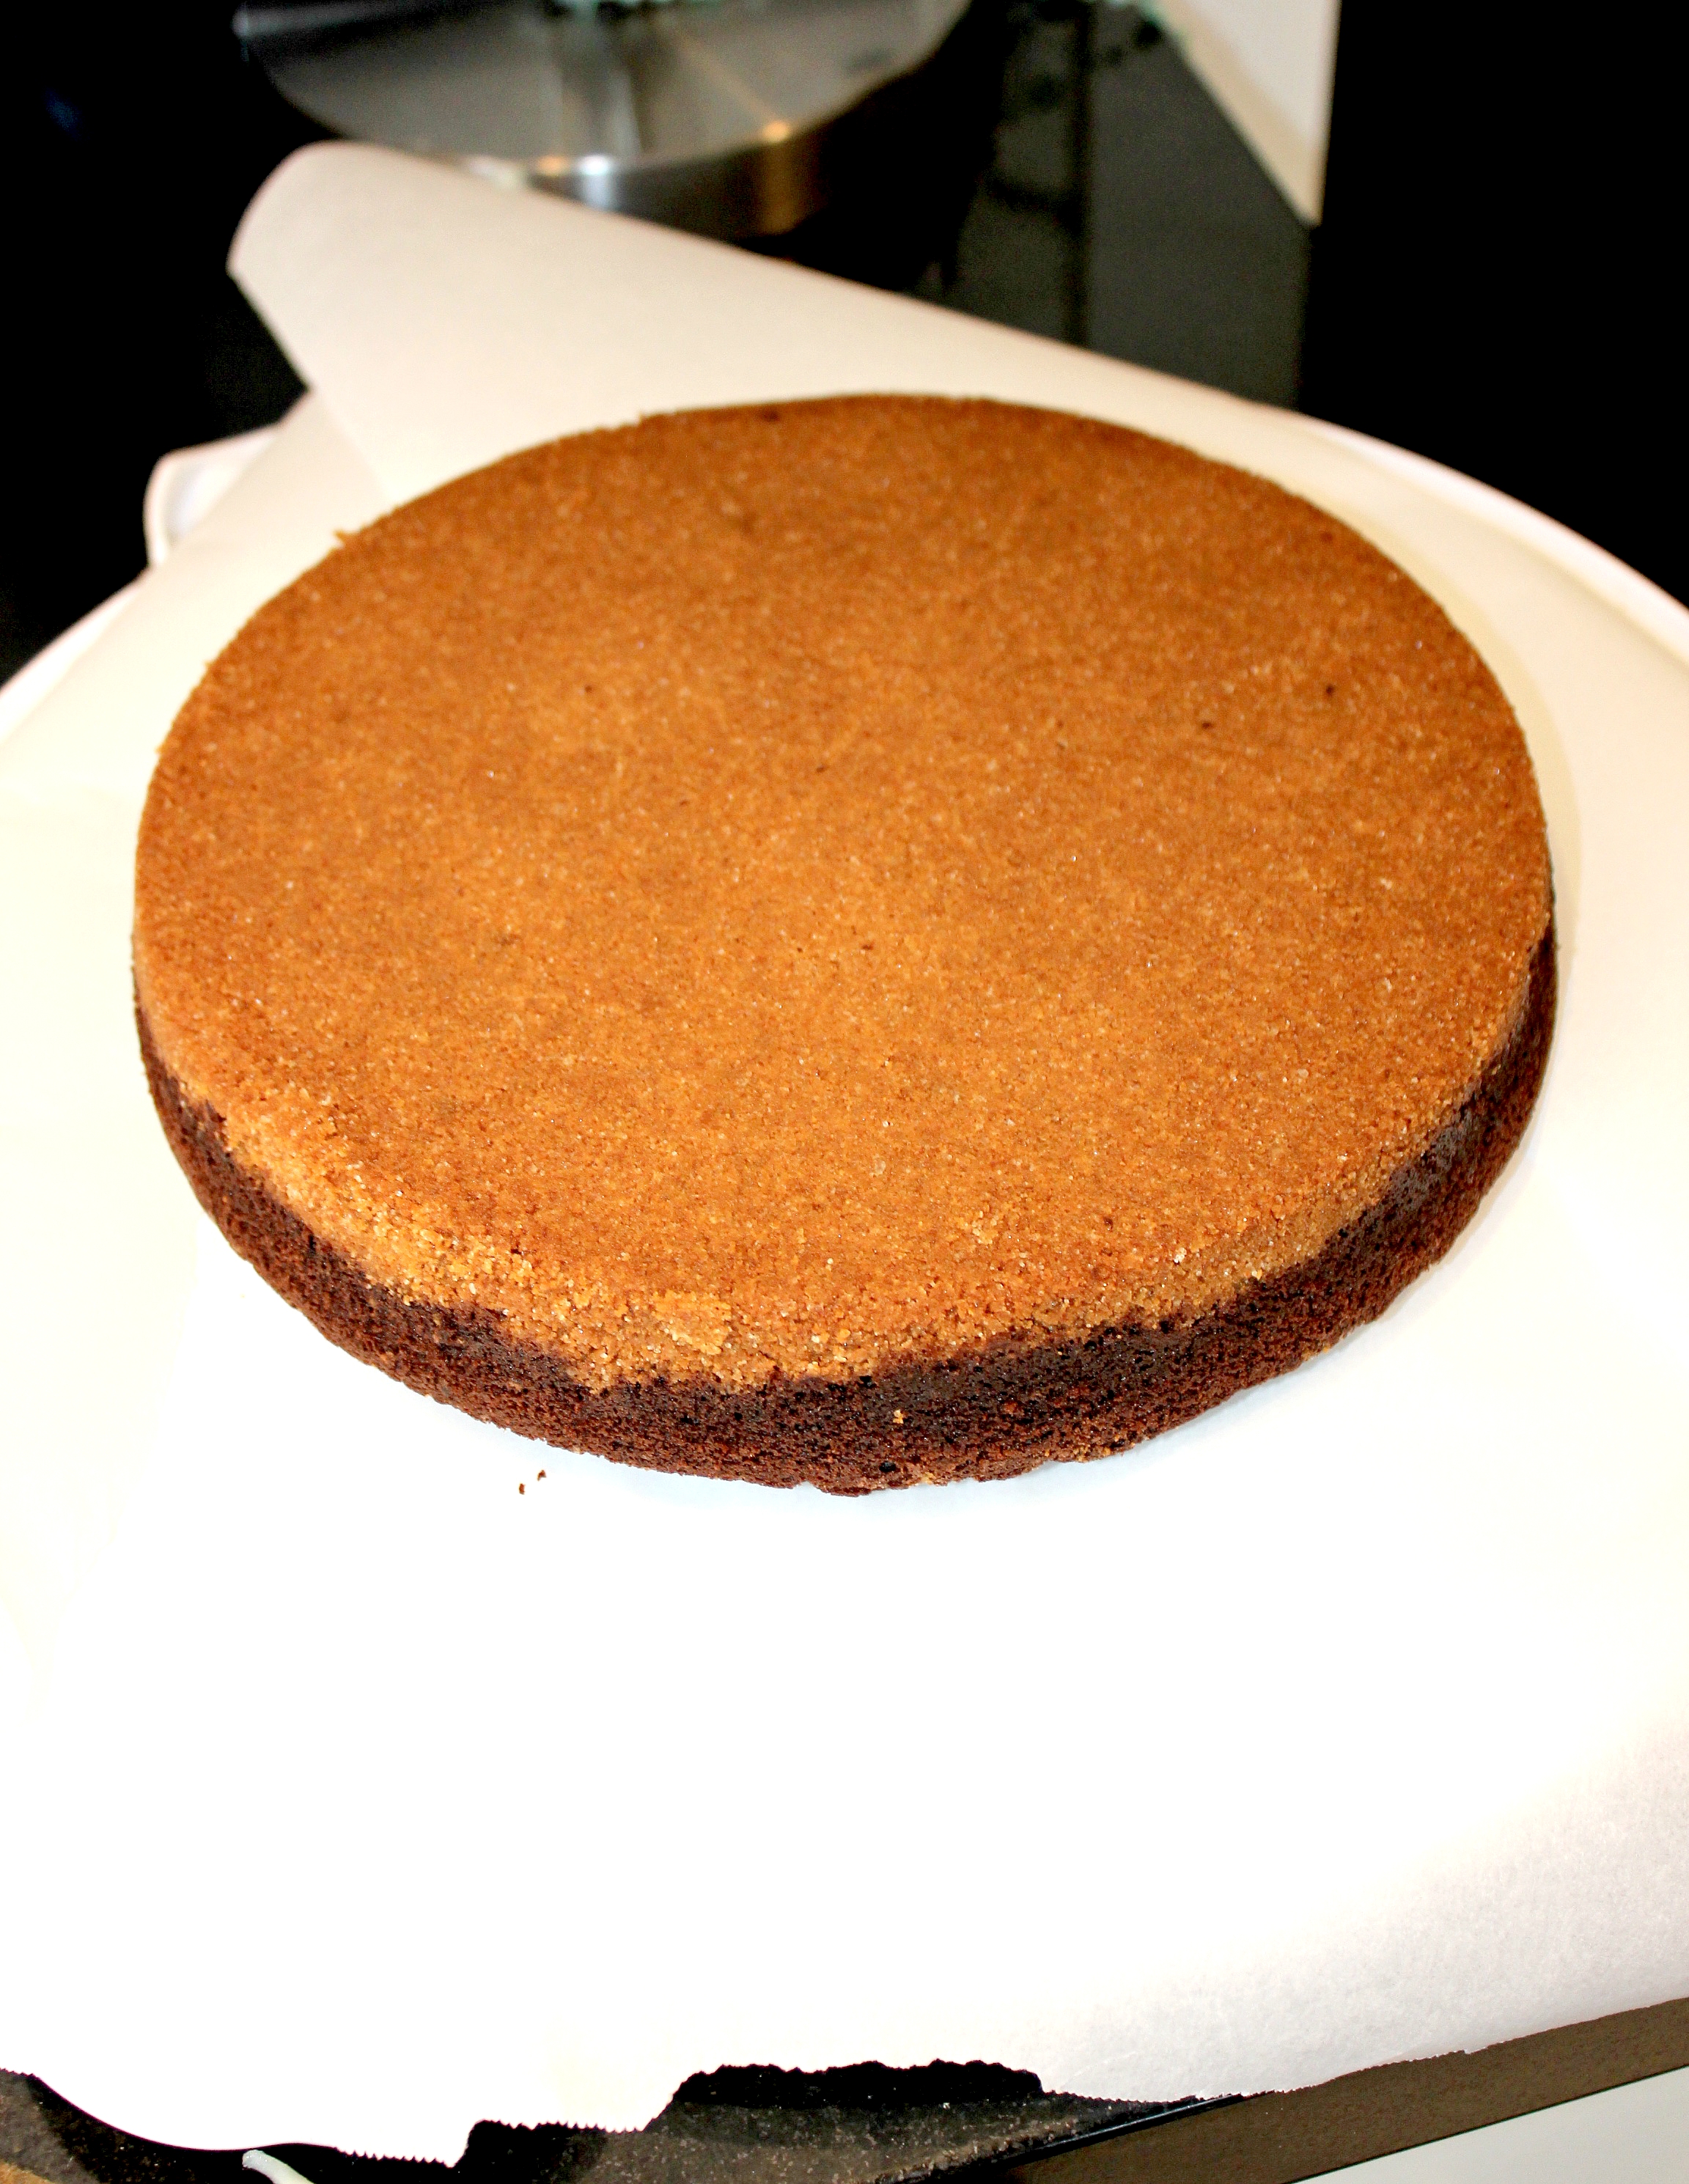
Step 13: Pour carefully into pans overtop of the graham crumb mixture and bake at 350 degrees for 30 minutes or until a toothpick comes out clean when inserted in the middle. There was actually a little more batter than I felt comfortable trying to fit into the 9 inch pans. And because all I could picture was this beautiful chocolate batter (that I had once again resisted just getting a spoon, pulling up a chair and telling myself I was having ‘chocolate pudding’ for lunch with) spilling over as it baked and me weeping, I actually made 12 mini cupcakes along side with the extra batter, much to the little’s delight.
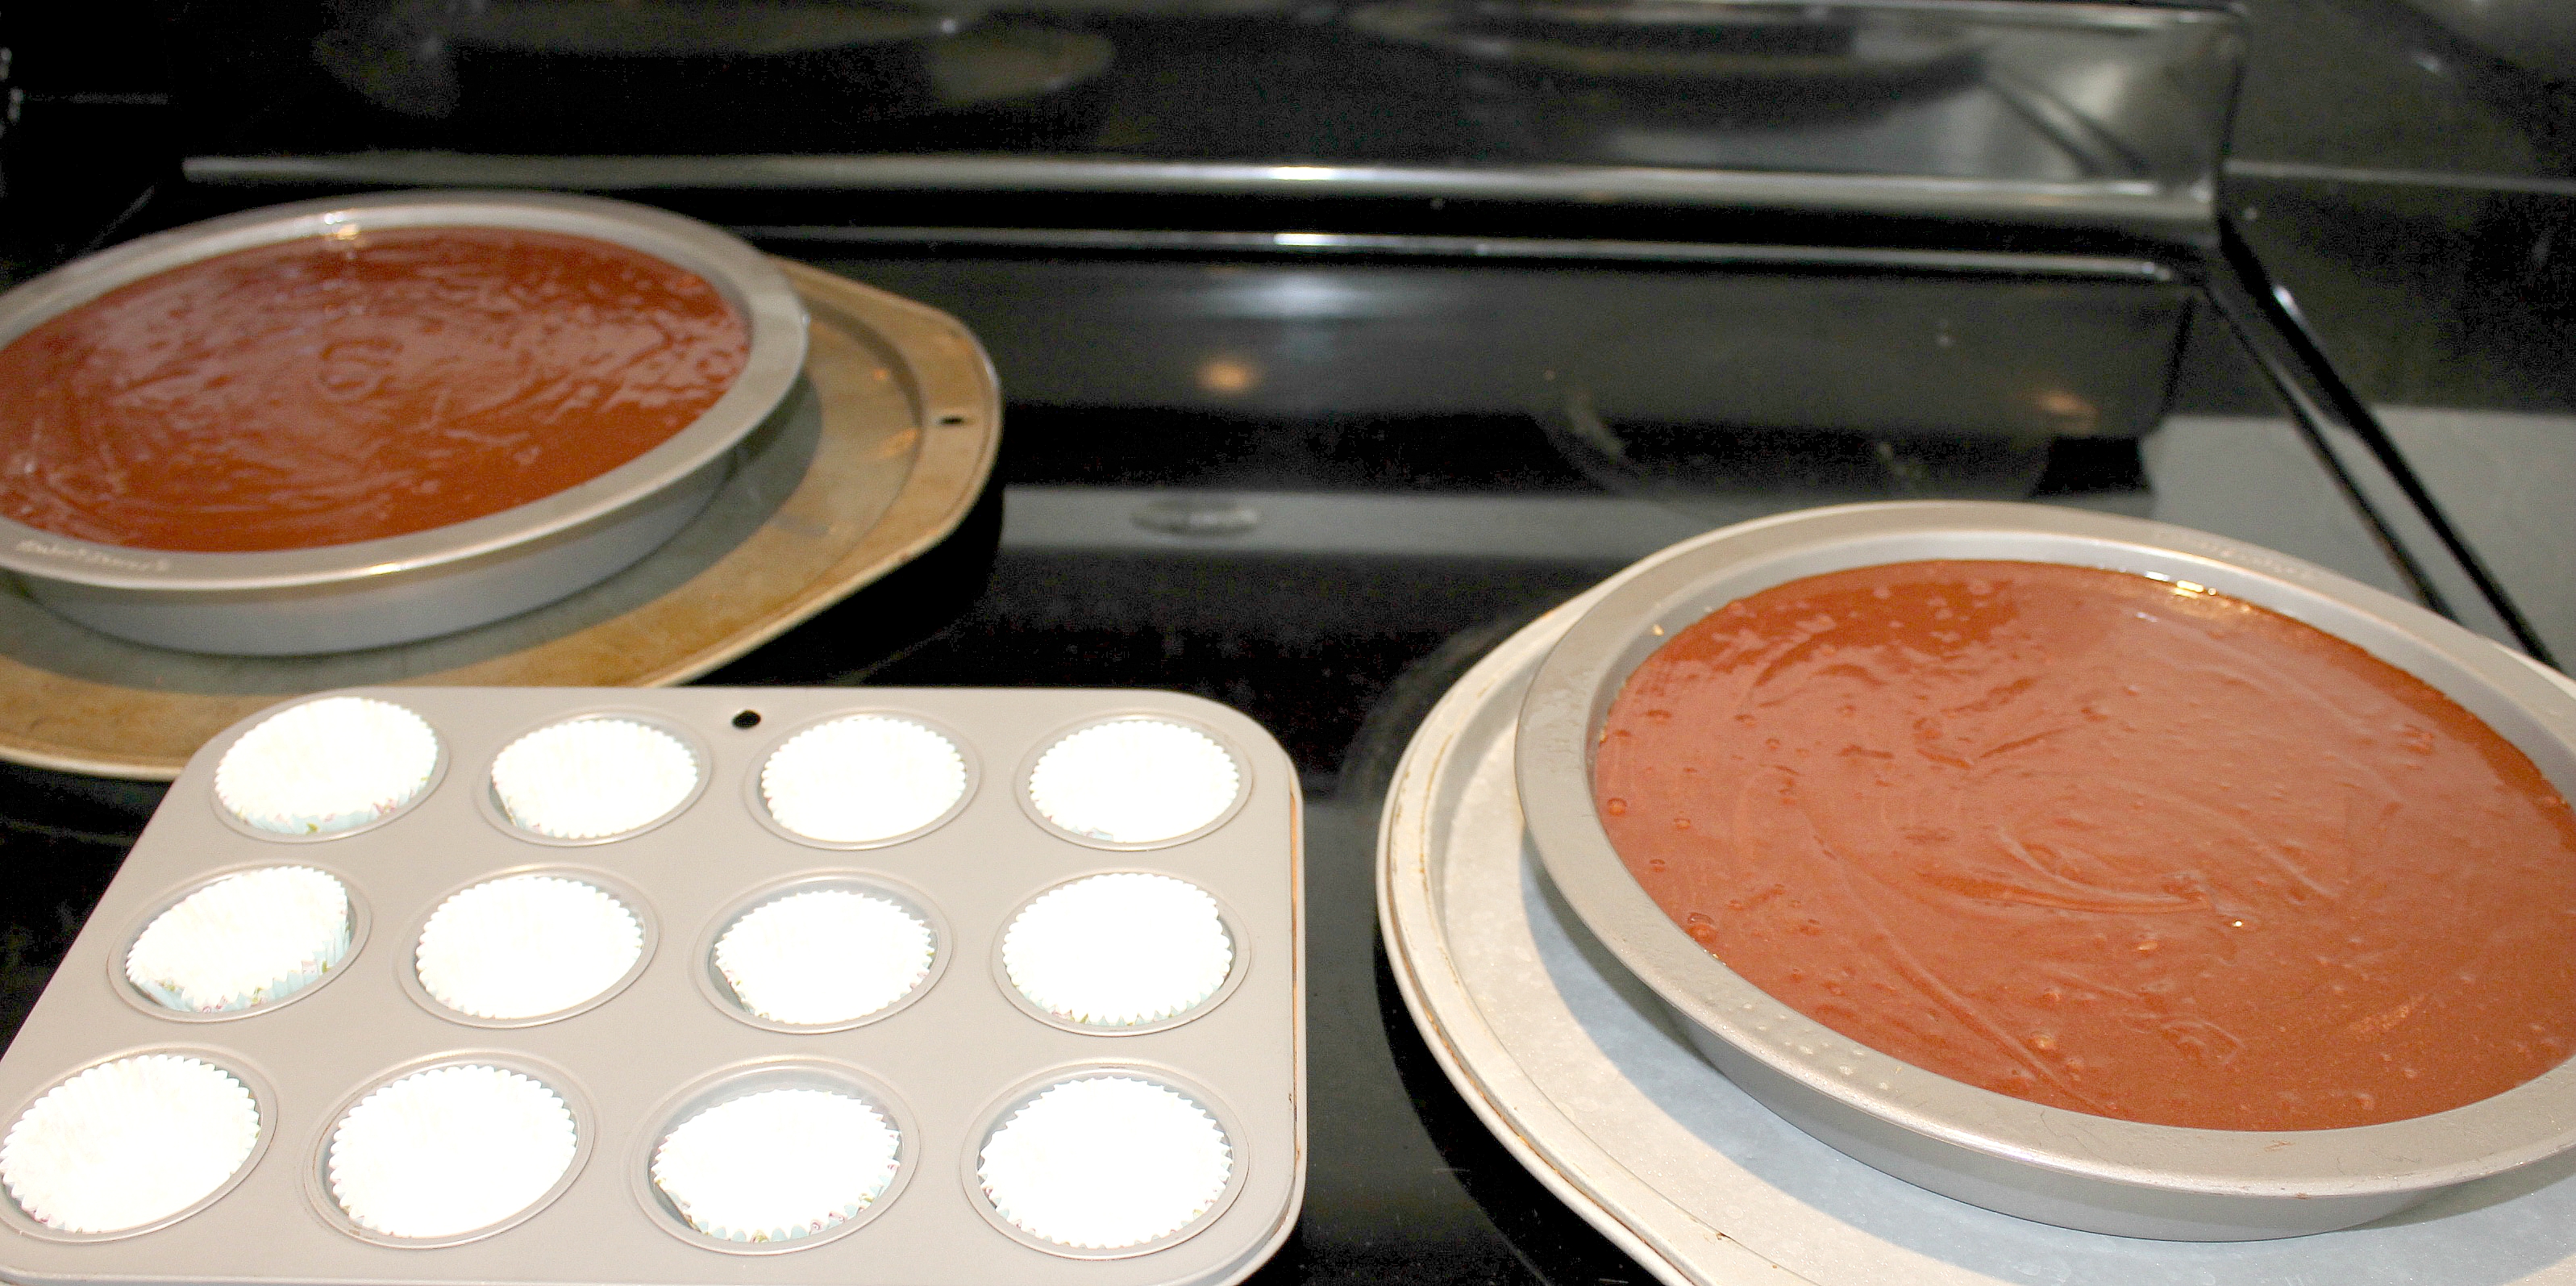
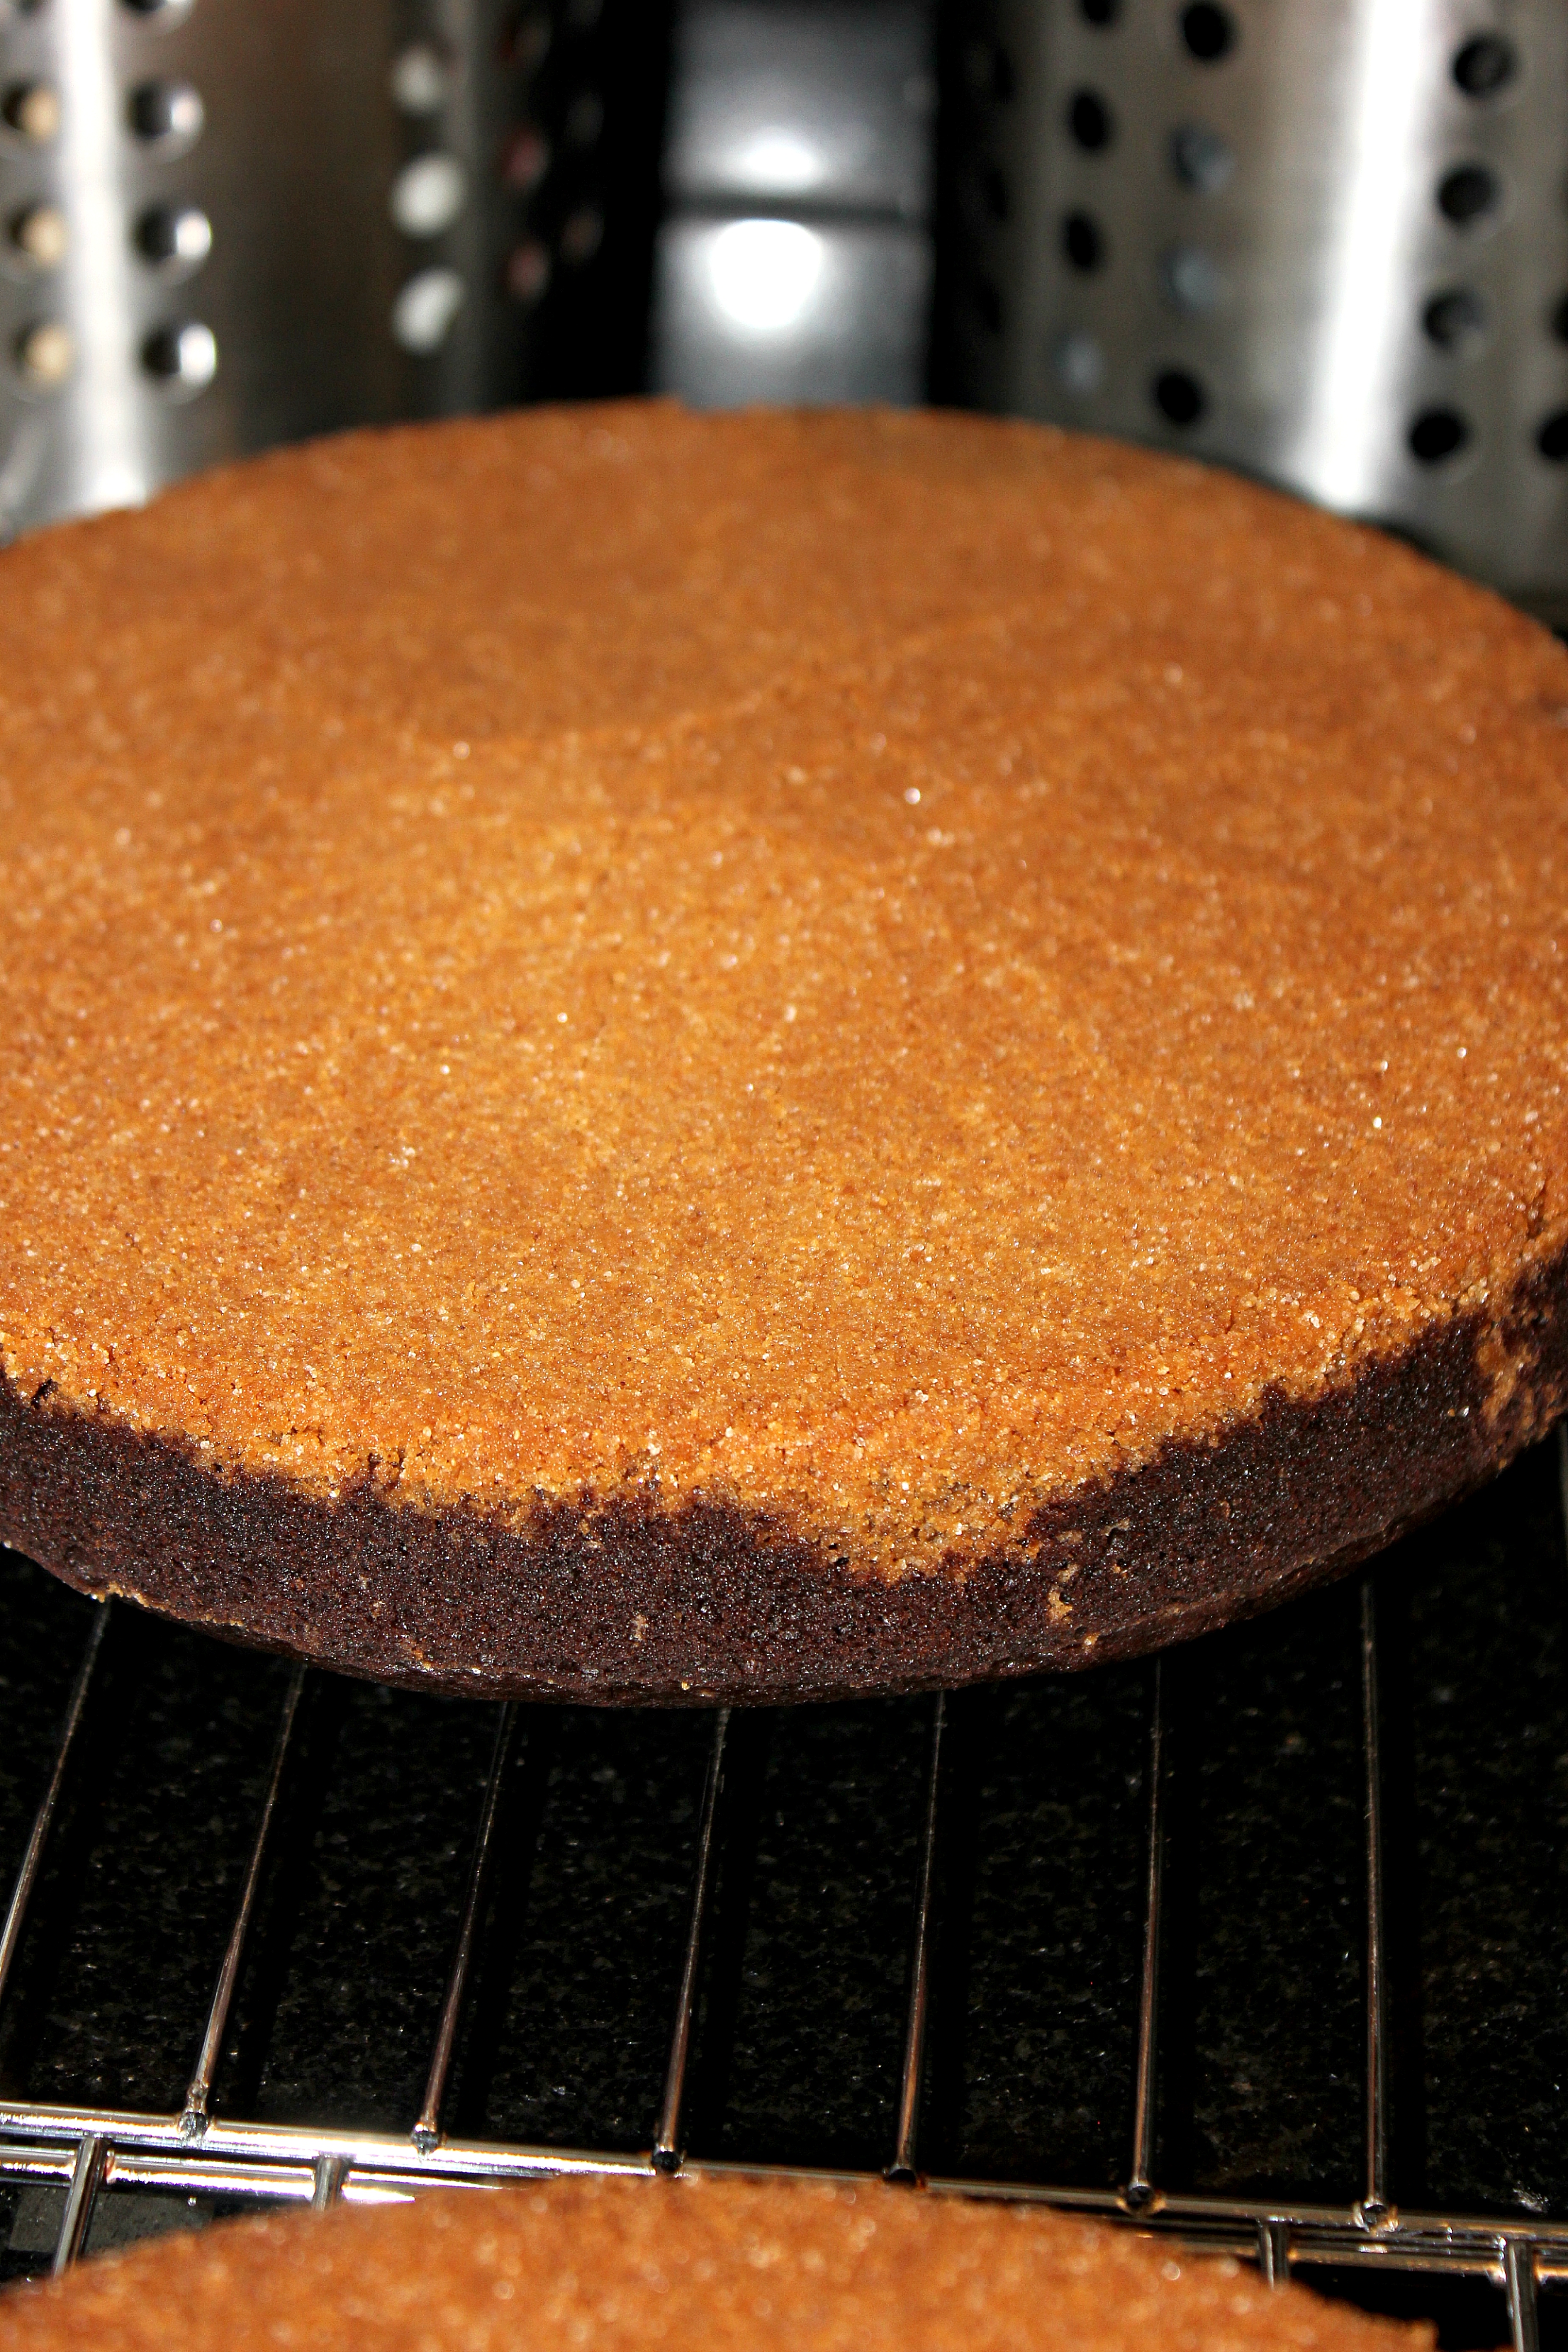
Step 14: Allow cakes to cool on cooling racks in the pans for twenty minutes. Then gently run a knife around the sides to loosen and carefully turn out onto cooling racks, graham crumb side up. Leave to cool completely.
Step 15: To prepare the melted candy ‘flames’ line a cookie sheet with tinfoil and preheat oven to 270 degrees.
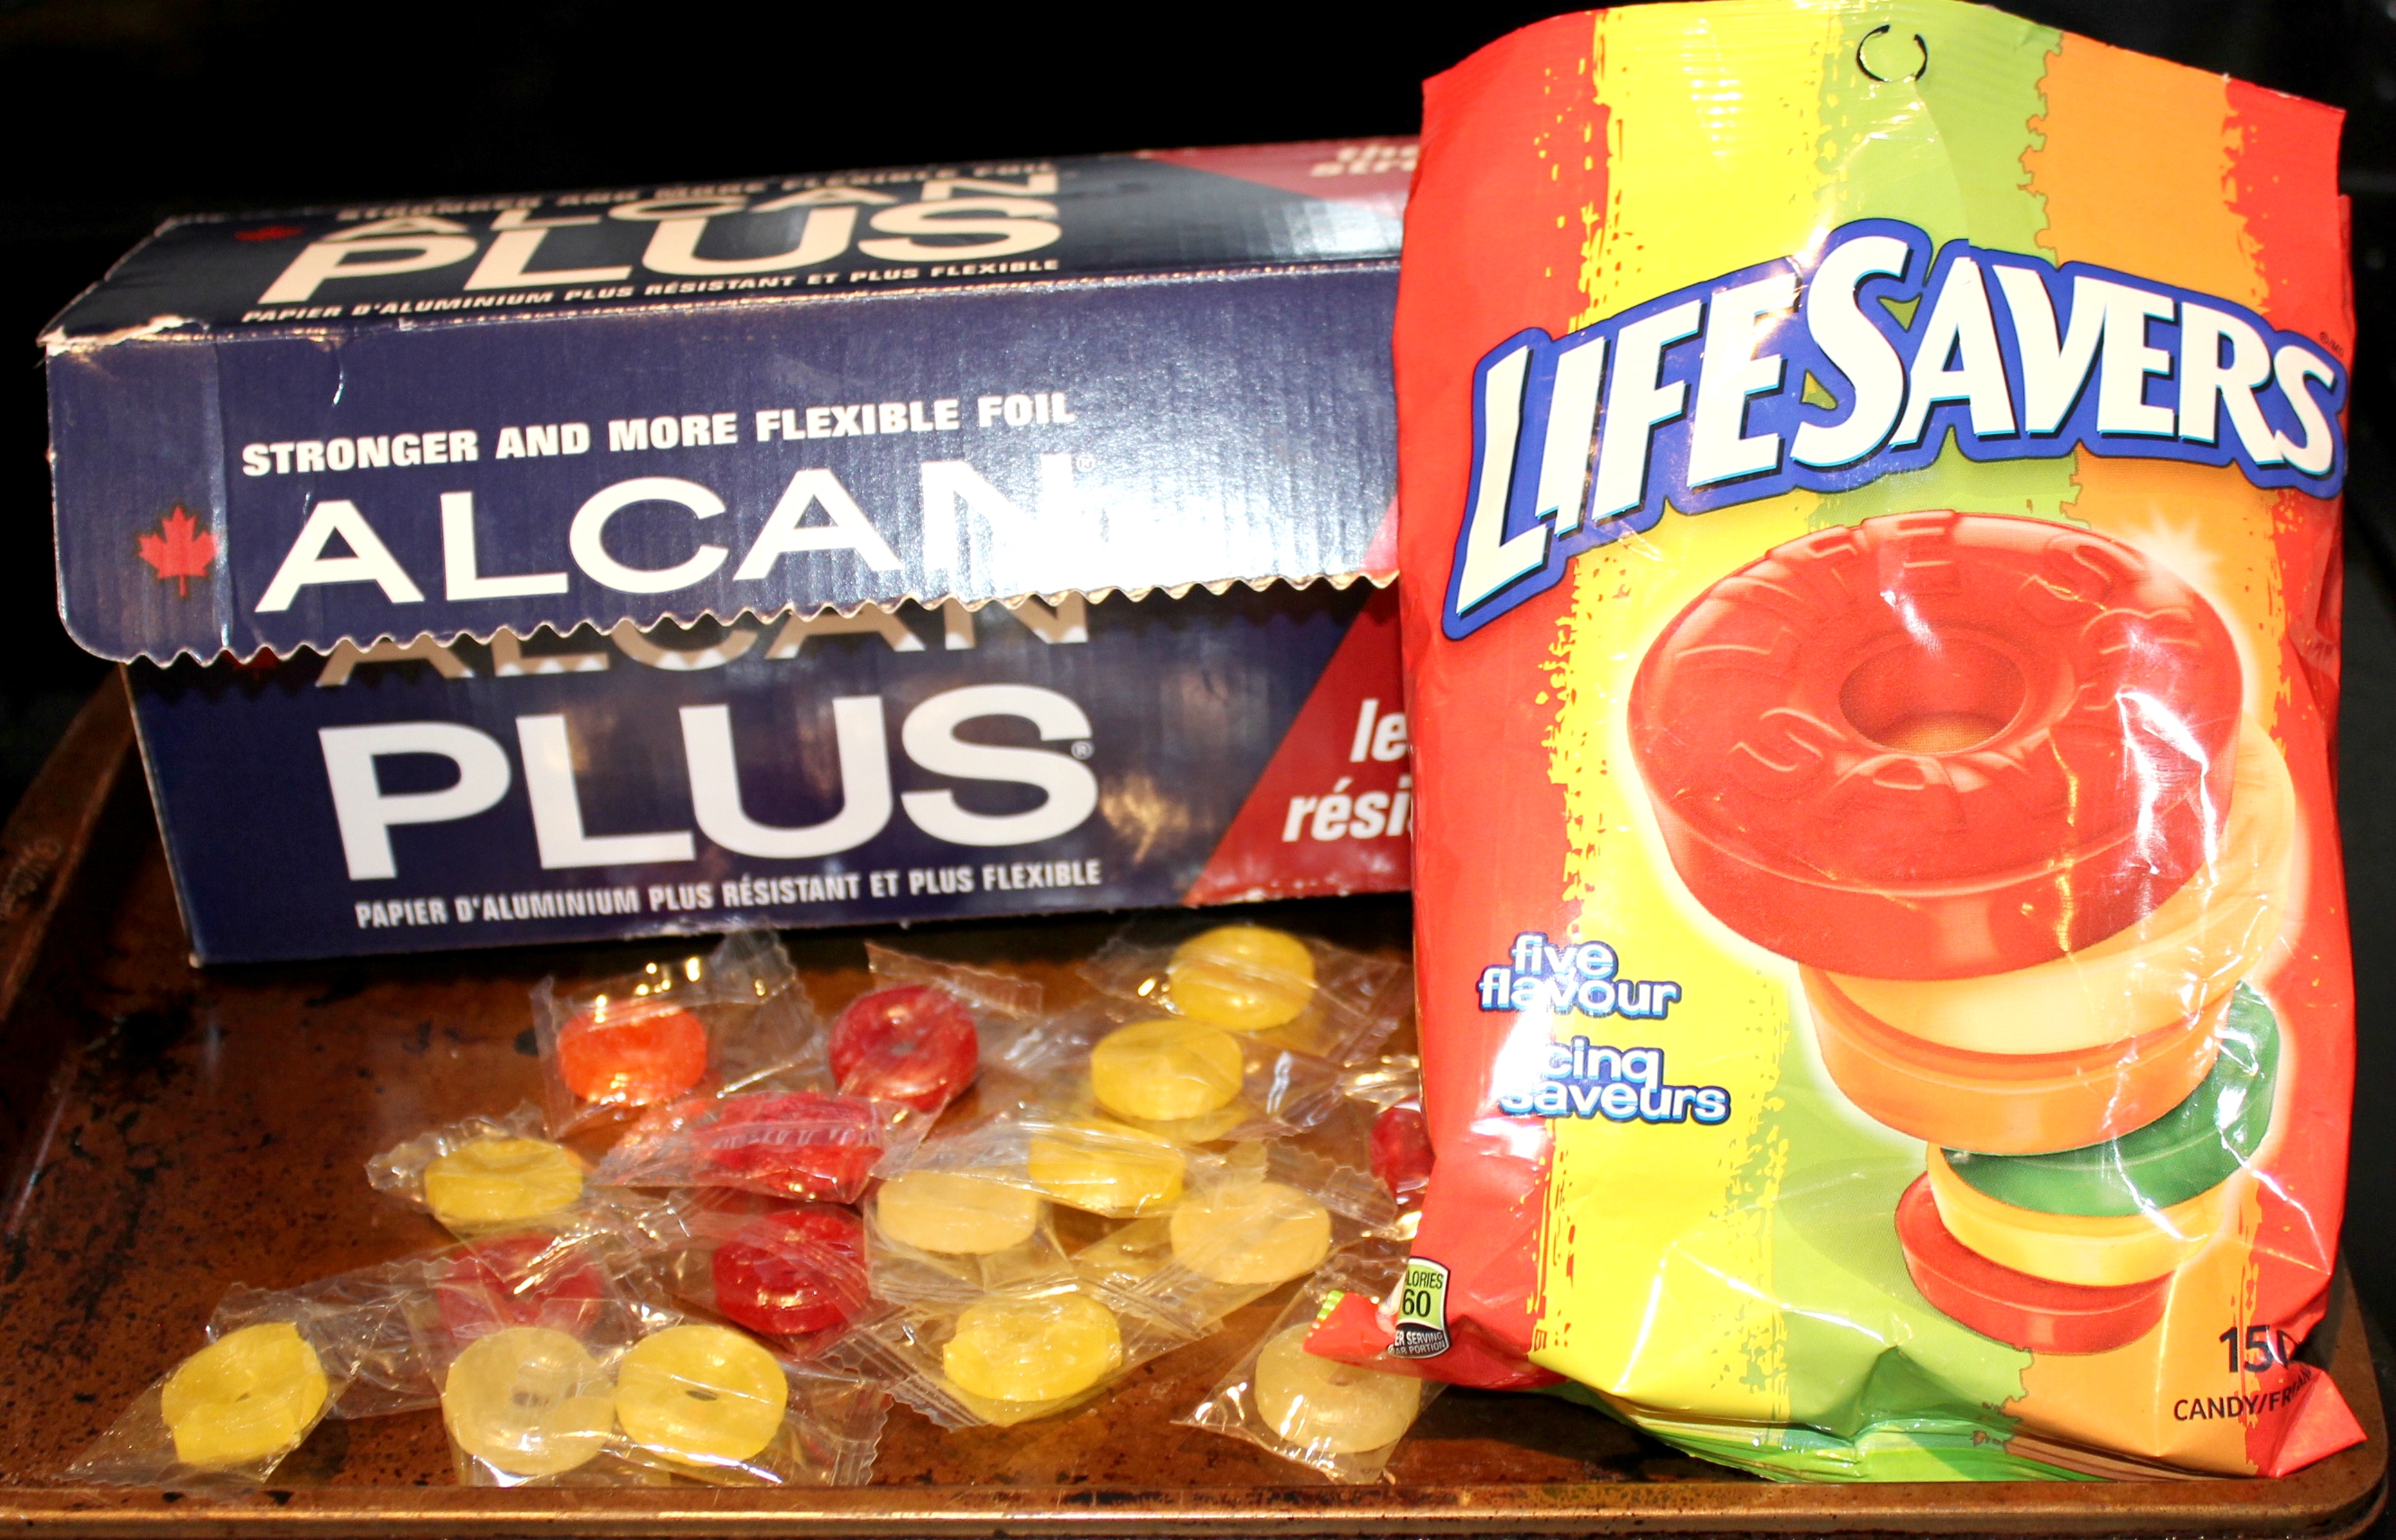
Step 16: I found the best way to crumble the Lifesavers candy was to leave them in their individually wrapped plastic and smash them with my wooden rolling pin. I used 3 matching candies for each stripe of colour, ultimately using 18 candies in total.
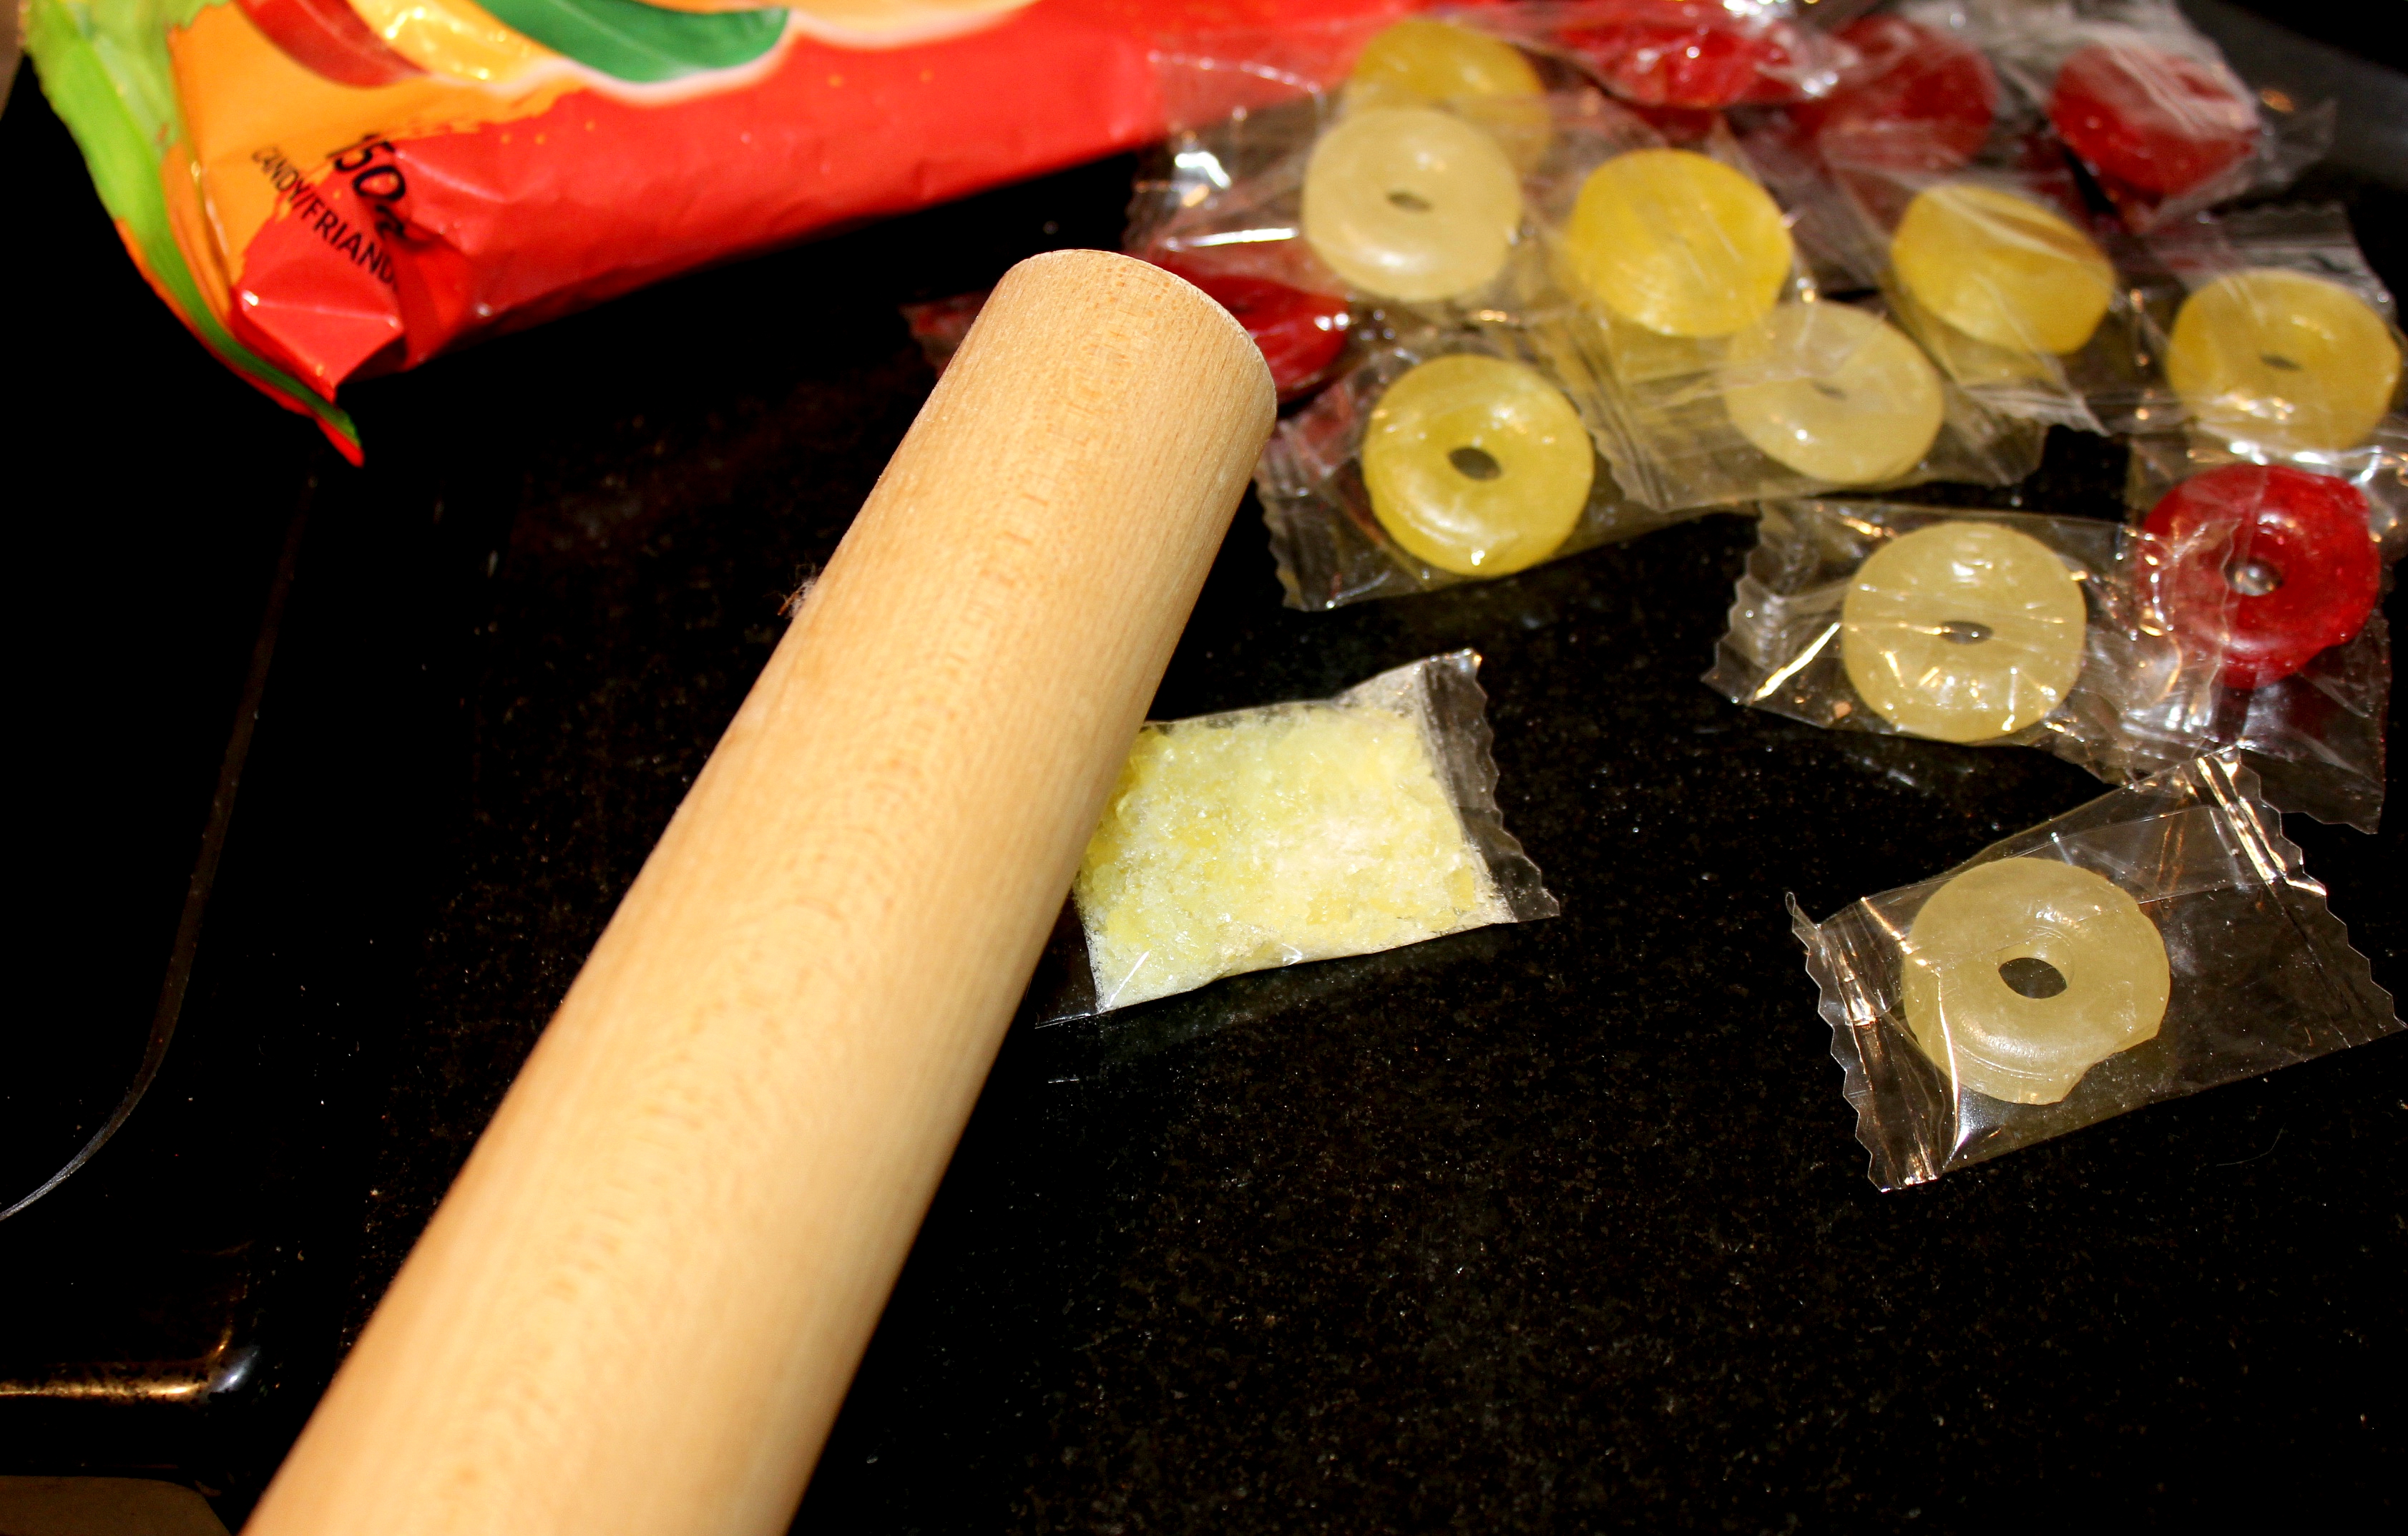
Step 17: Empty crushed Lifesaver packets into stripes or rows next to each other on the tinfoil lined sheet. I found that it worked best if the candies and colours actually touched.
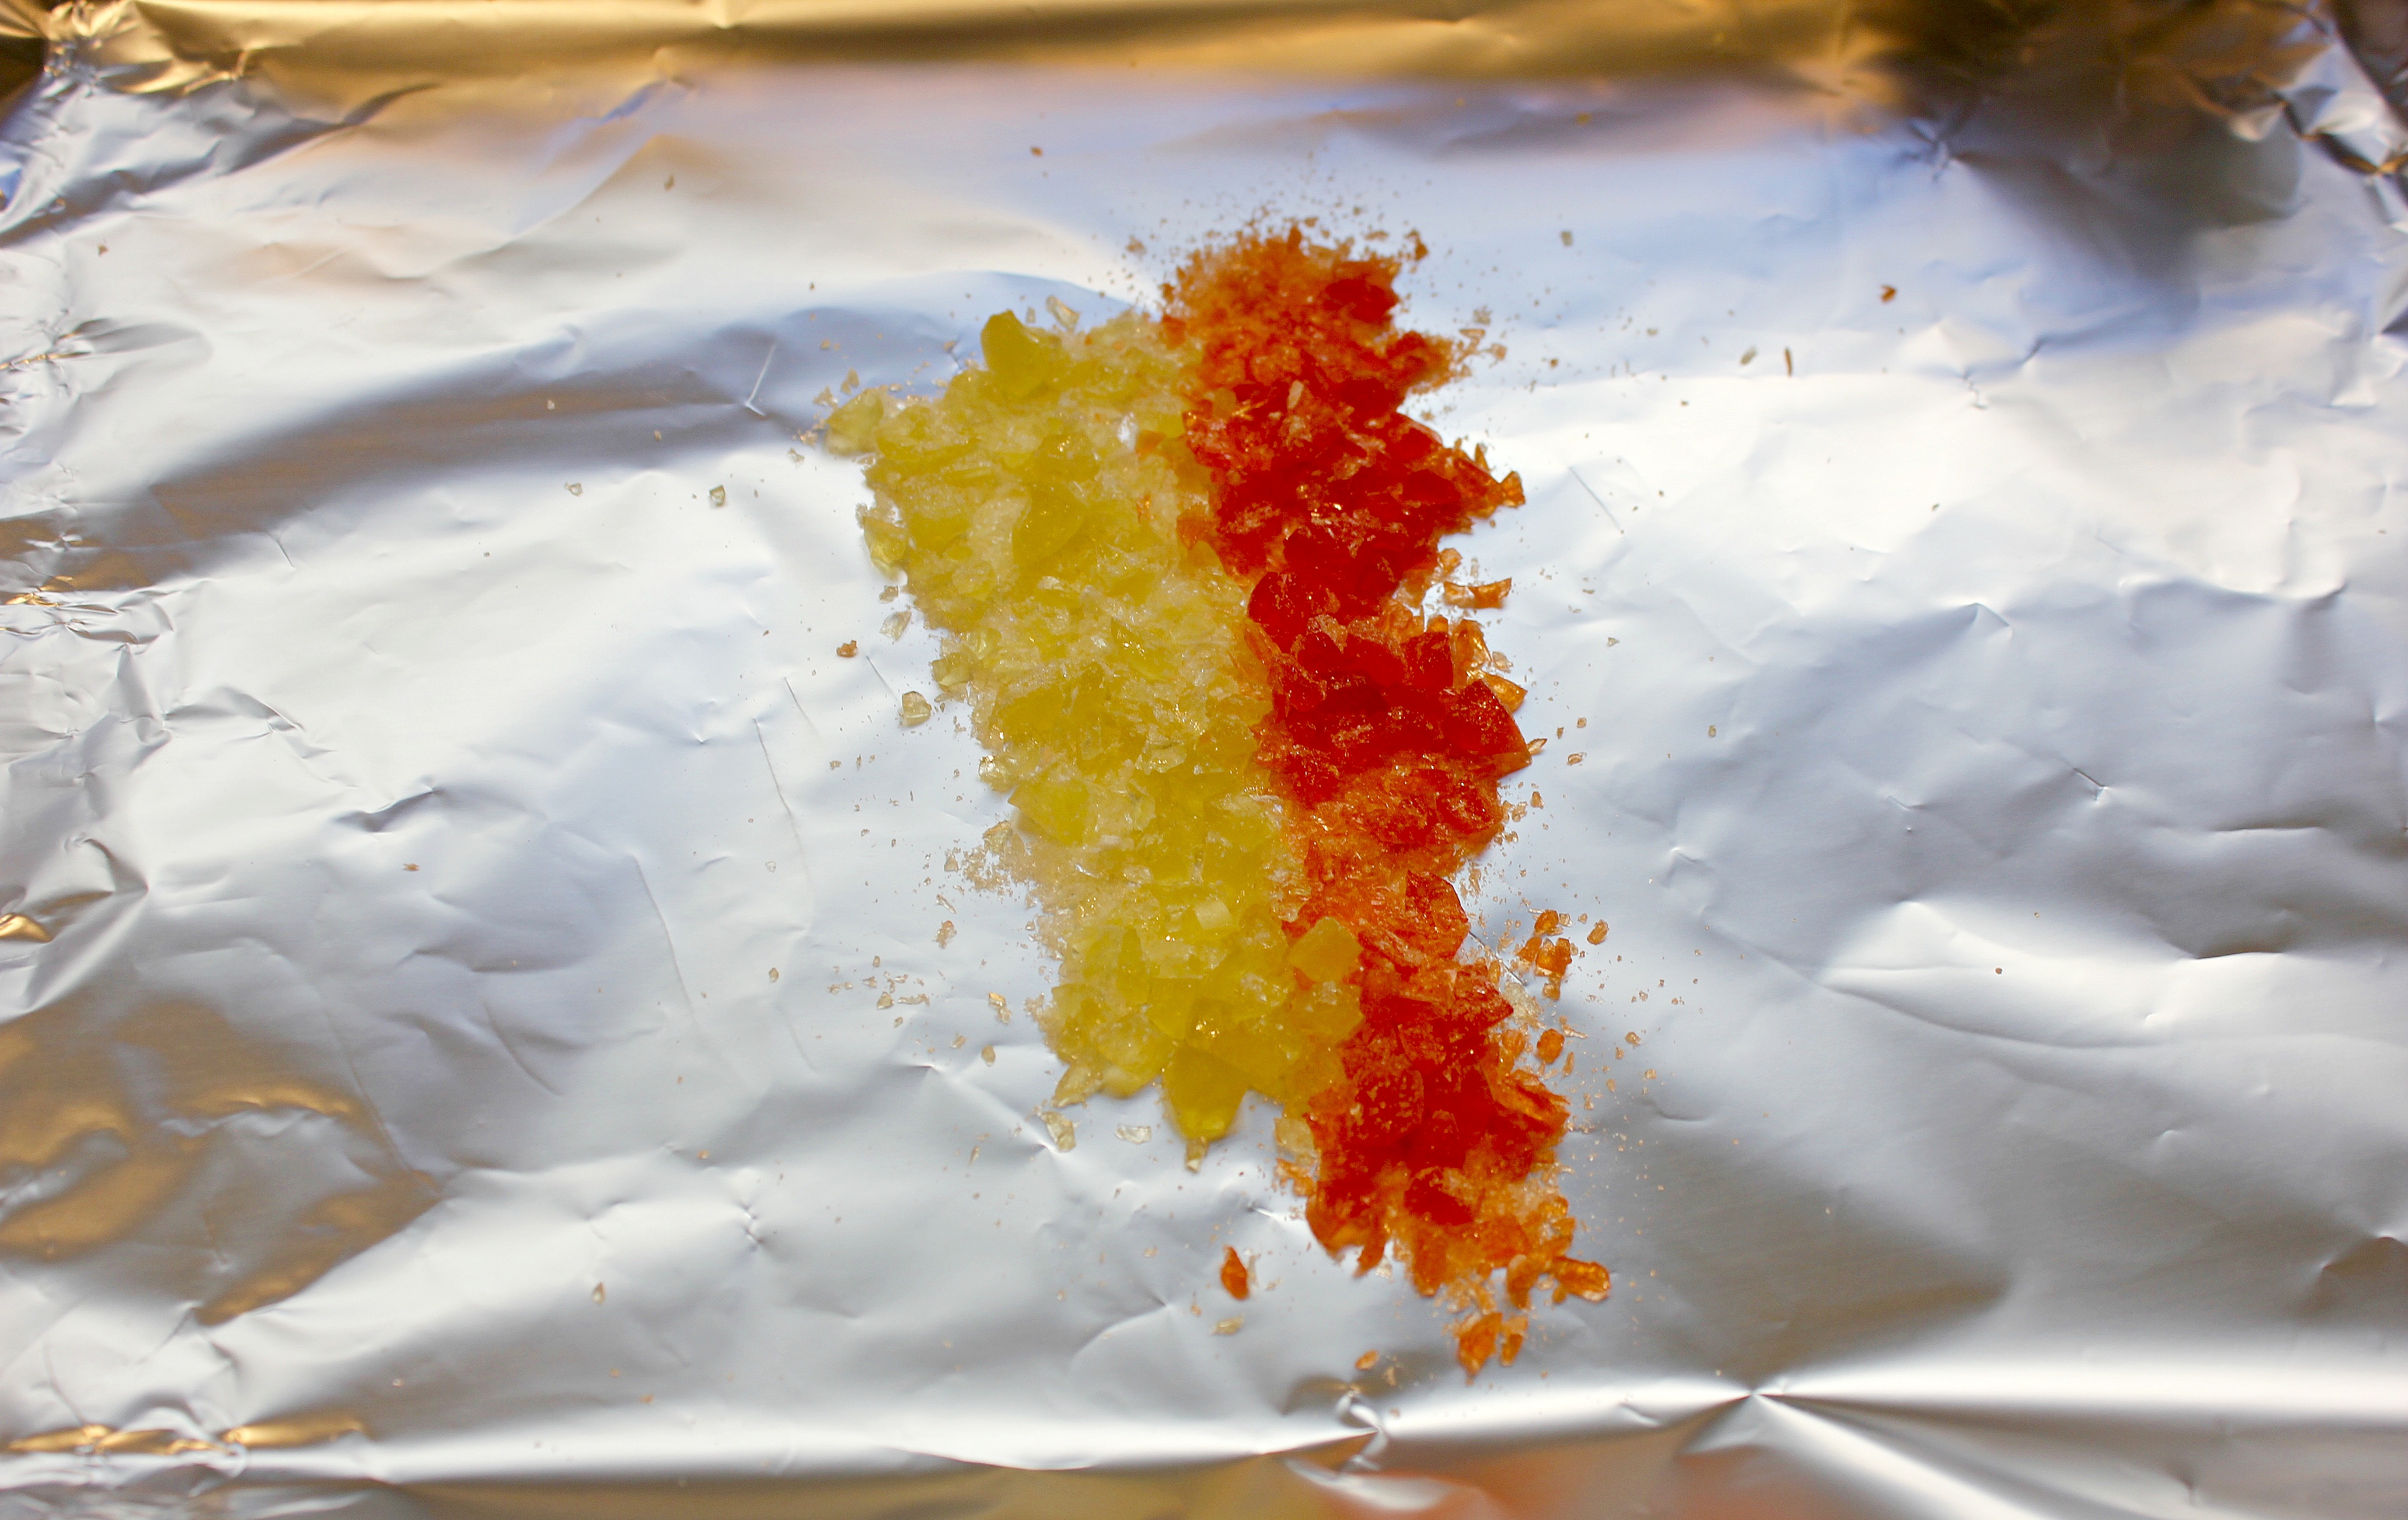
Step 18: Bake in a 270 degree oven for 5 – 10 minutes until liquid. Then remove and set aside to cool and harden.
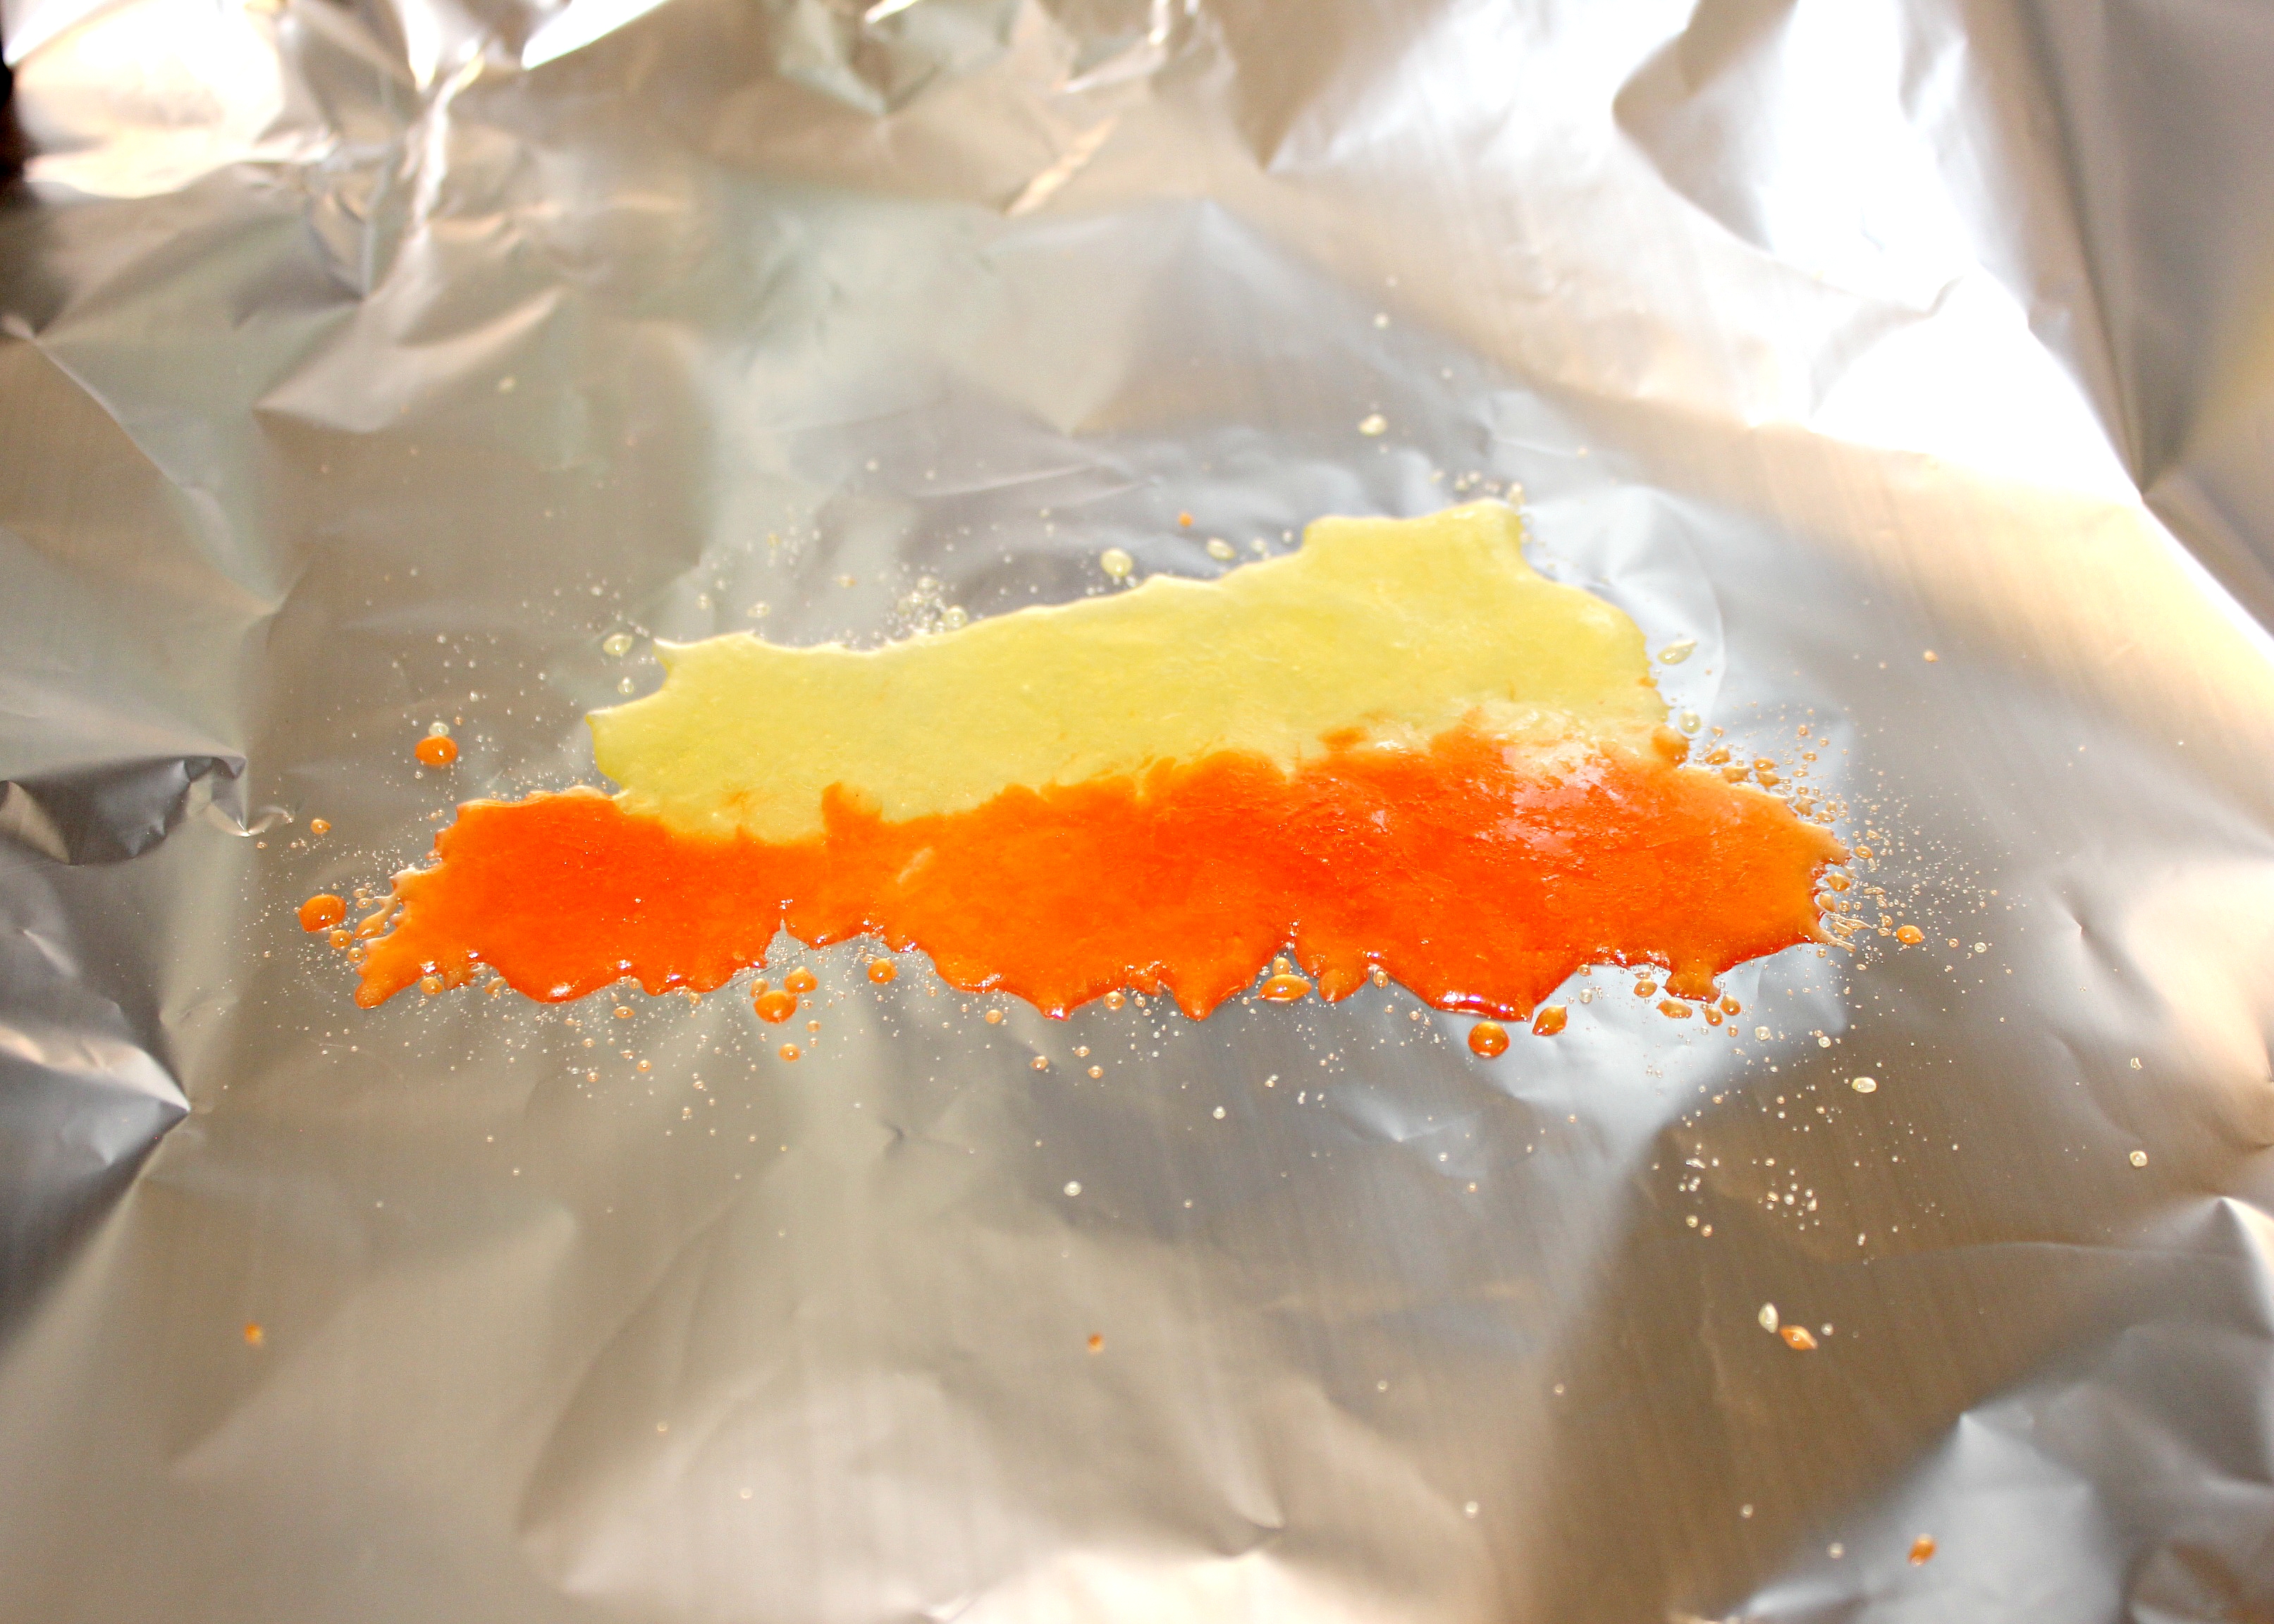
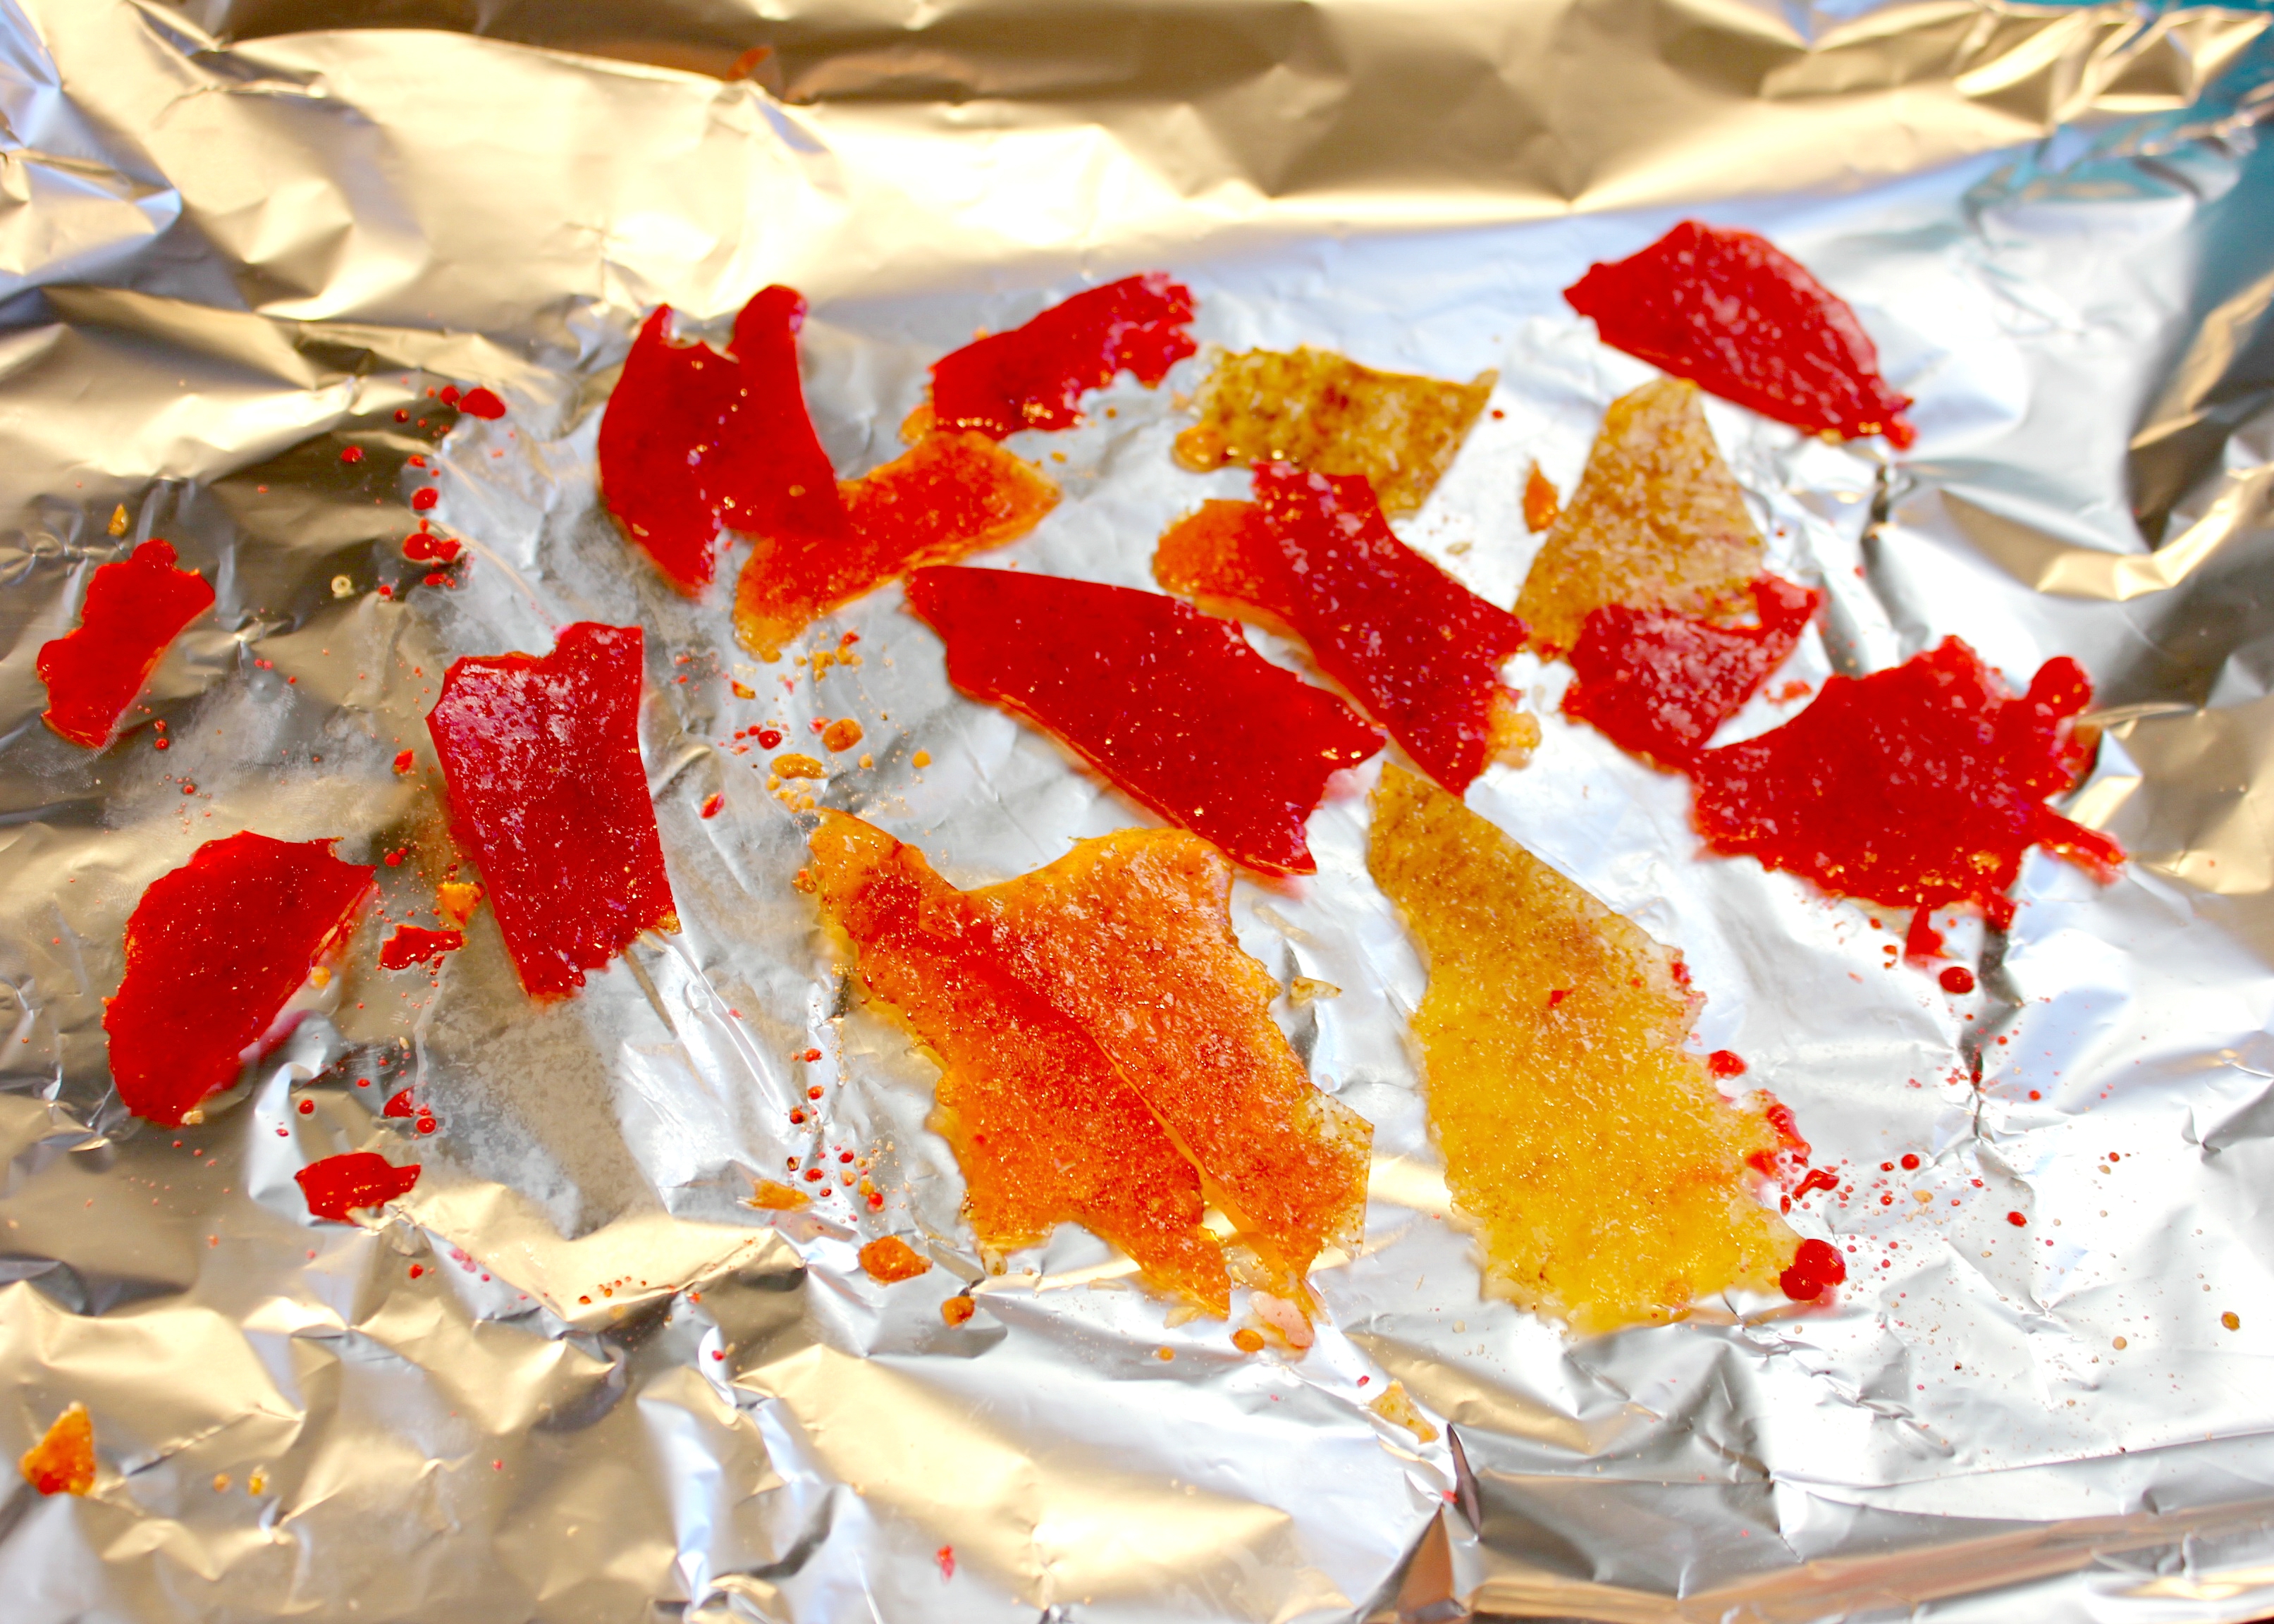
Step 19: Once the candy has cooled and hardened, peel it off the tinfoil and break apart to resemble flame-like pieces. Set aside.
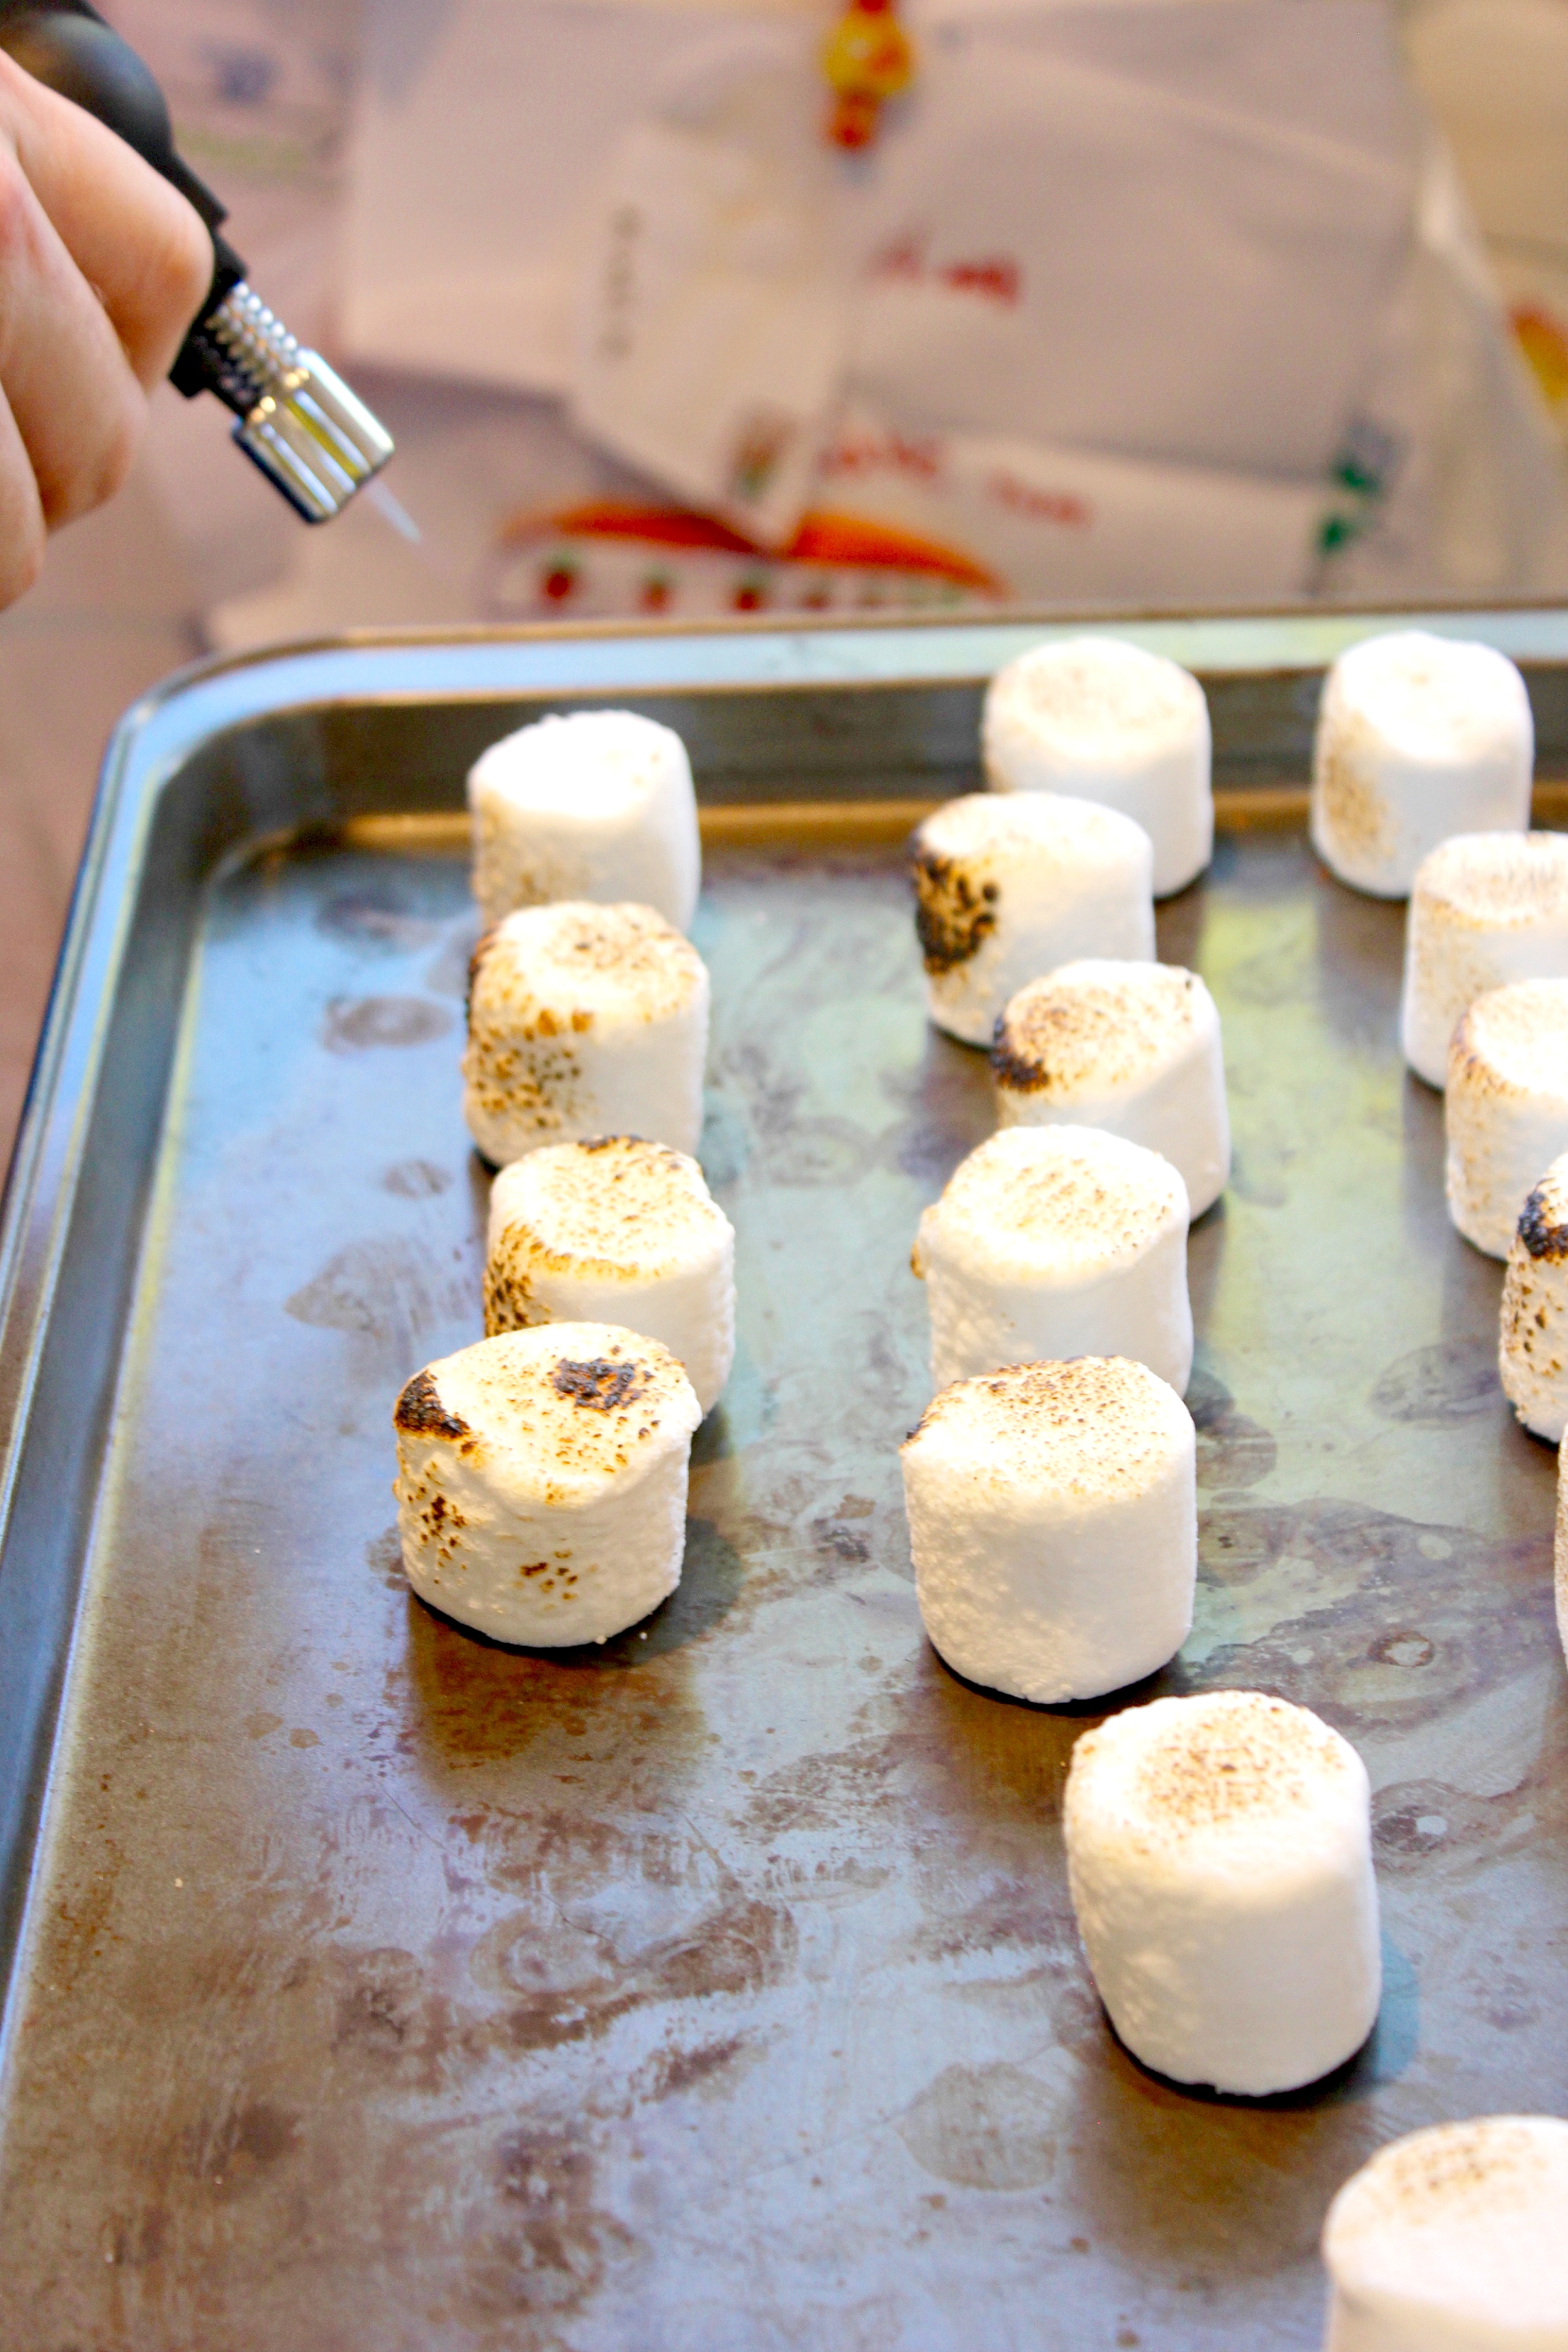
Step 20: To prepare the ‘roasted’ marshmallows, place a large cookie sheet on a heat resistant surface or hot plate divot (the pan will get quite hot). Set out a row of marshmallows and using a kitchen torch char the top and front sides of each marshmallow. This cake took the entire bag of marshmallows, 50 in total (25 per row). I chose to use Loblaws No Name Marshmallows because they seem to be less sticky (not getting all stuck together in the bag) and keep their shape better in my opinion.
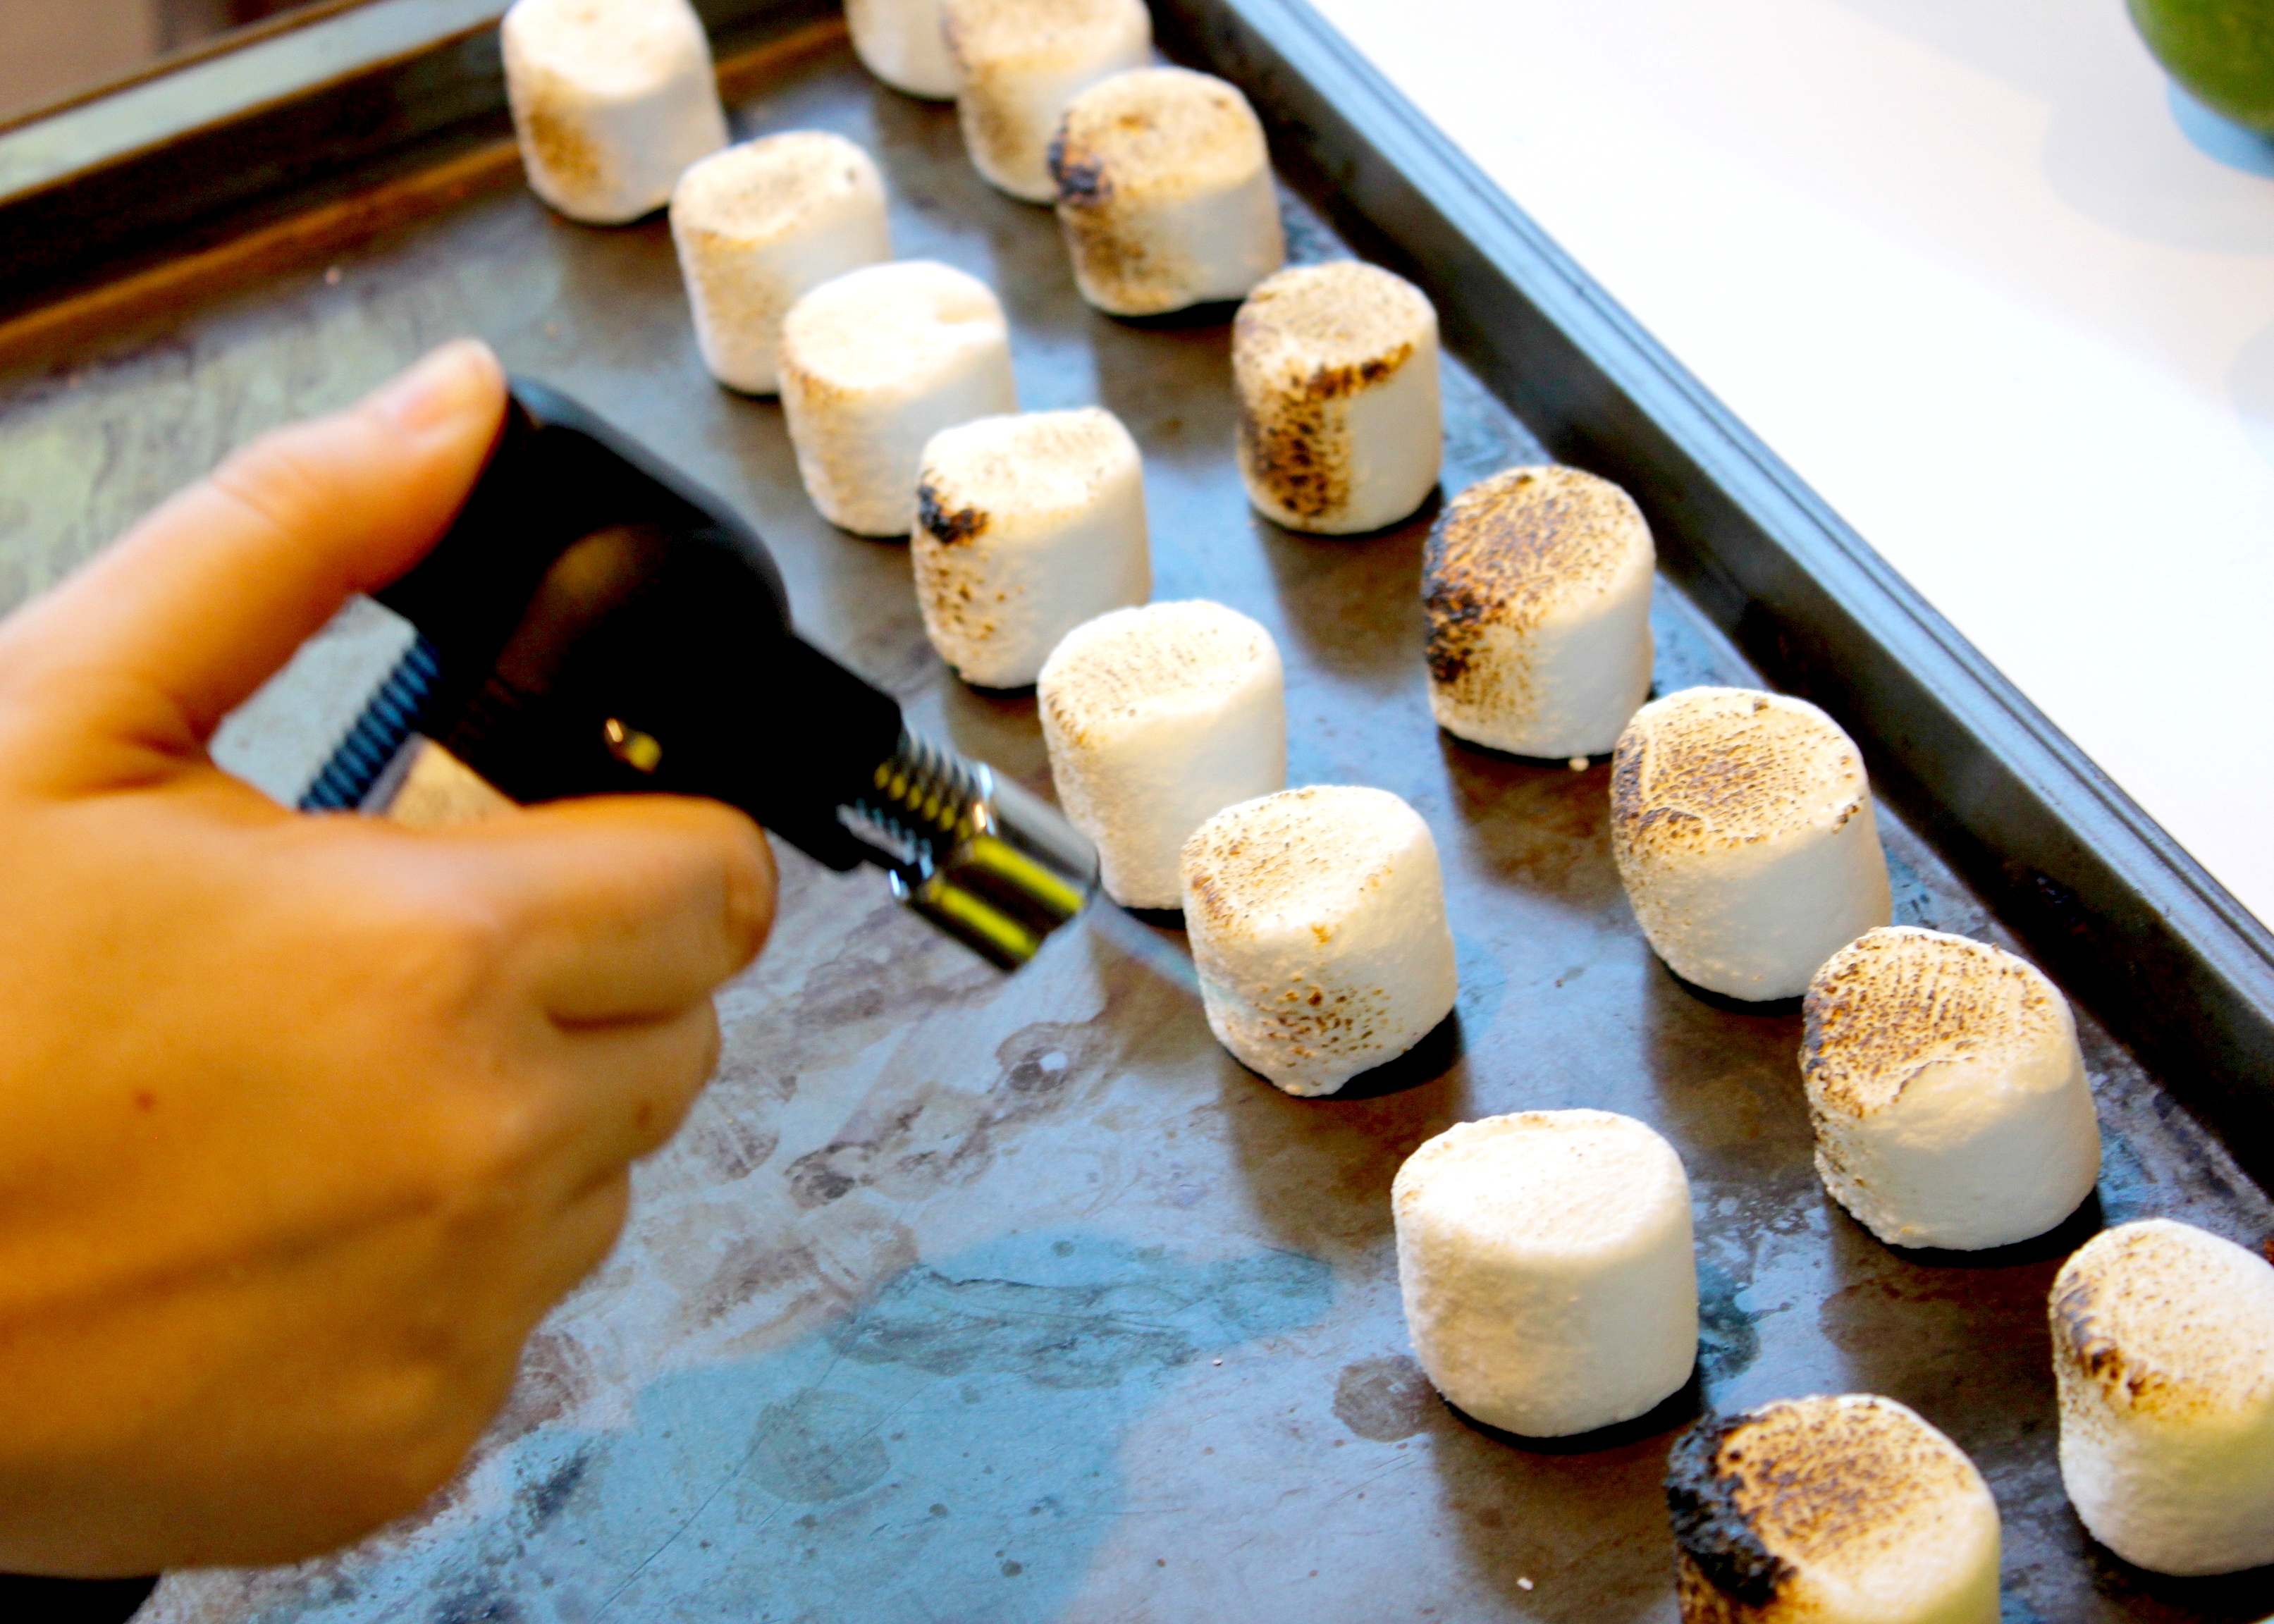
Do not hold the flame too close to the marshmallow you are charing or it will light on fire just as quickly as roasting them on an open fire (simply blow it out). This proves very entertaining to one’s husband if they enjoy watching your lack of patience and finesse in open flame endeavours, light one marshmallow after another on fire (just like when I am roasting marshmallows over an actual campfire might I add) and who just takes over instead of standing over you laughing. Hence why my knuckles start to look remarkably manly in the later photos!
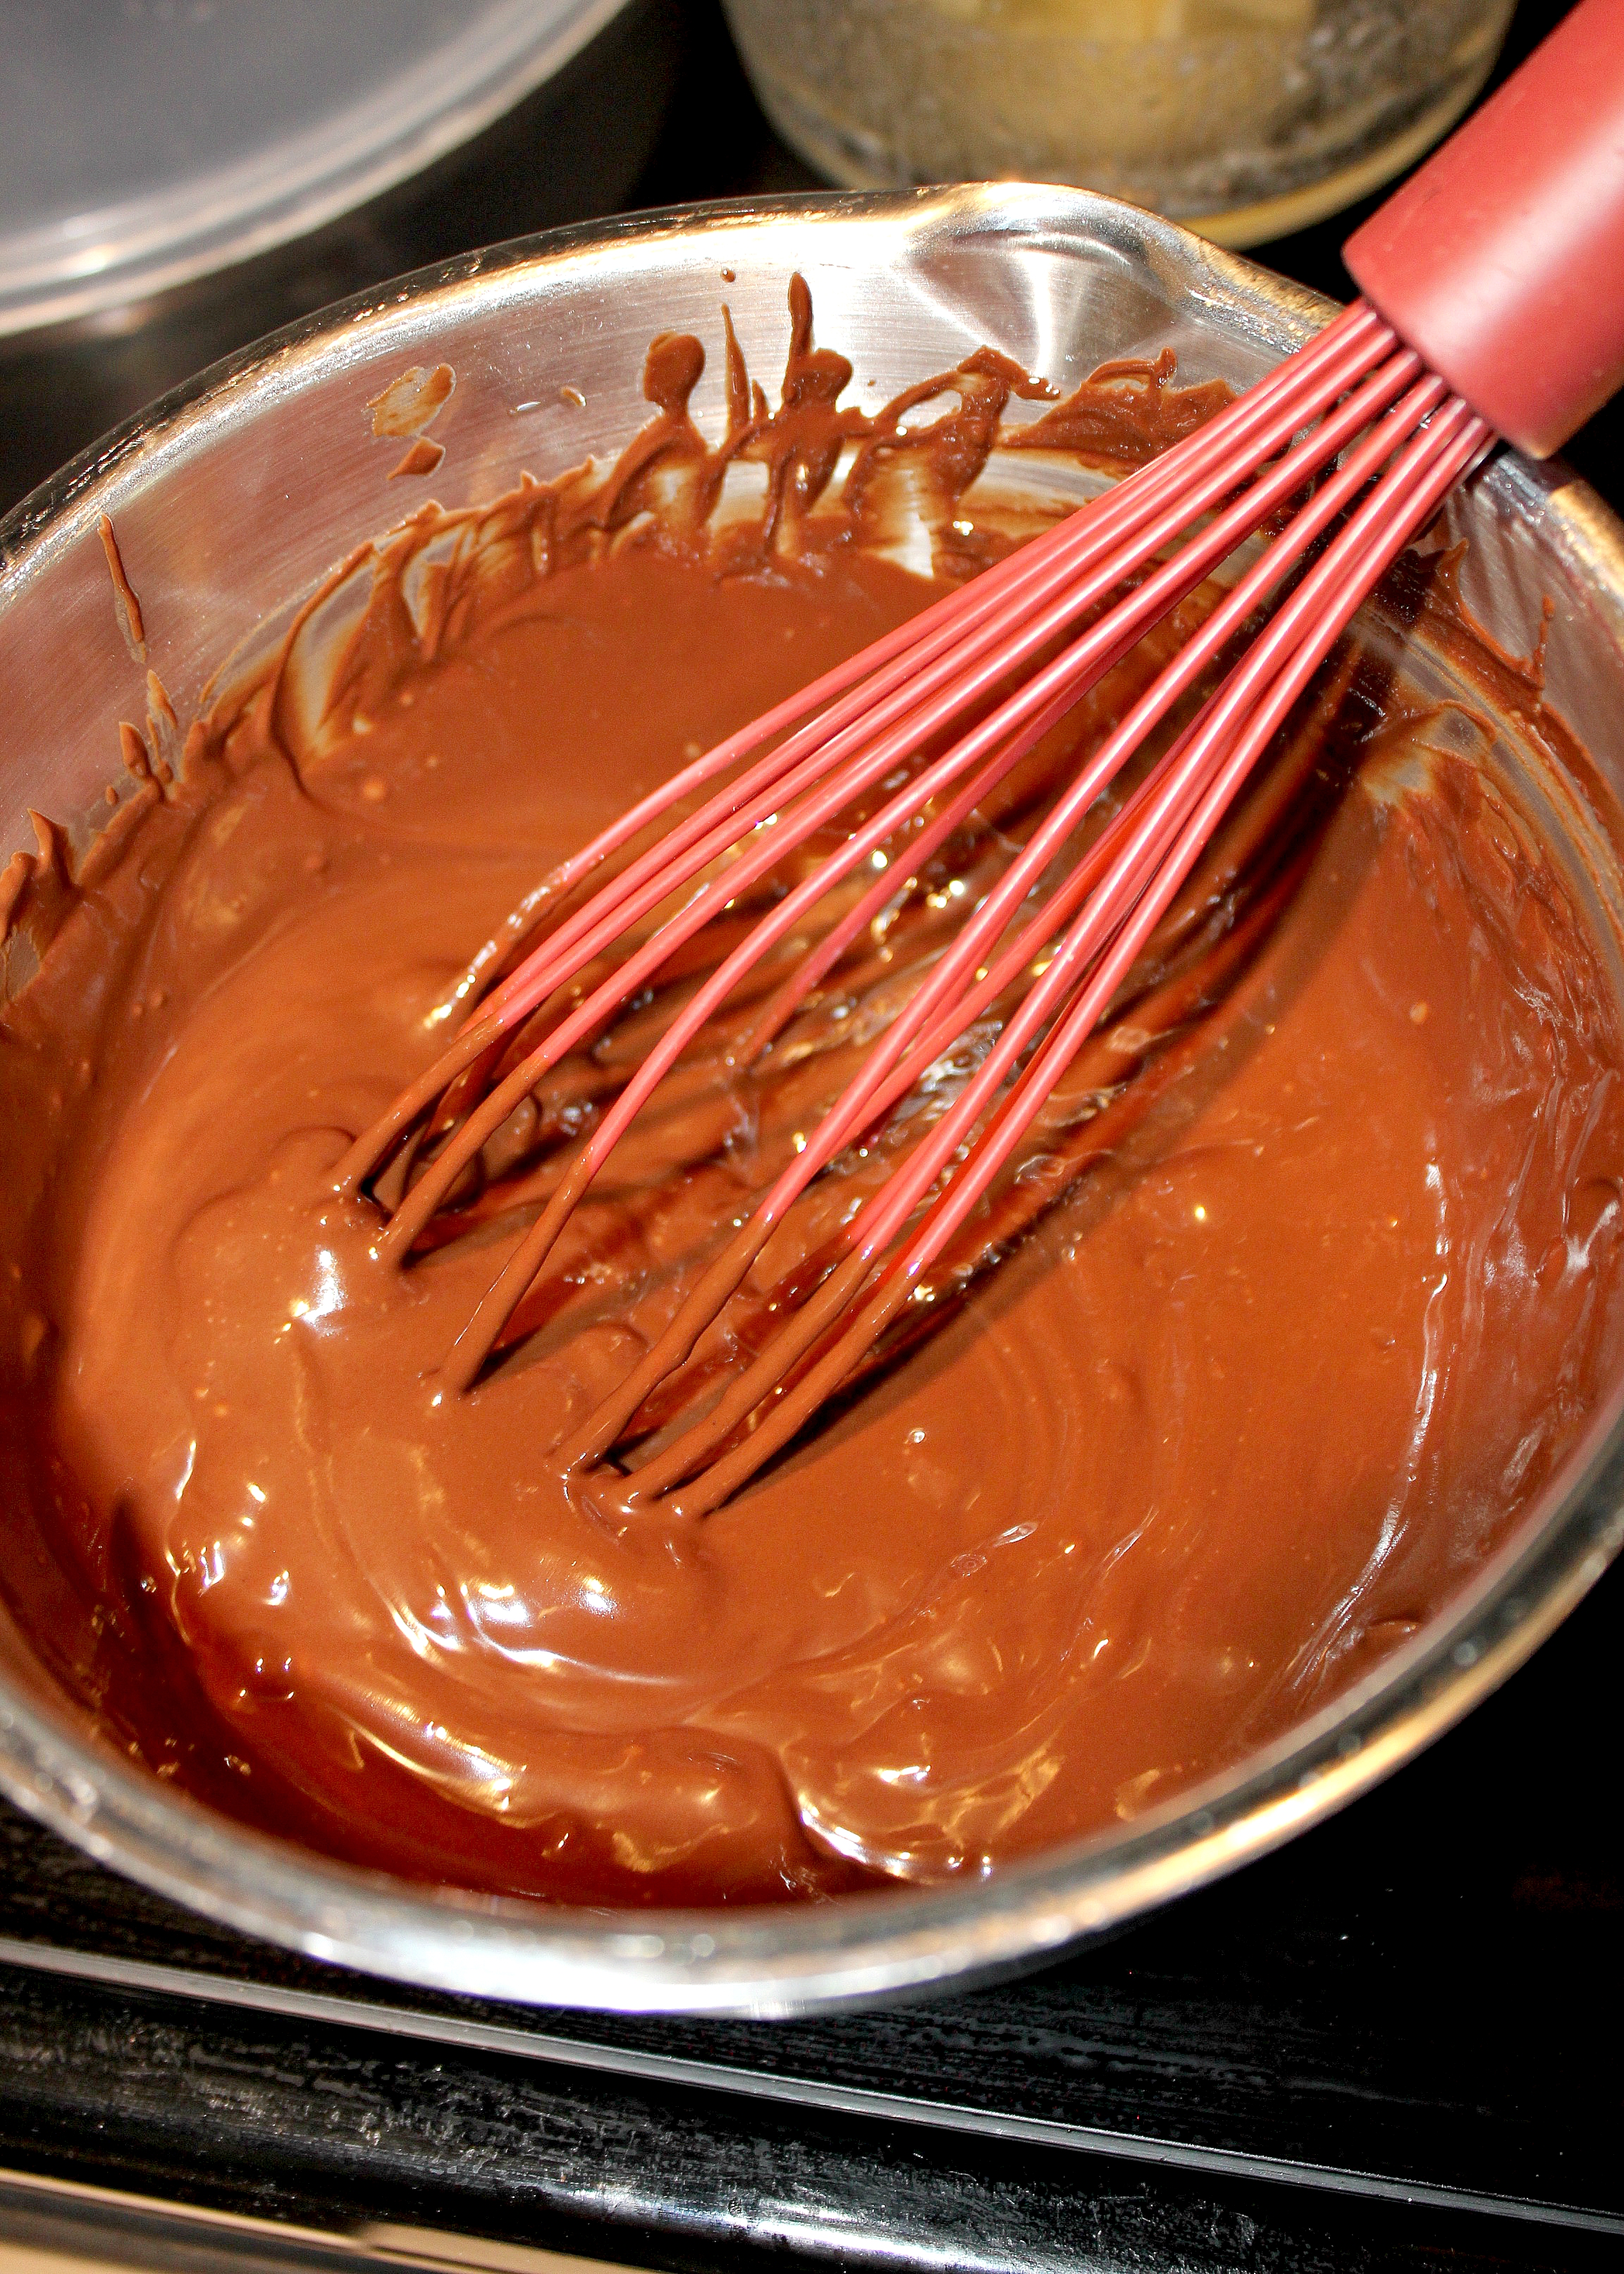
Step 21: Make the chocolate ganache by measuring out 2/3 a cup of chocolate chips (I may or may not have used the same measuring cup that I just measured the cream in…).

Step 22: Bring a cup of whipping cream to a simmer in small pot over medium heat. Pour over the chocolate chips and let sit about 5 minutes.
Step 23: Using a small whisk, whisk the ganache until smooth and shiny. Set aside. If it seems really runny, put it in the fridge to firm up.
Step 24: Place a cake round onto the cake plate or stand, graham crumb side up. Make sure the plate will be large enough to accommodate the marshmallows all the way around the base of the cake! Slide pieces of parchment paper underneath for a cleaner finish.
Step 25: Spread ganache over first layer of cake. Top with second layer of cake, graham crumb side down this time. A somewhat domed cake is desirable for the top, to help pile up the camp fire. Refrigerate until ready to frost. Chilling helps prevent the layers from sliding too much during frosting or squishing out all the ganache. I used two plastic toothpicks to hold the layers even and together while they chilled in the fridge and I prepared the frosting. (If hoping for a more pronounced marshmallow taste in each bite, a jar of marshmallow fluff or mini marshmallows themselves could be added between the layers as well).
Step 26: For the frosting combine 1 cup milk chocolate and 1 cup semi-sweet chocolate chips in a small bowl.
Step 27: Microwave 1/2 a cup of butter for 1 minute or until completely melted. Pour over chocolate chips and let sit for about 5 minutes.
Step 28: Whisk until chocolate chips are completely melted and smooth.
Step 29: Put 1 cup of Arvand Double Creme yogurt in a Kitchen Aid mixer, fitted with a paddle attachment. With the mixer on low slowly pour in the melted chocolate. Mix until combined.
Step 30: Add the Rogers powdered icing sugar a cup at a time (4 1/2 cups in total) and the vanilla extract, mixing well between each addition. Continue to beat until a creamy frosting consistency is reached.
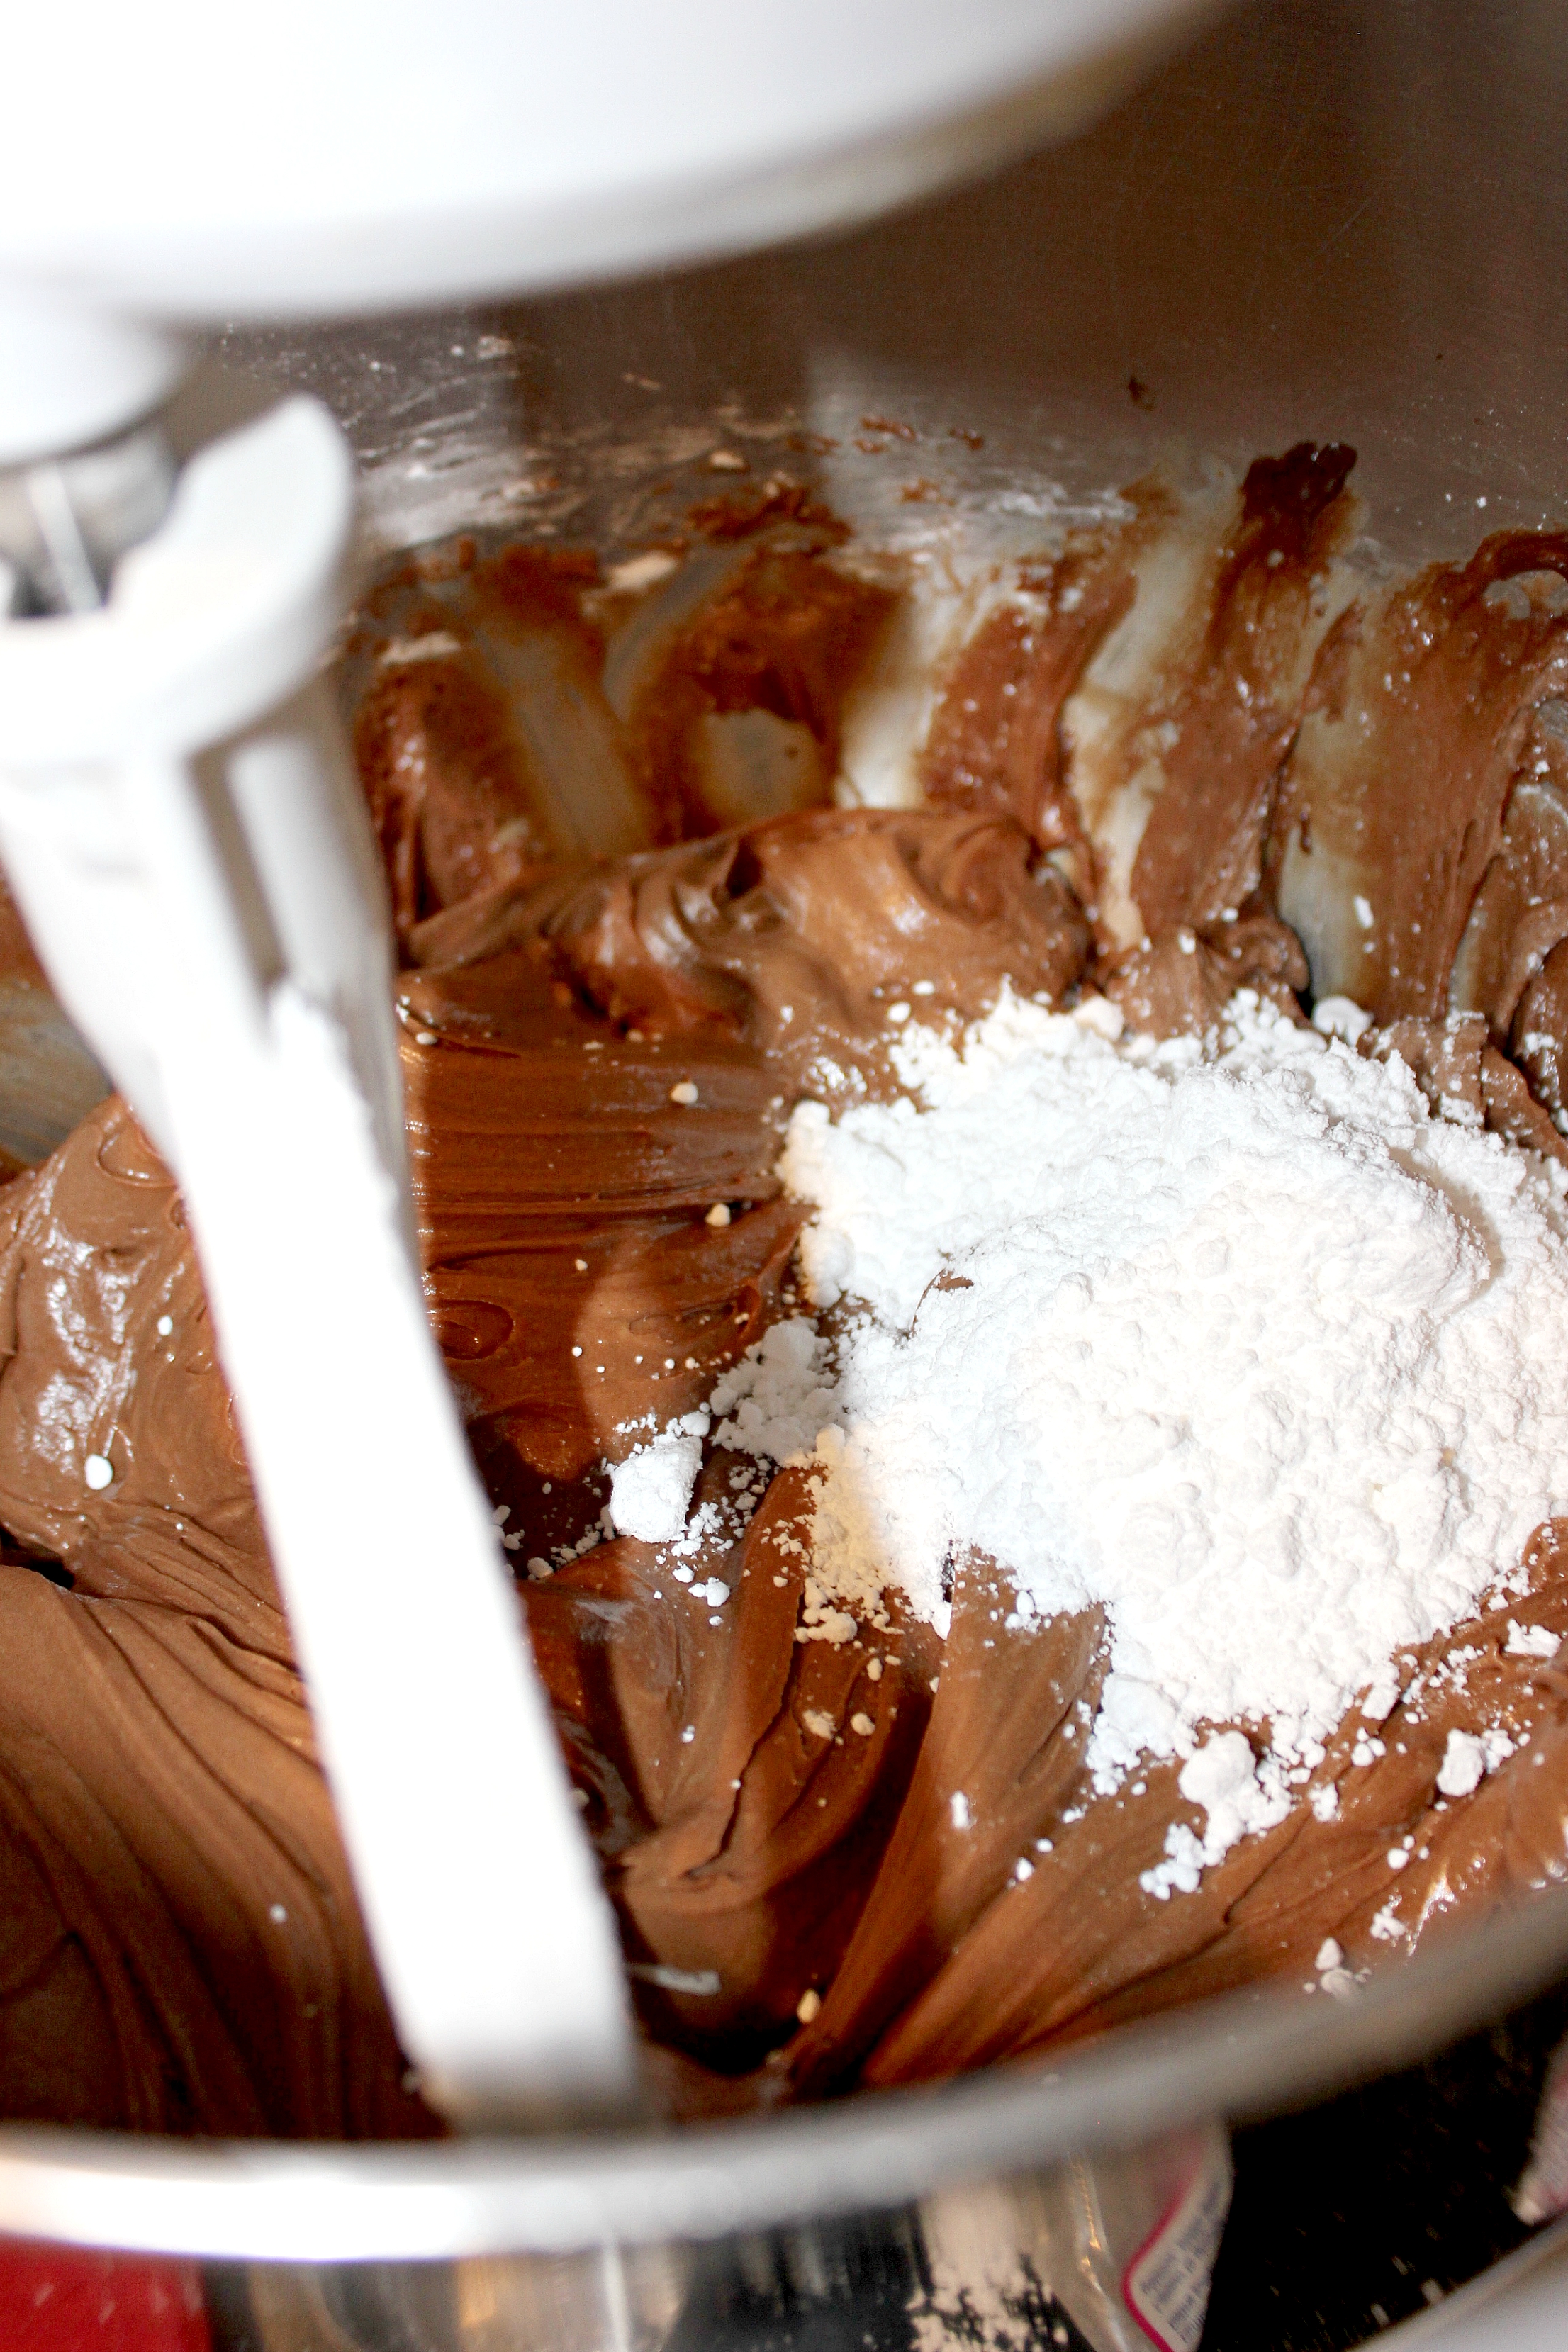
Step 31: Begin frosting the cake and remove toothpicks, if used, after the sides have been frosted in place.
Step 32: Continue frosting until the whole cake is evenly covered, piling any extra any up on top. Remove the parchment paper lining the cake plate.
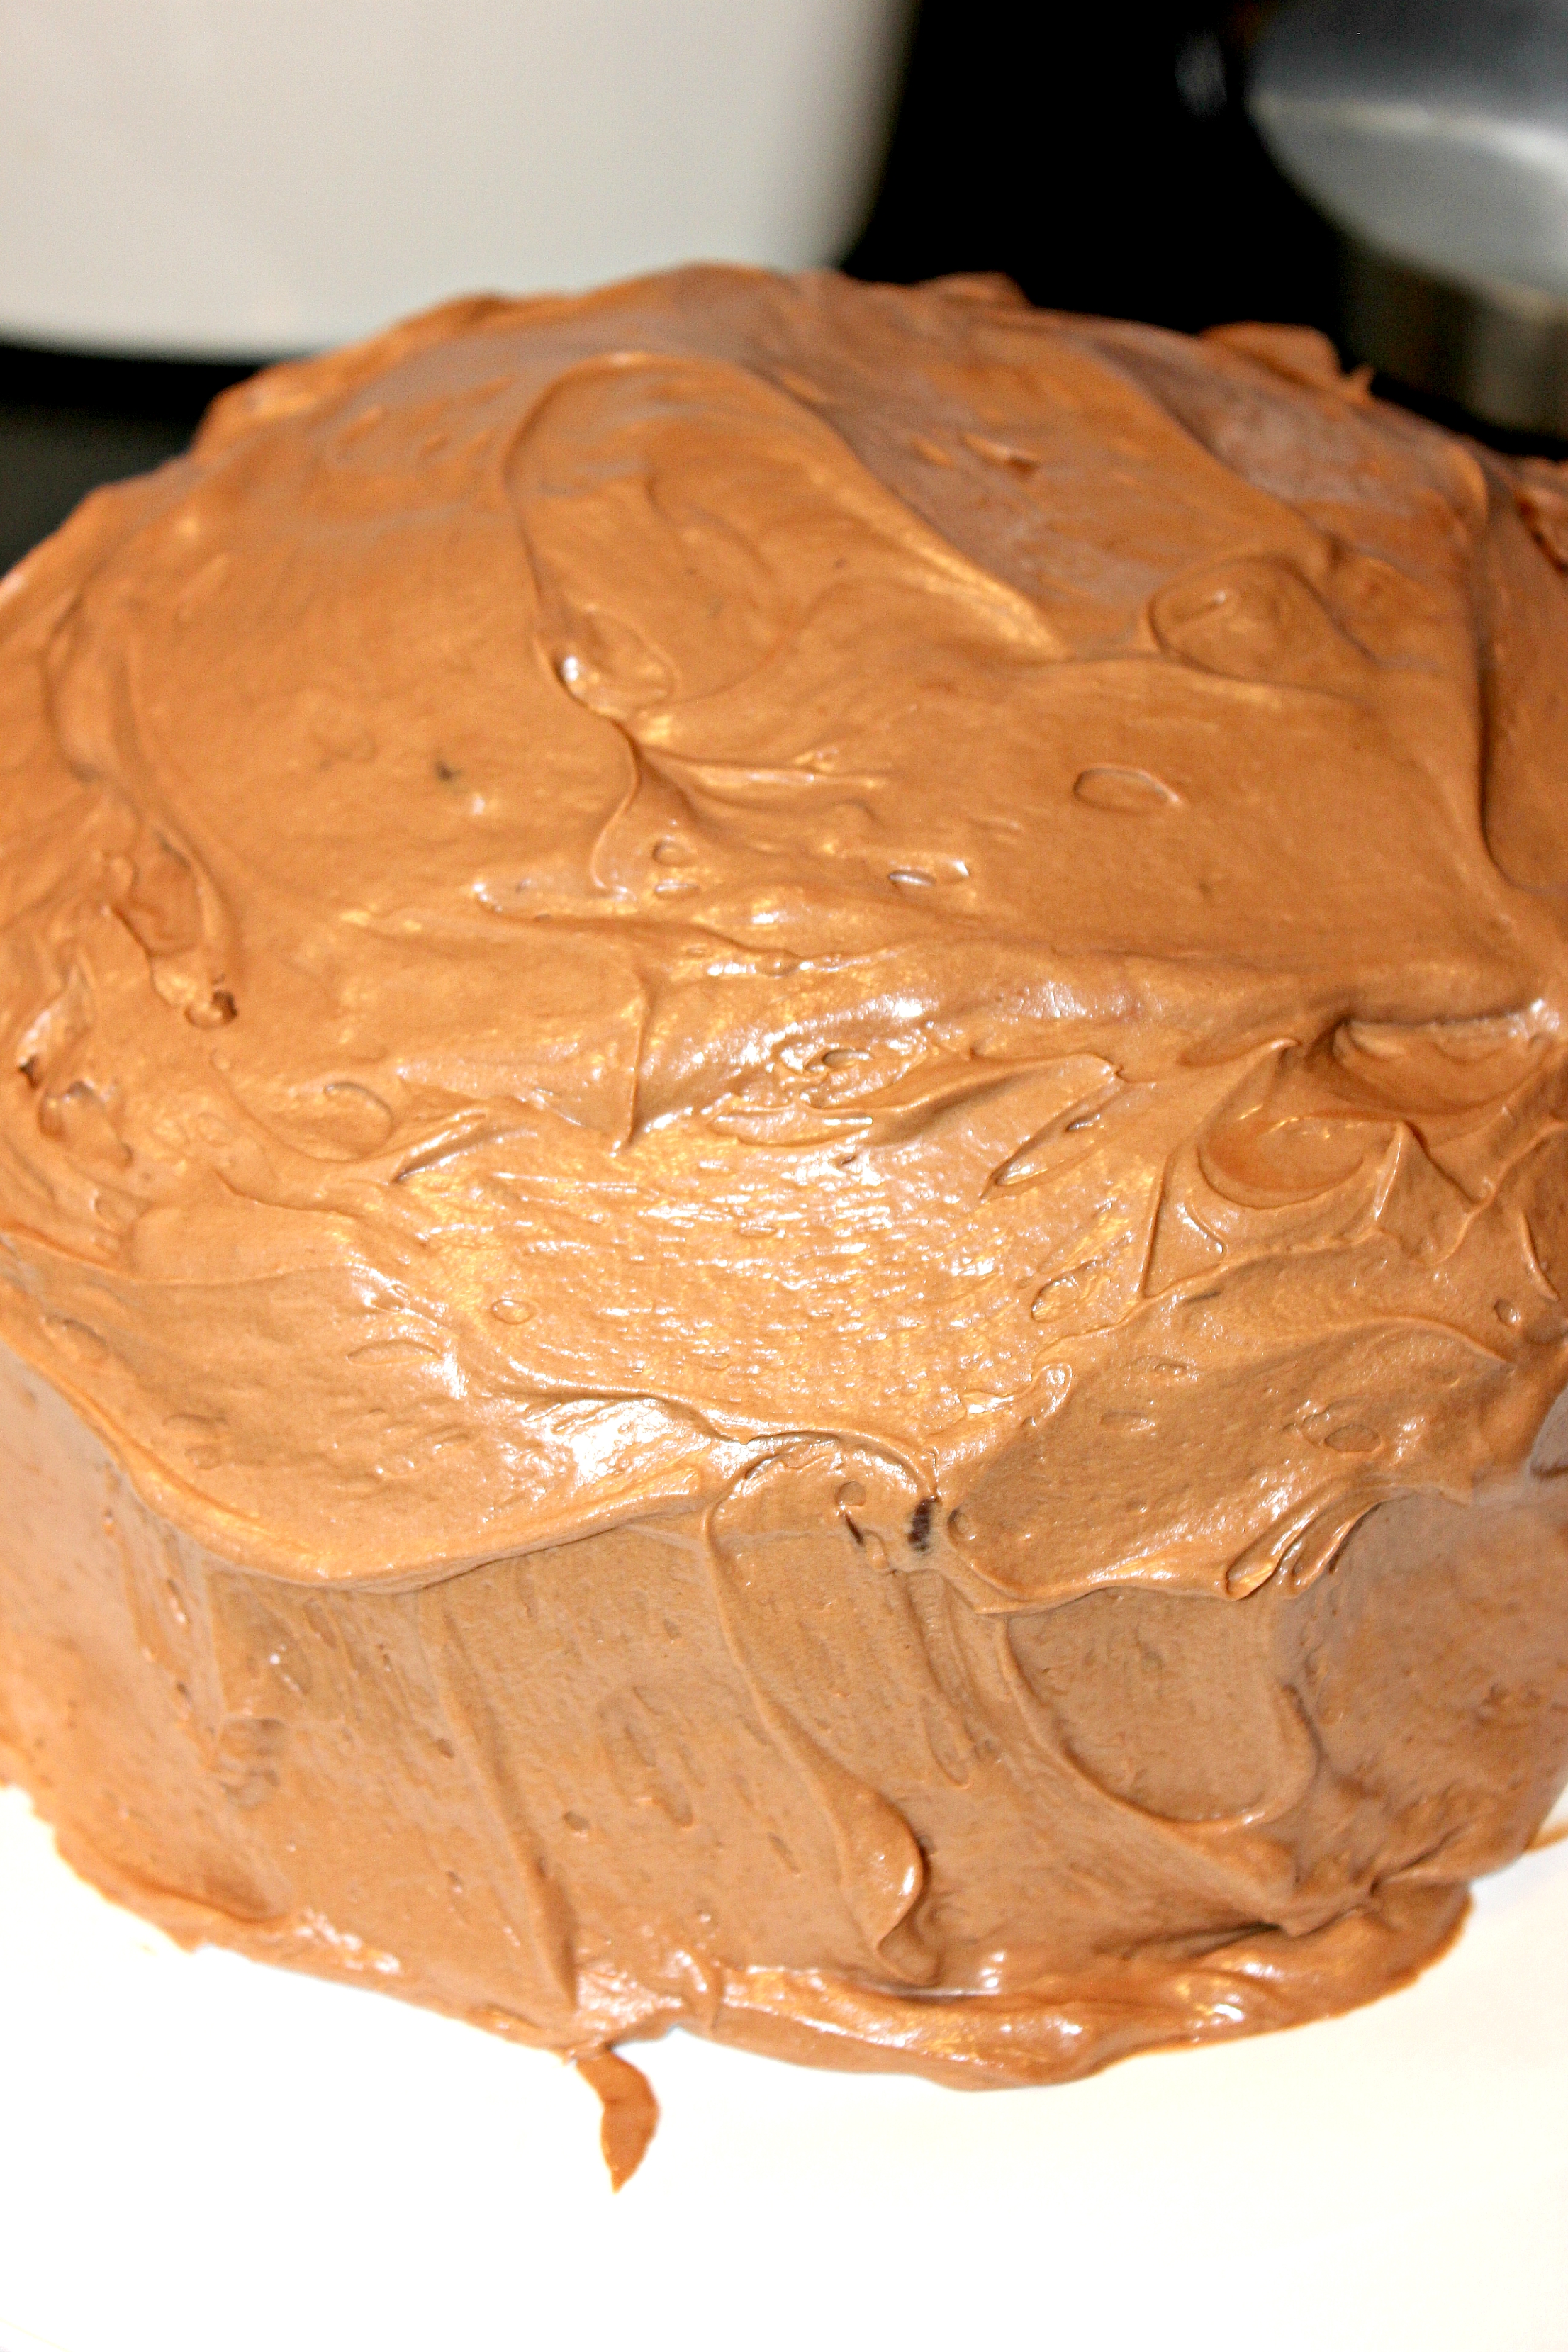
Step 33: Start placing the toasted marshmallows side by side along the base of the cake, all the way around (this took approximately 25 on my cake).
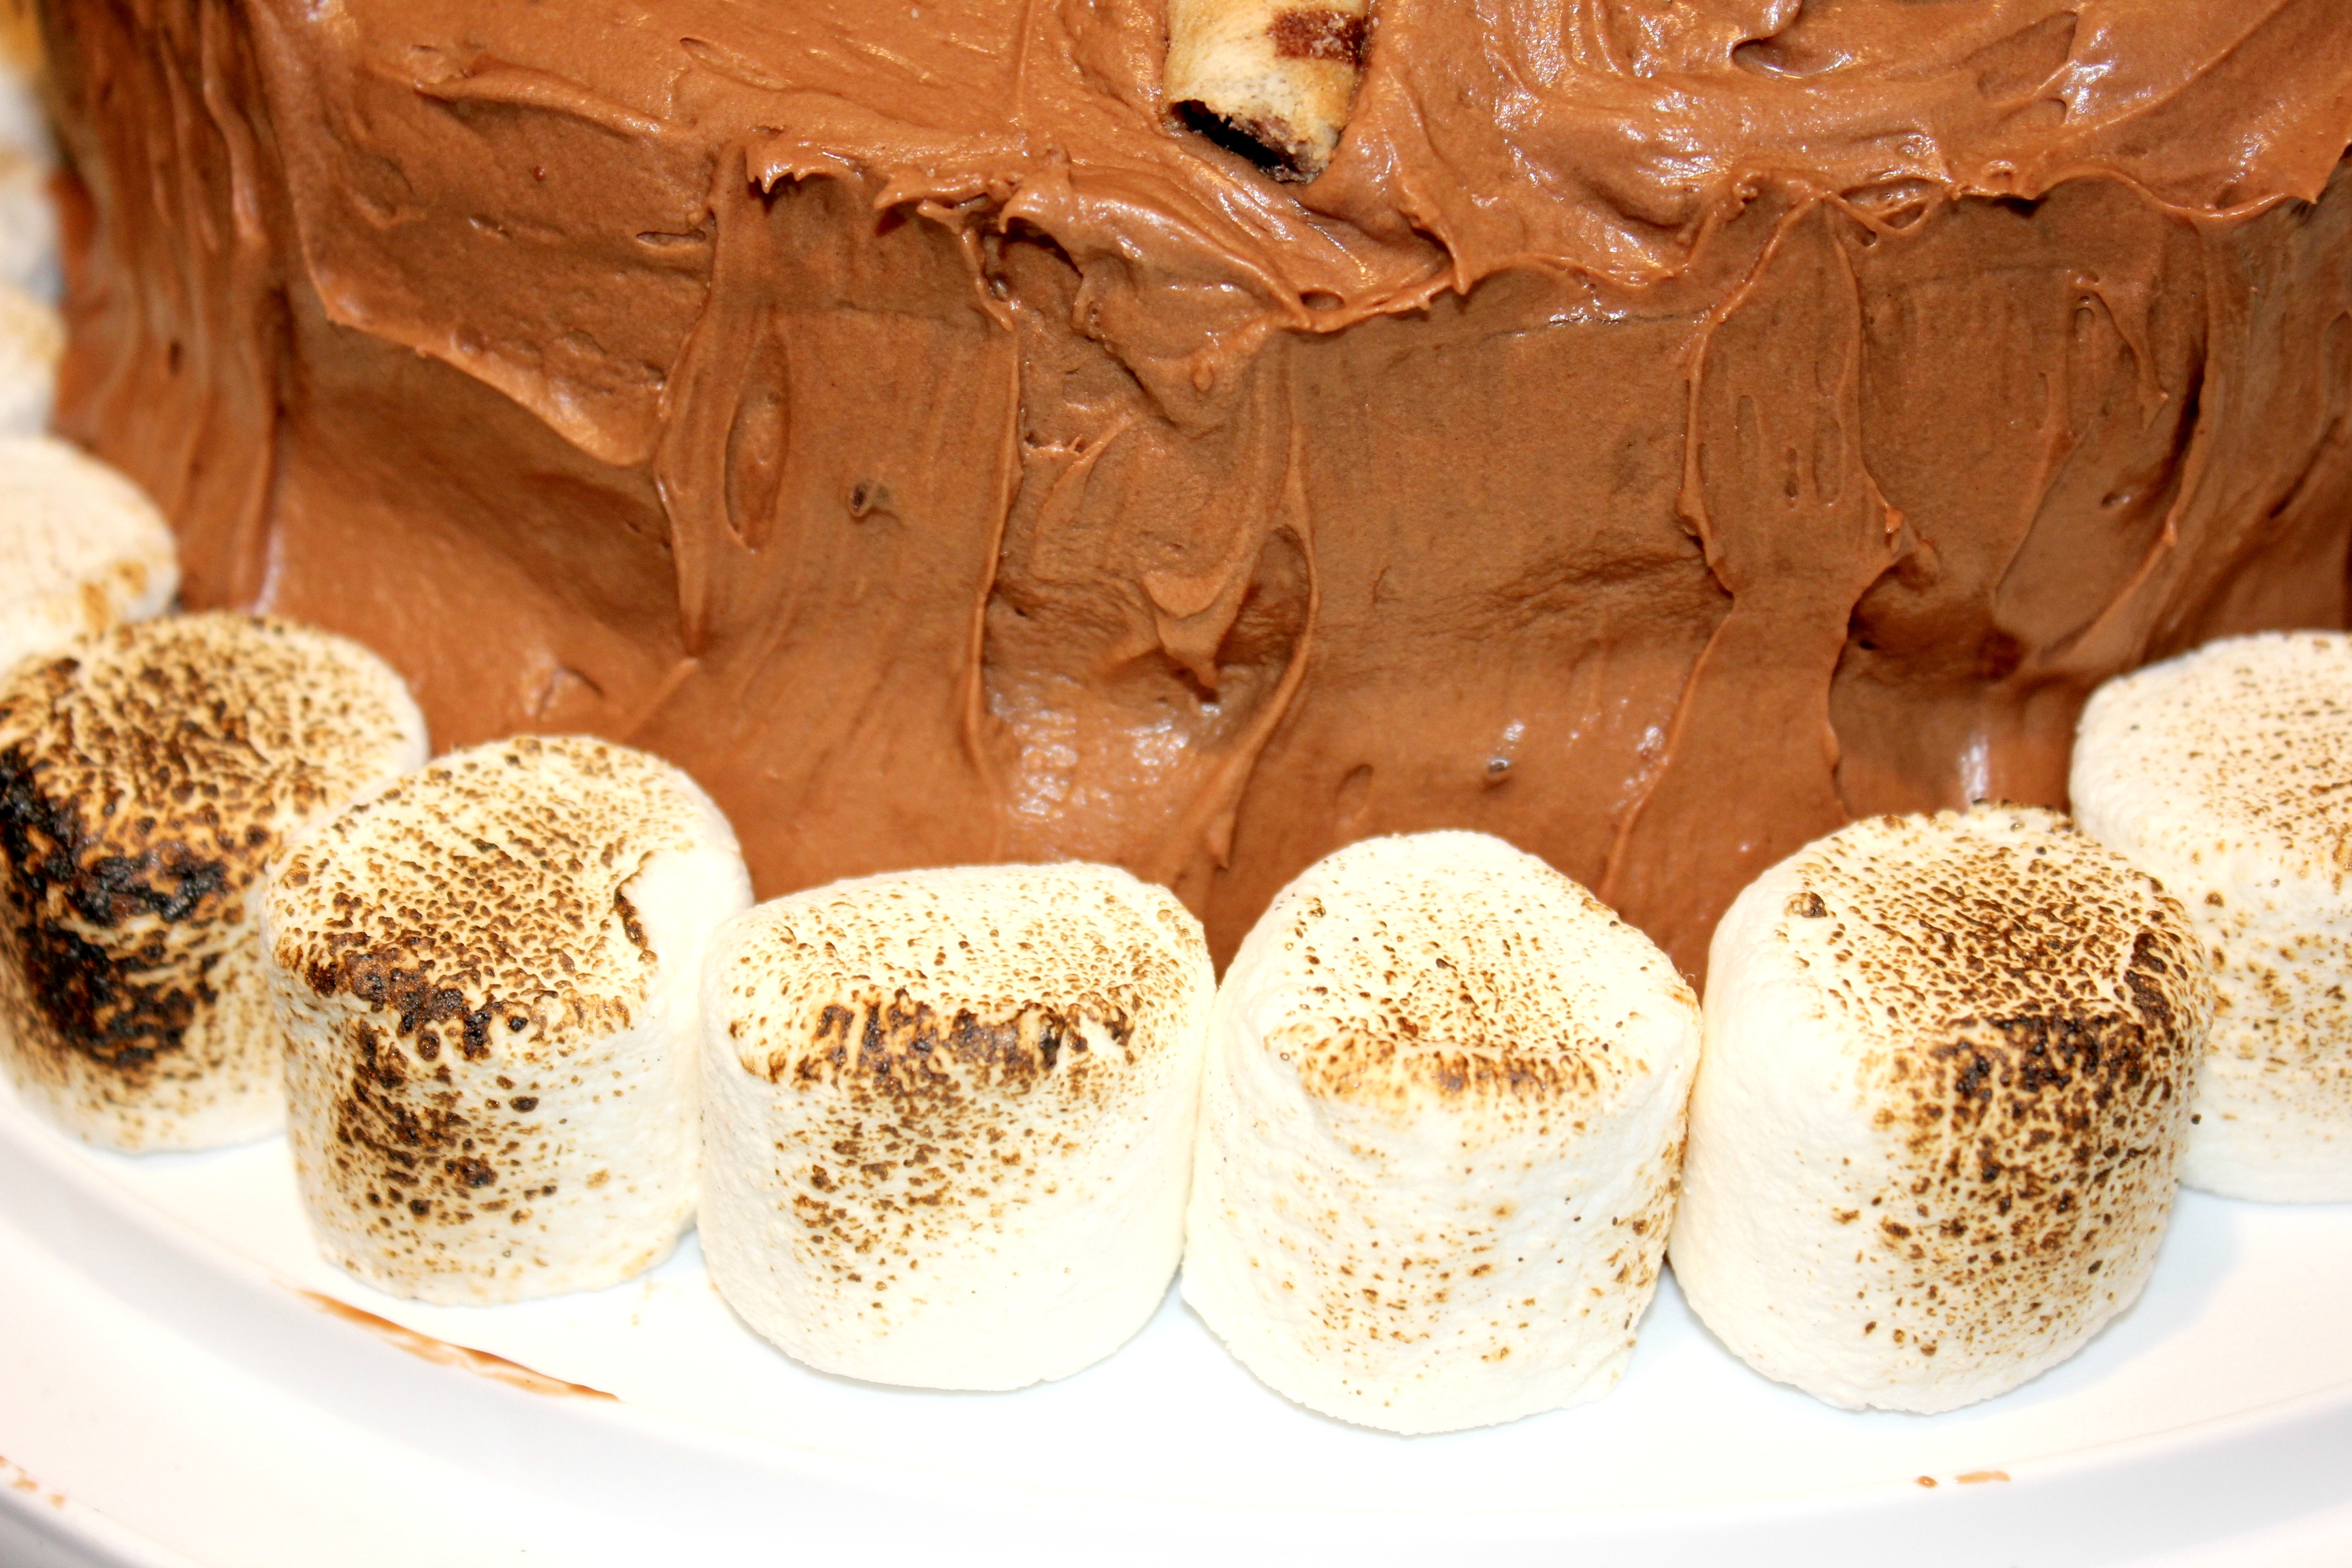
Step 34: Continue with second layer, on top of, but between the original row for an even look and better balance. Pushing the back side of the marshmallows into the frosting holds them in place.
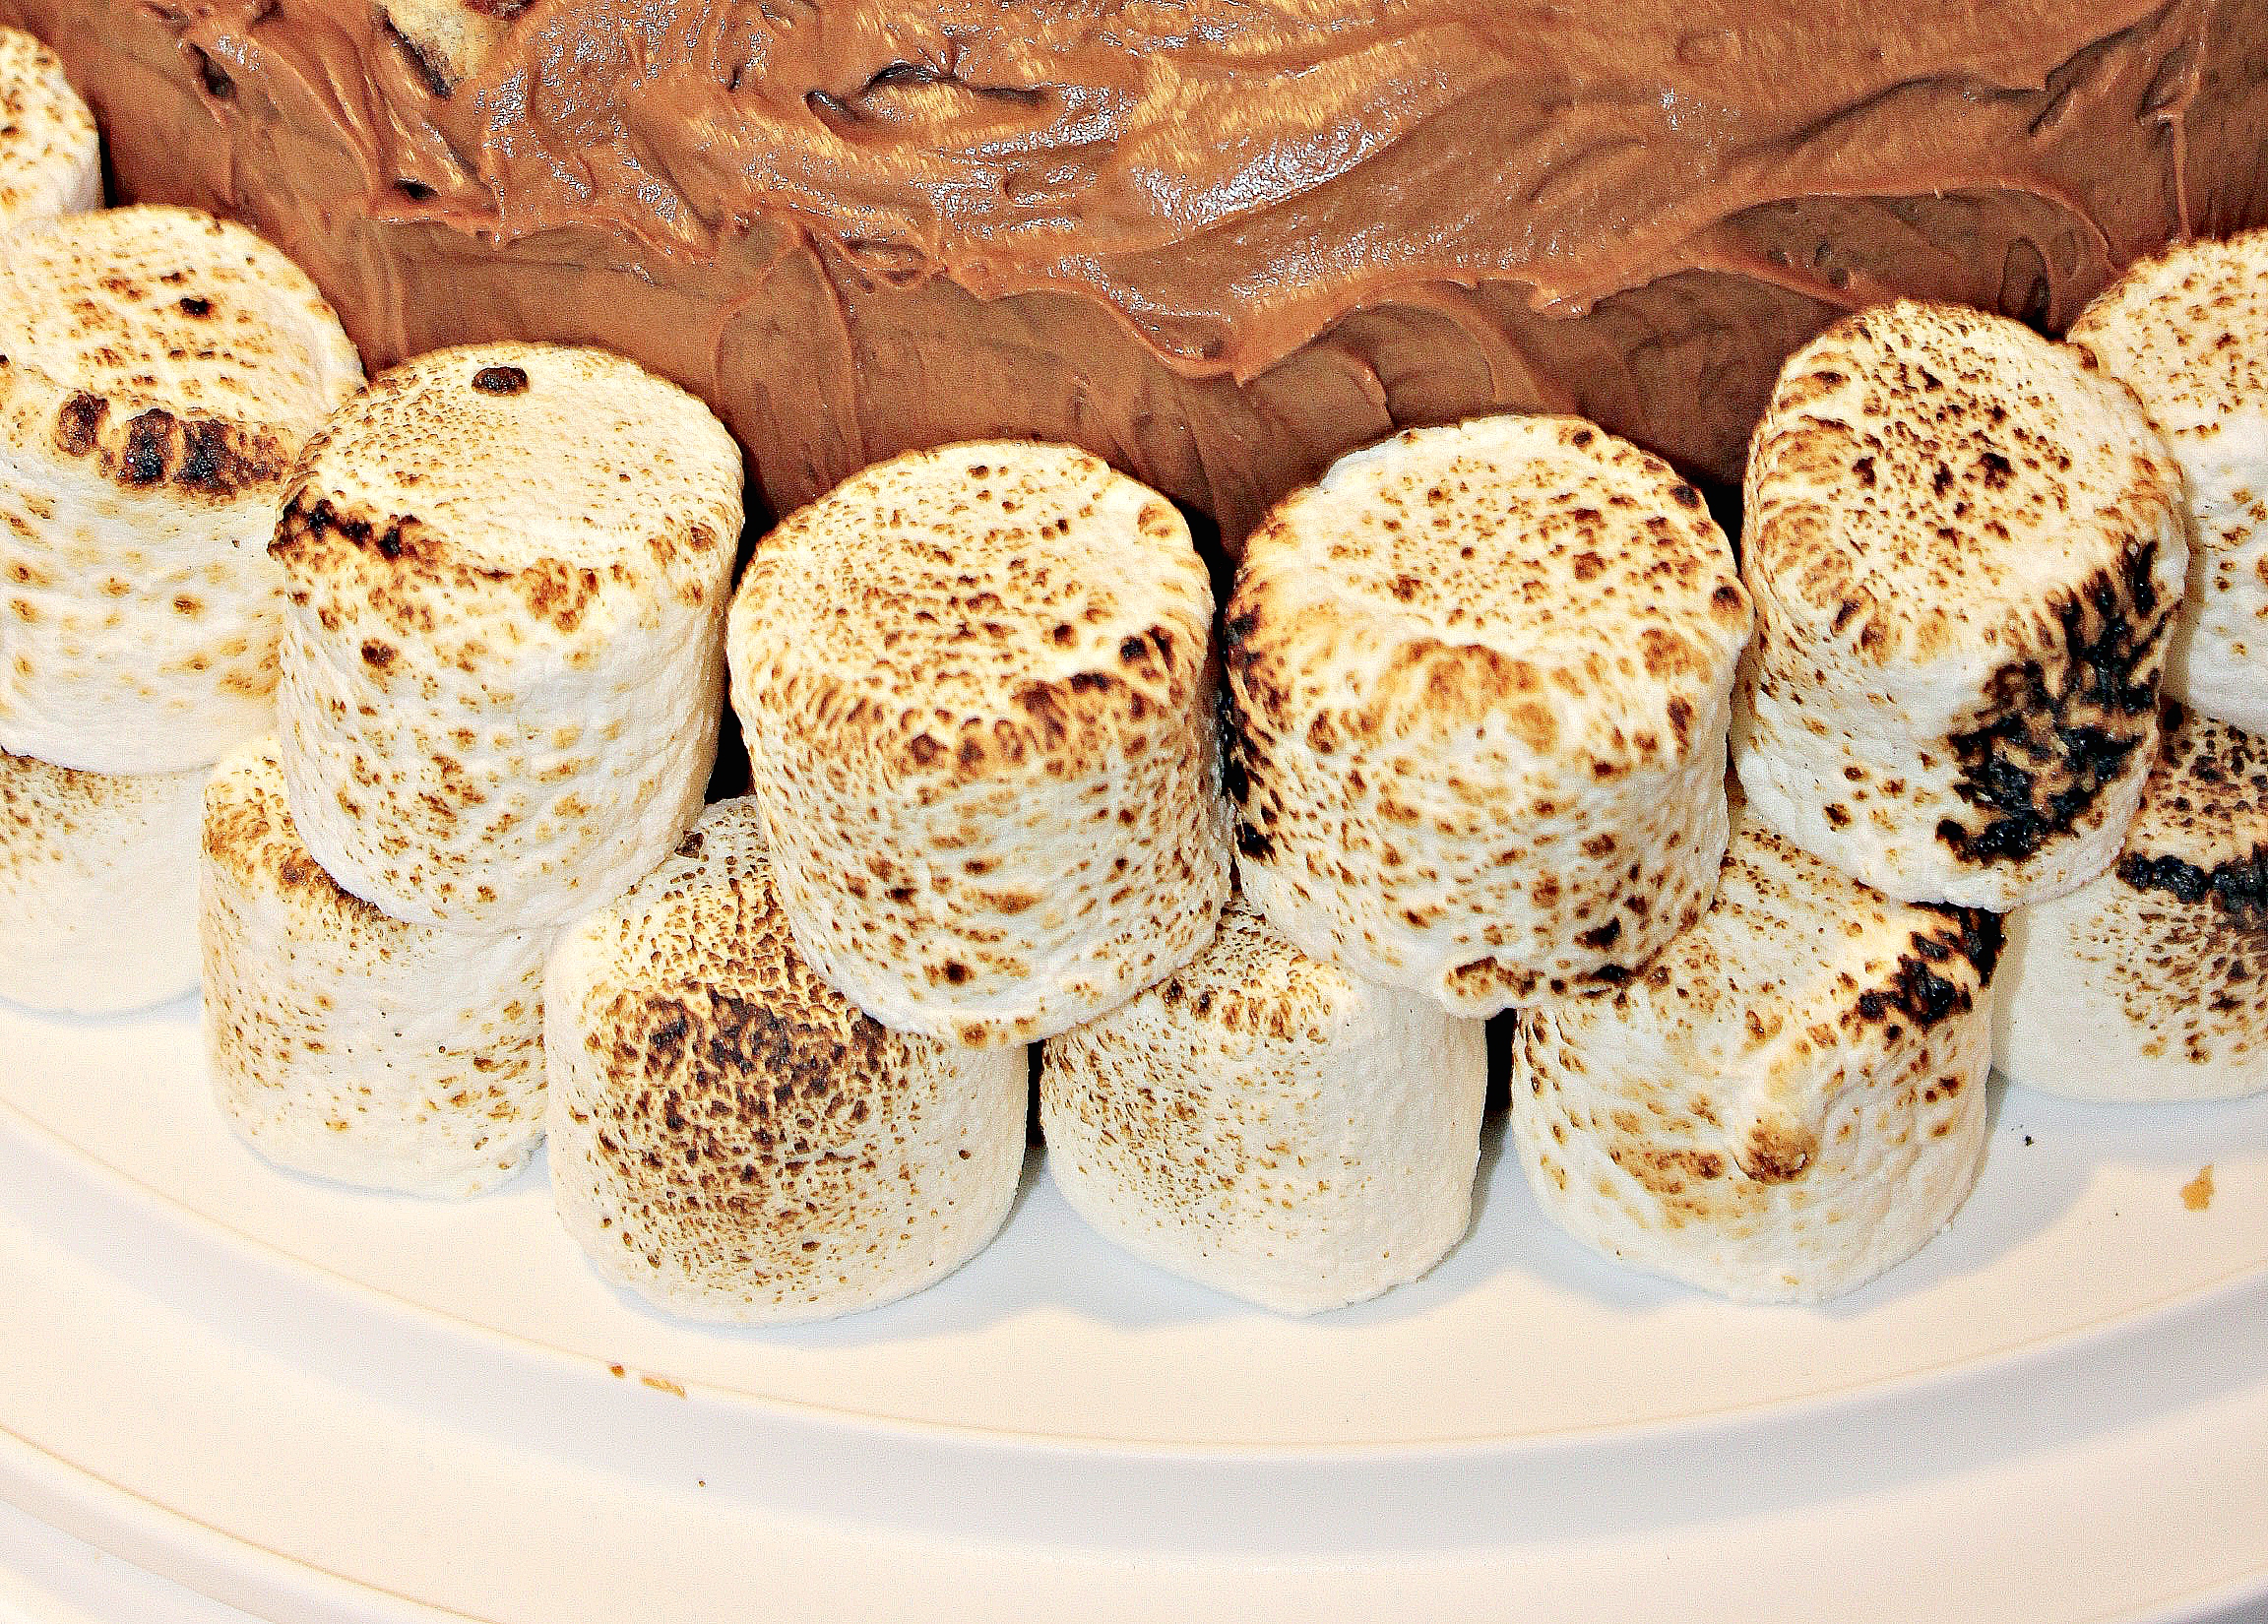
Step 35: Using chocolate rolled wafer cookies, place them on top of the cake in a campfire log formation.
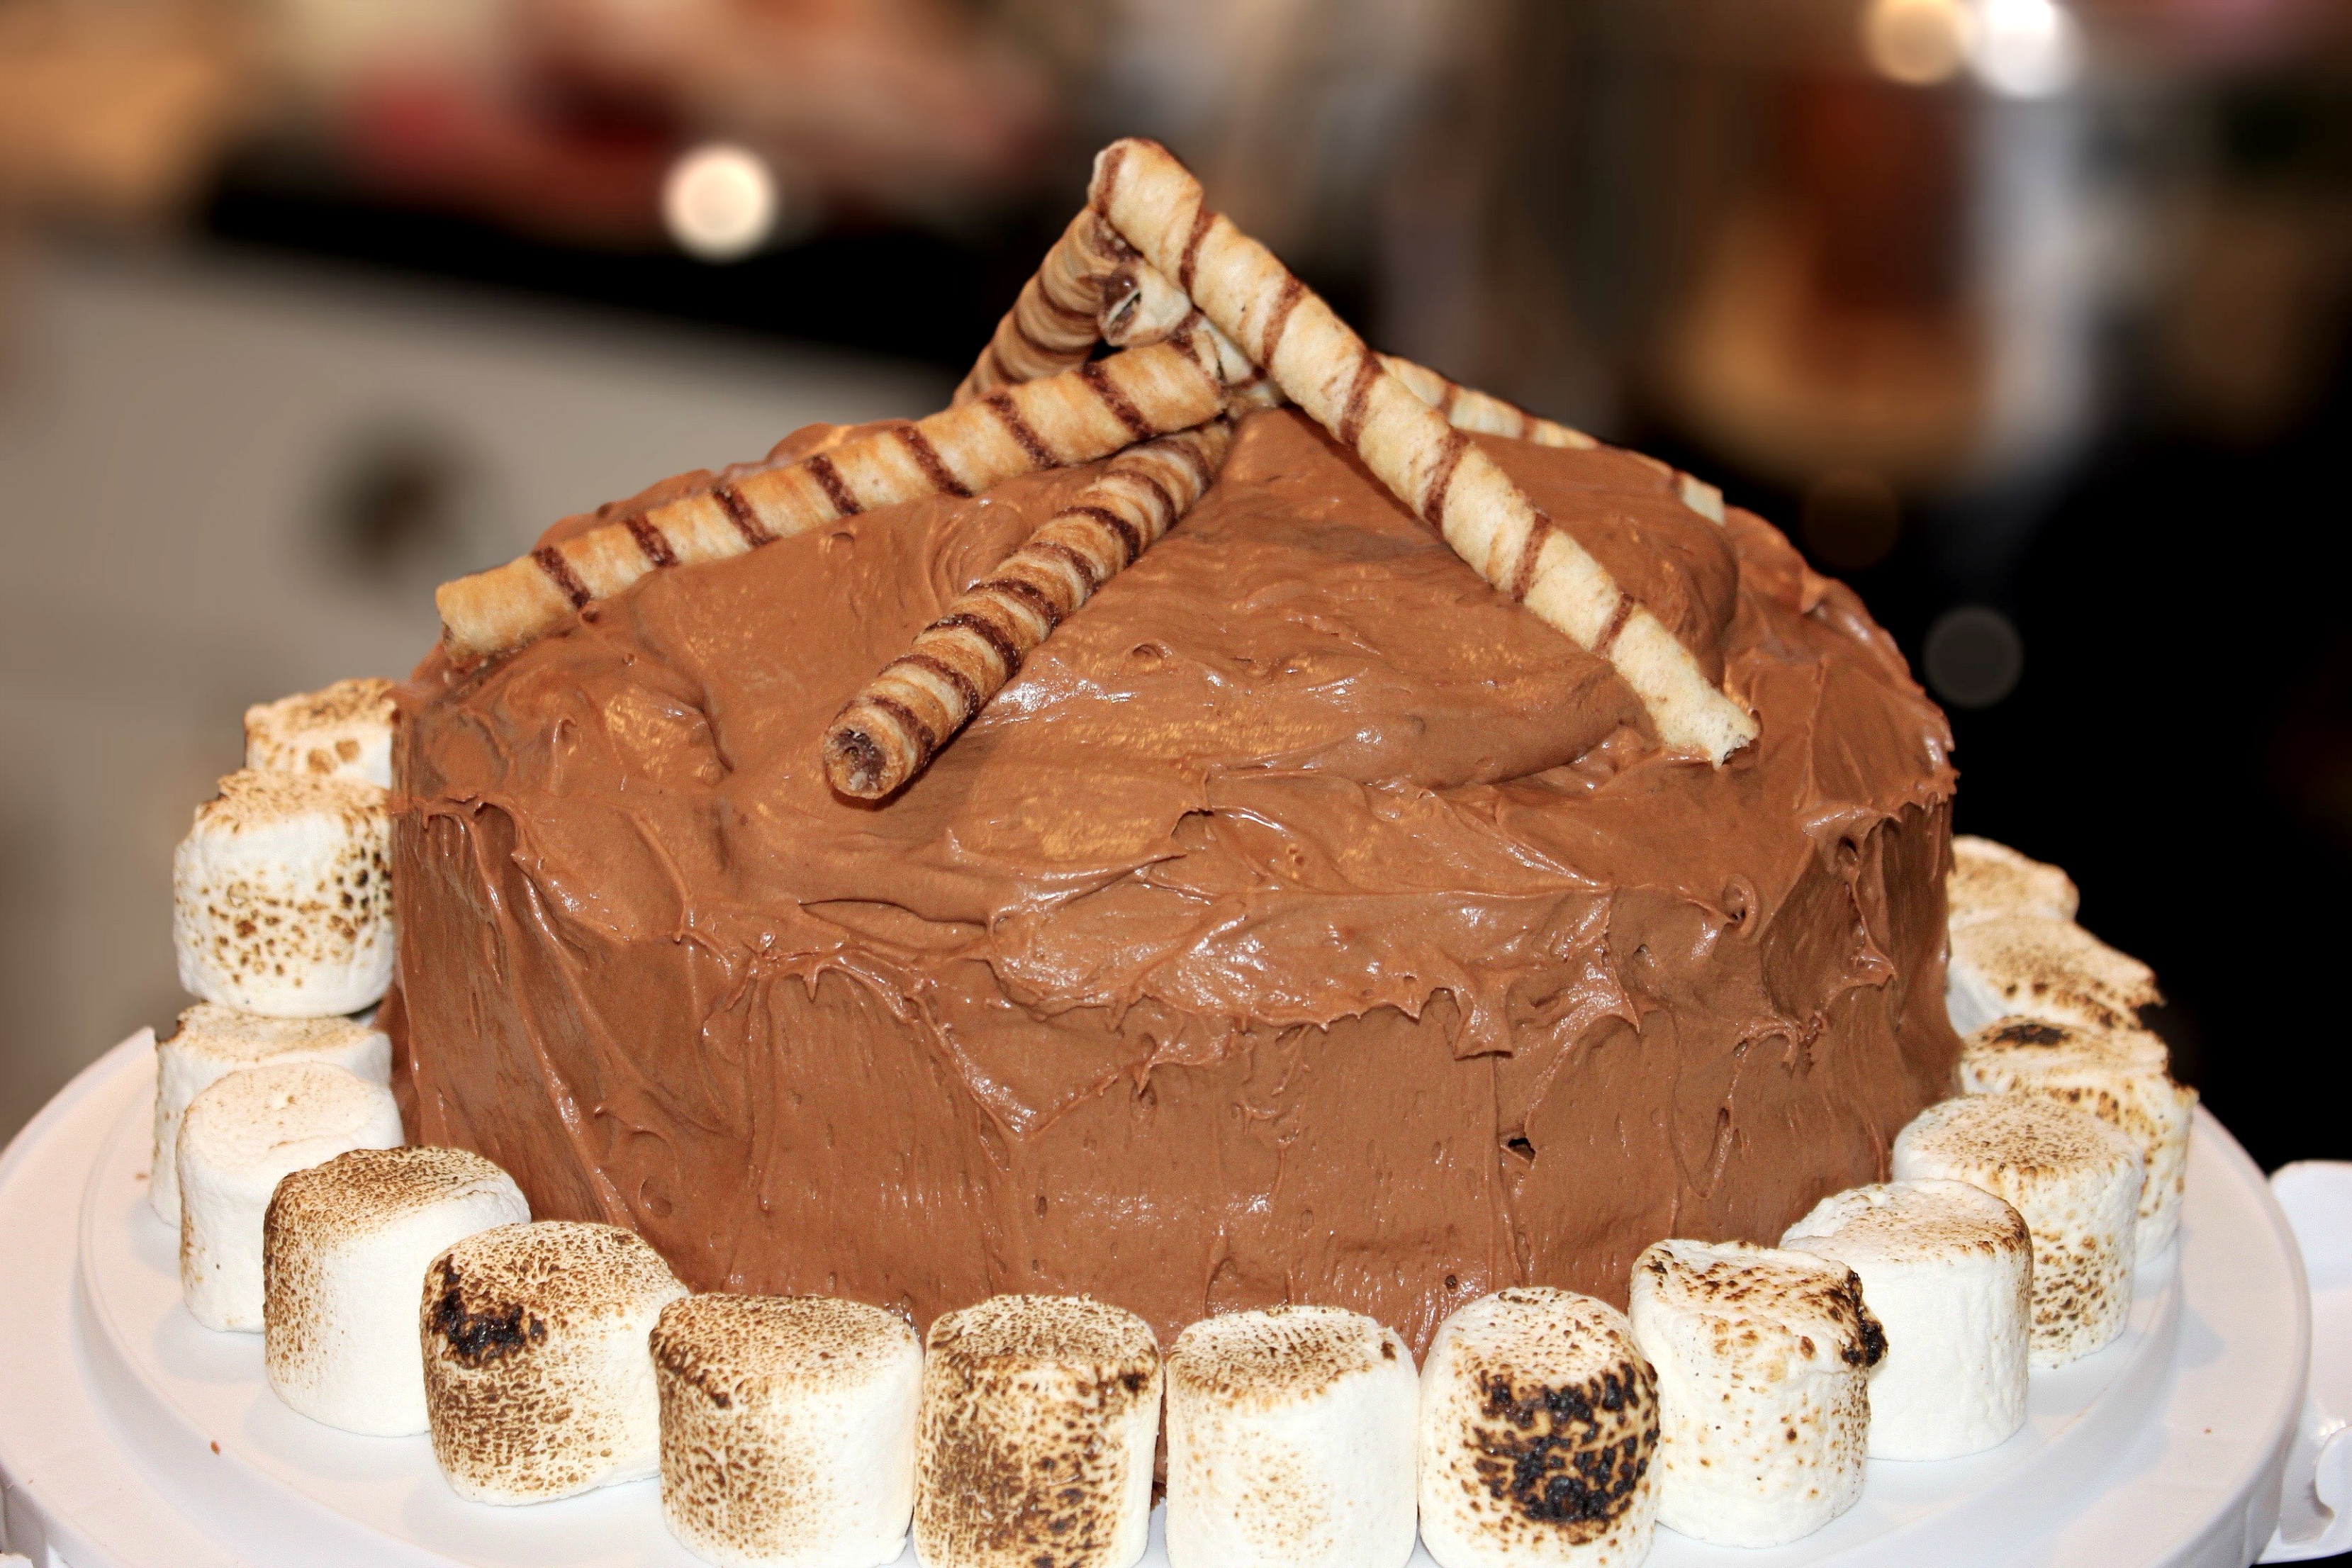
I used Crème Roulée Chocolate hazelnut European styled rolled wafers for my logs.
Step 36: Start placing broken candy flames where you feel fit to mimic the campfire flames.

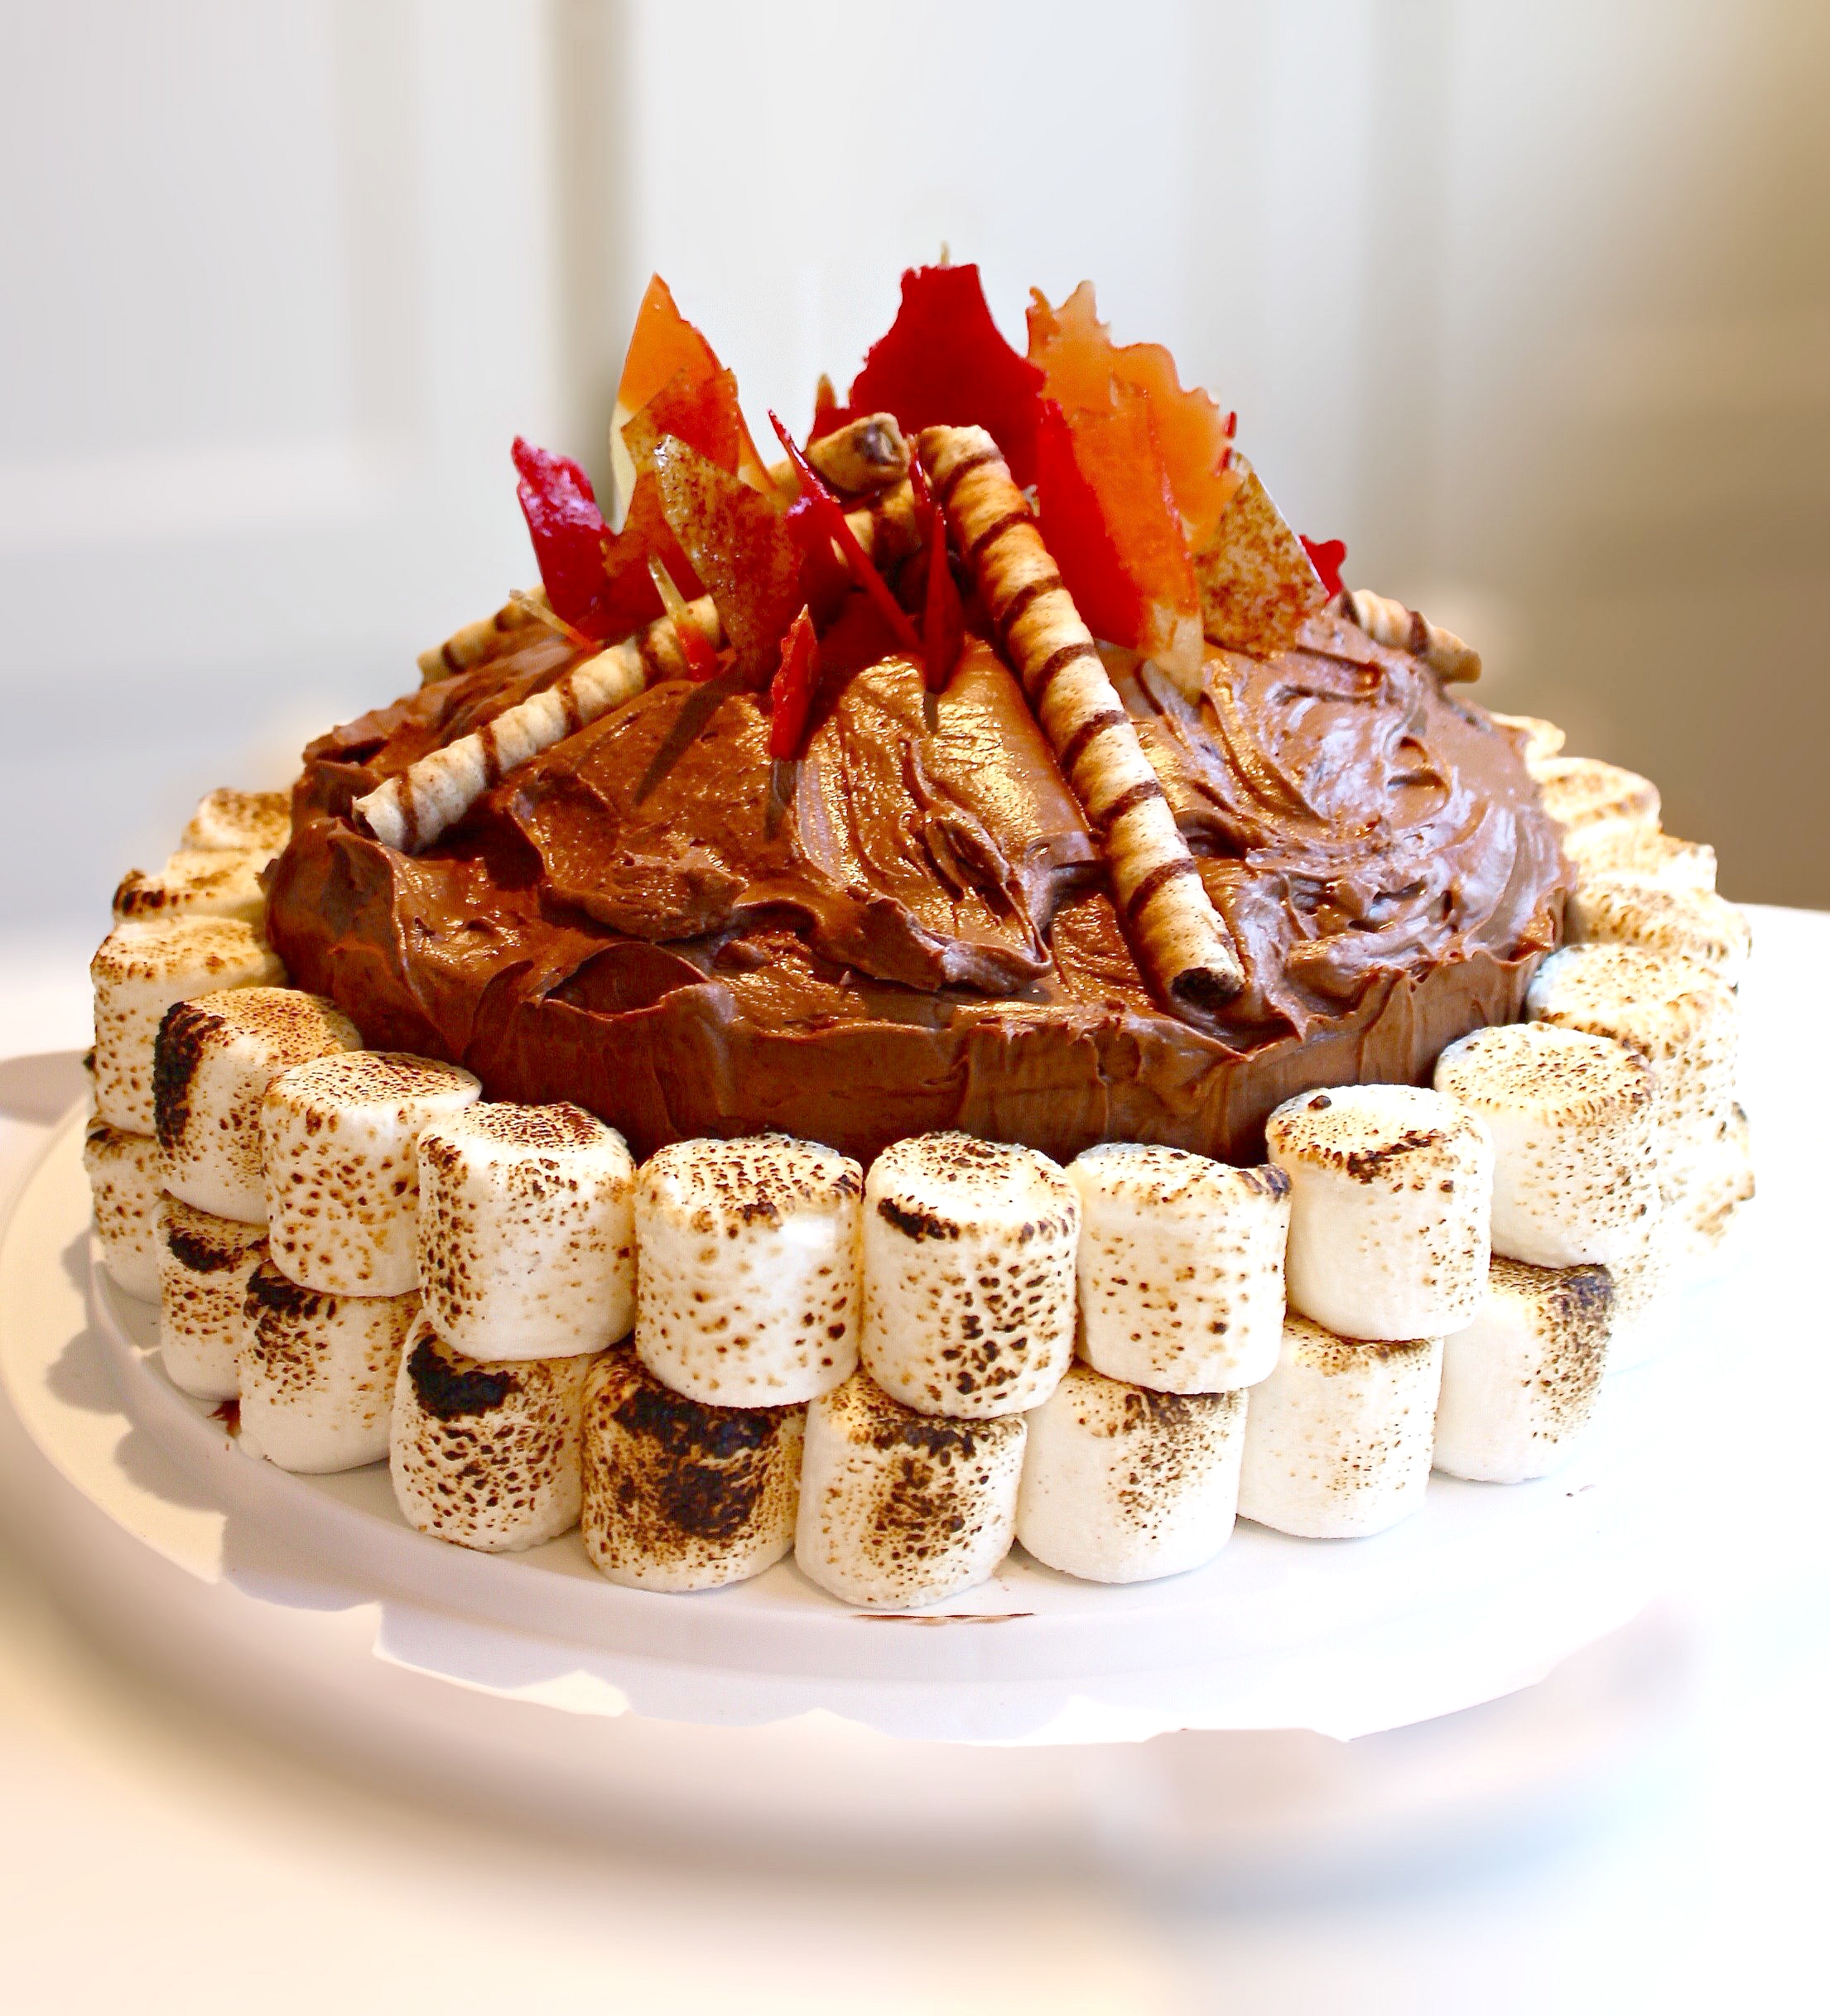
I started with the largest pieces near the top and tapered down with the smaller pieces, for more convincing flames, near the bottom. I could not make the flames too tall, because it had to fit under a domed cake cover to travel. Larger, higher flames would be even more impressive!
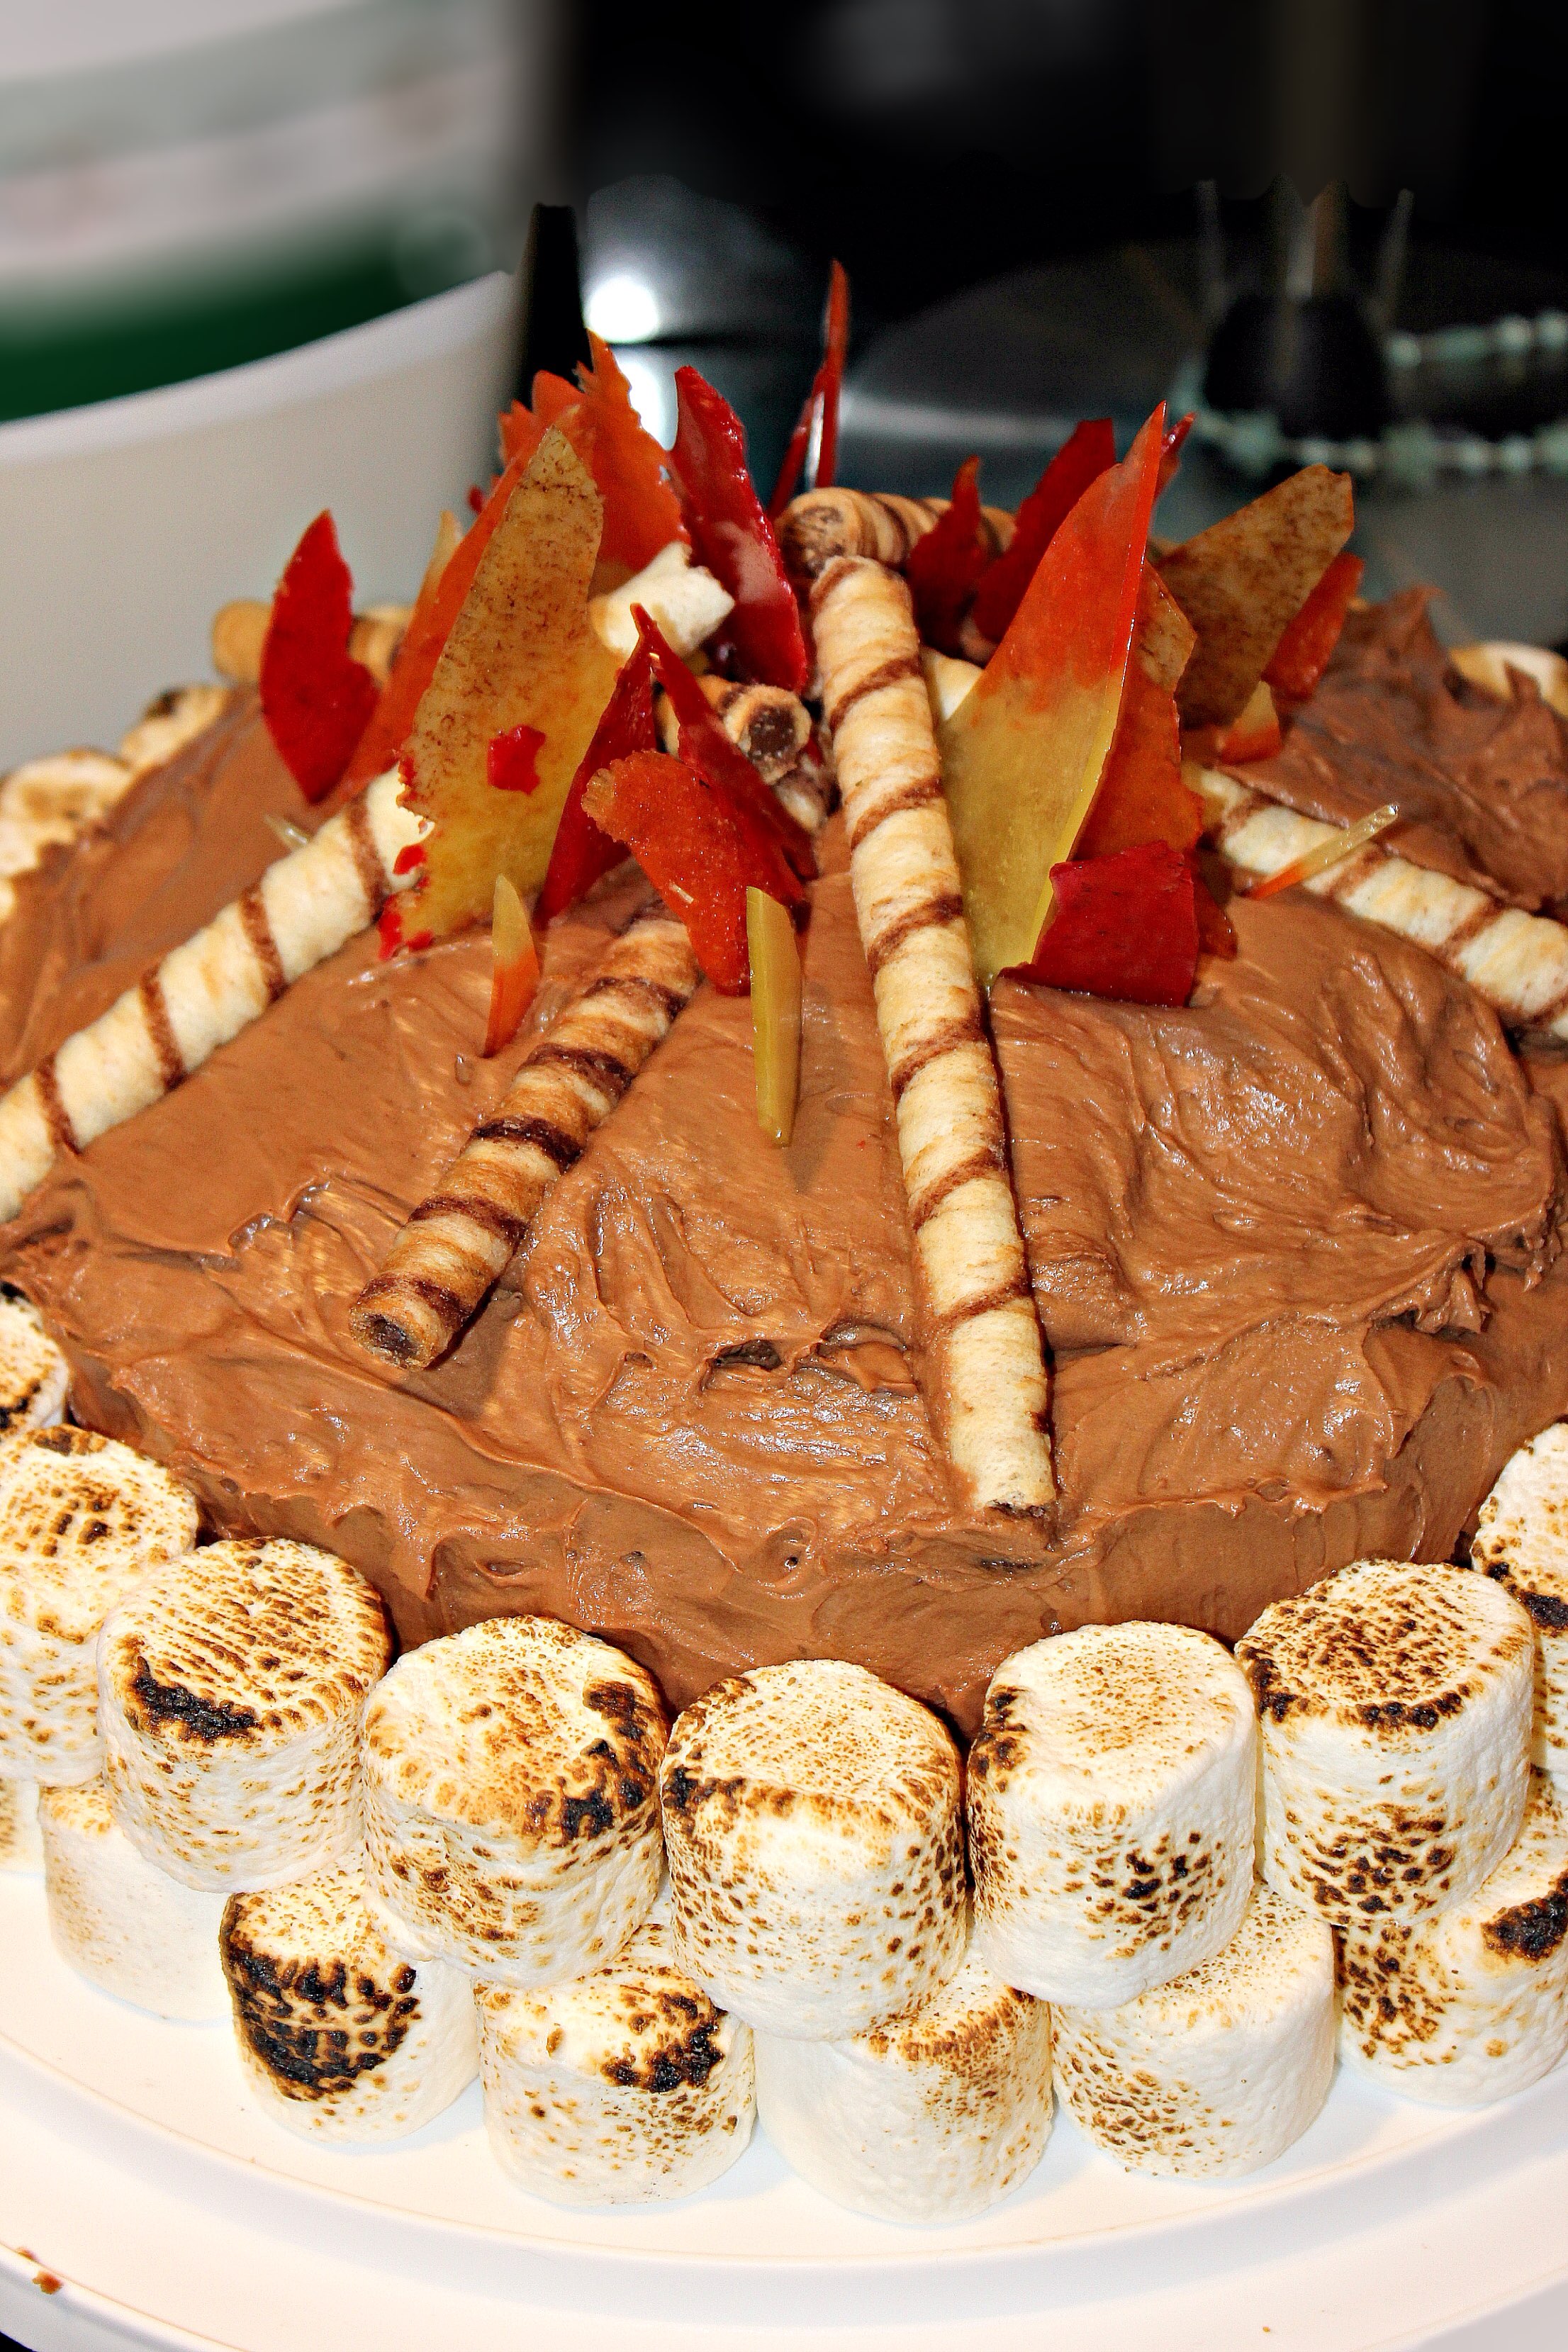
And there you have it – a campfire cake (fit to make the rellies fall in love with you and all your city loving ways)!!!

- 18 large graham crackers
- 1/2 cup granulated sugar
- 1/2 tsp Kosher salt
- 3/4 cup (12 Tbsp) unsalted butter
- 2 cups boiling water
- 1 cup Rodelle Gourmet Baking Cocoa (Dutch process cocoa powder)
- 1 cup soft unsalted butter
- 2 1/4 cups sugar
- 4 large eggs
- 1 tbsp vanilla
- 2 3/4 cups All Purpose Flour
- 2 tsp baking soda
- 1/2 tsp baking powder
- 1/2 tsp Windsor Kosher Salt
- 2/3 cup Hershey’s milk chocolate chips
- 1/2 cup whipping cream
- 1 cup Hershey’s milk chocolate chips
- 1 cup Hershey’s semi-sweet chocolate chips
- 1/2 cup unsalted butter
- 1 cup Arvand double creme yogourt
- 4 1/2 cups icing sugar
- 1 tsp vanilla extract
- 18 Lifesavers hard candies in red, yellow and orange
- 400g bag of large Marshmallows (about 50 individual marshmallows)
- Crème Roulée European style rolled wafers
- Preheat oven to 350 degrees and line the bottom of two 9in cake pans with parchment paper, then spray sides and bottom generously with non-stick spray.
- Break up 18 graham crackers into a food processor.
- Add 1/2 cup of sugar and 1/2 teaspoon salt.
- Pulse the food processor until very finely ground, uniform crumbs form.
- Brown butter by melting 3/4 of cup (12 tbsp) butter in a medium, heavy bottomed pot over medium heat. Swirl the butter around, moving the pot every few seconds, until butter is a golden brown colour.
- Place graham cracker crumbs in a bowl and pour browned butter over top, making sure to scrape out all the brown bits in the bottom of the pan. Stir together.
- Evenly press the graham cracker mixture into each of the greased pans.
- Place 1 cup of Baking Cocoa in a bowl.
- Pour 2 cups boiling water over cocoa powder and whisk together. Set aside.
- Put 1 cup room temperature butter and 2 1/4 cups granulated sugar into a stand mixer (or into a bowl and mix with hand mixer) and beat until light and fluffy.
- Add the vanilla and the eggs one at a time mixing until completely combined after each.
- Whisk the flour, baking soda, baking powder and salt together in a separate bowl.
- Gently add half the dry ingredients to the mixer and mix on low until combined.
- Slowly pour in half of the chocolate mixture to the batter with the mixer running on low.
- Repeat with the remaining dry ingredients and chocolate. Mix into a smooth batter.
- Pour carefully into pans overtop of the graham crumb mixture and bake at 350 degrees for 30 minutes or until a toothpick comes out clean when inserted in the middle.
- Allow cakes to cool on cooling racks in the pans for twenty minutes. Then gently run a knife around the sides to loosen and carefully turn out onto cooling racks, graham crumb side up. Leave to cool completely.
- To prepare the melted candy ‘flames’ line a cookie sheet with tinfoil and preheat oven to 270 degrees.
- Crush Lifesaver candies in their wrappers with a rolling pin or meat tenderizer.
- Empty crushed Lifesaver packets into stripes or touching rows on the tinfoil lined sheet.
- Bake in a 270 degree oven for 5 - 10 minutes until liquid. Then remove and set aside to cool and harden.
- Once the candy has cooled and hardened, peel it off the tinfoil and break apart to resemble flame-like pieces. Set aside.
- Place a large cookie sheet on a heat resistant surface or hot plate divot (the pan will get quite hot).
- Set out a row of marshmallows and using a kitchen torch char the top and front sides of each marshmallow. This cake took the entire bag of marshmallows, 50 in total (25 per row).
- Do not hold the flame too close to the marshmallow you are charing or it will light on fire.
- Combine 1 cup milk chocolate and 1 cup semi-sweet chocolate chips in a small bowl.
- Microwave 1/2 a cup of butter for 1 minute or until completely melted. Pour over chocolate chips and let sit for about 5 minutes.
- Whisk until chocolate chips are completely melted and smooth.
- Put 1 cup of Double Creme yogurt in a mixer, fitted with a paddle attachment, or a bowl with a hand mixer. With the mixer on low slowly pour in the melted chocolate. Mix until combined.
- Add the powdered icing sugar a cup at a time (4 1/2 cups in total) and the vanilla extract, mixing well between each addition. Continue to beat until a creamy frosting consistency is reached.
- Remove toothpicks from the cake, if used and begin frosting.
- Continue frosting until the whole cake is evenly covered, piling any extra any up on top.
- Remove the parchment paper lining the cake plate.
- Start placing the toasted marshmallows side by side along the base of the cake, all the way around (approximately 25 marshmallows).
- Continue with second layer, on top of, but between the original row for an even look and better balance. Pushing the back side of the marshmallows into the frosting holds them in place.
- Using chocolate rolled wafer cookies, place them on top of the cake in a campfire log formation.
- Start placing broken candy flames where you feel fit to mimic the campfire flames. I started with the largest pieces near the top and tapered down with the smaller pieces, for more convincing flames, near the bottom.
- If hoping for a more pronounced marshmallow taste in each bite, a jar of marshmallow fluff or mini marshmallows themselves could be added between the layers as well
- This is a very large cake. If you desire a smaller cake, cut both the graham cracker and chocolate cake recipes in half and bake in two 8in pans for 20 - 25 minutes.
Campfire cake idea adapted from here at Surviving a Teacher’s Salary.
S’mores Cake recipe adapted from here at Heather Christo.
Chocolate frosting recipe adapted from here at Something Swanky.
The post S’mores Campfire Cake appeared first on Creative Sides.
]]>The post Pink Flamingo Sugar Cookies appeared first on Creative Sides.
]]>
Hello summer. Hello kid’s parties. My poor children suffer so….I mean they have been to five kid’s parties since the beginning of June. Five. I haven’t been to five parties this entire past year and I highly doubt I will be to five in the next year either. Oh well, I can definitely think of worse things than lively, cute parties with a plethora of children running around having lots and lots of fun!
The latest party was one we have all been looking forward to (it had it’s inaugural run last year and was a definite highlight of the summer). It’s none other than an epic slip and slide party, with a huge, homemade slide on a rather perfect slope of a yard. And it is big, I mean really big, think four, even five kids at a time big! Hello fun! The only thing that could make this party better would be the Pink Flamingo Party theme. My girls and I have been waiting for this moment with our not one, but two separate flamingo shaped cookie cutters stored away. Plus, let’s face it, at the best of times we turn out pink icing like its going out of style!
Over the years I have made many, many sugar cookies and especially now with young kids in tow, there are even more occasions to break out the cookie cutters. So naturally I have tried plenty of different recipes with varying results. Once I found this recipe, there was no going back. This is the only one I use. I feel it is the easiest to make and work with and it ALWAYS turns out. Plus I love, love, love that it does not have to be chilled (who loves rolling out chilled dough – not me!!).
My Favourite Sugar Cookie Recipe – Just Roll Out And Use!
1 cup softened unsalted butter
1 cup granulated sugar
1 teaspoon vanilla extract
1/2 teaspoon Wilton Butter Flavour Extract (I found mine at Michaels)
1 egg
2 teaspoons baking powder
3 cups all-purpose flour
Step 1: Start with yummy ingredients, these are some of my favourites. Gather what you need.

Step 2: Heat oven to 350 degrees and line two cookie sheets with parchment paper.
Step 3: Cream butter and sugar together with the help of a KitchenAid stand mixer until creamy.
Step 4: Beat in the extracts and egg.
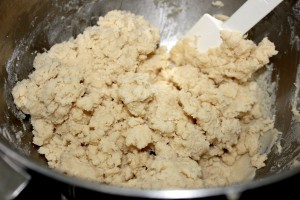
Step 5: In a separate bowl, mix together the flour and baking powder, then add 1 cup at a time to the mixer.
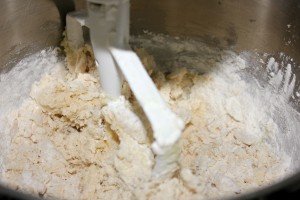
The dough will become very stiff!
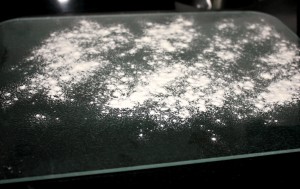
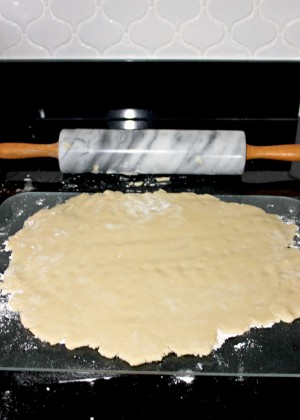
Step 6: Flour a work surface.
Step 7: Turn the dough out onto floured surface.
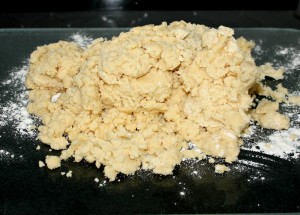
Step 8: Shape/knead the dough by hand, until it comes together, wetting hands if need be.
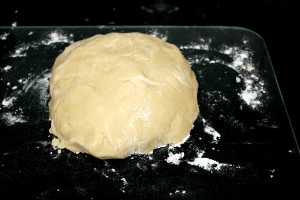
Step 9: Cut dough in half, to a more manageable size for rolling.
Step 10: Using only half the dough at a time, roll out evenly, on a generously floured surface until about 1/4-inch in thickness. Do not roll the dough too thin.
Step 11: Cut out desired shapes with cookie cutters. Dip the cutters in flour every couple cookies if they start sticking.
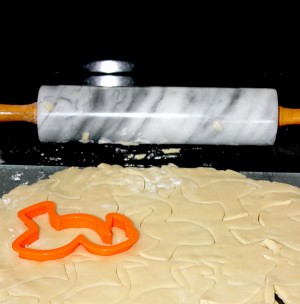
Step 12: Carefully lift (especially the skinny necked variety of flamingo in my case) the cookies and place on the baking sheets lined with parchment. After a few decapitated flamingos and some muttering, I started using my little tapered metal Pampered Chef Mini Spatula. All hail the mini spatula!! It works wonders in all situations, even those that need a little extra something (like say, really thin necked flamingos on a hot day……wait does that sound like country western song to anyone else?!).

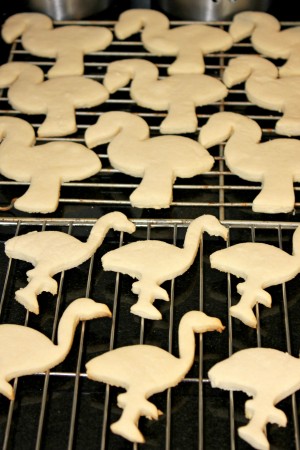
Step 13: Bake at 350 degrees for 6 – 8 minutes. Ovens tend to vary, but remove when lightly puffed and barely brown around the edges. Let cool on the cookie sheets until firm enough to transfer to a cooling rack.
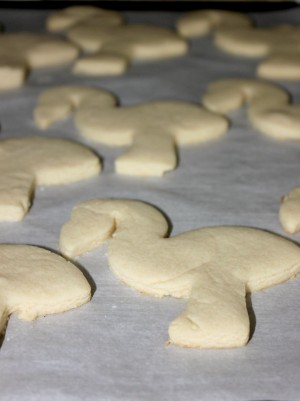
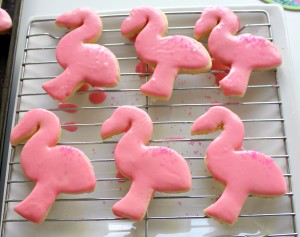
Step 14: Allow to cool completely. They look so naked waiting for their pink frosting.
Pink Flamingo Icing

Basic Pink Icing
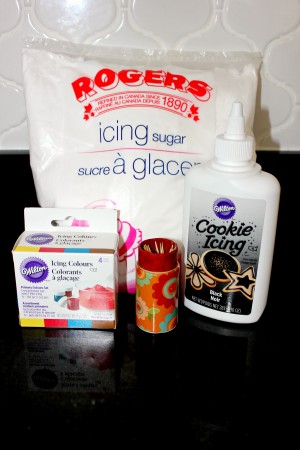
2 cups powdered icing sugar
1/4 cup 1% milk (more or less depending on consistency)
Wilton Concentrated Gel Icing Colours in red
Wilton Cookie Icing in Black (black flamingo accents) – I found mine at Michaels
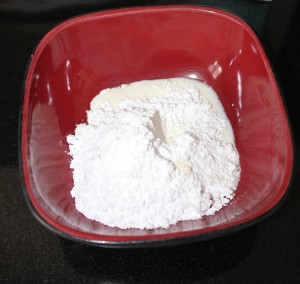
Step 1: Mix icing sugar and 1/8 cup (to start) of milk together in a bowl that is large enough to “dip” the cookies into. Keep adding milk until consistency is thin enough to coat a cookie, but not runny.
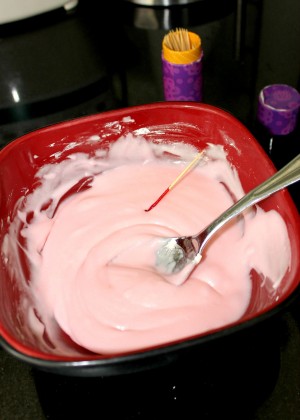
Step 2: Using a toothpick, add the Wilton Gel Red Icing Colours a little at a time, until reaching the desired hue of pink. A little really does go a long way. If you are like me and had never tried gel food colouring, listen to your sister-in-law and try some! It is a far cry from the messy liquid food colouring I have been using for years and the colours are far more intense with far less product. And as an added bonus, none on my fingers!!!
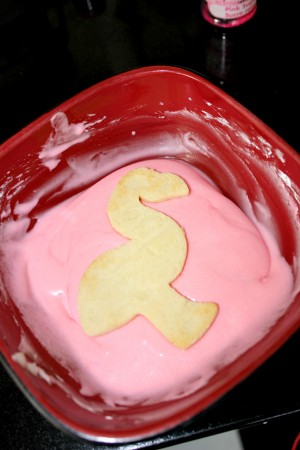
Step 3: Gently dip and coat each cookie in icing. I find this results in a much more even and smooth finish to the cookies, than trying to spread the icing onto the cookie itself. If the icing is too thick, this will not work and the cookies will break. It needs to be thin enough to smooth itself out and over the edges after (this is achieved best with a thinner milk like 1% rather than whole milk or cream). I do not actually let go of the cookie and allow it to sink into the icing like the picture indicates, but one must improvise for fear of getting frosting on their beloved SLR!
Step 4: Place on a cooling rack, overtop a cookie sheet or plate, to catch the drips.

Step 5: In the case of the less graceful of the two flamingo styles and in an attempt to quench my children’s insatiable need for sprinkles, I gave a light dusting of pink sparkling sugar to mimic feathers on the birds upper back, while the icing was still wet.
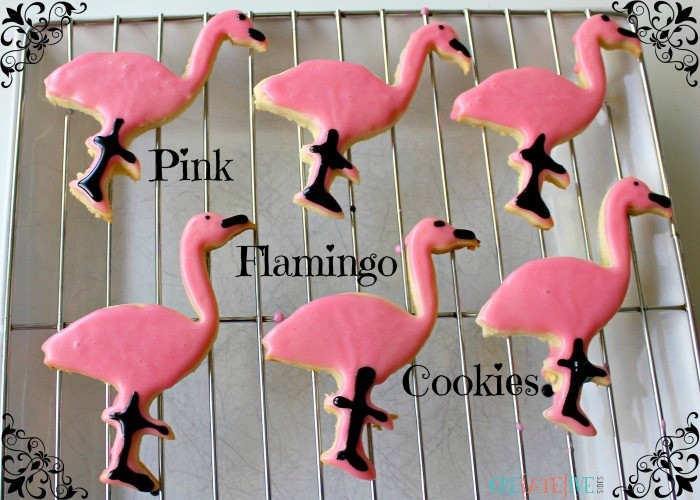
Step 6: Once the more detailed of the flamingo cookies had set, I very carefully used the Wilton Black Cookie Icing (I tried it out on a paper towel first, so as to get the feel of it and only twisted it open the smallest amount I could, so as to have more control) and drew an outline of legs, feet, beaks and eyes onto the flamingos. Once completed, allow them to dry for several hours, even overnight. Which isn’t hard, if say you did the black details after everyone was in bed….
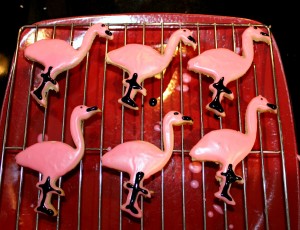
Voila! There you have it, the svelte flamingo cuties co-mingling with their adorable curvy counterparts and all ready to slip and slide!

- 1 cup softened unsalted butter
- 1 cup granulated sugar
- 1 tsp vanilla extract
- 1/2 tsp Wilton Butter Flavour Extract
- 1 egg
- 2 tsp baking powder
- 3 cups all-purpose flour
- 2 cups powdered icing sugar
- 1/4 cup 1% milk (more or less depending on consistency)
- Wilton Concentrated Gel Icing Colours in red
- Wilton Cookie Icing in Black
- Heat oven to 350 degrees and line two cookie sheets with parchment paper.
- Cream butter and sugar together with the help of a KitchenAid stand mixer until creamy.
- Beat in the extracts and egg.
- In a separate bowl, mix together the flour and baking powder, then add 1 cup at a time to the mixer. The dough will become very stiff!
- Flour a work surface.
- Turn the dough out onto floured surface.
- Shape/knead the dough by hand, until it comes together, wetting hands if need be.
- Cut dough in half, to a more manageable size for rolling.
- Using only half the dough at a time, roll out evenly, on a generously floured surface until about 1/4-inch in thickness. Do not roll the dough too thin.
- Cut out desired shapes with cookie cutters. Dip the cutters in flour every couple cookies if they start sticking.
- Carefully lift the cookies and place on the baking sheets lined with parchment.
- Allow to cool completely.
- Mix icing sugar and 1/8 cup (to start) of milk together in a bowl that is large enough to “dip” the cookies into. Keep adding milk until consistency is thin enough to coat a cookie, but not runny.
- Using a toothpick, add the Wilton Gel Red Icing Colours a little at a time, until reaching the desired hue of pink.
- Gently dip and coat each cookie in icing. If the icing is too thick, this will not work and the cookies will break. It needs to be thin enough to smooth itself out and over the edges after (this is achieved best with a thinner milk like 1% rather than whole milk or cream).
- Place on a cooling rack, overtop a cookie sheet or plate, to catch the drips.
- Once the icing has set use the Wilton Black Cookie Icing to add detail to your cookie (outline of legs, feet, beaks and eyes onto the flamingos)
- Once completed, allow them to dry for several hours, even overnight.
I found this glorious sugar cookie recipe entitled Best Sugar Cookie Recipe from In Katrinas Kitchen
The post Pink Flamingo Sugar Cookies appeared first on Creative Sides.
]]>