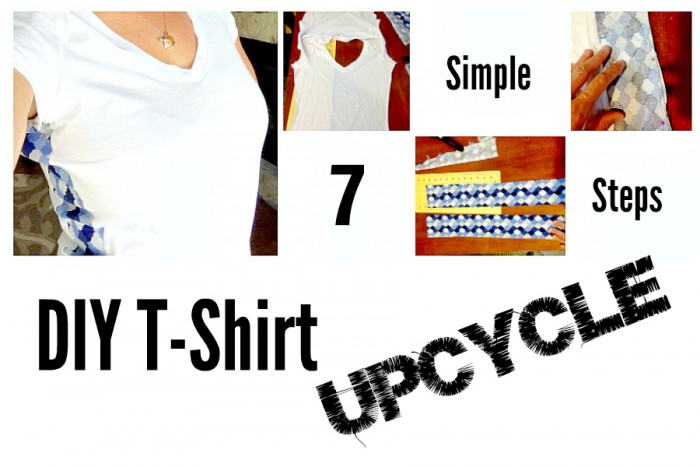
Spring has officially sprung, and whether you are experiencing warmer weather or still waiting for the thaw to come, it’s never to early to spruce up your wardrobe.
This t-shirt upcycle is a great project to do for 3 reasons:
- You have 6 t-shirts that are all the same and if you have to wear them one more time you are going to rip your arm off.
- You have a favourite t-shirt that you wear All. The. Time. And it may be looking a little tired under the arms (ahem… stains)
- You are bored to death with the t-shirt options and want to do something a bit funky
DIY T-Shirt Upcycle Instructions
What you need:
- 1 T-shirt (if you are buying a new one buy one or two sizes too small. I am a size medium and I would buy a small or extra small depending on the width of panel that I want to put in … wider the panel means smaller the shirt)
- 1 piece of materiel (cotton is easier than knit but both work) 2 inches longer than the measurement of armpit to bottom hem on the t-shirt.)
- Scissors or rotary cutter (I use a rotary cutter and cutting pad because I am the absolute worst at cutting a straight line)
- Pins
- Sewing machine
- Measuring tape
- Iron
How to do it:
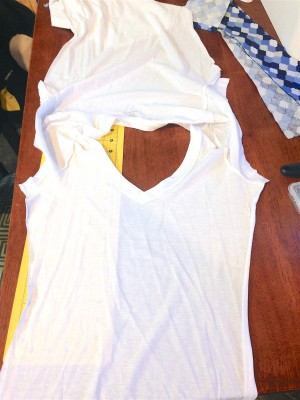
Step 1: Carefully cut right next to both sides of the side seams on the t-shirt. I carefully undid the seam the first time I did this project and that is 40 minutes I will never get back. Just trust yourself and cut those seams out. You will end up with an “opened up smock-like-thing”.
Step 2: Cut your piece of material into 2 strips/panels 2 inches longer than the measure of your t-shirt side seam. You will use the extra length for your seams. The width is totally up to you. You can also choose to cut them straight or flaring slightly at the bottom depending on the finished look that you want to achieve. Flared will create a more flowy top.
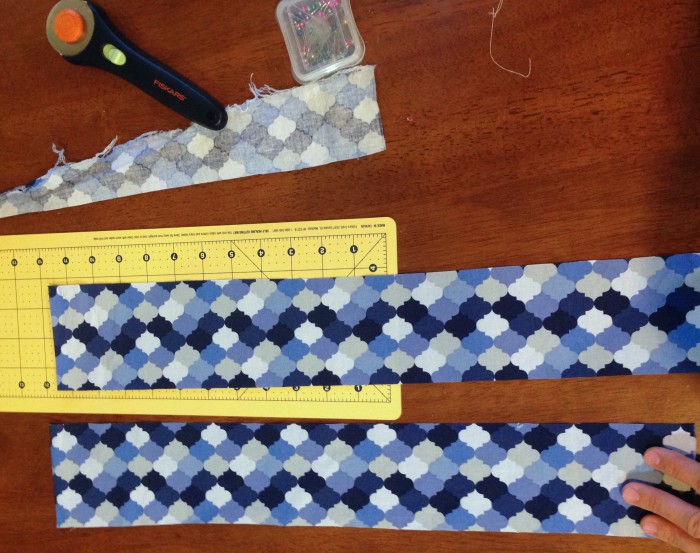
Step 3: If you are not using a knit fabric (they are a bit trickier so for a first go I suggest cotton) set your machine to a simple zig-zag stitch and whip around the edges to finish them.
Step 4: Then fold the top edge over about ½ inch & press with a hot iron (trust me this is an important step that makes it come together so much better! Oh and don’t forget to use an ironing board or at the very least put a folded towel down on whatever surface you use!!). Fold over again and repeat pressing. Repeat on both panels. Sew this hem with a straight stitch.
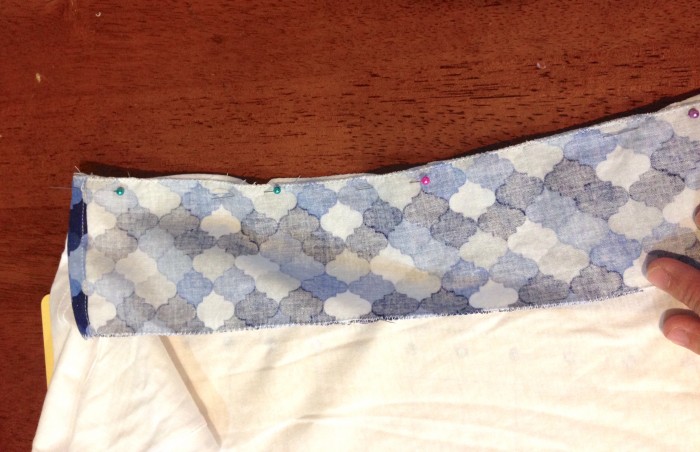
Step 5: Put the good side of the t-shirt face up and the good side of panel face down (right-side to right-side). Place the hem you just made even with the armpit seam on the t-shirt and pin together all the way down the shirt. Sew this seam with a straight stitch. Make sure that you do a few stitches forward, backwards then forwards again at the beginning and end to secure it.
You’re doing great!
Step 6: Now keeping right-side to right-side pin and sew the other side of the panel.
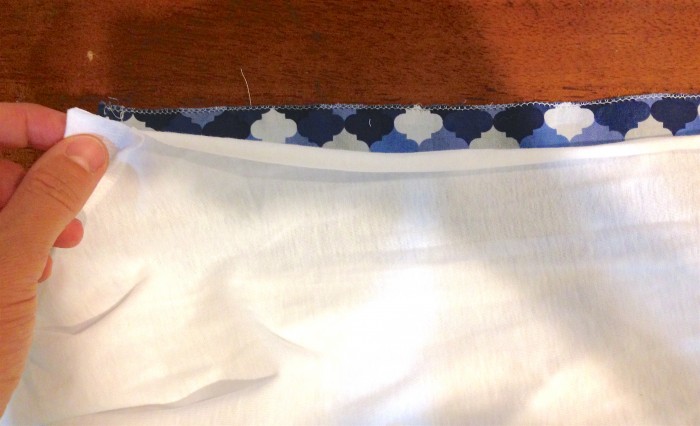
Don’t worry about the bottom yet. Take a break and shake out.
Repeat with the other side of the shirt.
Step 7: Now repeat the fold press fold sew that you did at the top of the shirt down at the bottom so that you line up the panel to the rest of the t-shirt. When you sew start on the t-shirt and secure it well. Try and line up the stitching for a better look.
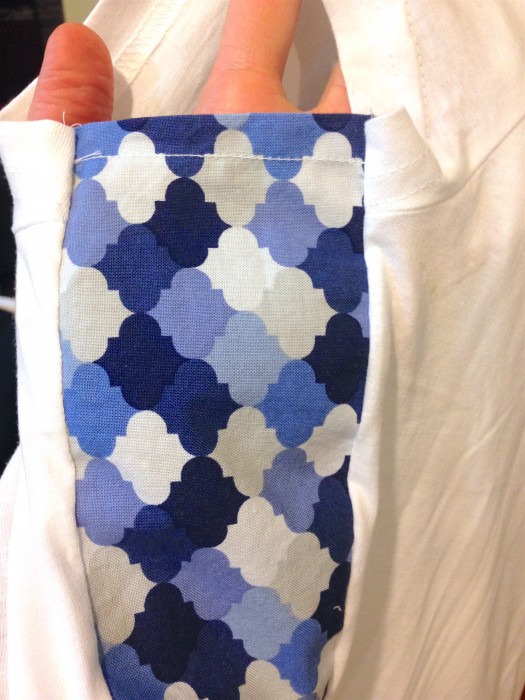
Et Voila! You are a creative GENIUS!!!

Latest posts by Kay Protheroe (see all)
- DIY T-Shirt Upcycle - April 4, 2016
- DIY Upcycled Summer Sleep Sac - September 20, 2015
Leave a Reply