There is no denying that summer is gone. We wear sweaters now and say things like “no, it’s a school night!” and never think twice anymore about warming up the place too much by turning on the oven. Sometimes I find myself reluctant to immediately embrace fall because it means admitting summer is gone, but really autumn days are so beautiful, the colours are so terrific and all the fall fashions are pretty incredible too! So, here I am embracing fall with reckless abandon and creating some pumpkin Rice Krispie treats for Peyton and her classmates to enjoy. These are a fairly simple variation of classic Rice Krispie squares and come together just about as quickly.
Ingredients (yields 12):
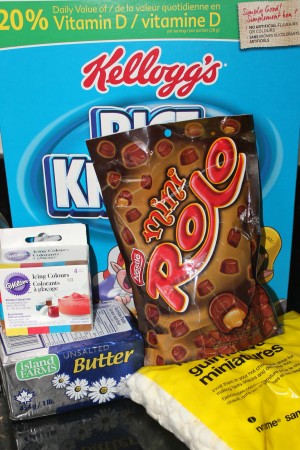
3 Tbsp butter
250g marshmallows (approx 4 cups of mini marshmallows)
5 cups of Rice Krispies
1 tsp vanilla (optional)
Orange (or red and yellow) Wilton Gel Icing Colours
Mini Rolos ( 12 for pumpkin stems)
1/4 cup dark green Wilton Candy Melts
Non stick cooking spray
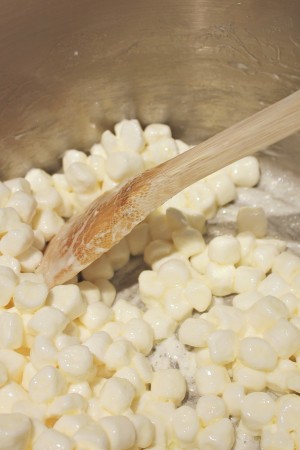
Step 1: In a large pot melt butter and marshmallows over medium heat, stirring until nearly completely melted. Turn off heat.
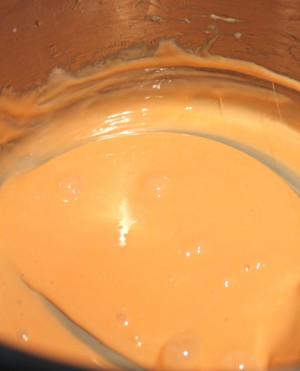
Step 2: Mix in vanilla, if using, and then add colouring until as orange as you dare, keeping in mind that once the rice cereal is mixed in the colour will not be as strong.
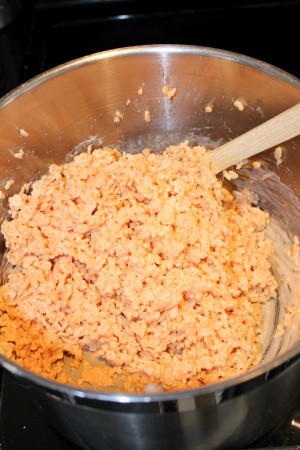
Step 3: Working quickly, pour in the five cups of rice cereal and stir until evenly combined.
Step 4: Next spray your hands with non stick cooking spray (this makes all the difference between success and a sticky mess) and start shaping the Rice Krispie mixture into balls with your hands (think making small snowballs and firmly roll into a ball between hands) and placing on a parchment lined tray.
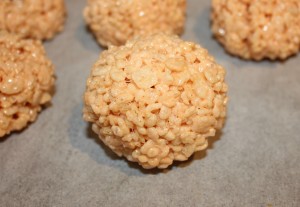
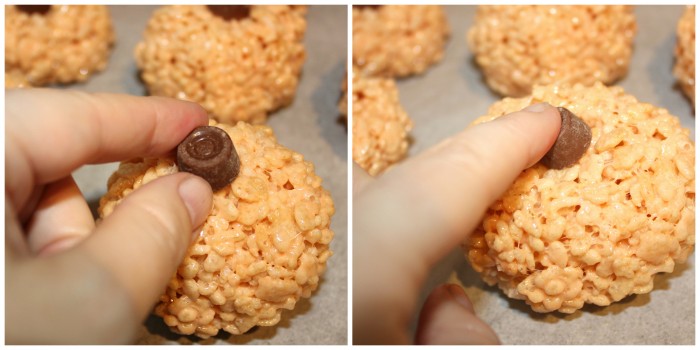
Step 5: Take a mini Rolo and press down into the centre, causing the pumpkin shape.
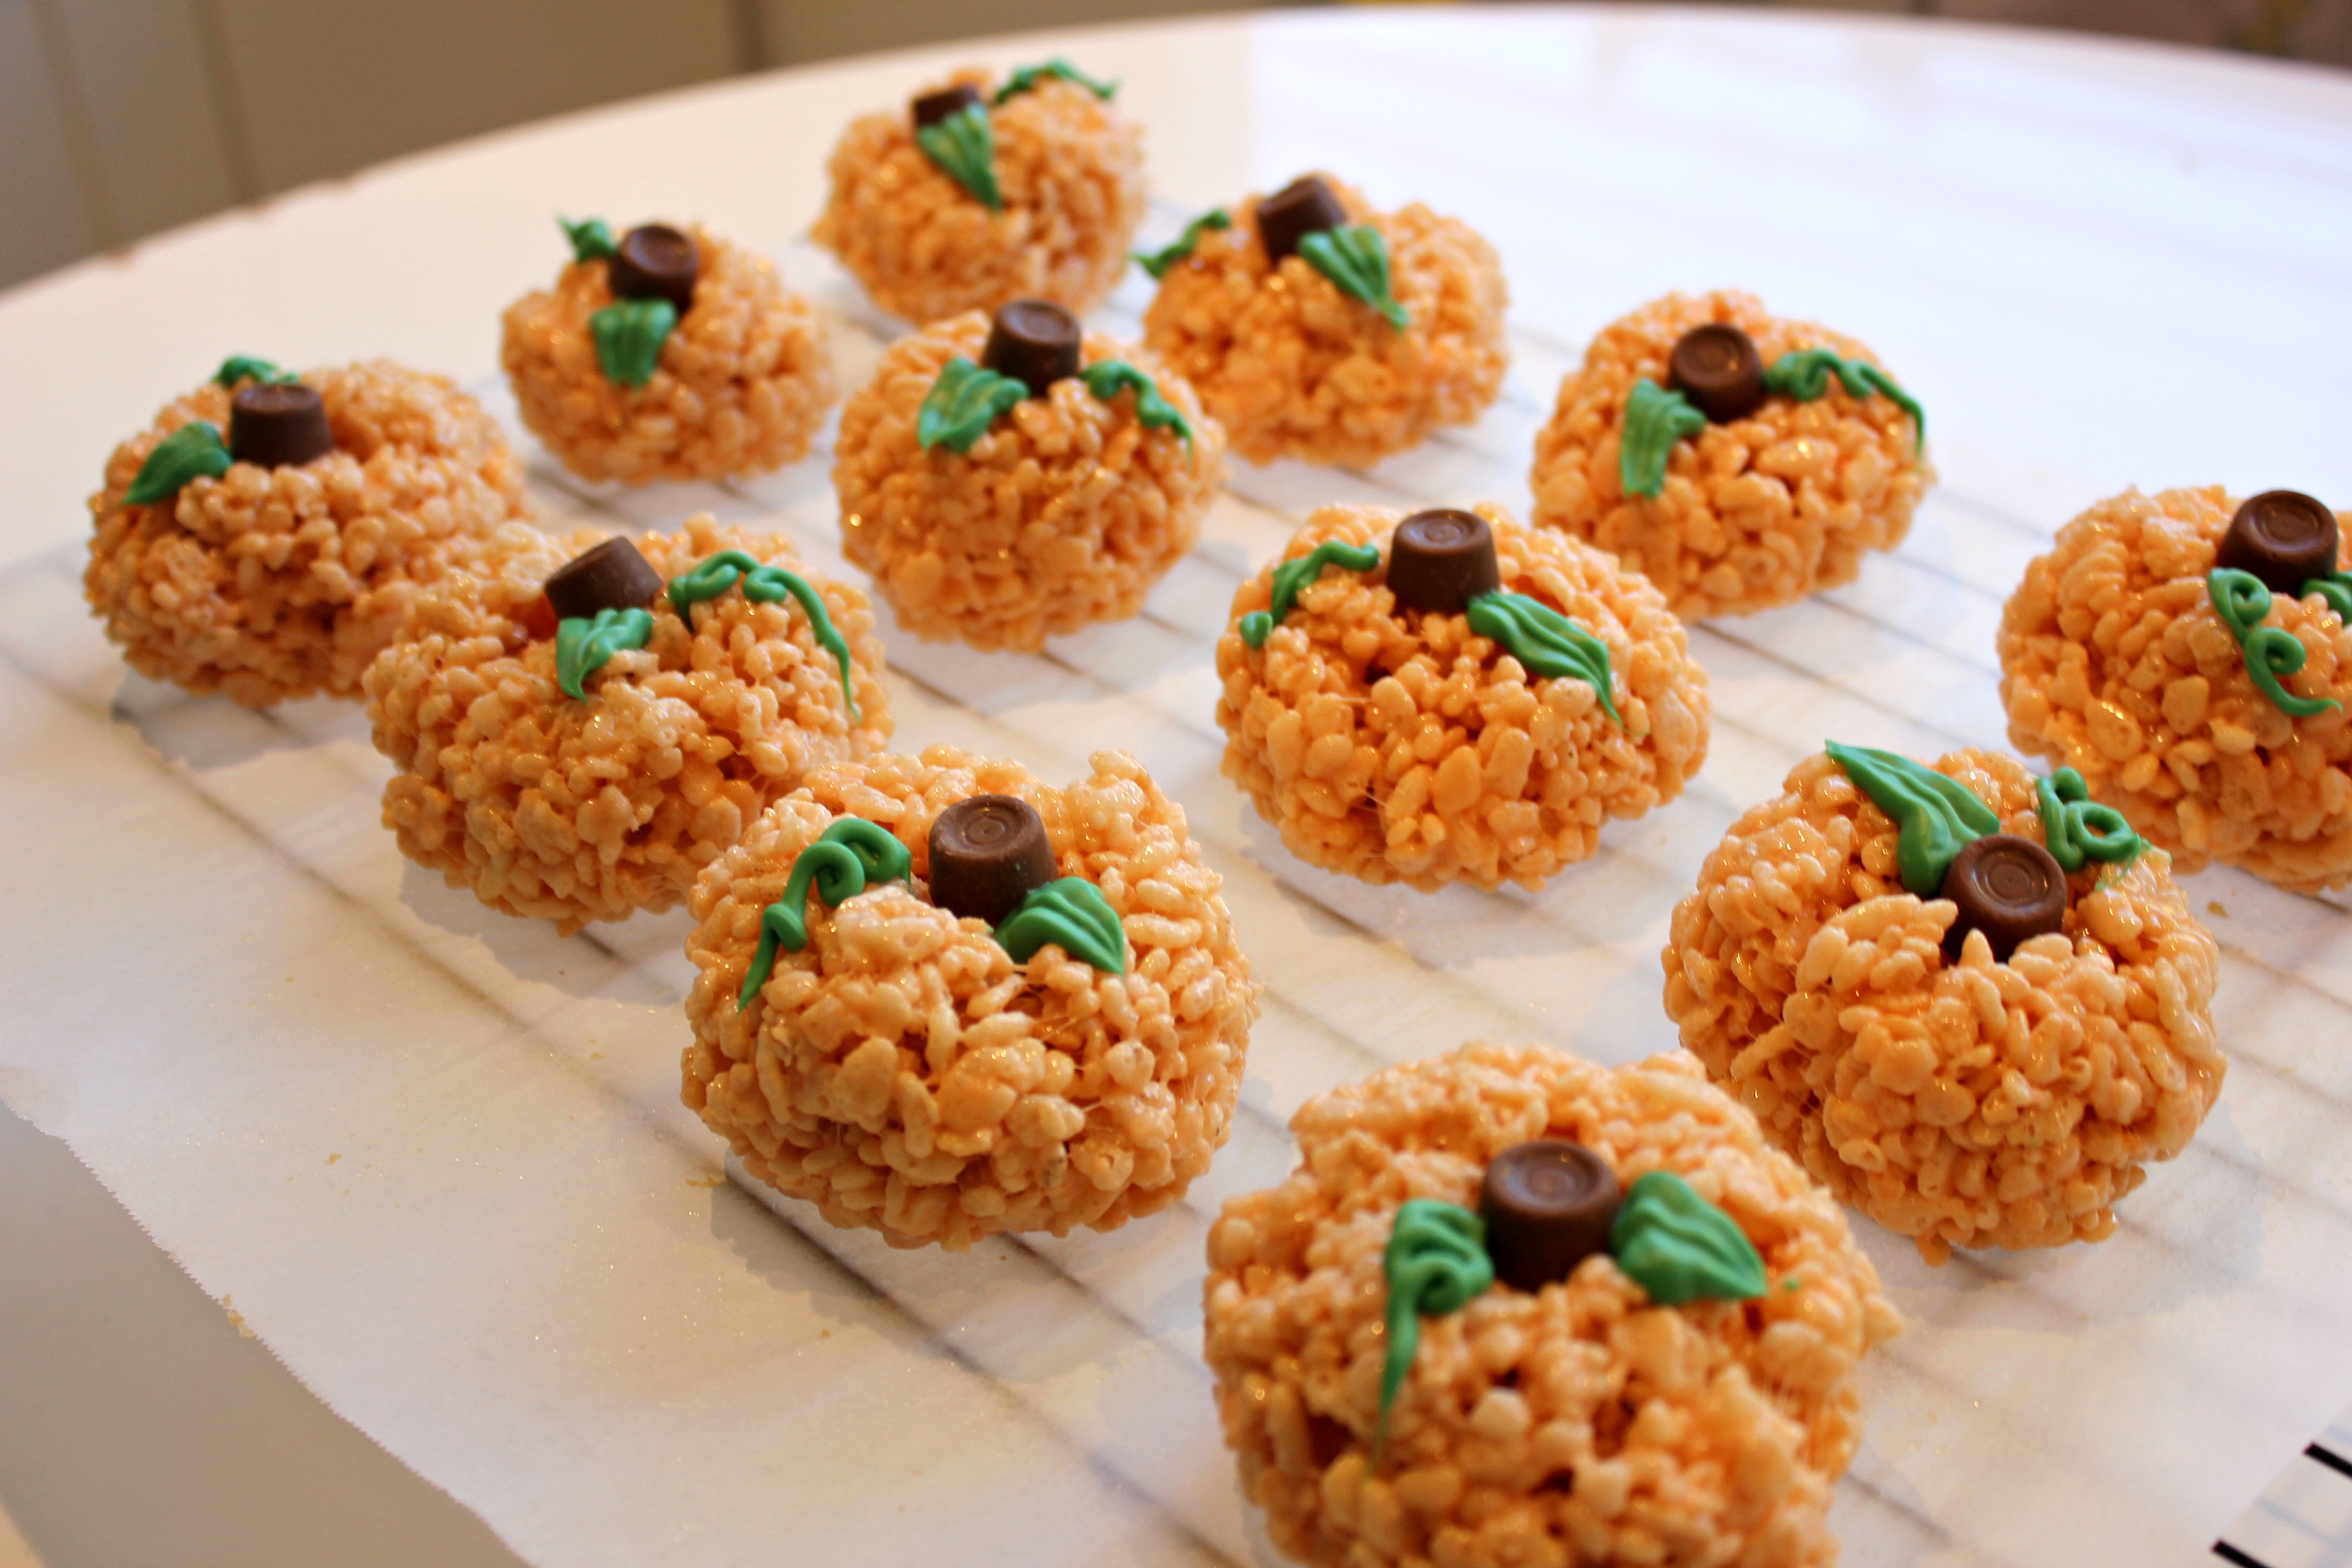
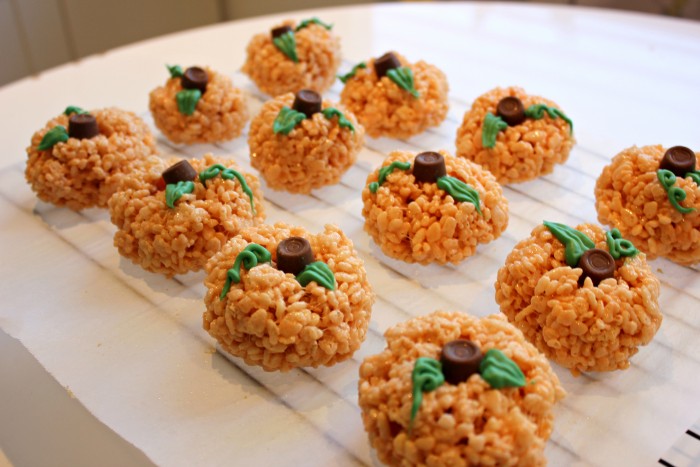
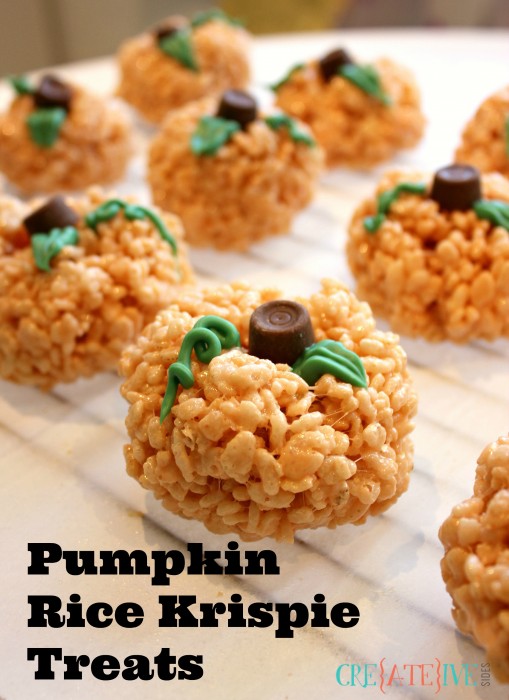
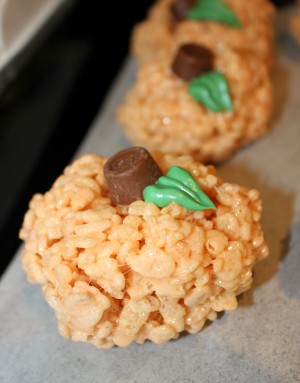
Step 6: Prepare a piping bag with a medium sized leaf tip (like Wilton #69), and melt the green Candy Melts in the microwave for 30 seconds and stir. Continue in 10 second increments and stirring until completely melted. Pour melted Candy Melts into piping bag and pipe a leaf on each pumpkin top.
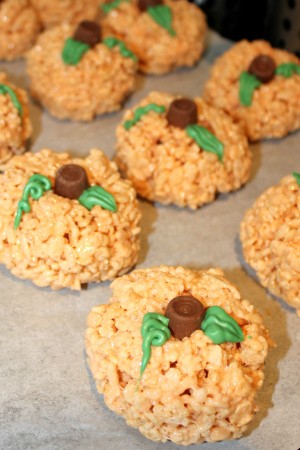
Step 7: Change to a small round tip on the piping bag and add a tendril coil to each of the pumpkins.
Step 8: Step back and think “hello autumn!” and allow everything to harden and set. Store in an airtight container at room temperature and then go run around embracing everything autumn and fall related!!!!

- 3 Tbsp butter
- 250g marshmallows (approx 4 cups of mini marshmallows)
- 5 cups of Rice Krispies
- 1 tsp vanilla (optional)
- Orange (or red and yellow) Wilton Gel Icing Colours
- 12 Mini Rolos
- 1/4 cup dark green Wilton Candy Melts
- Non stick cooking spray
- In a large pot melt butter and marshmallows over medium heat, stirring until nearly completely melted. Turn off heat.
- Mix in vanilla, if using, and then add colouring until as orange as you dare, keeping in mind that once the rice cereal is mixed in the colour will not be as strong.
- Working quickly, pour in the five cups of rice cereal and stir until evenly combined.
- Spray your hands with non stick cooking spray (this makes all the difference between success and a sticky mess) and start shaping the Rice Krispie mixture into balls with your hands (think making small snowballs and firmly roll into a ball between hands) and placing on a parchment lined tray
- Take a Mini Rolo and press down into the centre, creating the pumpkin shape.
- Prepare a piping bag with a medium sized leaf tip (like Wilton #69), and melt the green Candy Melts in the microwave for 30 seconds and stir. Continue in 10 second increments and stirring until completely melted. Pour melted Candy Melts into piping bag and pipe a leaf on each pumpkin top.
- Change to a small round tip on the piping bag and add a tendril coil to each of the pumpkins.
- Allow everything to harden and set. Store in an airtight container at room temperature.
Inspiration found and recipe adapted from here at Grin and Bake It
Laura Crawford
Latest posts by Laura Crawford (see all)
- What Everyone Needs To Know Before Remodelling - December 5, 2016
- Goodbye Perfectionism - August 4, 2016
- Two Tier Flower Power Cupcakes - March 28, 2016
Leave a Reply