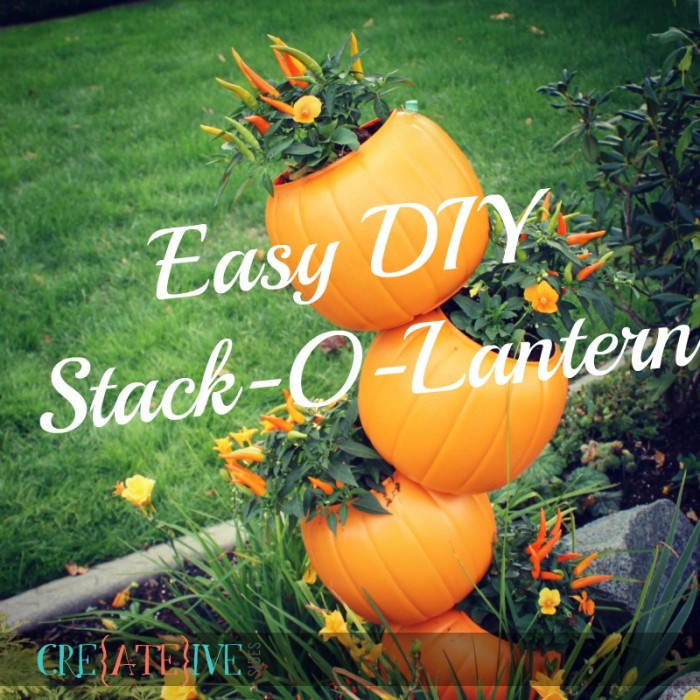
I’m not a green thumb in the slightest and don’t pretend to be. I have a reputation amongst local landscapers as a plant killer – it’s not my fault, I think I have too much love to give and the plants aren’t sure how to handle it. (If only I could exhibit a fraction of that affection in real life relationships, I might not be single!) I decided this year to attempt to work with live plants again, after a really long hiatus and a full ban on plant purchasing by my gardener.
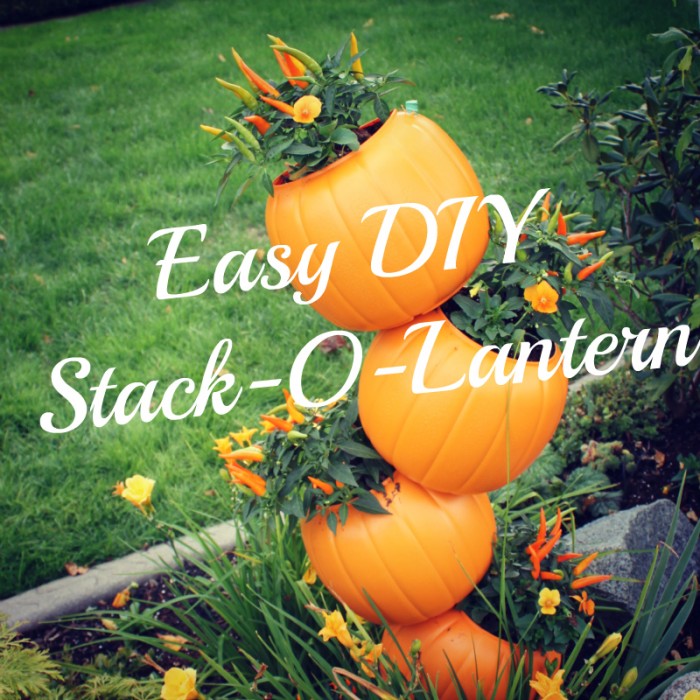
I’m going to take you step by step through creating this fun and simple project that will give your garden a cute Halloween vibe.
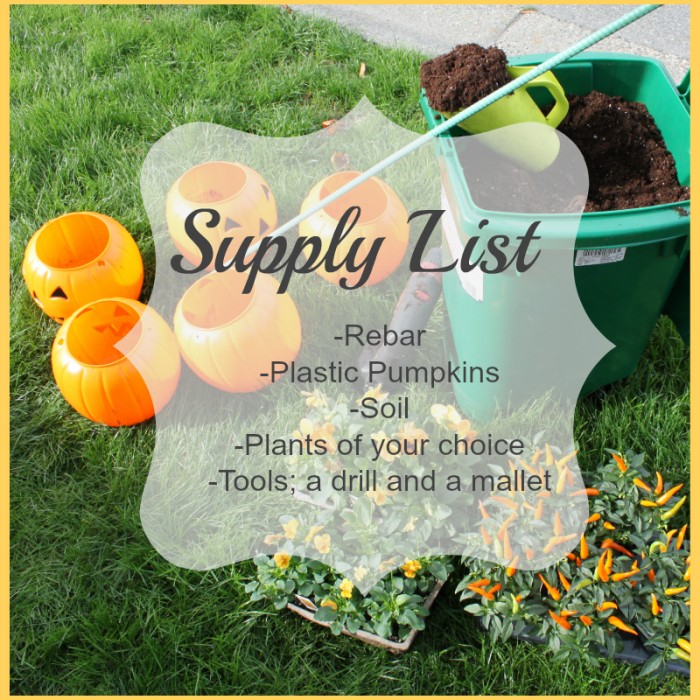
Here’s what you will need:
• A piece of rebar
• Five plastic pumpkins
• Soil
• Small Plants
• Tools- a drill and a mallet
This project can be customized to your tastes in several ways. We used a 48” piece of rebar for our stack o lantern planter but you can make it longer or shorter depending on your space and what you want it to look like in the end. The 48” length gave me enough room for 5 pumpkins and still have enough length to pound roughly 8-10” into the ground.
You can also opt to use real pumpkins if you like but my reasoning against it is, the real pumpkins are significantly heavier, you have to cut them open and scoop out their guts (not my favorite thing) and they will get soft and begin to rot over time so while I know I’ll have to replace the plants annually, my creation is re-usable year after year after a quick 10 minute build.
Sounds easy so far right? I was surprised how easy this little project was and it looks adorable in the garden! I’m not the only one who thinks so, there are constantly people out front taking photos. (I was creeped out by this.)
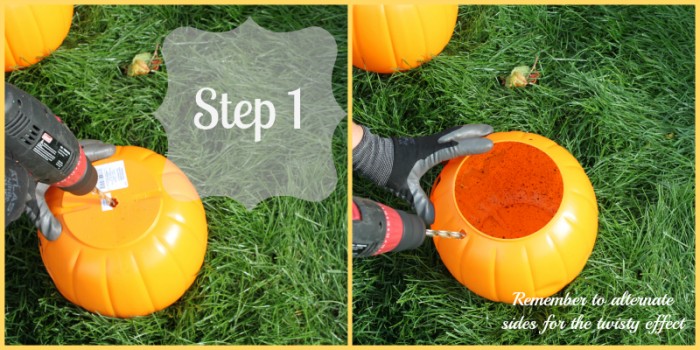
Step 1: This is the one and only time you’ll need the drill. I love the feeling of a power tool in my hands so this project will likely lead to more ‘drills required’ DIY’s. Drill a hole in the bottom of your pumpkin and then drill another hole on the top of the pumpkin. This is where you will insert your rebar so to get the curved look, be sure you alternate the sides that you drill on.
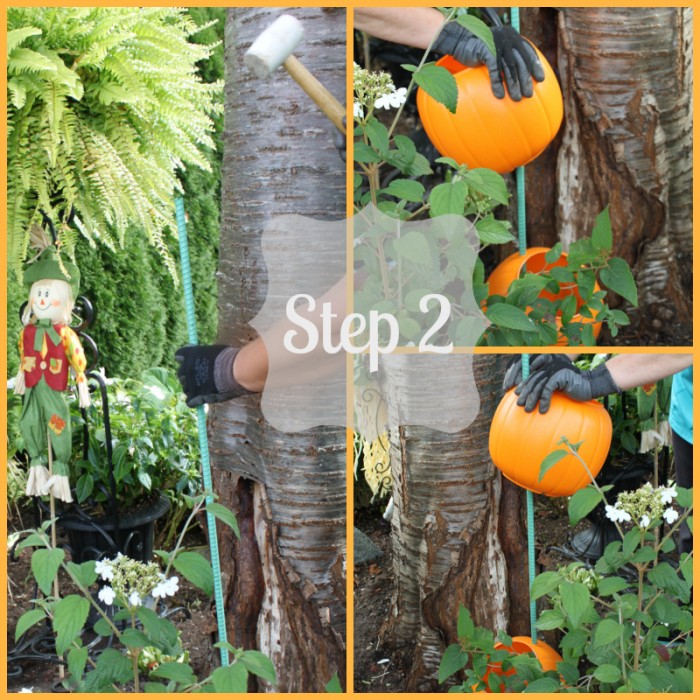
Step 2: Pound that bad boy into the ground! Another fun part for me, I tend to enjoy using a mallet. Once you have your post in place grab your first pumpkin and push the rebar through your pre-drilled holes.
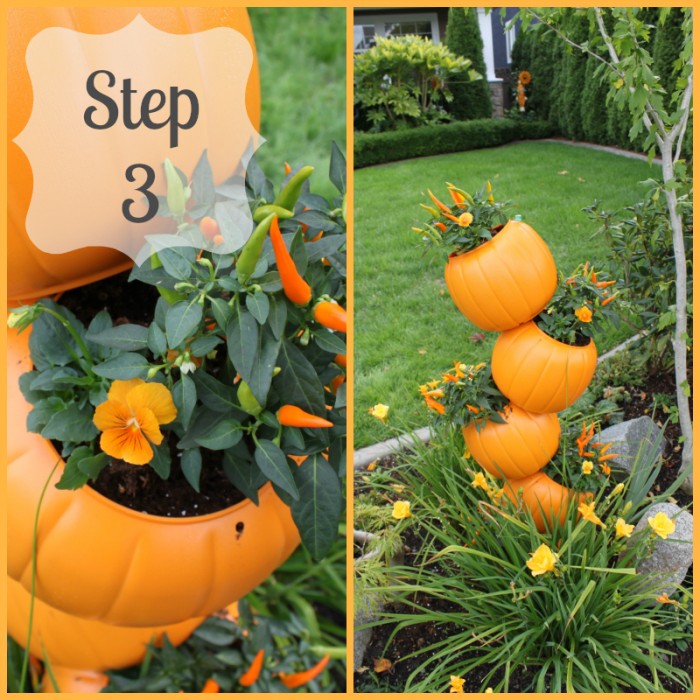
Step 3: Load up the pumpkin with dirt and place your plants in as you like. I used ornamental peppers because I’ve had less of them die on me in the past and they look cute. I paired the mini peppers with yellow pansies but you can use any plants you like. I think this would be fun with succulents or cacti as well!
Repeat steps 2 and 3 until you’ve used up all of your pumpkins.
Latest posts by Jennifer Erickson (see all)
- Stack-O-Lantern Planter DIY - October 13, 2015
- Gluten Free Crepes - October 13, 2015
Leave a Reply