The post Healthy Family Expo 2017 + giveaway shopping spree appeared first on Creative Sides.
]]>It’s finally here! Mark your calendars for Sunday, March 26!
The Healthy Family Expo is back for its 4th year and our family is in countdown mode. It is a fun-filled day that introduces Metro Vancouver parents to small steps and simple solutions for healthy, active, eco-friendly living.
It’s as if all the great parent-tested advice you wish you knew is in one gigantic venue and you can see, taste, try out all of it while the kids are happy and active. Yes, I said happy.active.kids.
Here is why we love it:
- Healthy Food samples! So many delicious samples. Our family suffers from Hanger. Snacks are our secret to happy family outings. Last year we got hooked on the Coco Roons by Sejoyia. This year Fuel Your Fire will be making their Healthy Family Expo debut.
- The kids will meet CBC Kids characters Super WHY!, Daniel Tiger and Bookaboo & Scout. I am already preparing myself for the tantrum that will come when it is time for us to leave.
- HUGE Active Kid Zone with rock wall, giant hamster ball race track, Tumblebus & TumbleTown, Sportball & Pedalheads play areas and more. Springfree Trampoline is a new addition to this year’s Active Kid Zone at the Expo. You can test-drive it all for yourself at the event on March 26th.
- Jessie Farrell. My daughter loves her “Take Me Outside” CD. I know the lyrics to “Feeling Free” backwards and forwards and catch myself humming it often. It’s also been a good reminder for me to stop and take a silly break and just play. Thank you Jessie.
- Eco-friendly products and services. Since last year’s Expo our house switched over to AspenClean’s EcoCert certified cleaning products – made locally right here in BC.
And guess what? One lucky family will be taking home a Springfree Trampoline through the Expo’s early bird ticket draw, and another one as part of the Expo’s Grand Prize Showcase (visit the Healthy Family Expo website for terms & conditions for those giveaways). That’s a prize valued at over $3000!
Other Highlights of the 4th annual Healthy Family Expo coming up on Sunday, March 26, include:
- 200+ exhibitors with healthy food sampling & eco-friendly products & services;
- Science World fire show and ninja & tumbling demonstrations on stage;
- Bobs & LoLo and Jessie Farrell concerts featuring songs celebrating the natural world;
- Whole Foods Market Zone, London Drugs Health Zone, and brand new Toyota Canada Outdoor Living Zone, West Coast Kids Healthy Baby Zone, and Green Living Zone;
- Vancouver Aquarium AquaVan interactive zone for kids;
- $15,000 Grand Prize Showcase including a 1-year lease on a Toyota Prius c;
- Baby feeding & changing lounge with complimentary diapers, wipes & comfy seating;
- Family Rest Stop courtesy of Love Child Organics and lots of stroller parking;
- First 500 adults through the door receive a gift bag full of healthy product samples;
- First 200 adults through the door receive an adult pass to Science World; and
- Partial proceeds of ticket sales support Canucks Autism Network sports programs.
Adult Expo tickets are $15 each online, cash at the door, or at London Drugs from March 1-26.
Kids under 16 get in FREE and ALL ATTRACTIONS are included with admission!
To get involved in the fun:
1. Join the Expo 2017 Facebook Event to RSVP to win thousands in prizes at their March 23rd pre-Expo Facebook Party from 8 to 10 pm!
2. Buy tickets early to qualify to win a Springfree Trampoline!
3. Grab 2-for-1 adult tickets online using limited time promo code CS241.
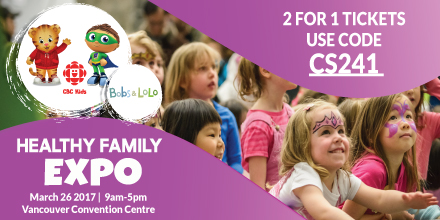
Remember to use promo code CS241 to get 2-for-1 adult tickets online!
And to kick off our pre-Expo celebrations, we’re giving away a $200 Healthy Family Expo 2017 shopping spree that one lucky winner will get to spend on their choice of exhibitors at the event on March 26th!
This online giveaway runs from March 6 – 22, 2017, and the winner must be a British Columbia resident aged 19+ able to attend the Healthy Family Expo at the Vancouver Convention Centre between 9 am & 5 pm on March 26 to pick up and use the prize that day.
Enter for your chance to win through Rafflecopter below. The winner will be announced at the pre-Expo Facebook Party on March 23rd, 2017!
The post Healthy Family Expo 2017 + giveaway shopping spree appeared first on Creative Sides.
]]>The post 7 Poppy Crafts for Remembrance Day appeared first on Creative Sides.
]]>
We believe that there is no such thing as “too young” when it comes to learning about Remembrance Day (Veteran’s Day for our American Friends), so we rounded up a few of our favourite crafts to help you introduce your children to this important holiday. Each of them use different materials so you can likely find one to make with things you already have at home.
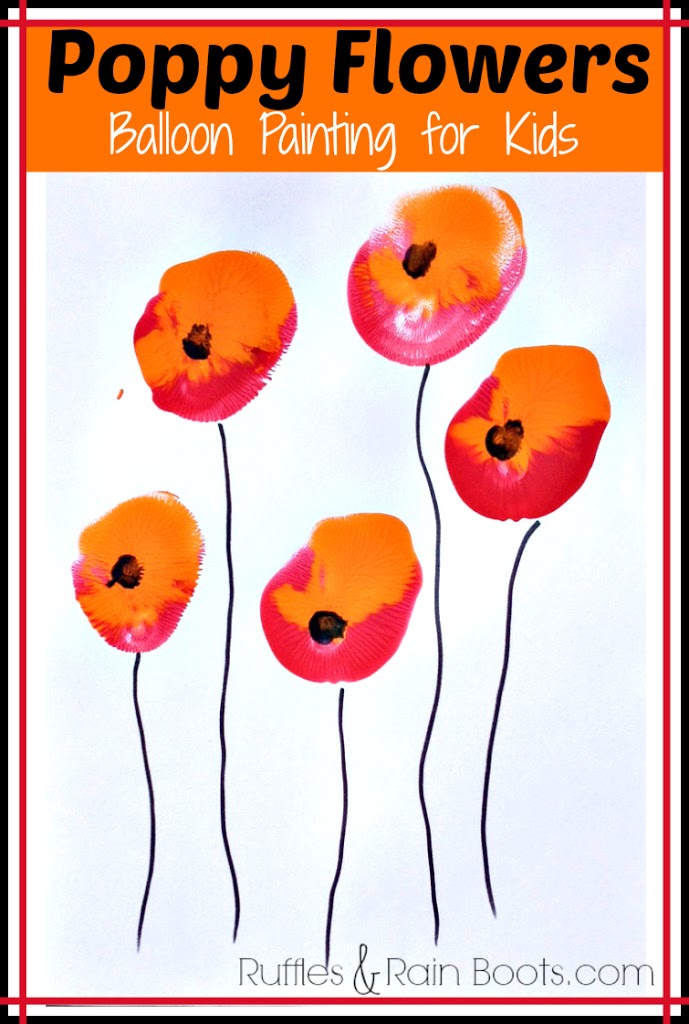
We LOVE how Ruffles & Rain Boots used balloons to make this poppy craft. It’s a completely unique idea with gorgeous results!

Finger painting is always a hit with our kiddos, so we tried and tested this poppy craft personally with great results!
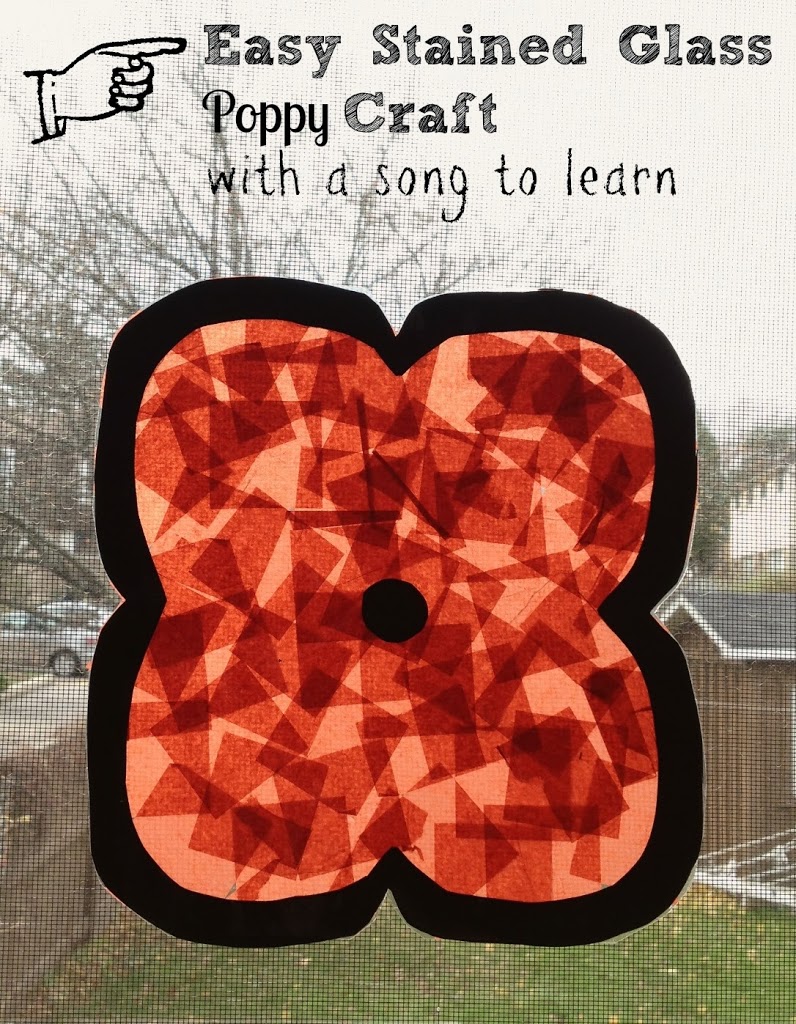
Stained glass is always a beautiful option, and this poppy craft from You Pinspire Me definitely lives up to that. Best of all there is a fun song to use in teaching your littles all about Remembrance Day.
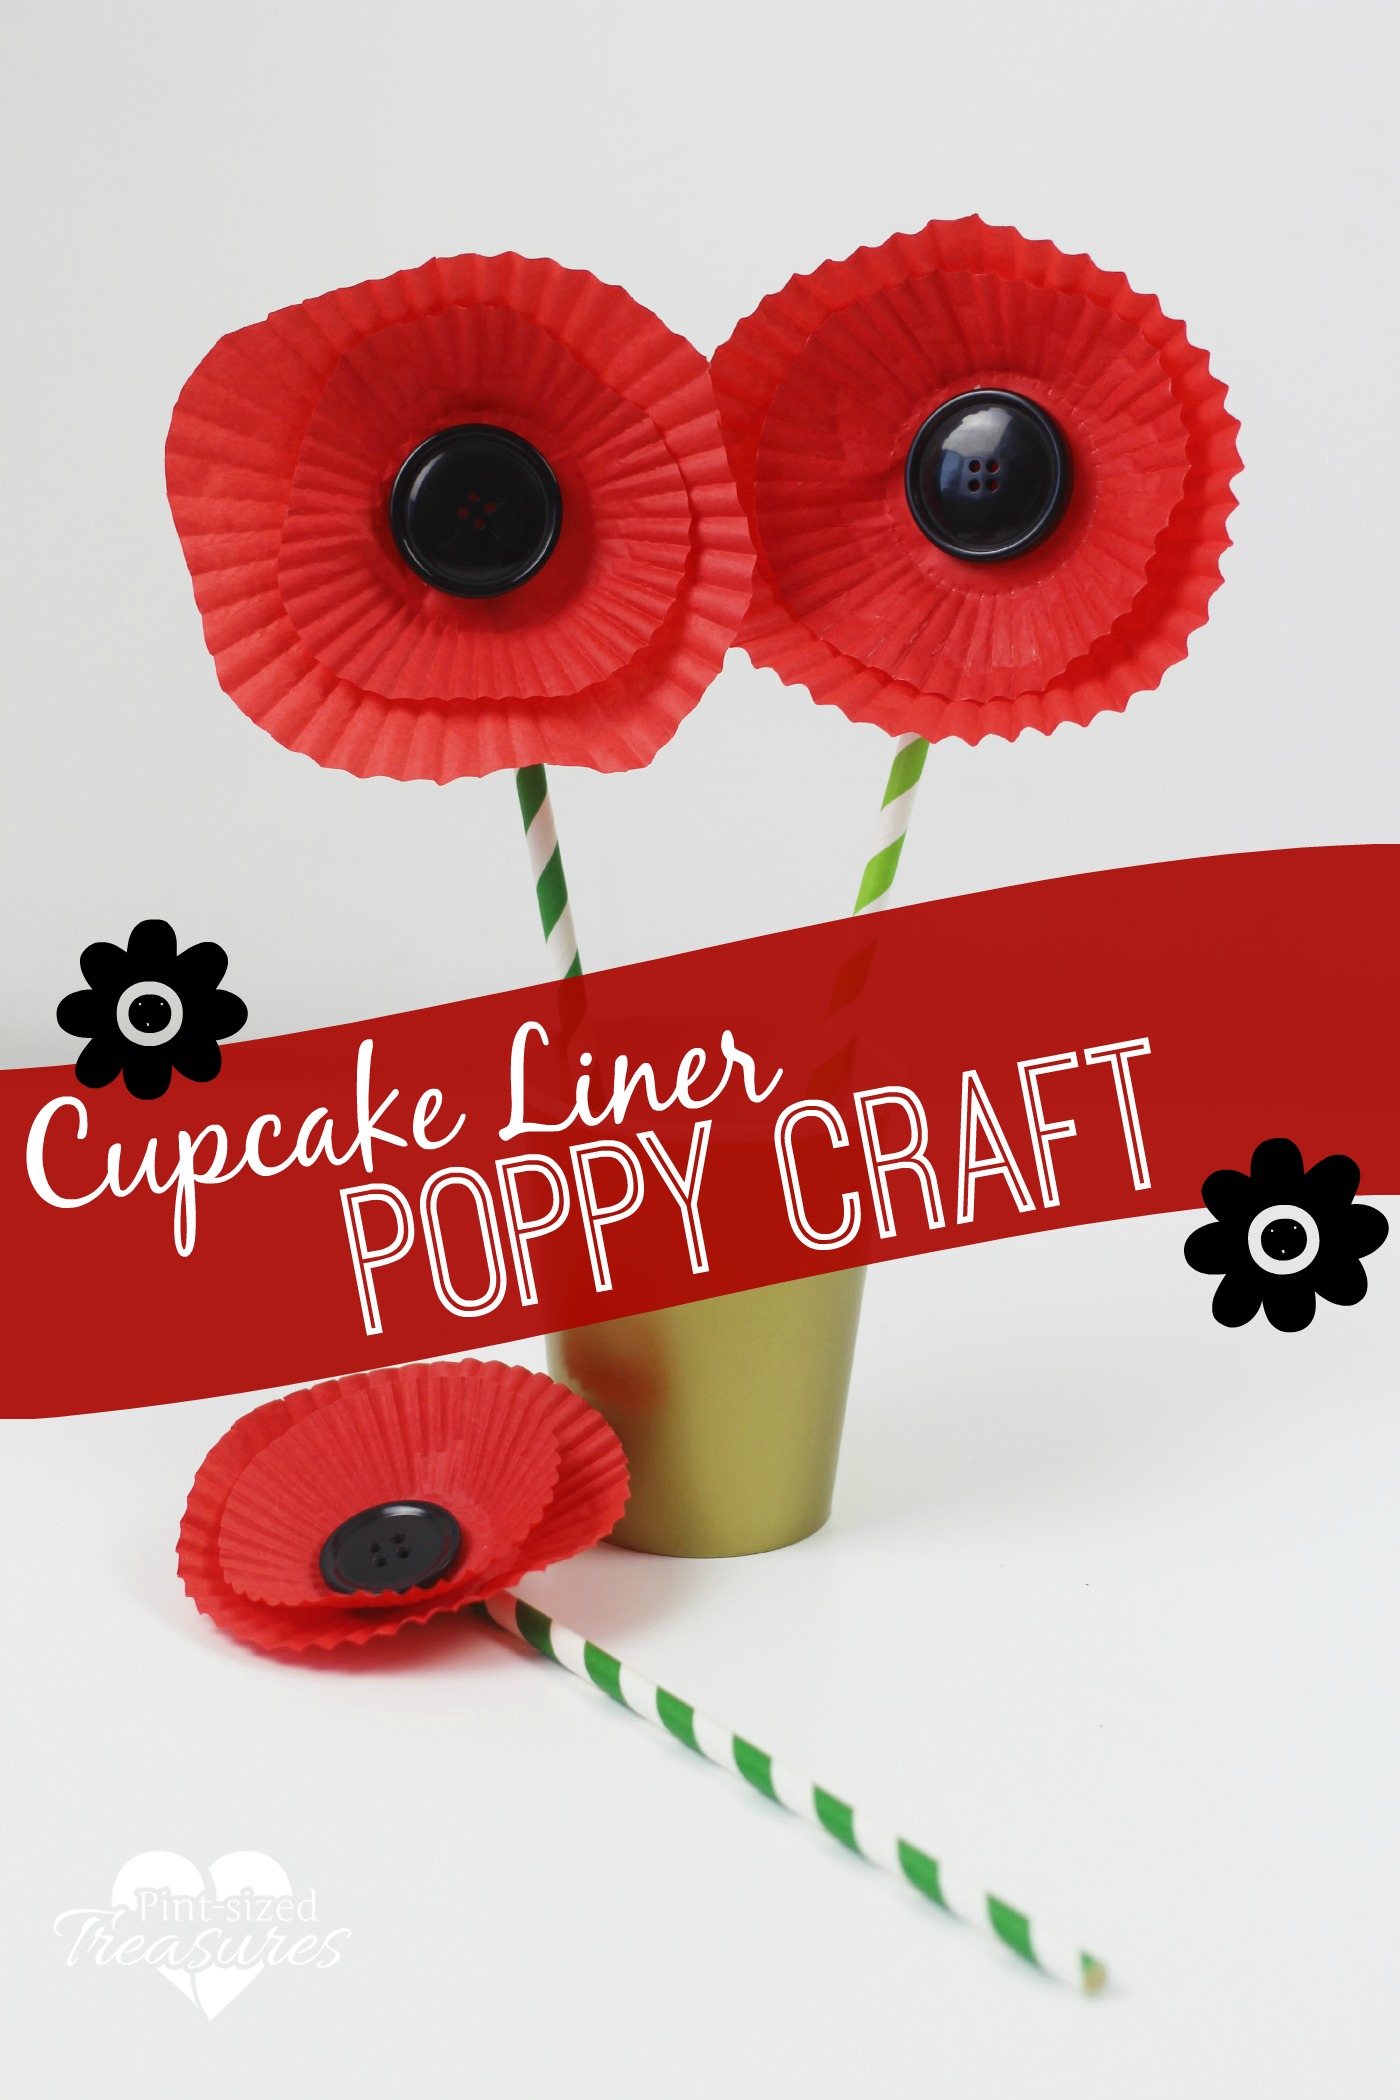
Cupcake liners aren’t just for baking anymore as Pint Sized Treasures demonstrates. This poppy craft is simple enough that even the youngest of our munchkins could do it and enjoy.
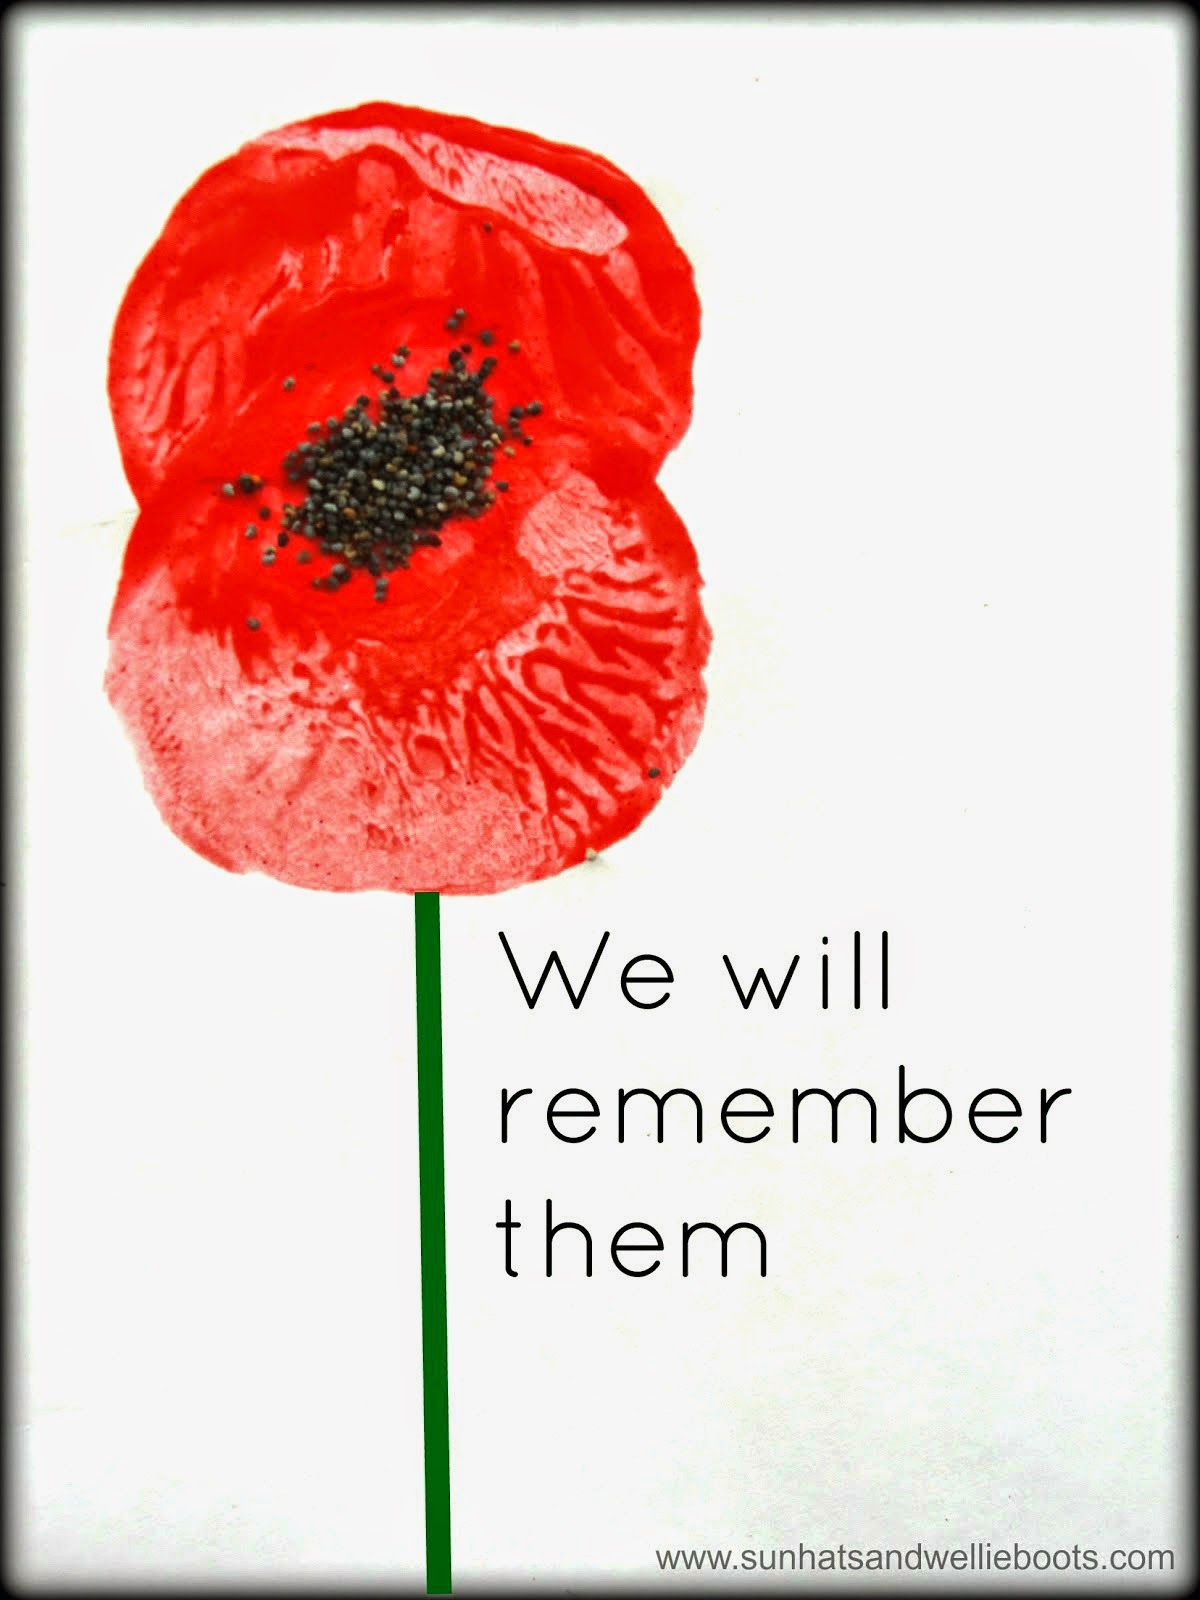
The stark simplicity and texture really stand out in this activity from Sun Hats and Wellie Boots, making it one of our favourites. We can’t wait to try this with our kid’s handwriting on the bottom. Stunning!
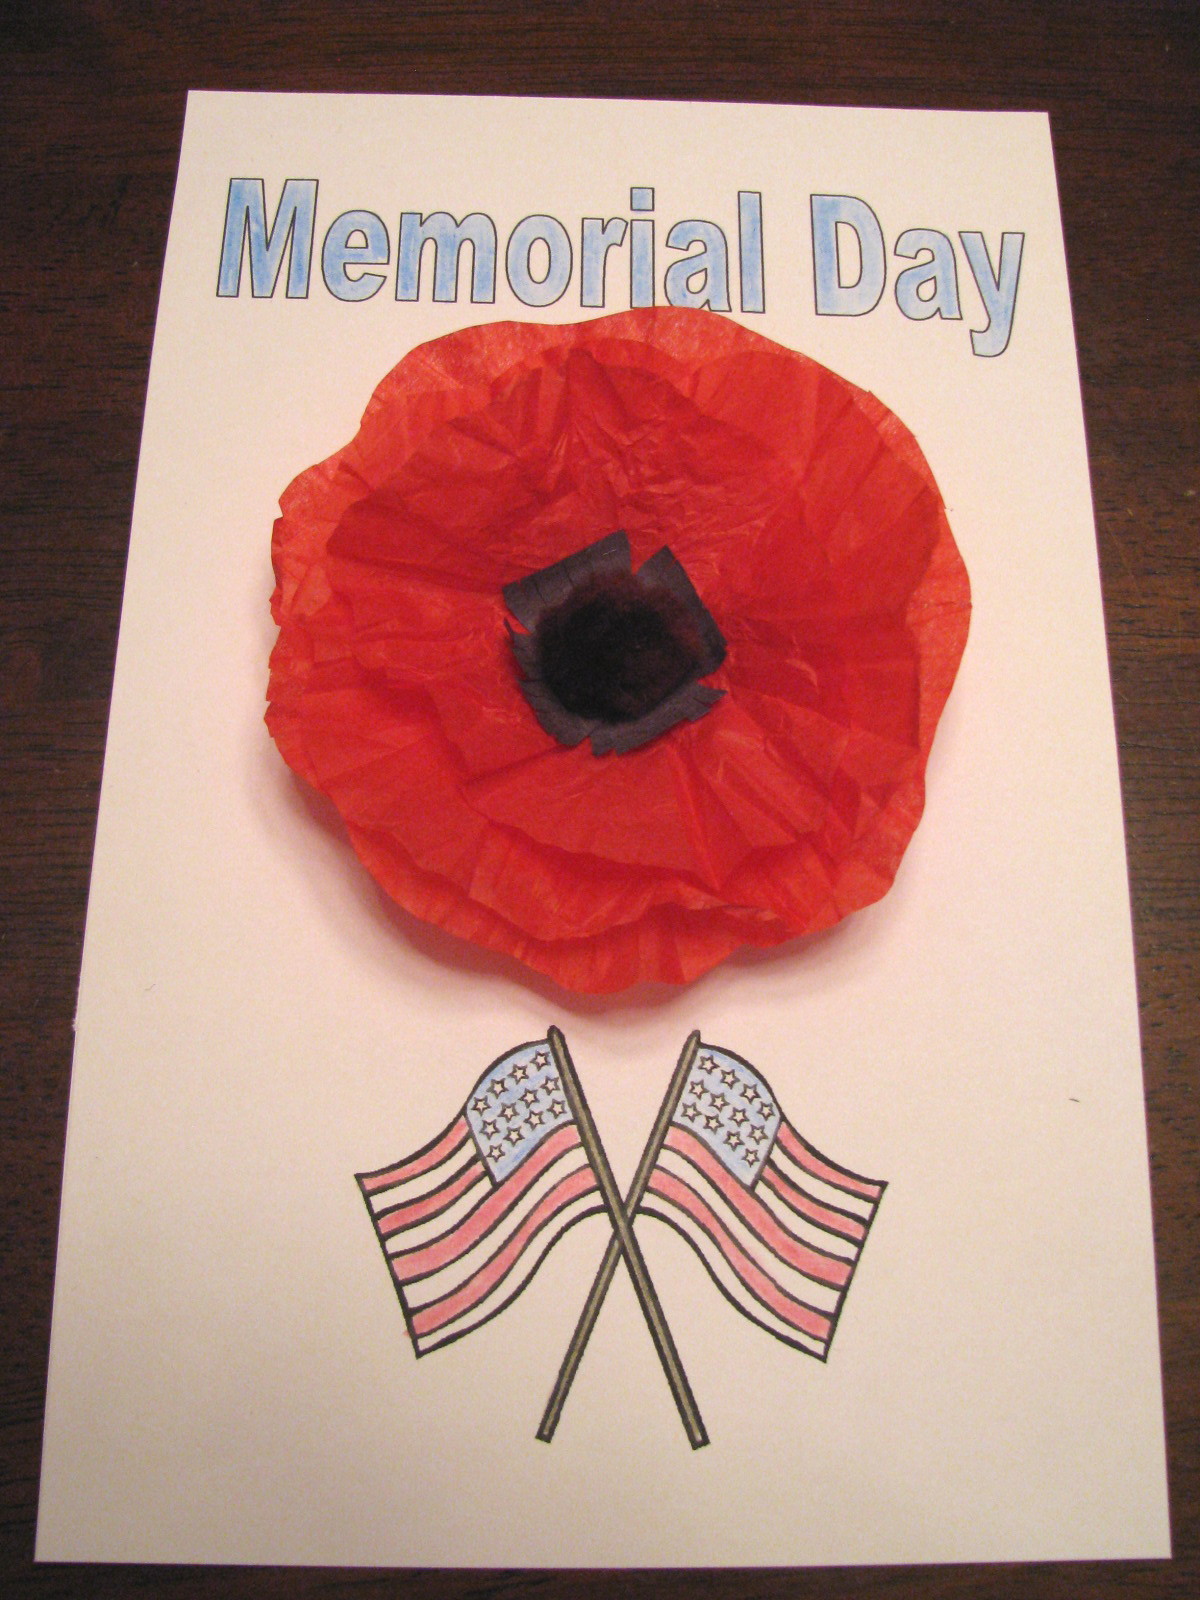
There is something extra special about a Remembrance Day (or Memorial Day) craft when you include your country’s flag. This simple craft and colouring sheet from Learning Adventures at Home is perfect for our American friends honouring their veterans.
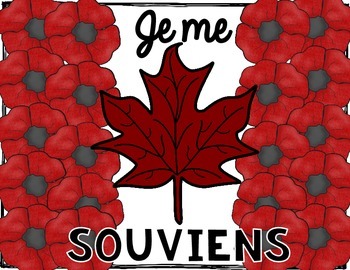
For our Canadian audience, this flag craft from Teachers Pay Teachers can be done in French or in English, and is perfect for at home or in the classroom.
These are our favourite ways to include our children in remembering our veterans, both past and present. Tell us in the comments below, what activities you do with your children on Remembrance Day?
The post 7 Poppy Crafts for Remembrance Day appeared first on Creative Sides.
]]>The post Remembrance Day Poppies appeared first on Creative Sides.
]]>
I repeat the stories passed down in our families, read out the names carved into the stone and explain why it is so important to never forget the sacrifices of those who came before us. When our daughter, Boo, was two and a half she watched the veterans, soldiers and emergency personnel march past us in full dress… she turned to me and said “Mama? Are those the superheroes?” Yes Boo, they truly are. #RememberThem
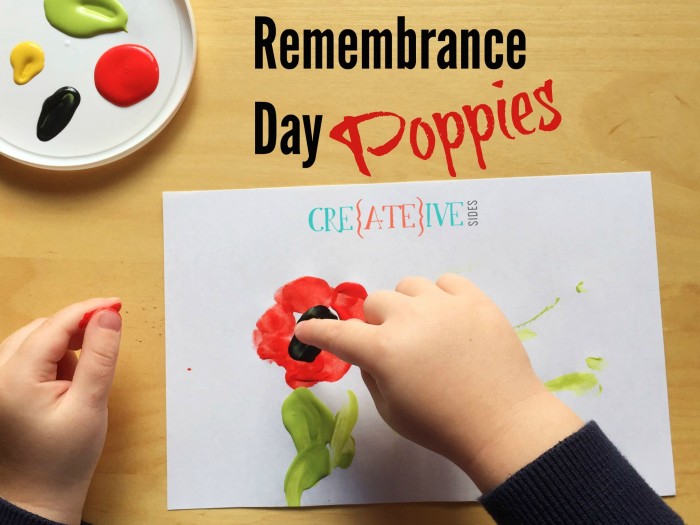
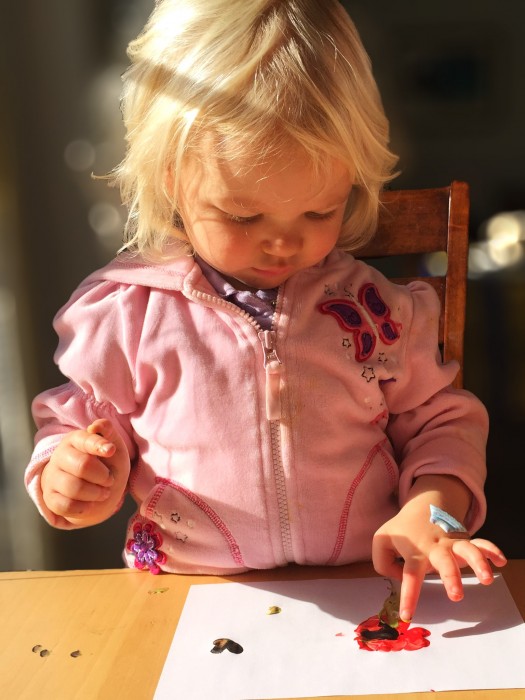
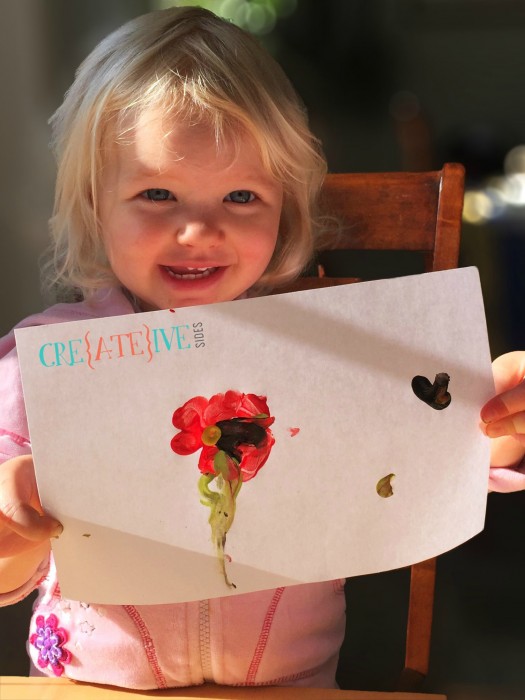
This year to get into the spirit of remembering, our son and his bestie created their own poppies.
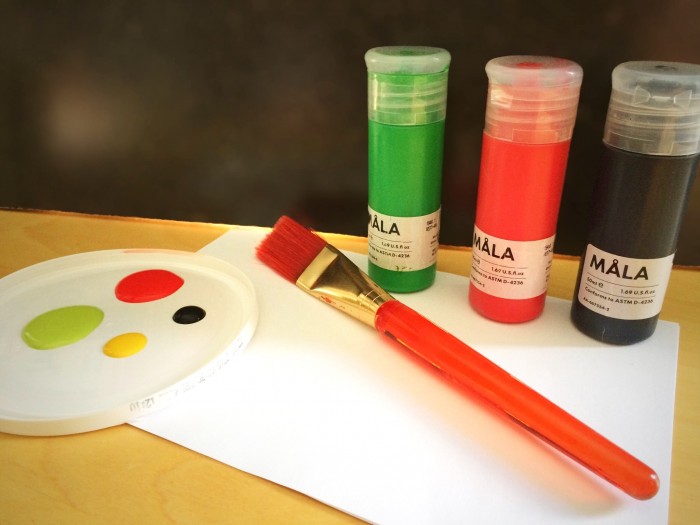
You will need:
- Paper
- Paint (Red, Green, Black and Yellow)
- Saucer for paint
- Poppy seeds (optional)
- Fingers
- Wet cloth or unobstructed path to the bathtub
Note: Smaller children may need some adult assistance with this craft.
Be sure to check out our Creative Kids – Remembrance Day Crafts on Pinterest for more ideas.
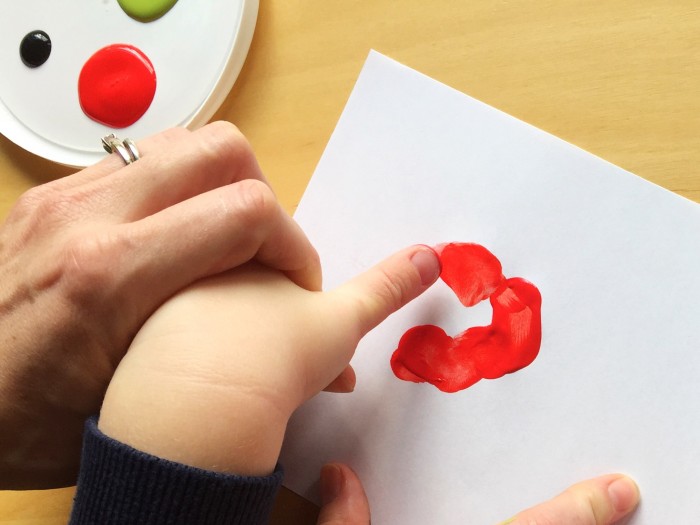
Step 1: Dip thumb into red paint and make four or five prints in a circle on the paper.
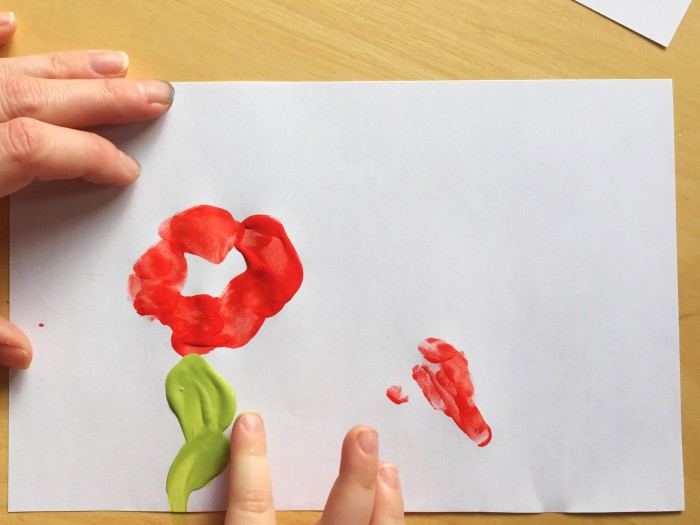
Step 2: Use the green paint to make the flower stem.
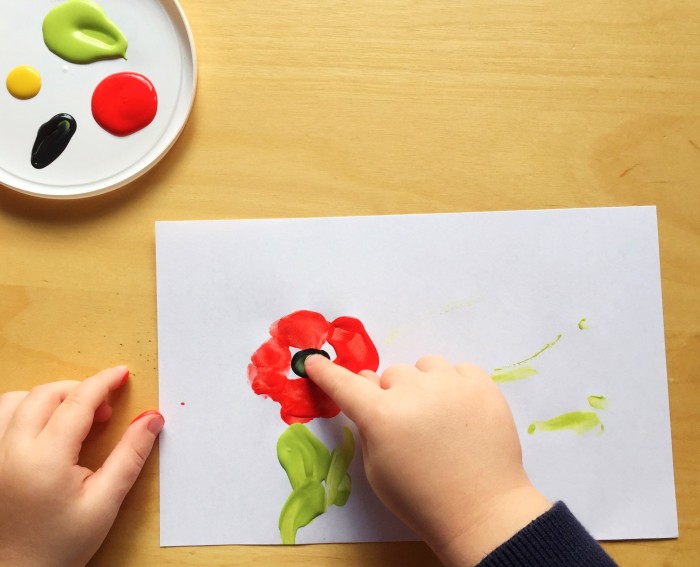
Step 3: Dip pointer finger in the black paint to create the middle of the flower. While the black paint is still wet you can sprinkle over poppy seeds to add texture.
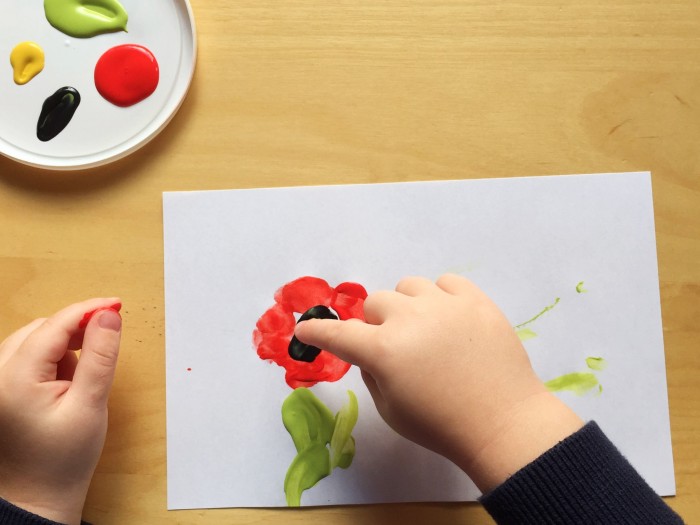
Step 4: Once the black paint has dried the kids have no further patience to wait dab some yellow paint in the centre of the black.
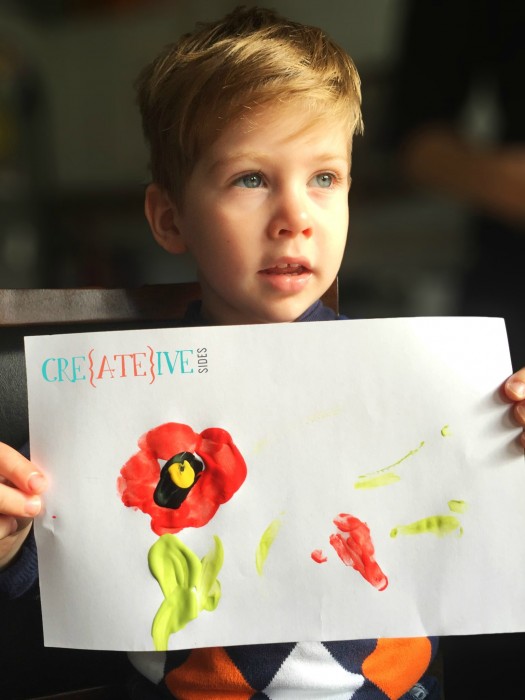
Step 5: Hang up and enjoy their masterpiece!
The post Remembrance Day Poppies appeared first on Creative Sides.
]]>The post Best Ever Chocolate Chip Cookies appeared first on Creative Sides.
]]>
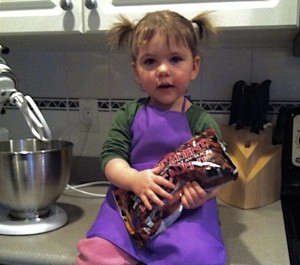
Both of our kids inherited the must-eat-all-the-chocolate gene that their dad and I have so this recipe is used a lot in our house.
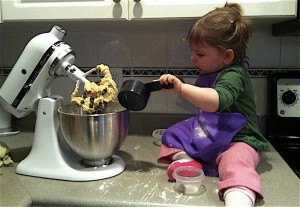
It’s quick to throw together and simple enough for the kids to make. Our daughter was two years old when I turned over the measuring and mixing of this family favourite to our tiny chef.
Pro tip: This batter keeps well in the freezer so you can scoop it out and whip up a batch whenever you have a craving.
- 1 cup (250ml) butter at room temperature
- 3/4 cup (175ml) sugar
- 3/4 cup (175ml) packed brown sugar
- 2 eggs
- 2 tsp (10ml) vanilla
- 2 1/4 cups (550ml) unsifted flour
- 1 tsp (5ml) baking soda
- 1/2 tsp (2ml) salt
- 1 cup (250ml) chopped walnuts or pecans
- 2 cups (300g) chocolate chips
- Preheat oven to 375ºF (190ºC)
- Stir flour with baking soda and salt; set aside.
- In a large mixer bowl, cream butter with sugar, brown sugar, eggs and vanilla.
- Gradually blend dry mixture into creamed mixture.
- Stir in nuts and chocolate chips.
- Drop by tablespoon onto ungreased cookie sheets covered in parchment paper.
- Baked for 9 to 11 minutes or until golden brown.
The post Best Ever Chocolate Chip Cookies appeared first on Creative Sides.
]]>The post Hand-y Seasonal Felt Tree Craft appeared first on Creative Sides.
]]>
This year I am officially the mom of a kindergartener… where did the time go? How did she grow up so fast?
My youngest, though, has spent the past month unsure of what to do with himself as his playmate isn’t constantly there to boss him around provide entertainment. I have been searching for new activities that can help him learn and keep him occupied for more than five minutes so I can inhale some coffee and get a few projects done around the house.
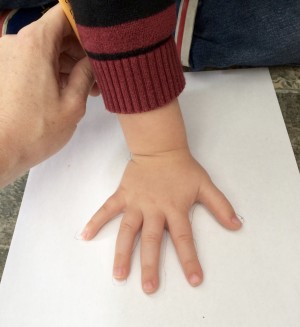
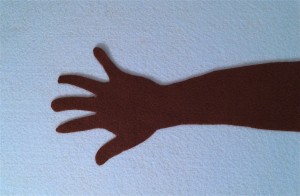
Inspired by his current fascination of picking up the leaves around our neighbourhood, I decided to create a quick and easy felt tree craft. To make it a bit more special and fun I used his hand as the tree.
You will need:
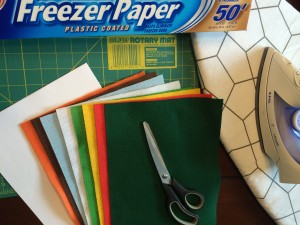
- Freezer paper
- Felt sheets in various colours (one for the background and the others for the leaves and other decorations)
- Scissors or Rotary cutter
- Iron
- Ironing Board
- Pencil
Step 1: Trace your child’s hand on to the dull side of the freezer paper. You can also trace their hand onto any piece of paper you have near (office paper, envelope, phone bill…) and retrace on the dull side of the freezer paper after. Speaking from experience here…
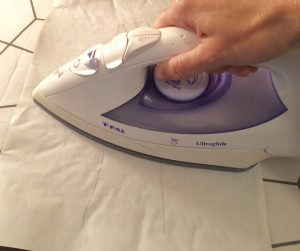
Step 2: Place the freezer paper shiny side down on top of the rough side of the felt sheet. The rough side is the side that usually has the manufacture sticker on it. Remember to remove the sticker before ironing.

Place freezer paper on rough side of felt. Remember to remove the sticker.
Step 3: Iron the freezer paper using medium heat, no steam. You should now have the freezer paper and felt temporarily stuck together. This step will make it much easier to cut out your design.
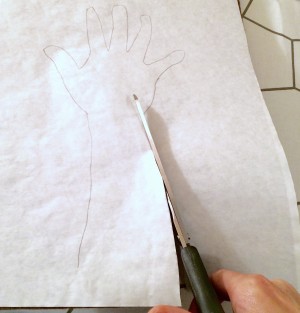
Step 4: Cut out your shapes using either scissors or a rotary cutter.
Step 5: Peel freezer paper away from felt and place cut out on background of your choosing.
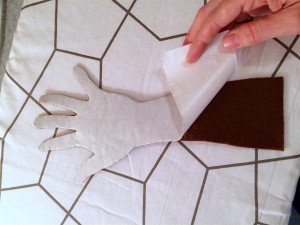
Handy tip: Replace the sticker on the left over scrap of felt to help you remember which side is the rough side for your next craft project.
Repeat steps 1 through 5 with other felt colours to create leaves, sunshine, grass, apples, pumpkins, clouds, flowers, house – whatever your imagination can dream up.
Play!

This post may contain affiliate links. See our disclosure policy for more information.
The post Hand-y Seasonal Felt Tree Craft appeared first on Creative Sides.
]]>The post DIY Wooden Letter Monogram appeared first on Creative Sides.
]]>
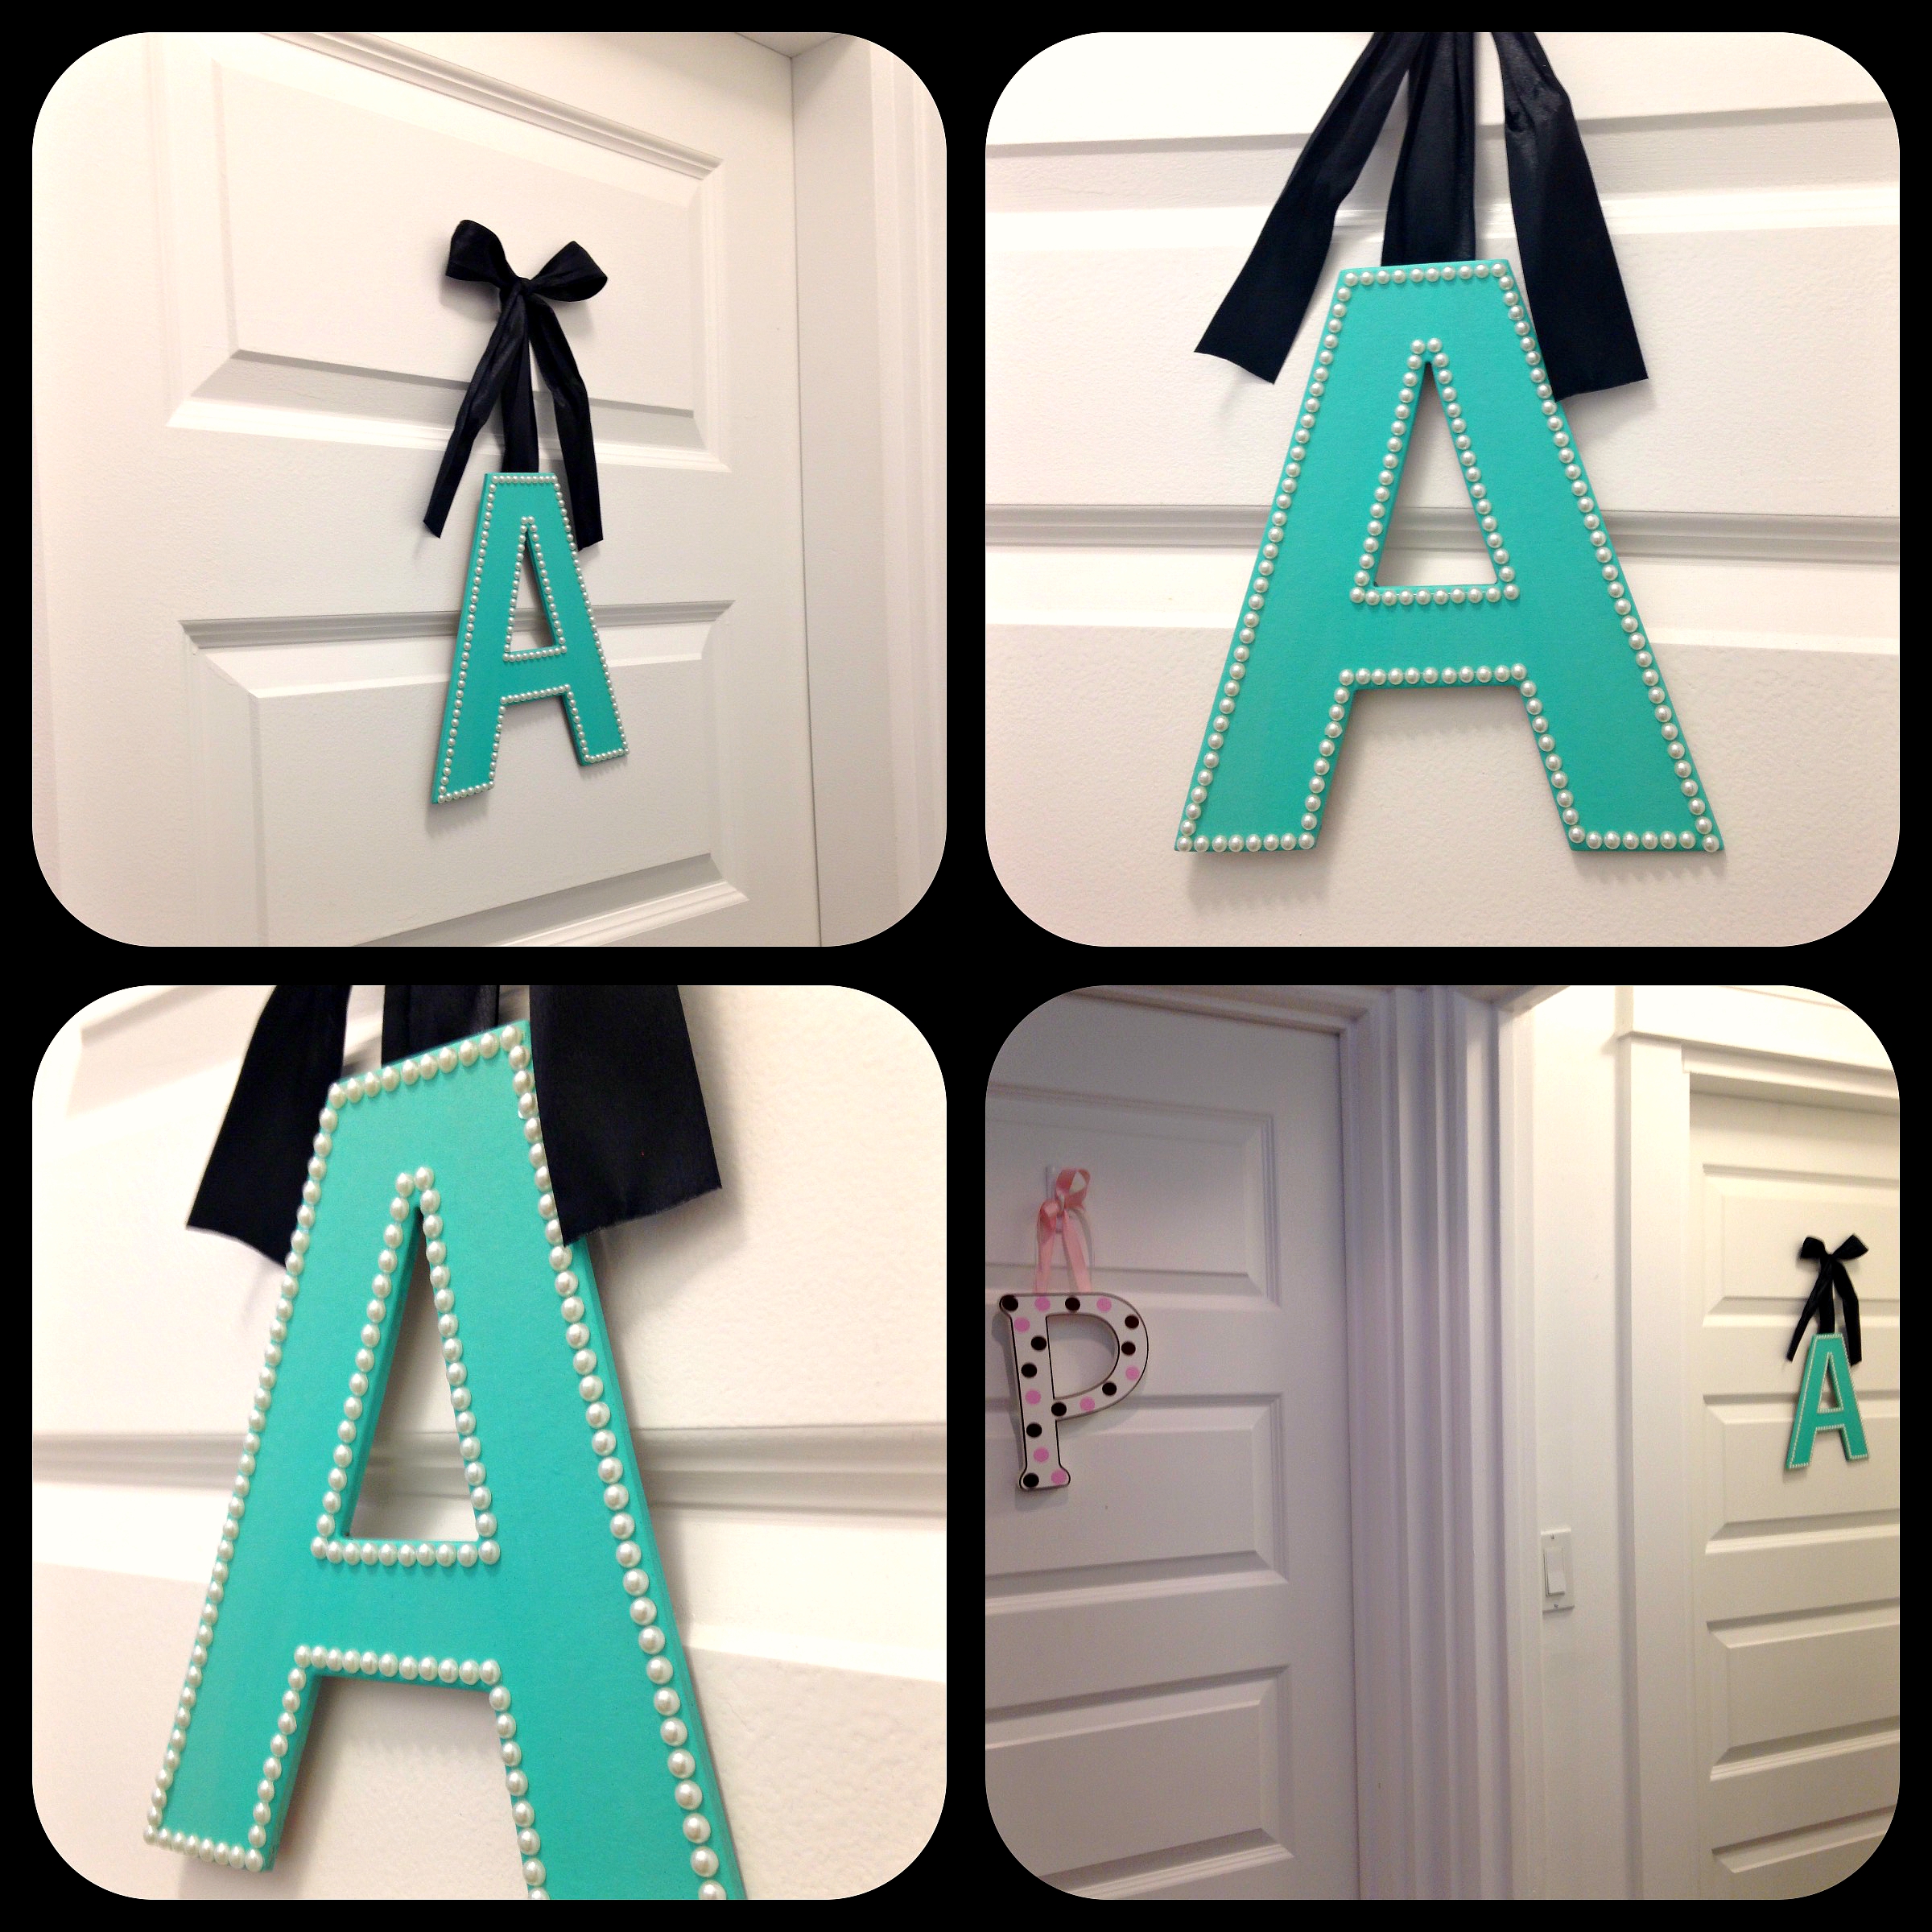
I am really rather taken with monograms and initials. I don’t really know why, it seems kind of silly really, but I have different letters and initials up all over our place. So even though it’s not a true ‘monogram’, both of my girls have the first letter of their names on their bedroom doors. Now after three years of searching for just the right ‘A’ for my younger daughter’s bedroom door, I decided to make one myself. Delightedly it only cost me about $3 in supplies. But to be perfectly honest, I could not endure the conversation regarding why the letter ‘P’ on her older sister’s bedroom door was larger than her letter ‘A’ again. Really, seriously not again. I don’t believe words could even do justice to conveying the grave importance Acacia felt this held. Of course her door had a letter ‘A’ on it (I am not a monster), but it was in fact smaller than her sister’s (and all the sparkles in the world couldn’t change that).
So a whole $3 dollars lighter and prompted with the motivation to never have to discuss this again (heaven forbid the older sister has something the little sister has not), I embarked on this incredibly simple project. I have to admit I am very pleased with the way it turned out. More importantly Acacia was over the moon happy and actually gasped out loud when I surprised her with it on her door! Thus freeing up more time for never ending conversations regarding more important things like why is the sky blue and how rainbows are made and why when we cut our own hair, it will not grow back the next day…. (and of course my personal favourite of why I won’t buy her a unicorn).

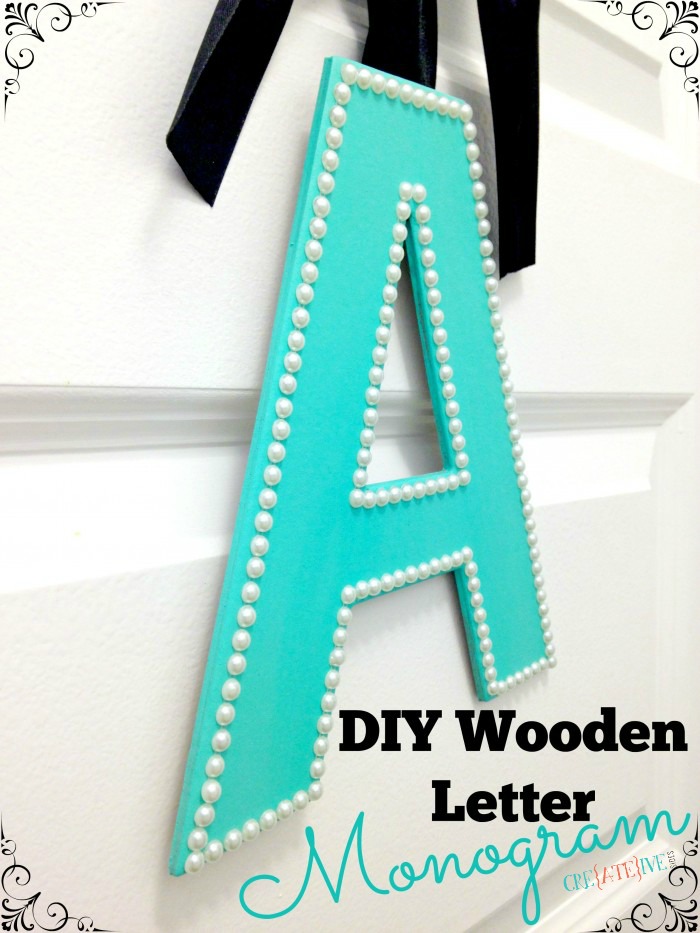
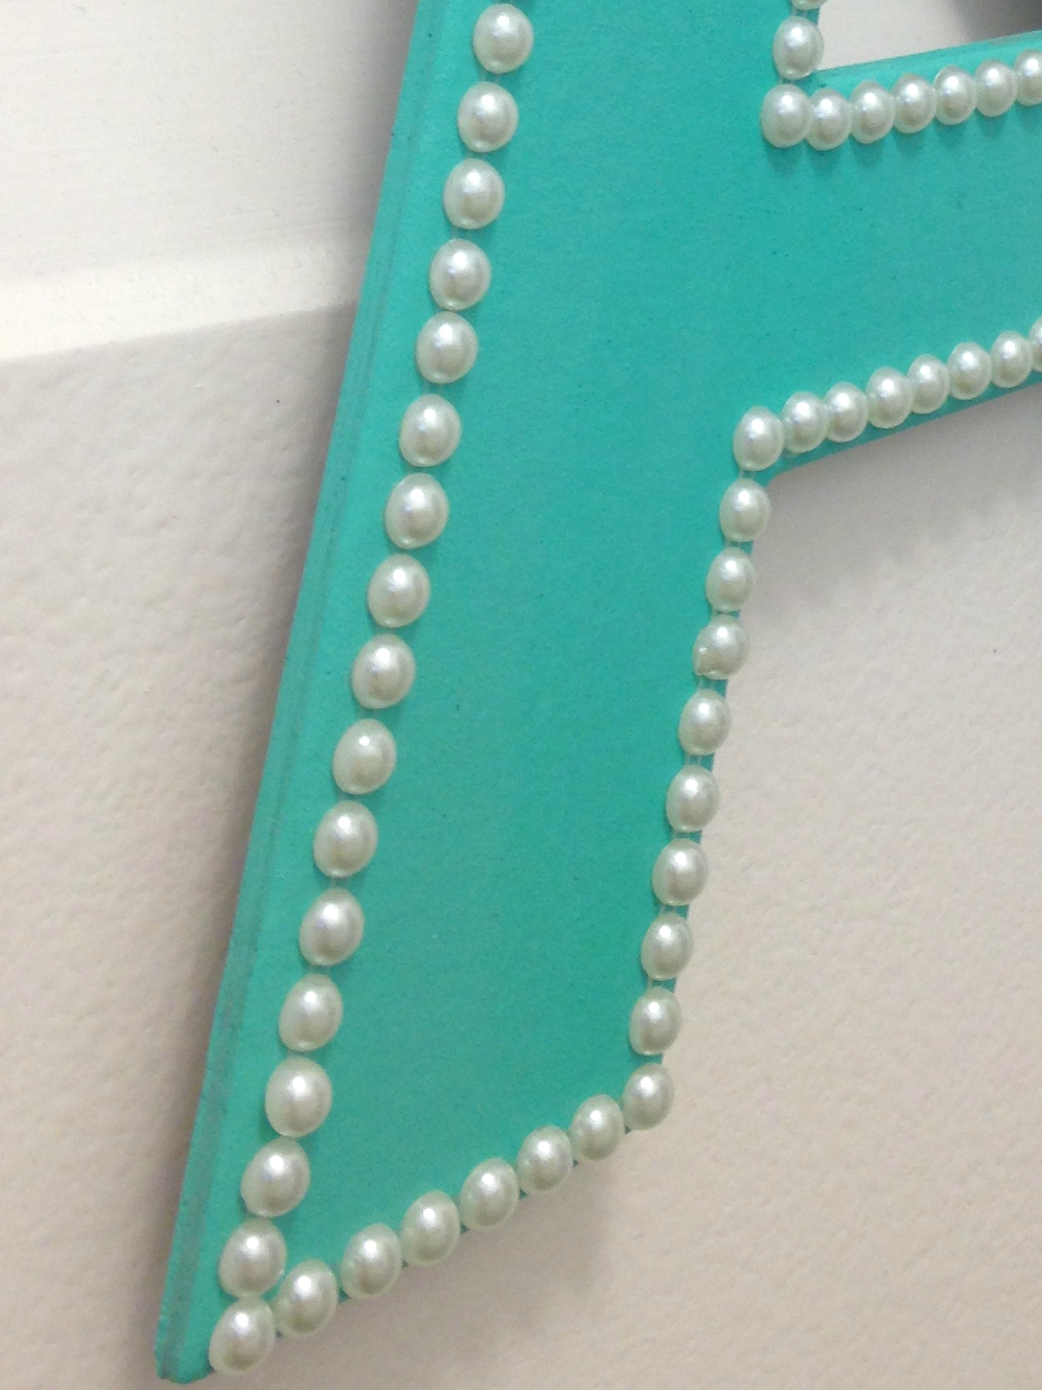
My love of all things Tiffany’s was the inspiration in both my colour and style choice. The actual ‘A’ and paint were found at Michaels (in the sale section at about .50 cents each if I remember correctly). The ribbon I already had, but can also be found at Michaels or Fabric Land. As for the pearls, they were stickers from Dollarama, making this project a breeze!
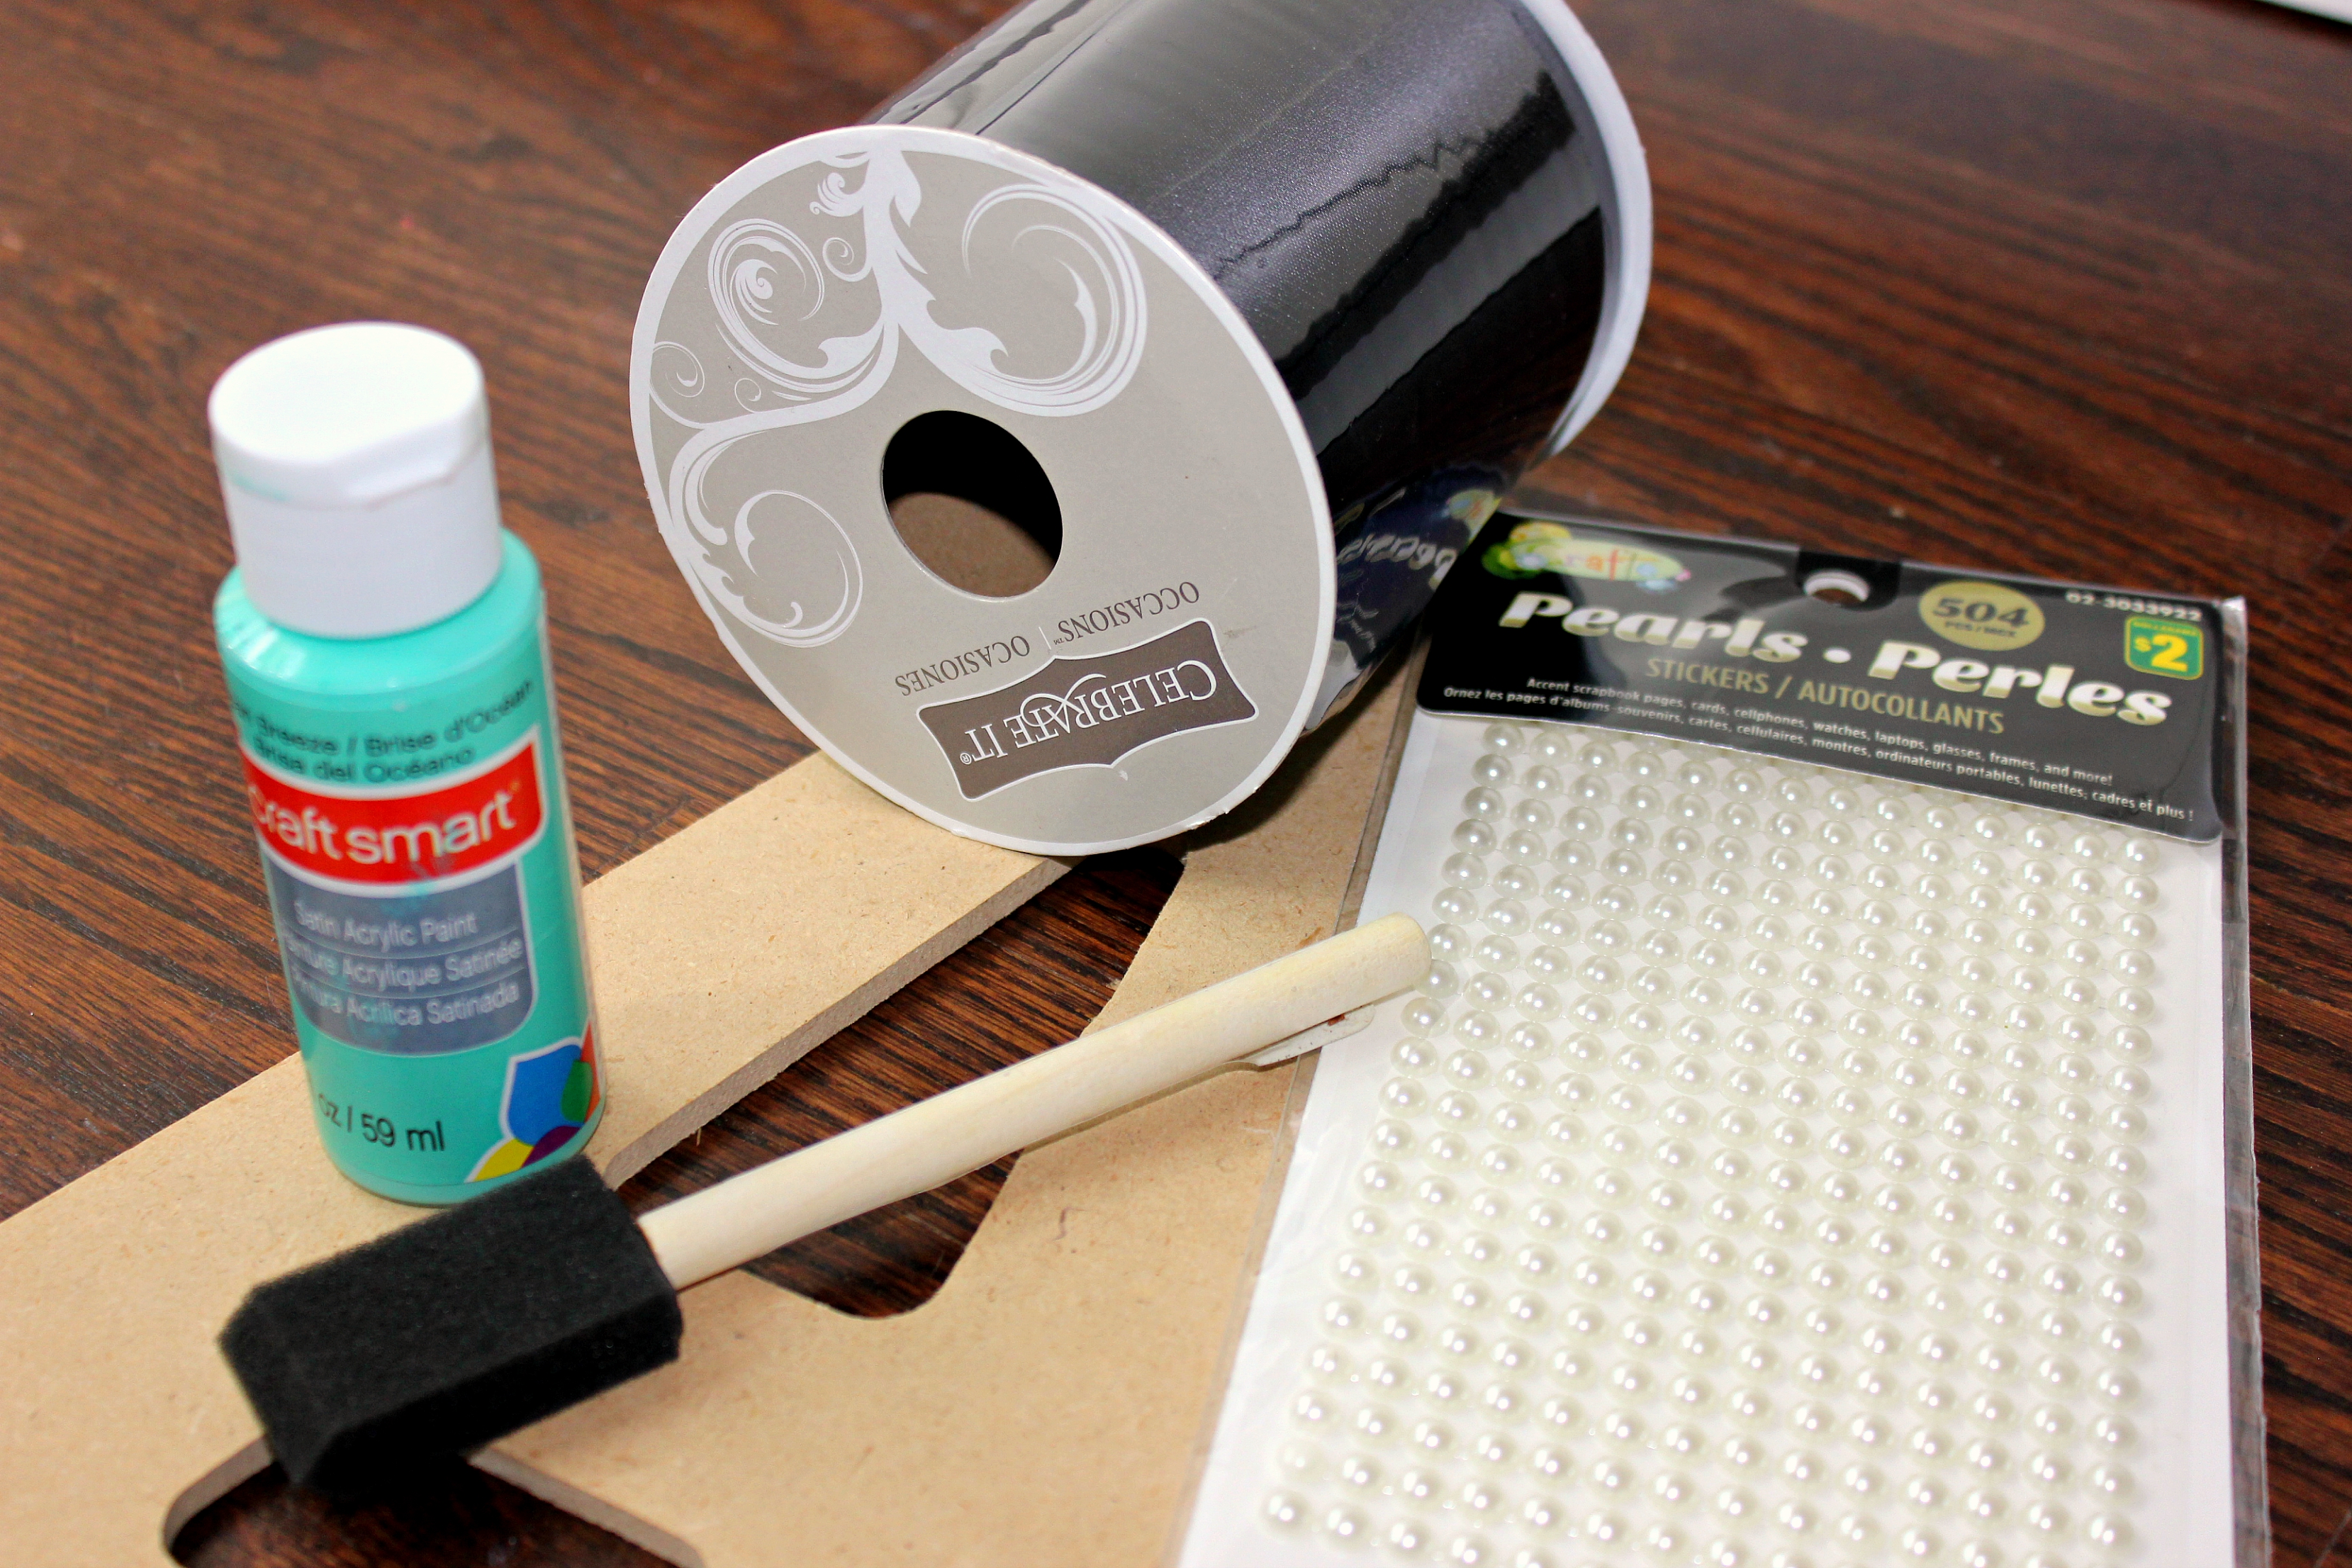
For a similar project you will need:
A wooden letter
Craft paint (I used craft smart satin acrylic paint in ocean breeze)
A foam paint brush
Embellishments (I chose pearl stickers)
Ribbon
Hot Glue Gun (or craft glue)
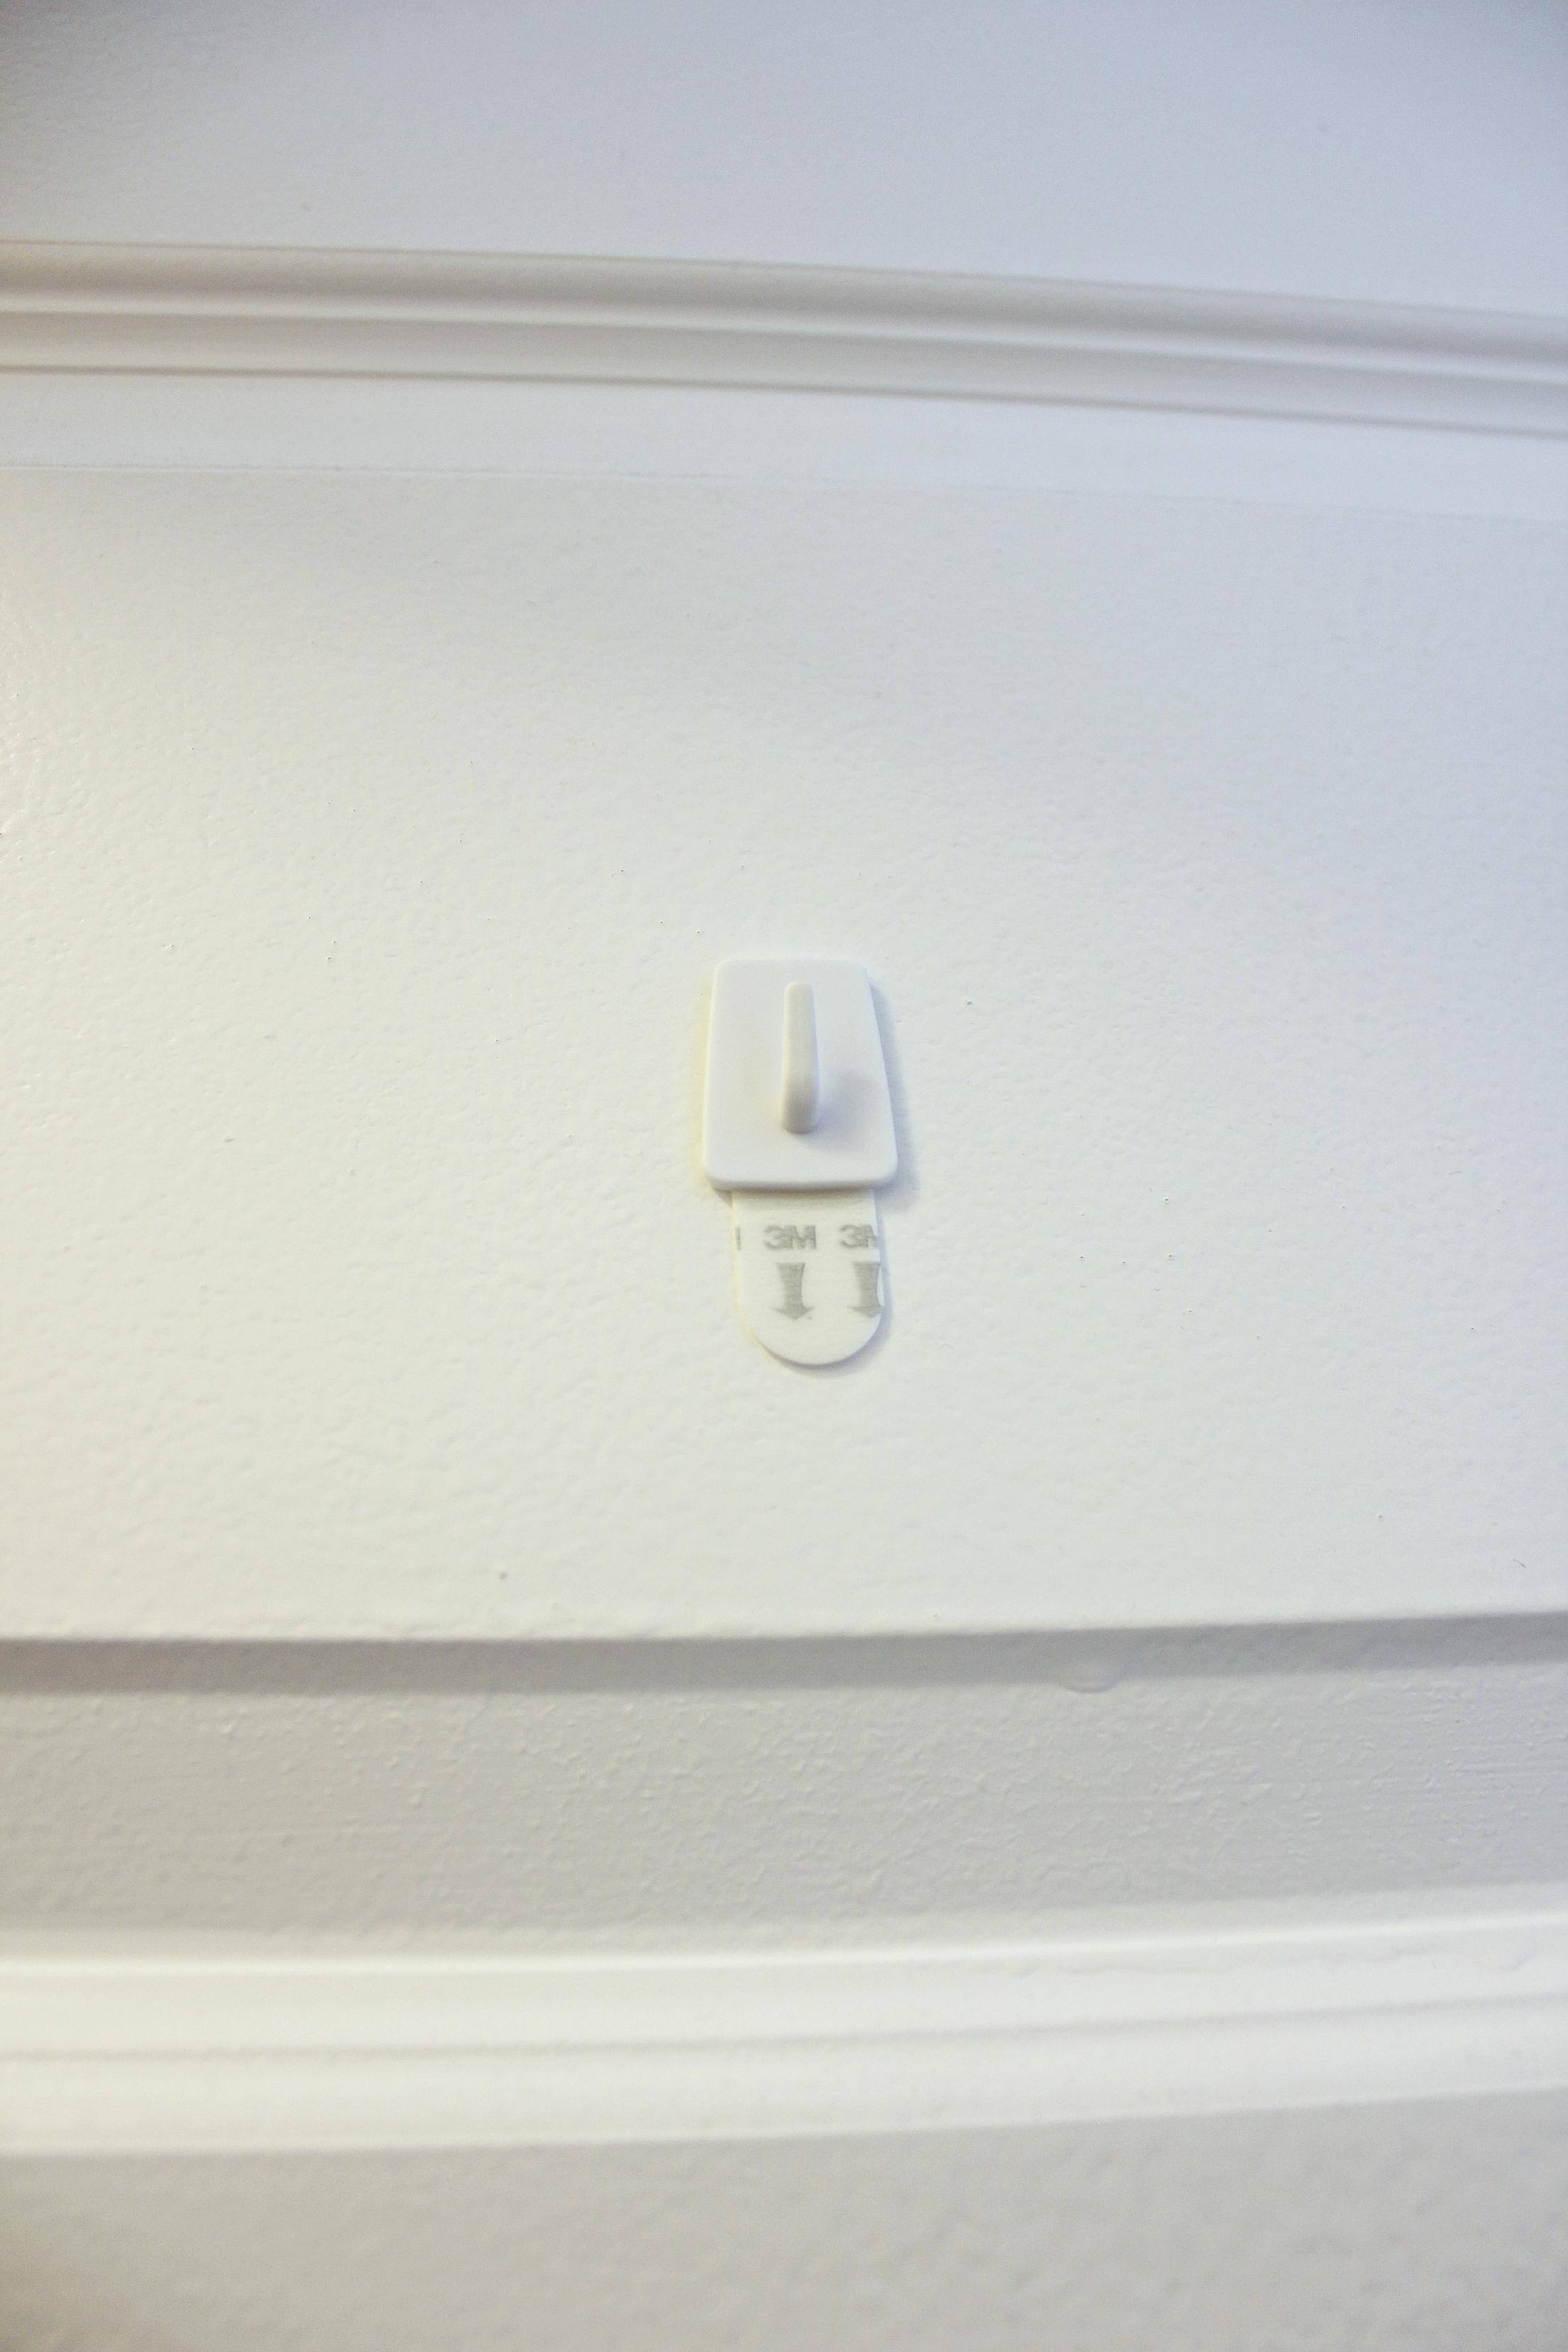
A hook (I went with a small Command Damage-Free hook so as to not leave a permanent mark on the door)
Scissors
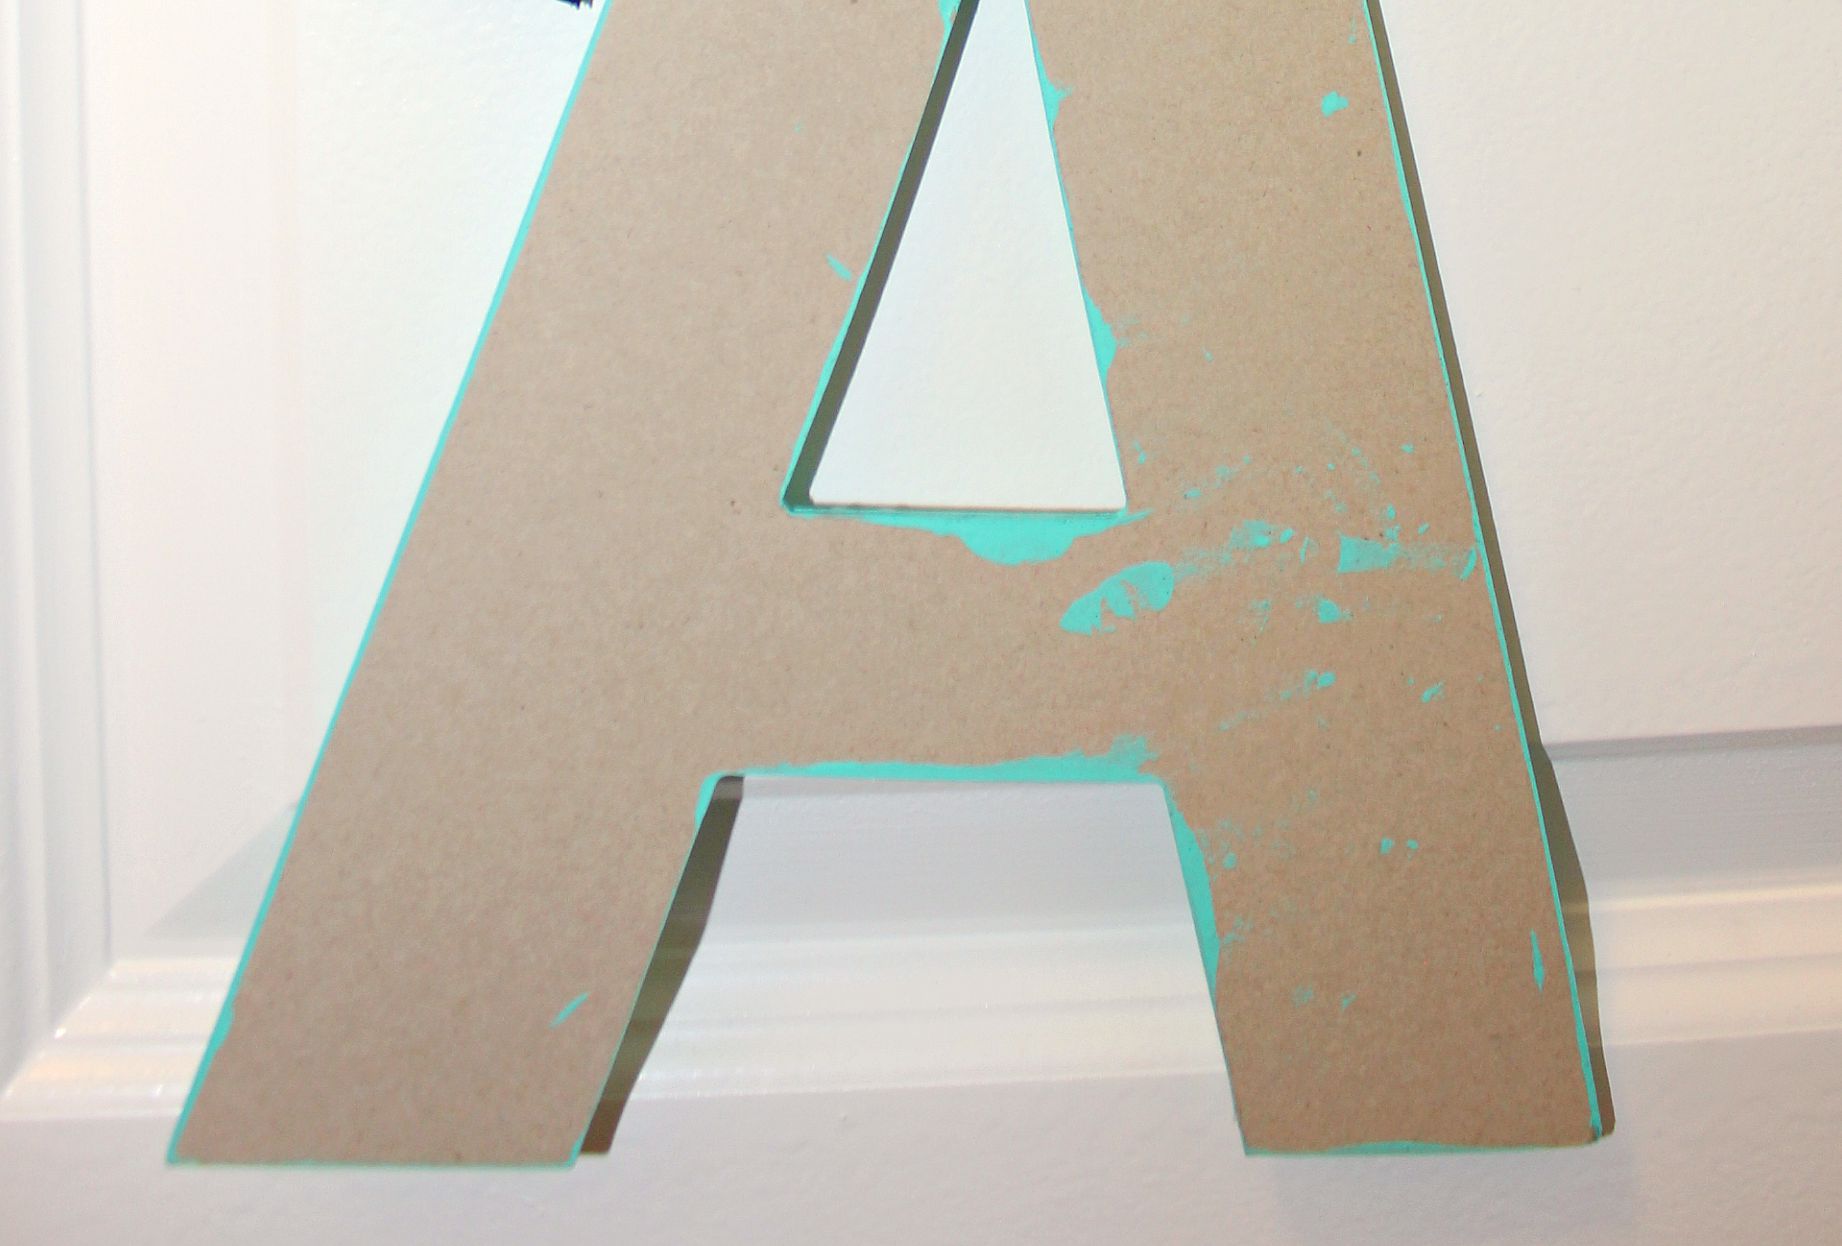
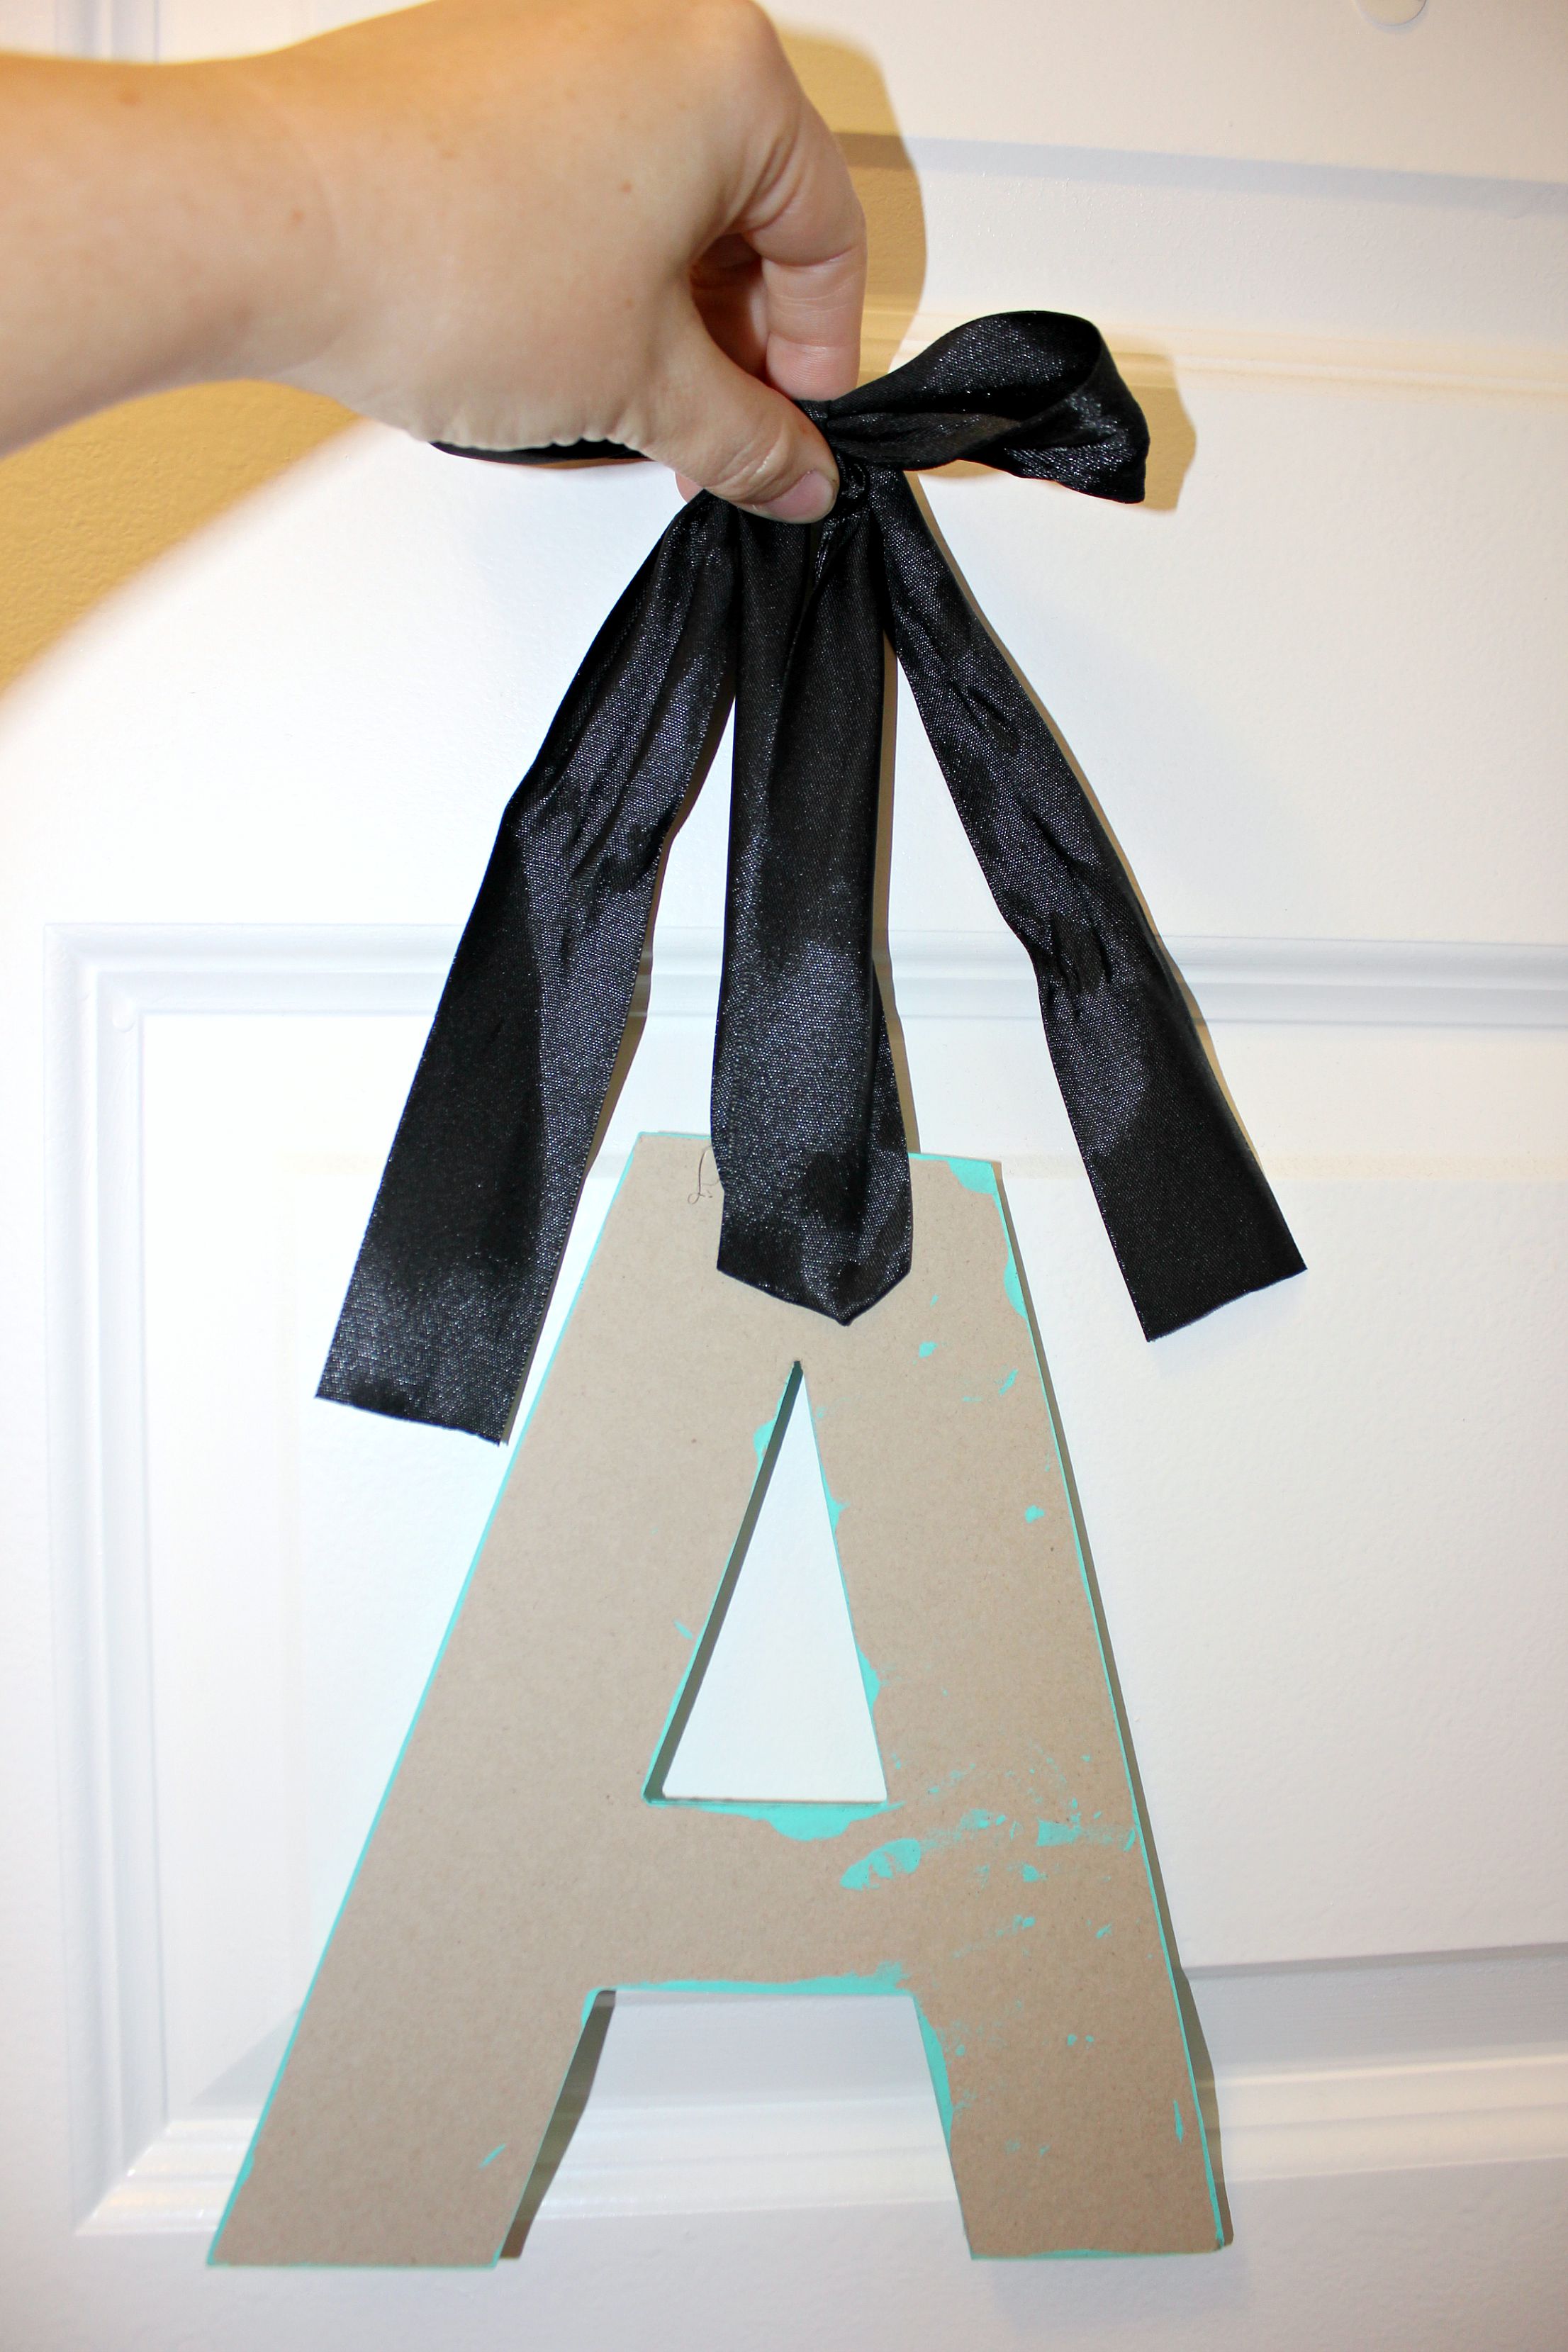
Step 1: Paint the letter, starting with the sides. I used two coats of paint, allowing the letter to become ‘dry to the touch’ in-between coats (this really only took a few minutes). Then allow to dry completely (if it is not completely dry the stickers will not adhere properly in the next step).
Step 2: Once completely dry, outline the letter in pearls. Following the shape of the letter, lay the pearls down just inside the edge. My ‘pearls’ came in sticker form, with 14 in a row on a clear sticker backing. I trimmed the stickers to fit with scissors (cutting the sticky plastic backing not the pearls themselves), especially on the corners, trying to get as uniform a look as possible.
Step 3: Cut a length of ribbon. I cut a length of about 36 inches. Fold in half at the centre point and glue to the back of the letter top and centre (so it will hang straight). I used my glue gun for this and it was quick and easy.
Step 4: Leaving the desired length of ribbon, tie into bow at the top. Trim the edges of the ribbon so they hang evenly and are not frayed.
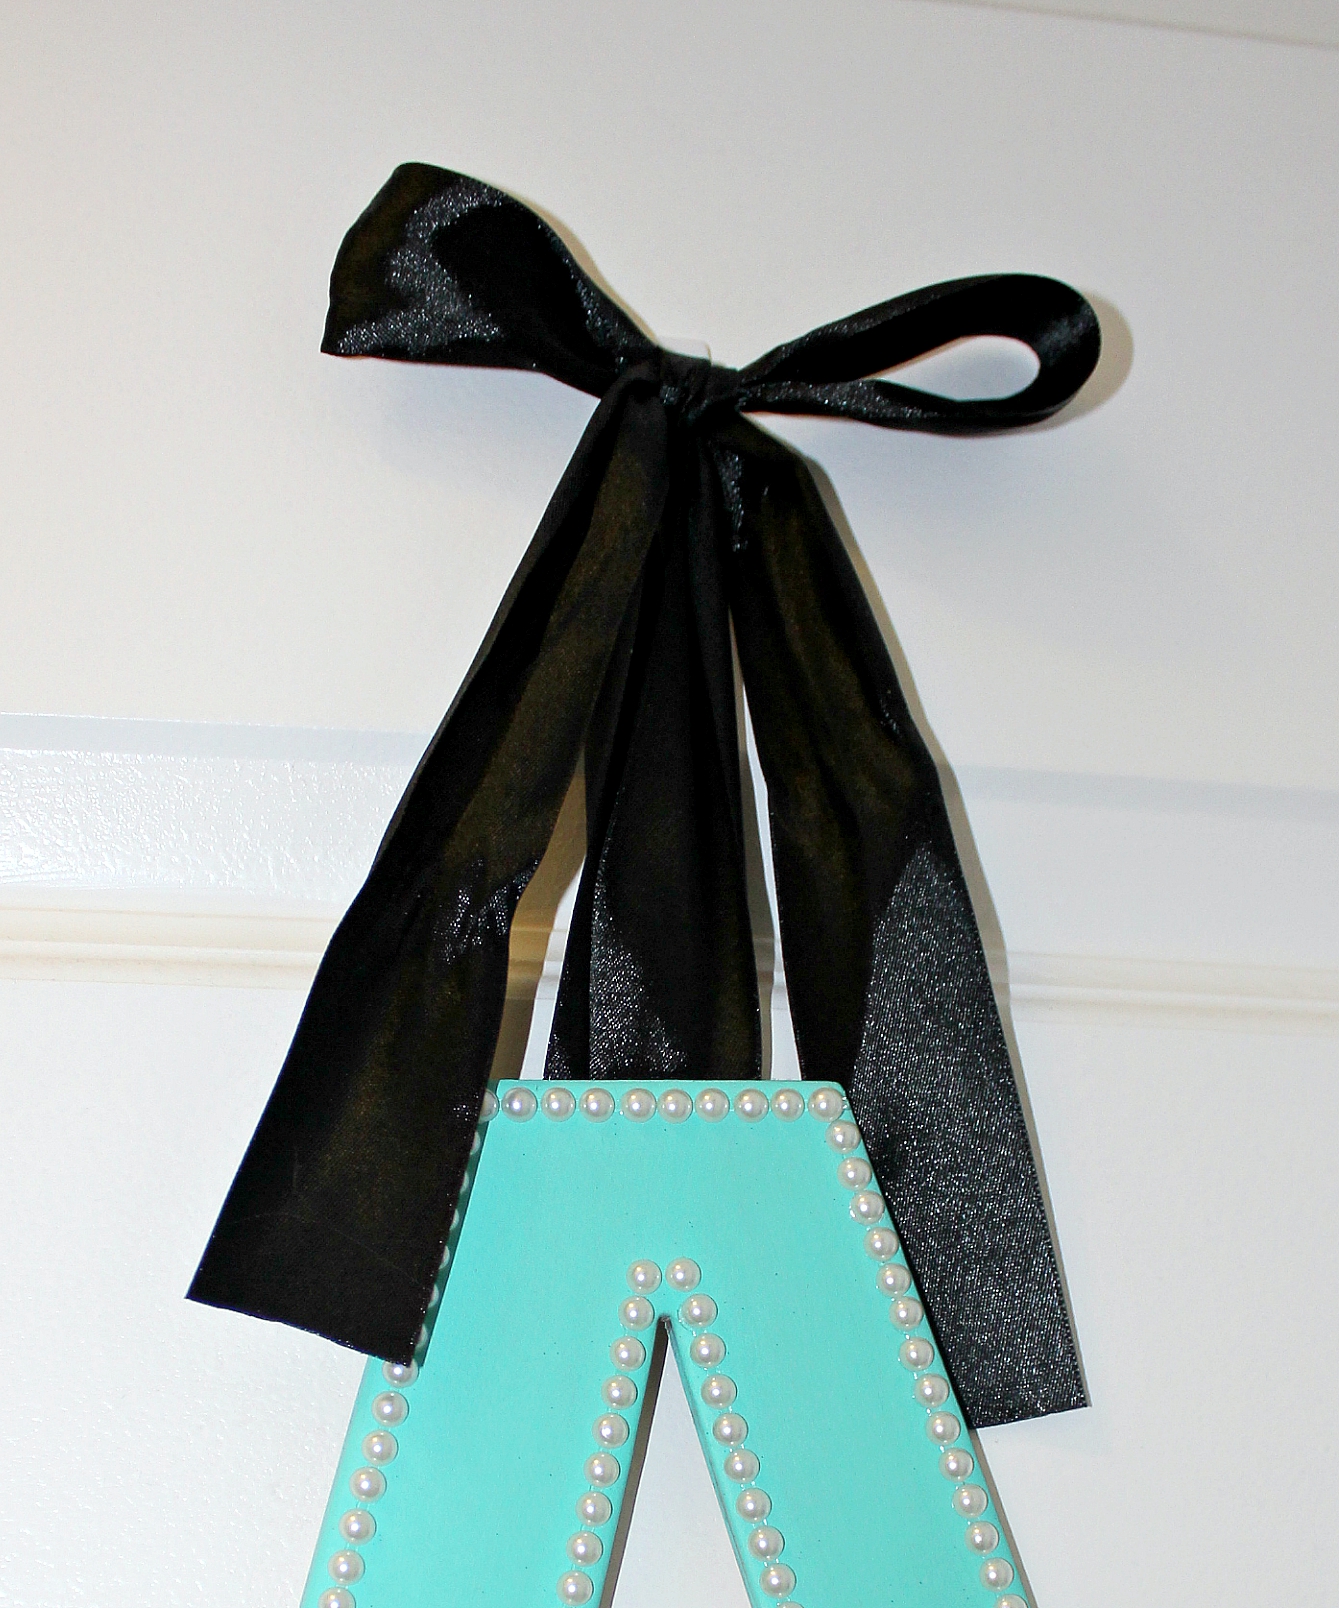
Step 5: Attach the hook to the door (following the directions that come with the command hooks, if using) and hang up the letter by the bow.
Step 6: Step back and admire your handy work and allow your child to gasp in glee!
This post may contain affiliate links. See our disclosure policy for more information.
The post DIY Wooden Letter Monogram appeared first on Creative Sides.
]]>The post Easy Paper Pumpkin Craft appeared first on Creative Sides.
]]>This craft is great for kids but works well as an “adult” craft for decor as well. Here’s how I made them!
How To Make Paper Pumpkins
Items Needed:
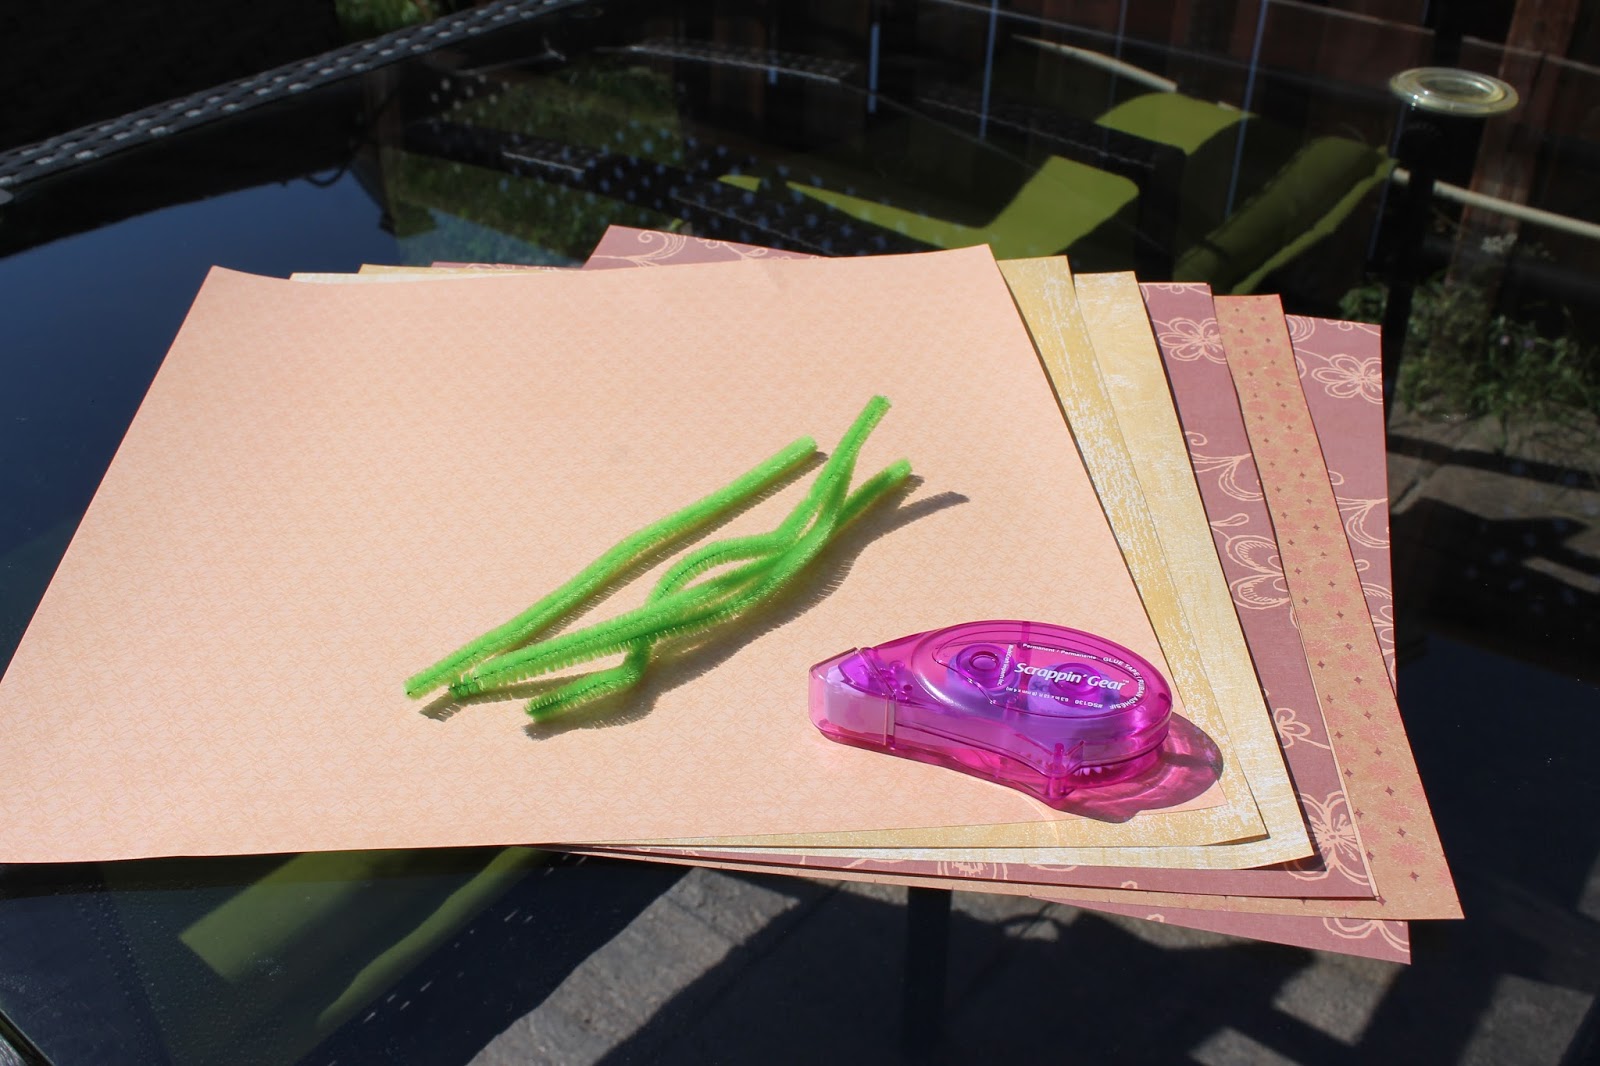
Orange Scrapbook Paper or Orange Construction Paper
Green Pipe Cleaners
Double Sided Scrapbook Tape
Scissors
Circle Template (to trace)
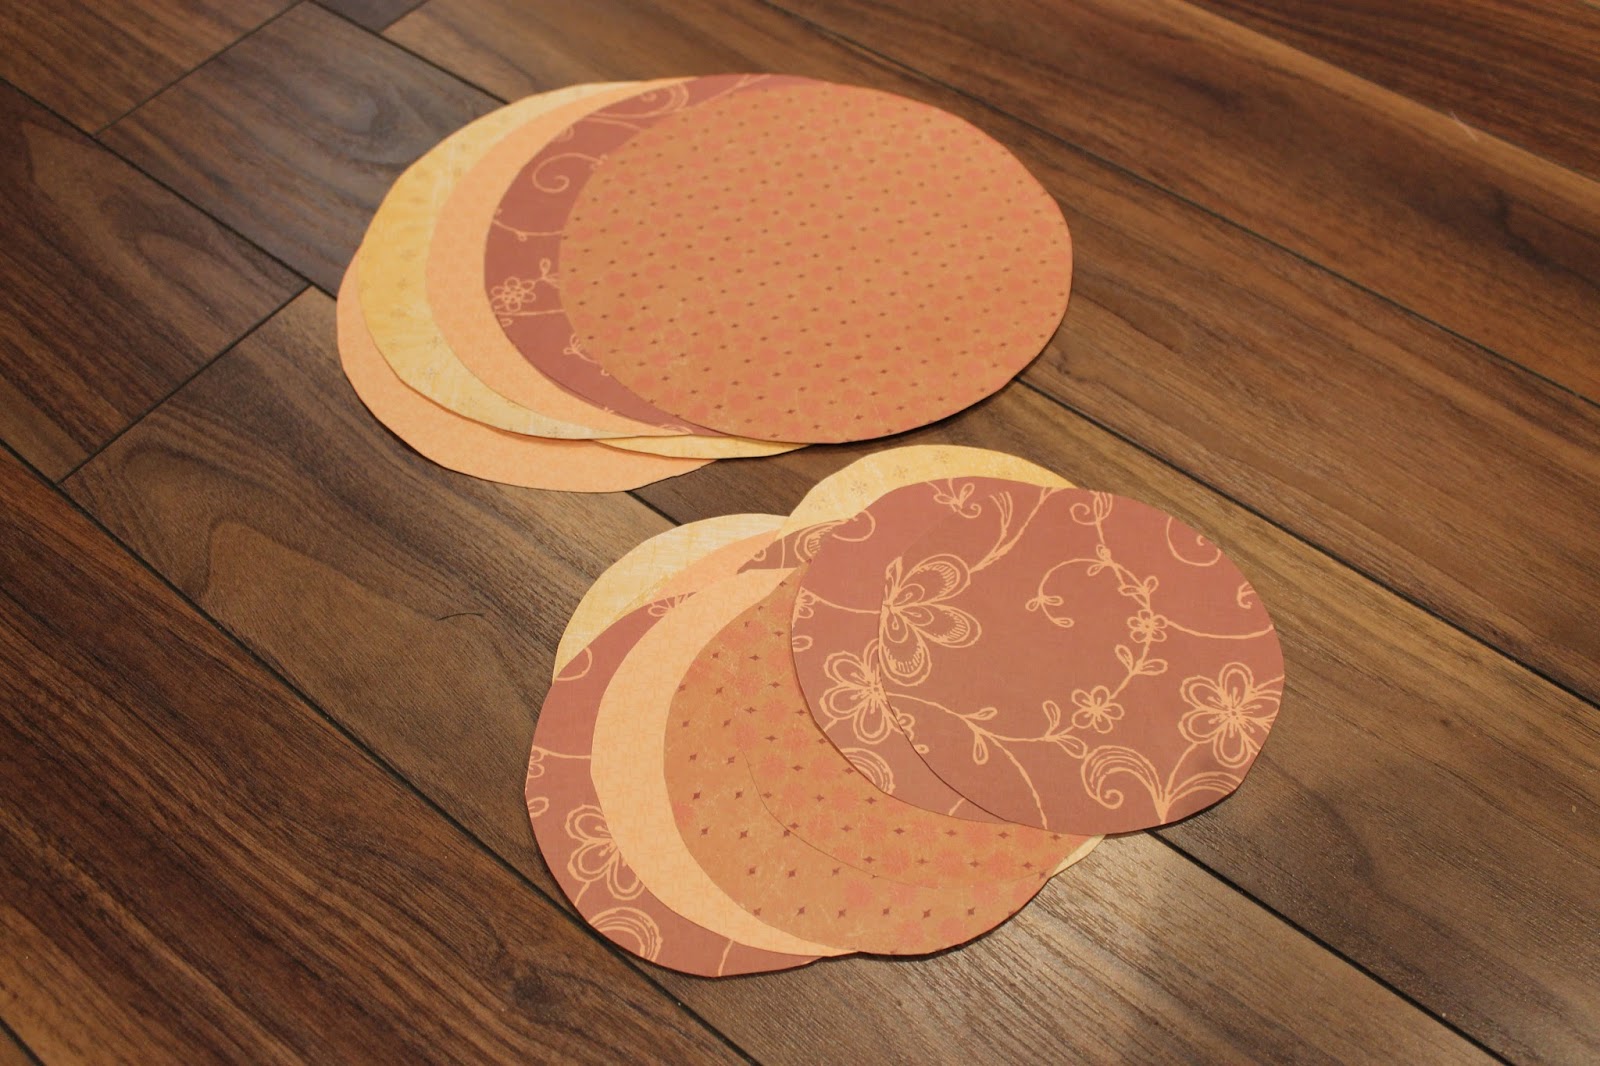
Step 1: Collect orange scrapbook paper in various patterns. If you’re doing this as a kids’ craft, construction paper is a good material as well. I used pipe cleaners for the stems and double sided scrapbook tape as an adhesive.
Step 2: Trace circle on the non-pattern side of the paper. I wanted my pumpkins to be two different sizes, so I traced two sizes of circles (thank you Ikea children’s dishes!) onto the back of my paper.
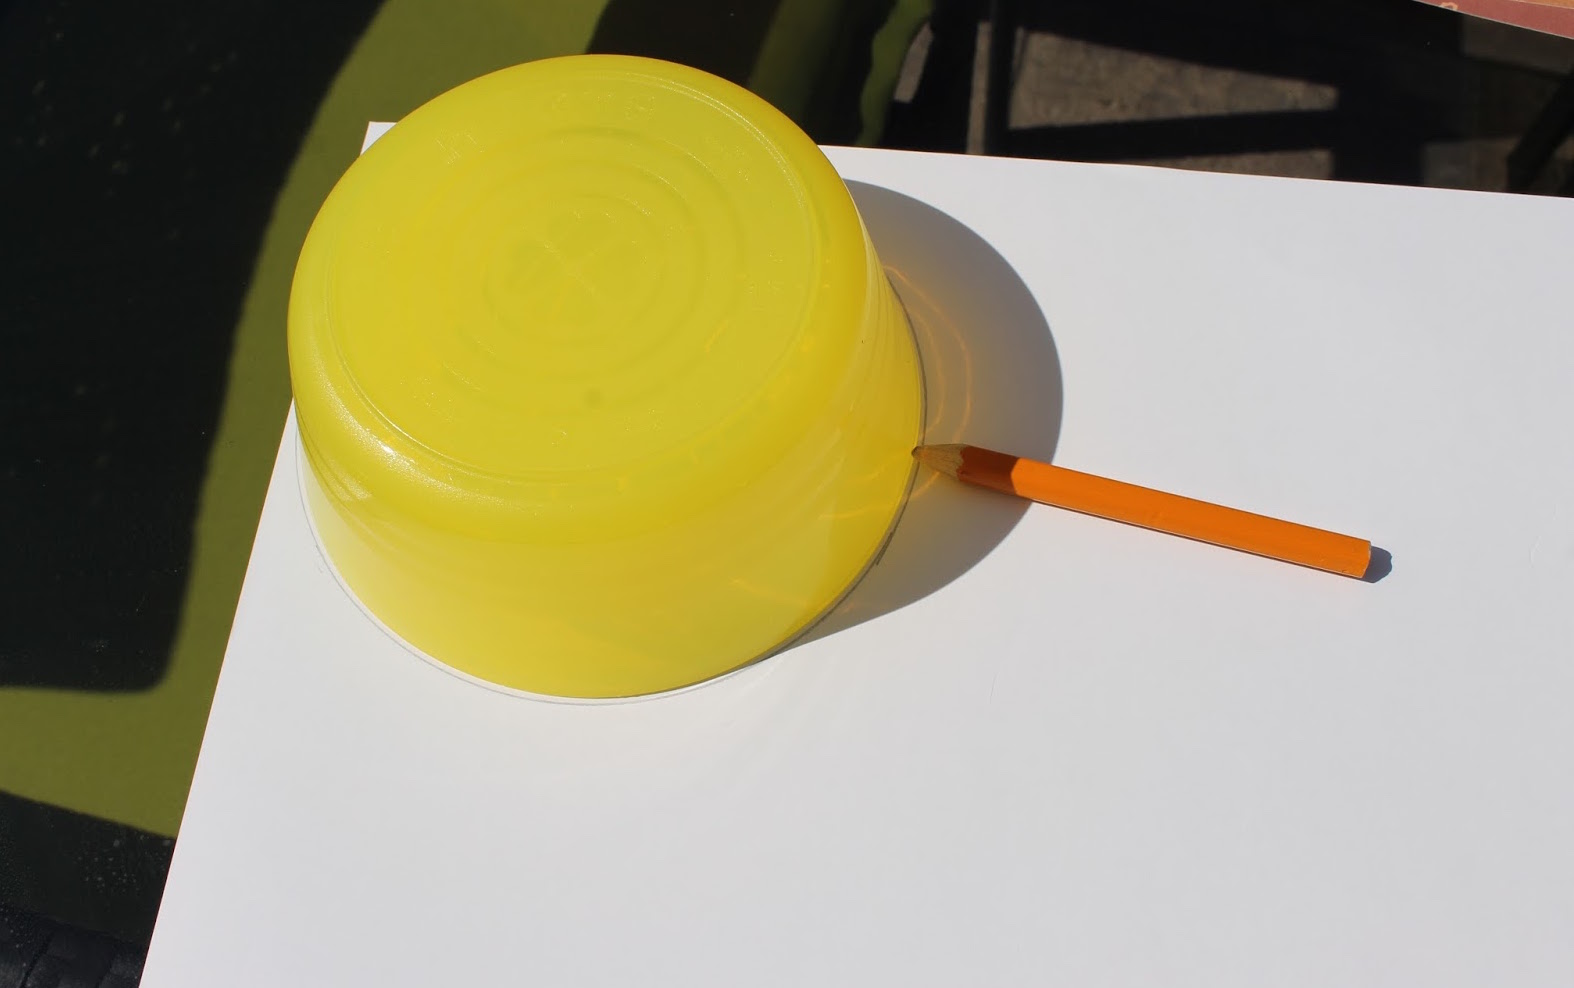
I was able to fit 2 small circles and one large on each sheet of paper.
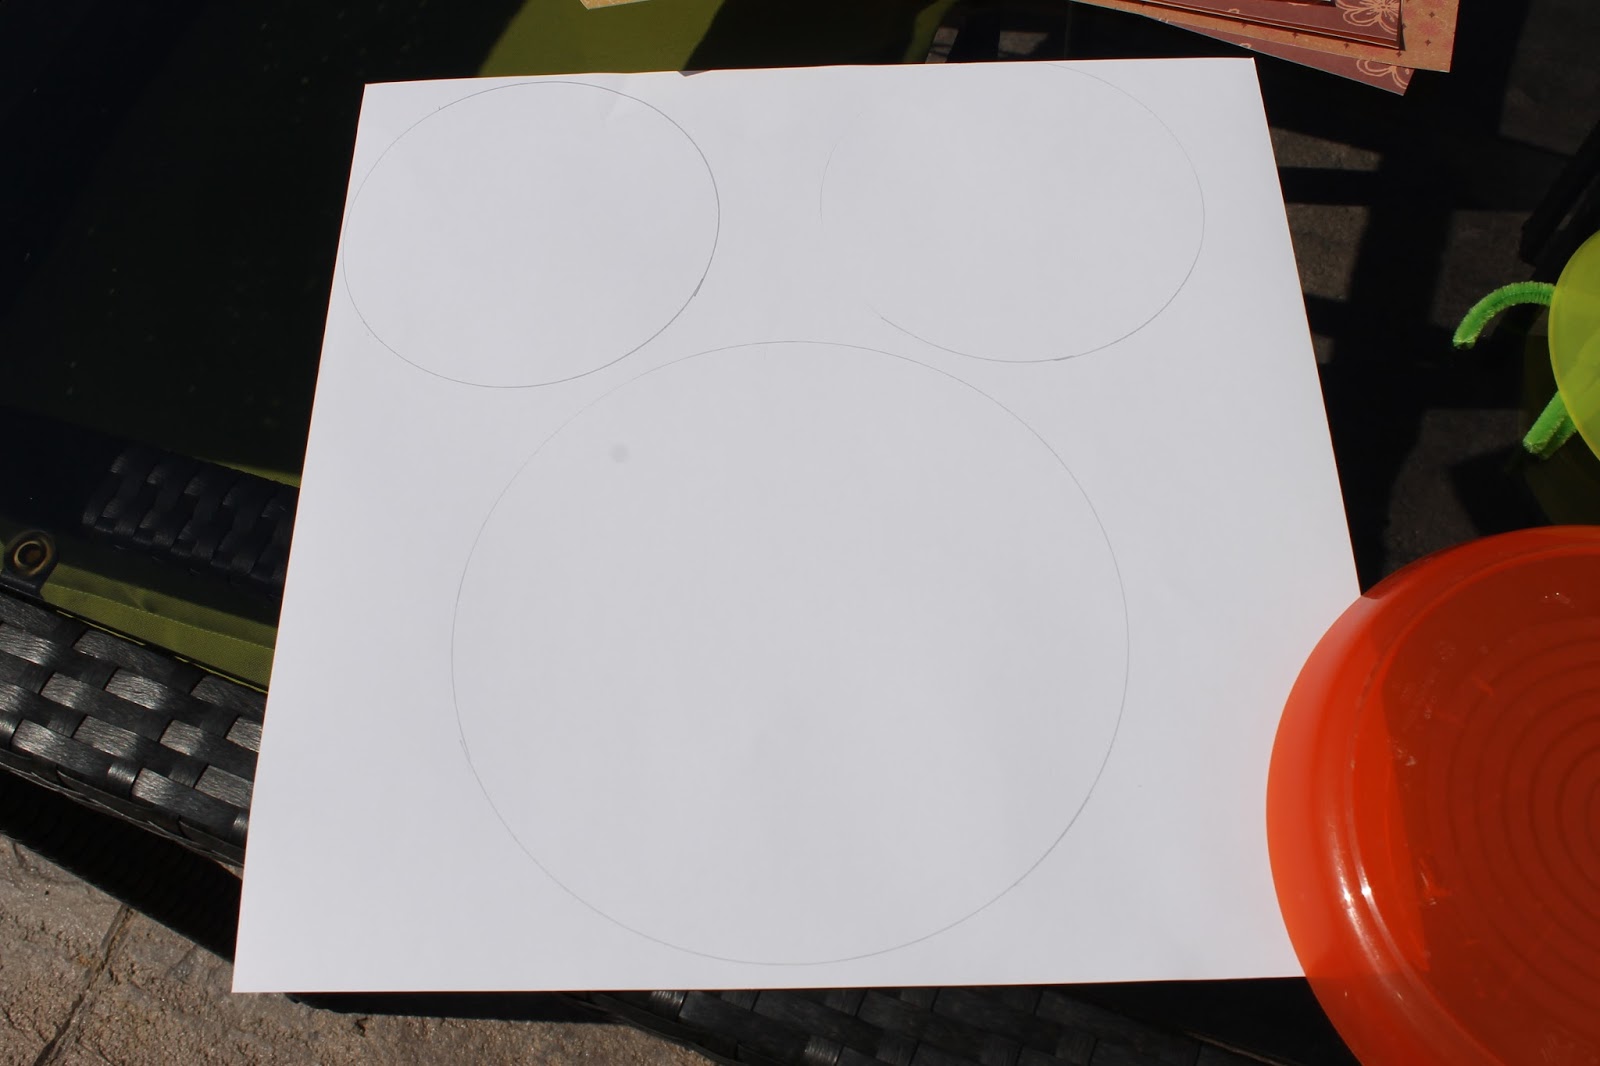
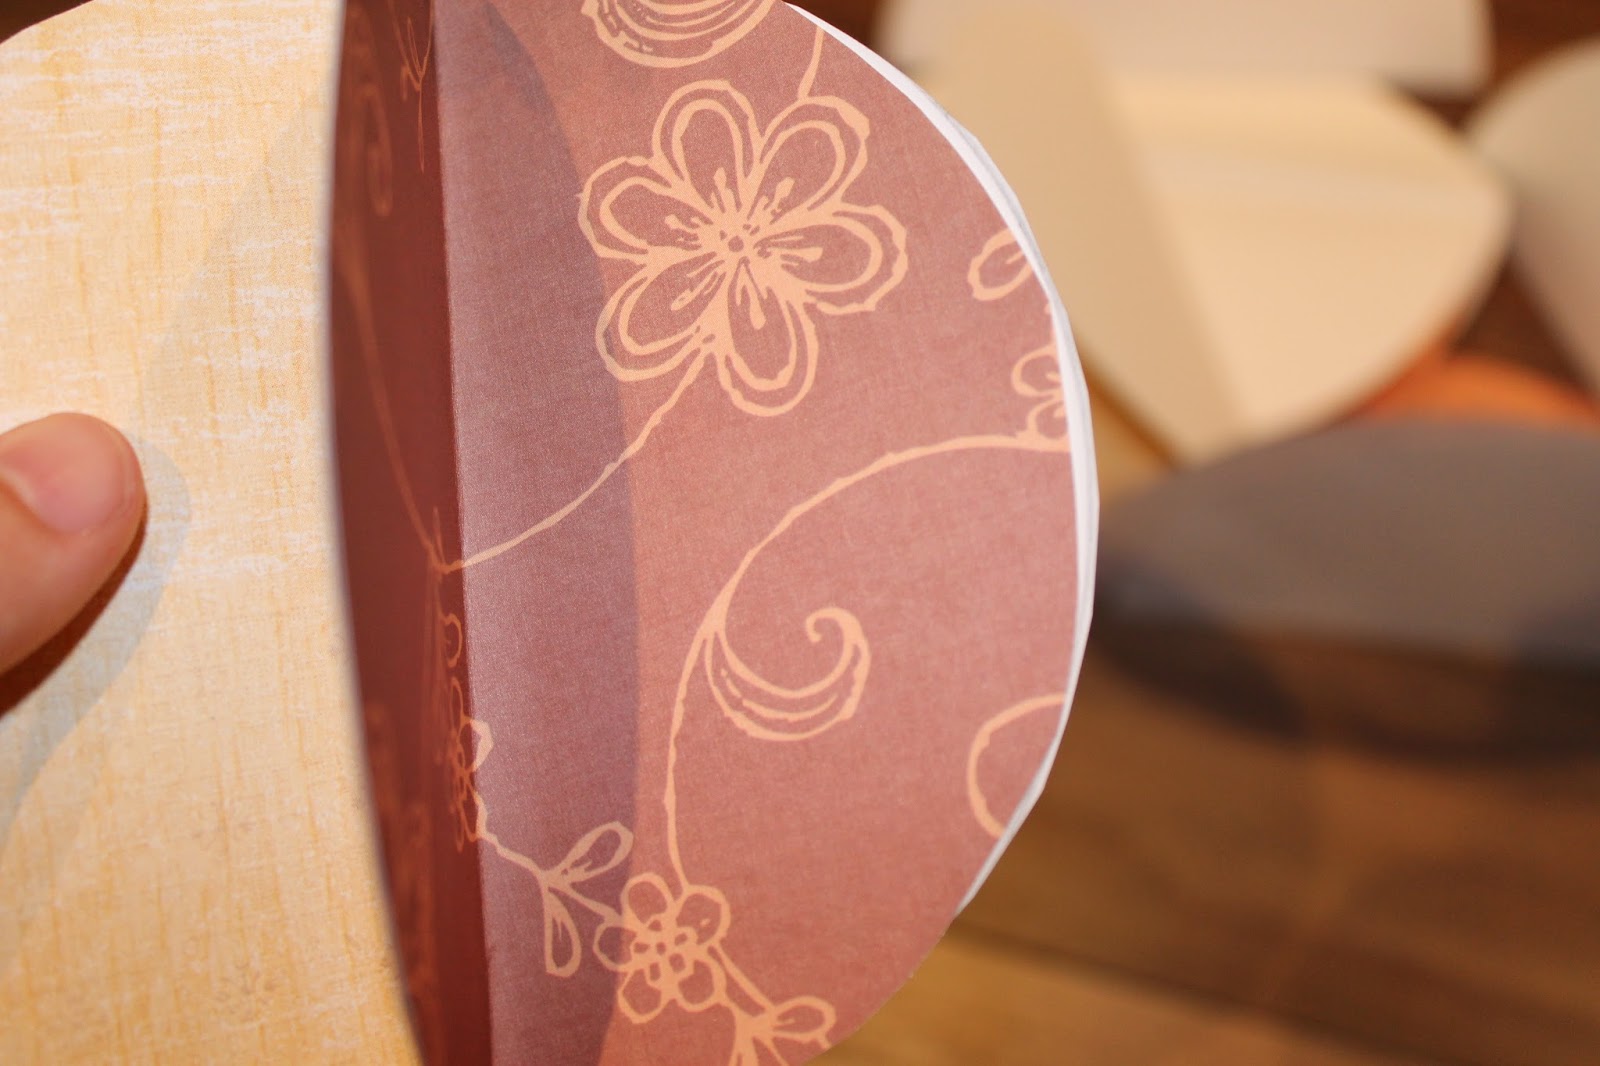
Step 3: Cut out circles. I used 7 paper circles to make each pumpkin, but these pumpkins can be made with as little as 3 or 4 circles, or even more!
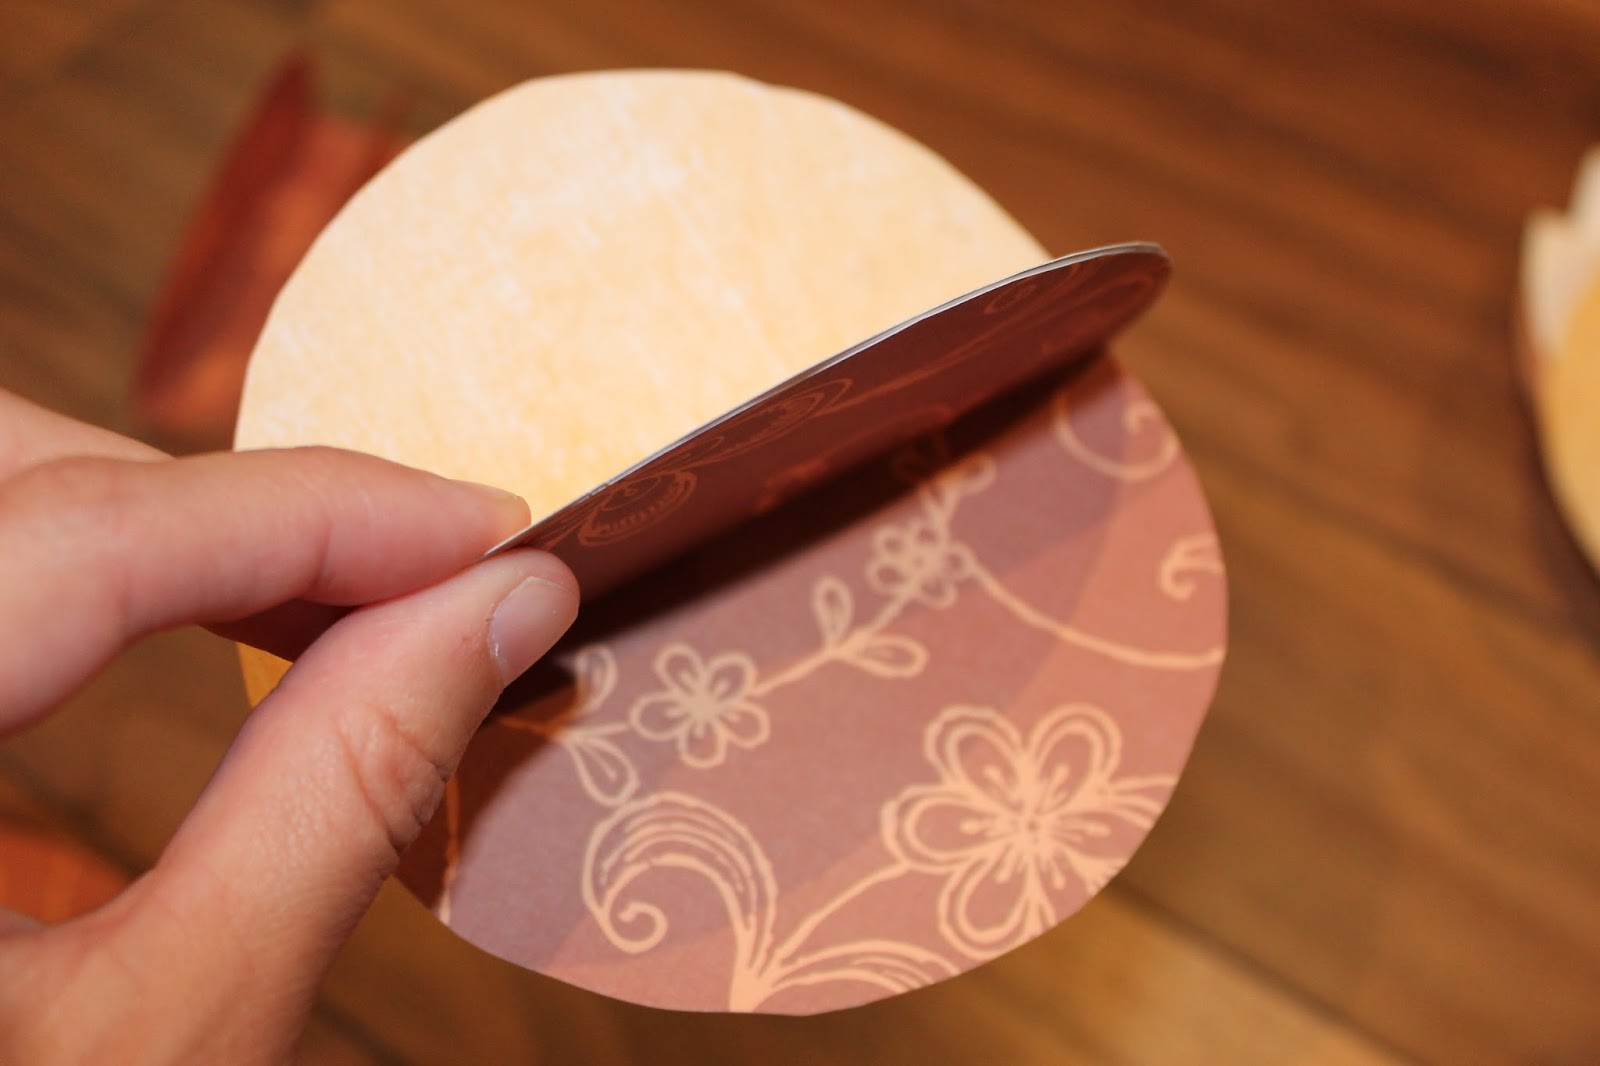
Step 4: Fold each circle in half with the “wrong” side out
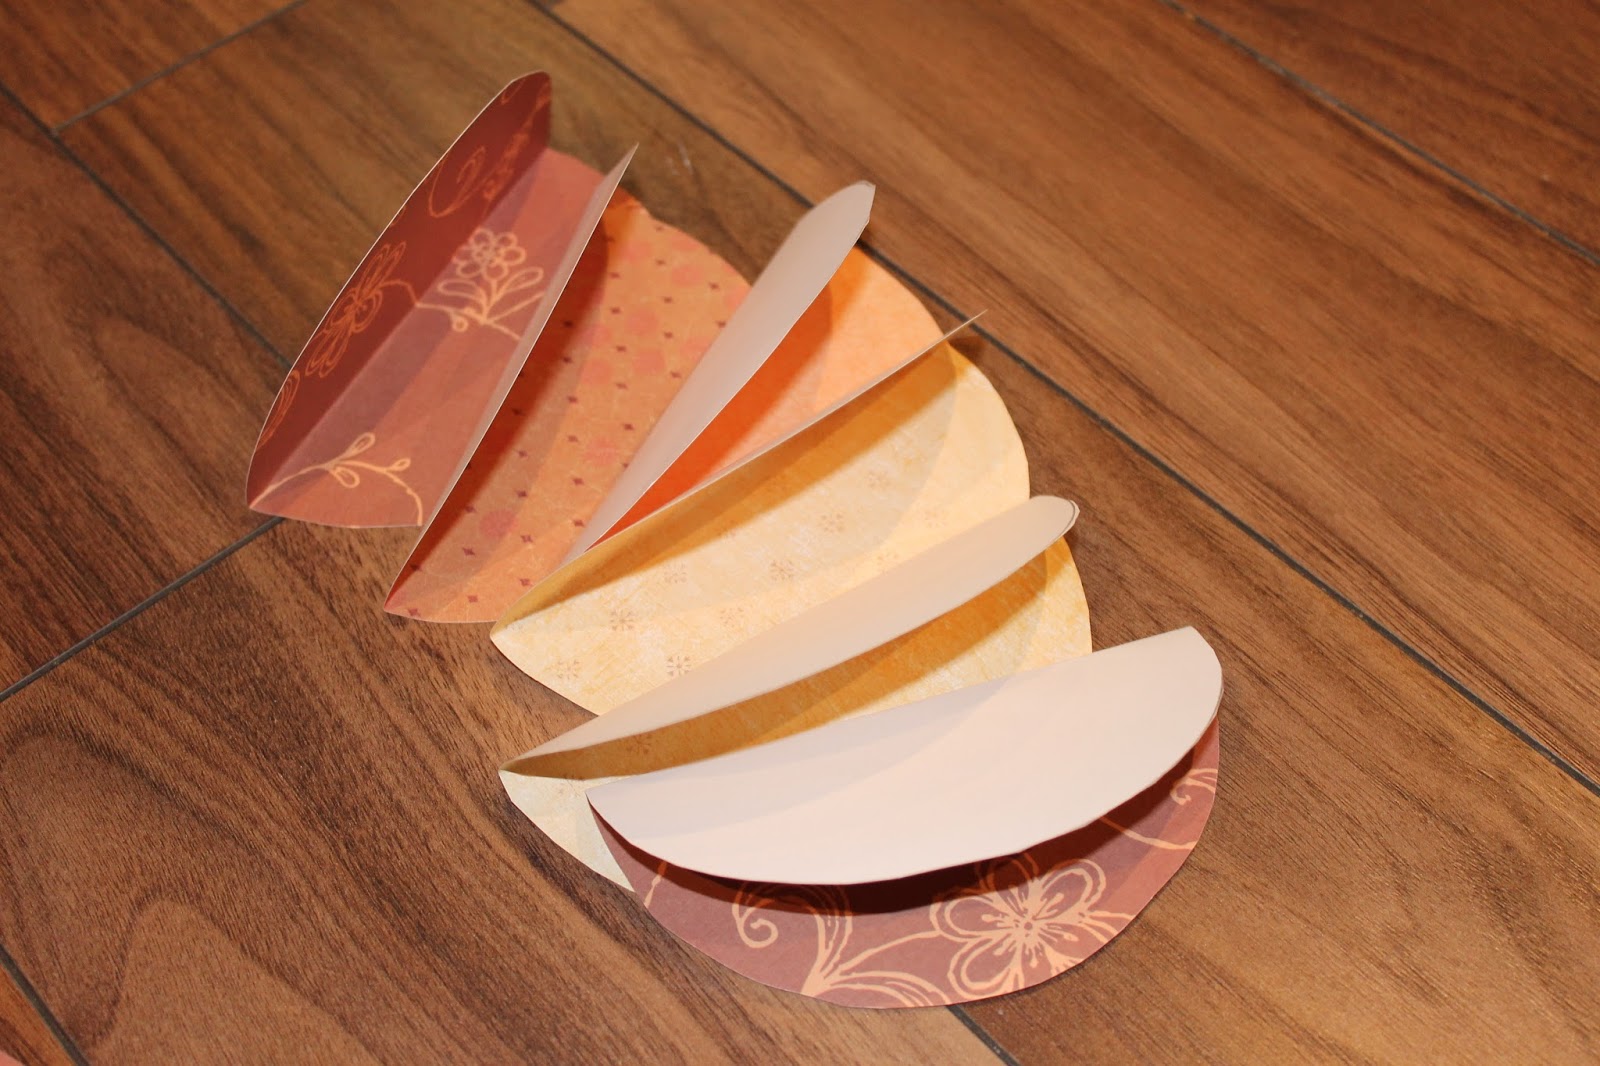
Step 5: Attach the circles together one by one, using the double sided tape. Be careful NOT to attach the first and last halves together prior to completing step 6.
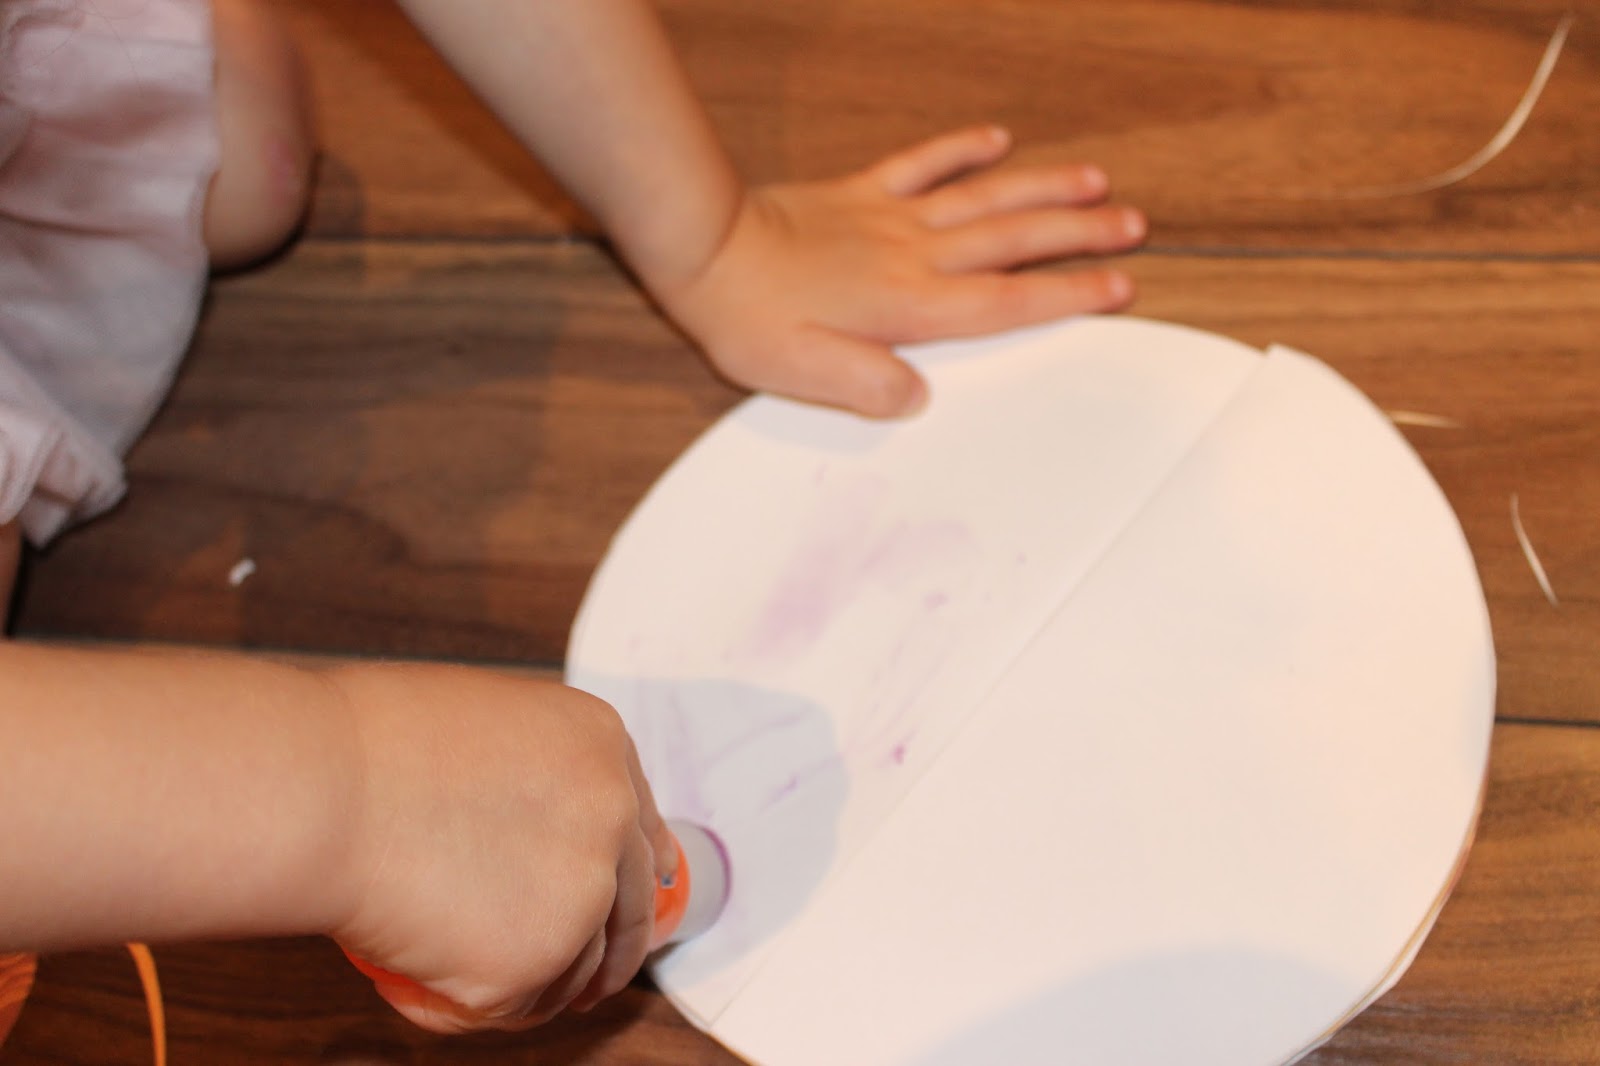
I prefer double sided tape for paper crafts because it’s not messy and it’s super sticky, but my toddler helped me using a glue stick, and it worked well too!
Step 6: Twist 2 green pipe cleaners together to make the stem. Twirl a third piece around your finger and attach to the first piece making a ’t’ shape.
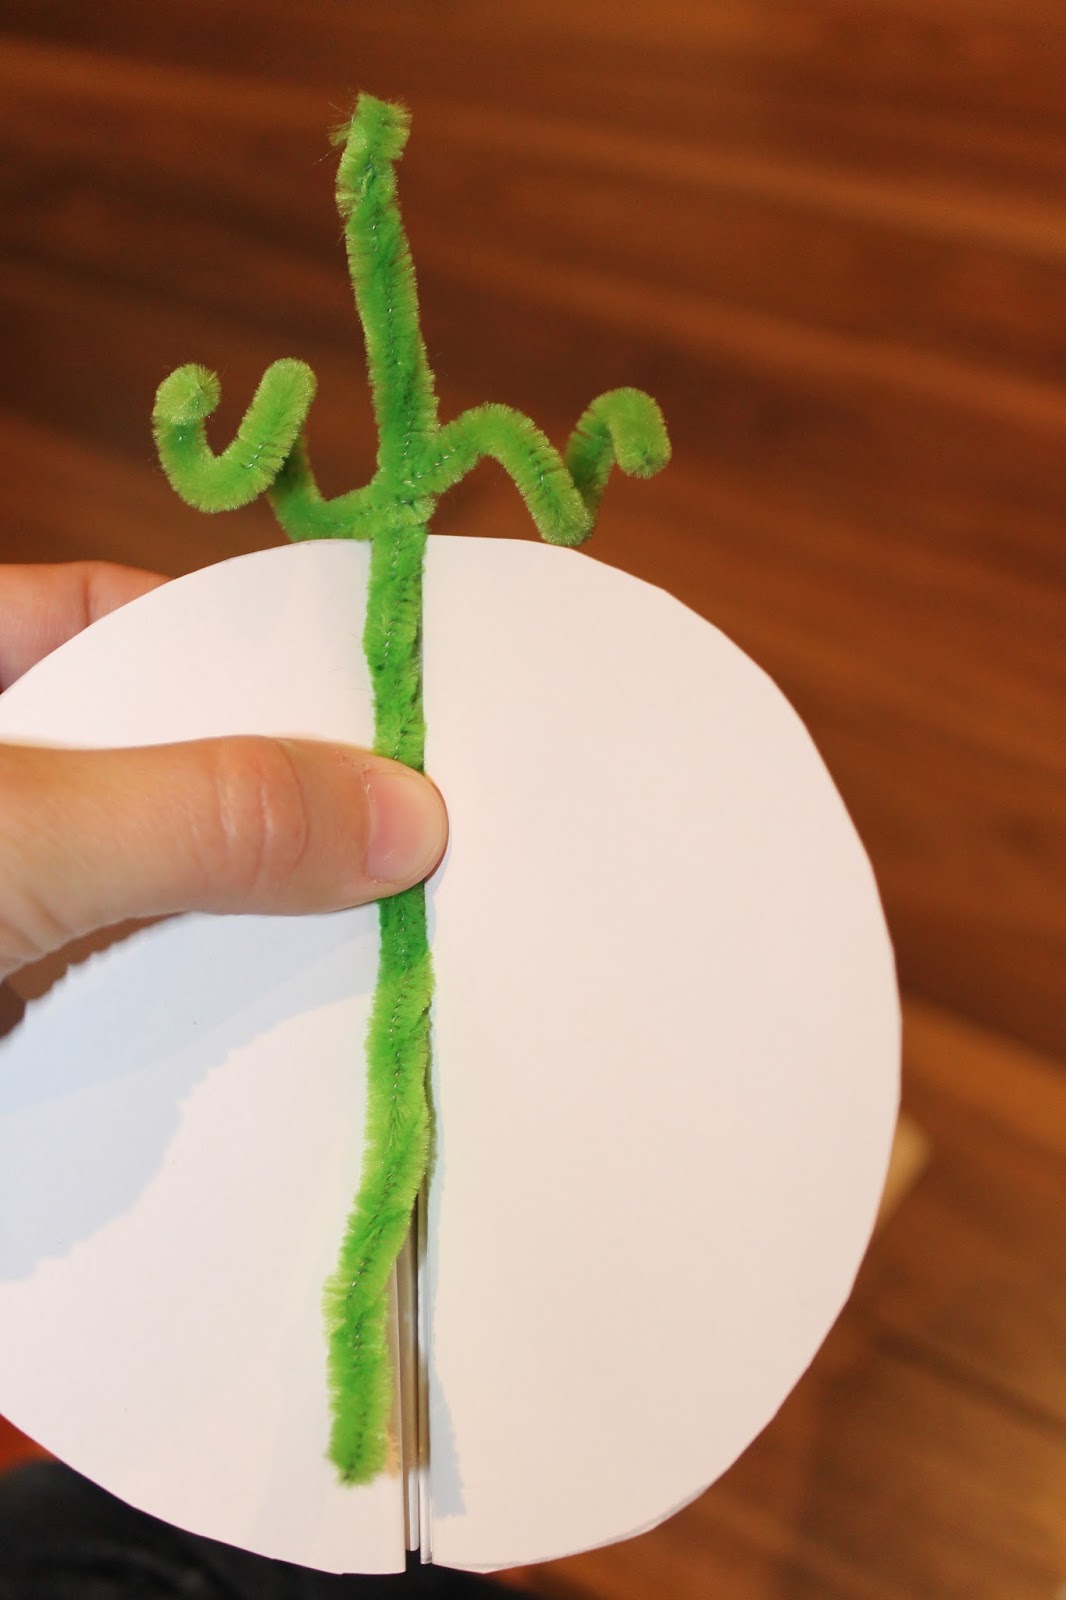
Step 7: Insert the pipe cleaner stem before attaching the last 2 halves together.
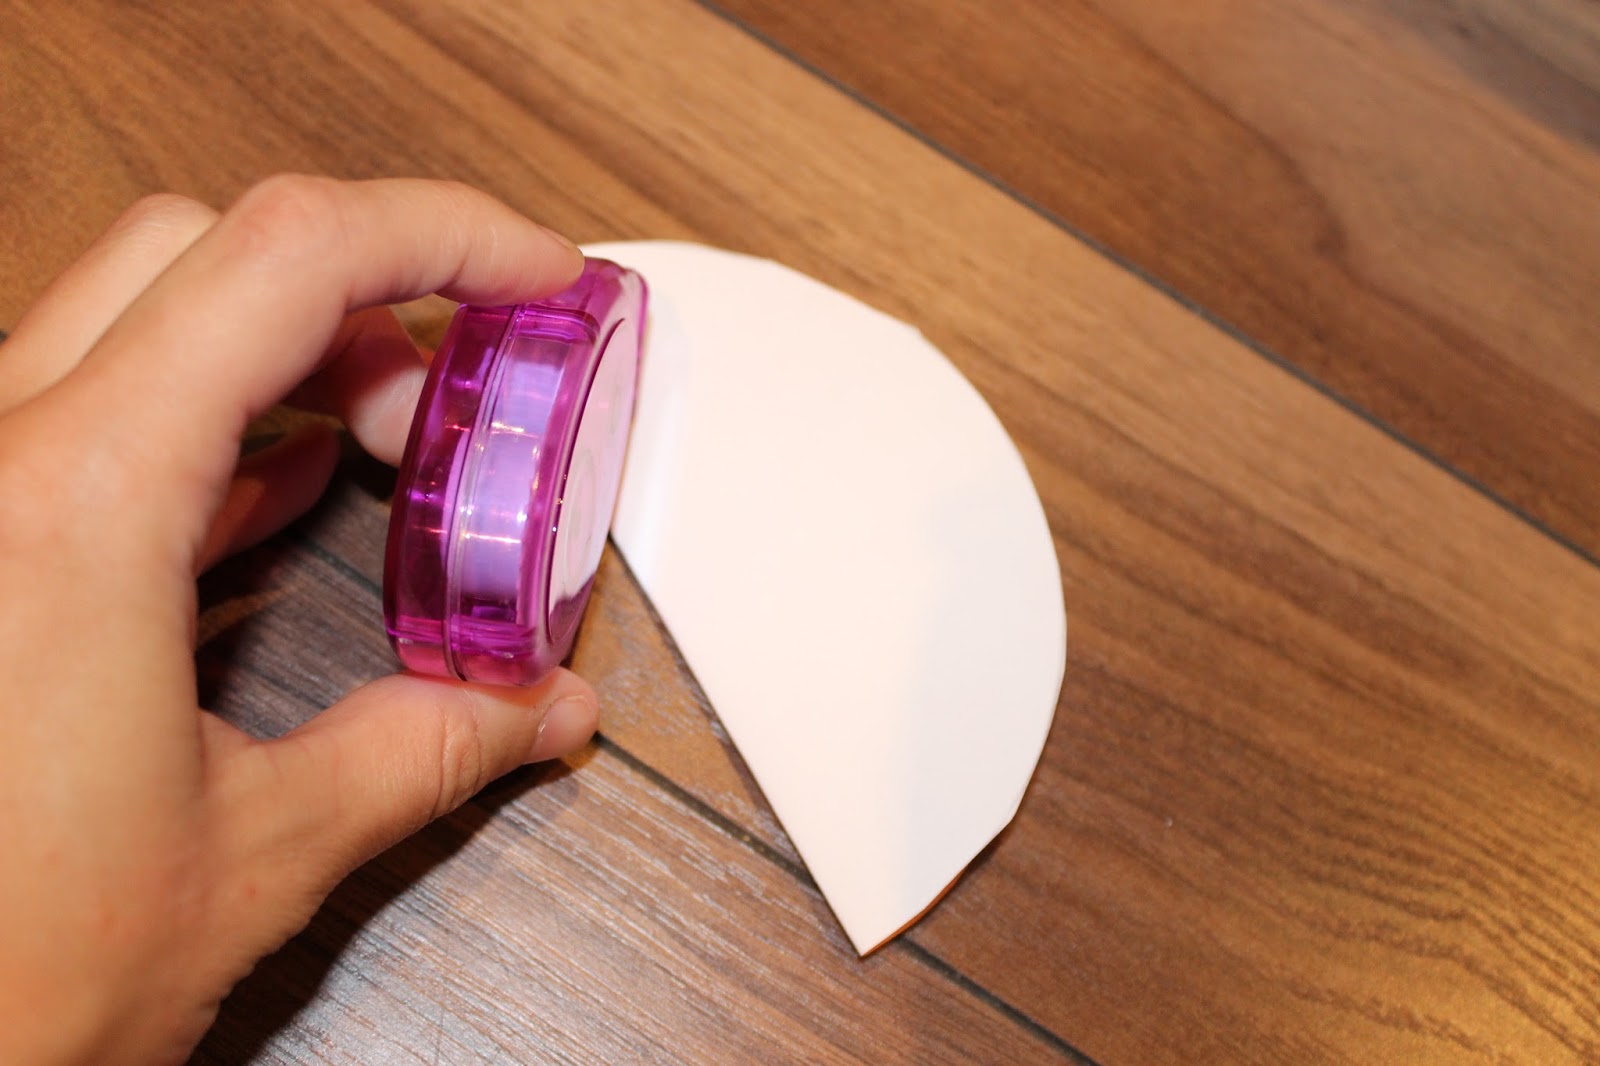
Step 8: Use scissors to trim up the edges where white is showing and cut the bottom off of each pumpkin so they stand up.
And voila! Cute and easy paper pumpkins!
This post originally appeared on livinginhisway.ca
This post may contain affiliate links. See our disclosure policy for more information.
The post Easy Paper Pumpkin Craft appeared first on Creative Sides.
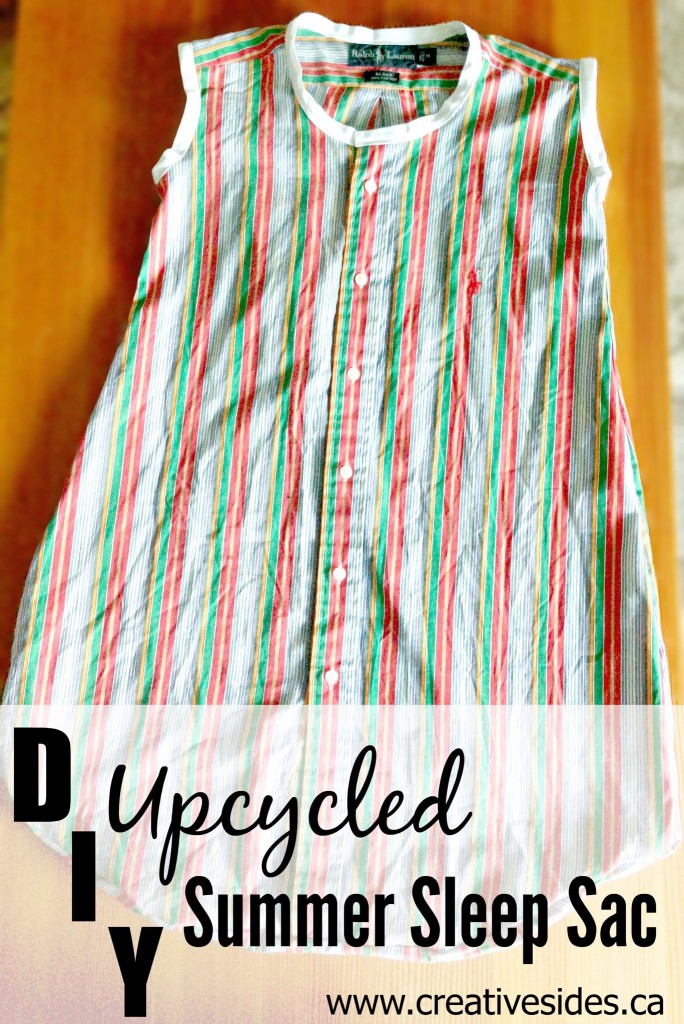
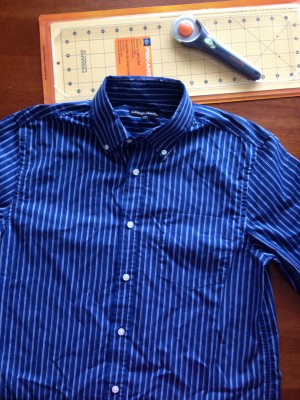
]]>The post DIY Upcycled Summer Sleep Sac appeared first on Creative Sides.
]]>- Wiggly babies still need a comfortable cocoon in the summer.
- Up-cycling is so great because a lot of the fiddly bits are done for you.
- They are so cute!
What you need:
- One man’s dress shirt. I hit the local thrift store.
- Bias Tape. You want the one that folds over more than twice
- Sewing machine. This is a great beginner one.
- Matching thread
- Pins
- Iron
- Scissors or rotary cutter and pad
How to make this :
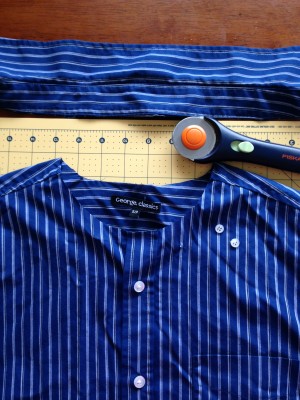
Step 1: Wash and smooth out the shirt
Step 2: Carefully remove/ cut off the collar and any collar buttons.
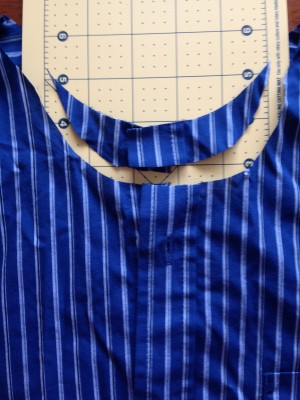
Step 3: Shape the neck by removing an arc of fabric. If you have another sleep sac that you like, use this as a template for this step and the side shaping.
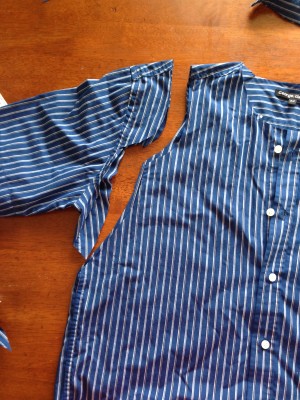
Step 4: Cut off the sleeves and extend your line down to remove the armpit. This is where you can free hand it or use another sleep sac for a template. (Do both sides)
Step 5: Turn your shirt inside out, line up the side seams you just created and pin them.
Step 6: Sew a straight stitch seam on each side, remembering to secure the beginning and end.
Step 7: While you have the shirt inside out, line up, pin and sew the bottom edge to close up the bag.
Ok, easy part done. Shake out and breathe for a second.
Step 8: Now start with one armpit and pin the edge of the bias tape all the way around.
Step 9: Sew this in place.
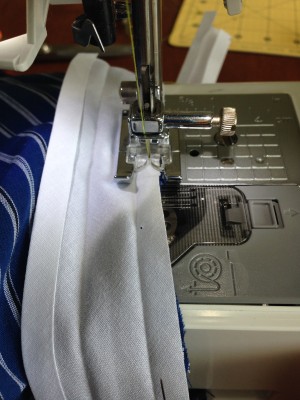
Step 10: Turn the whole shirt right side out. Now fold over the bias tape enveloping the raw edge of the sleeve.
Step 11: Pin and sew in place remembering that you are on the right side of the garment and it will show. I chose to use a decorative stich on this one but usually I use a straight stitch. You can match your thread to the bias tape or choose a colour that compliments the finished piece.
Step 12: Breathe.
Step 13: Repeat on other sleeve.
Step 14: Breathe.
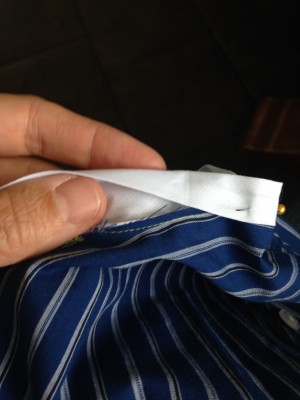
Step 15: Repeat on neck. Make sure you don’t accidentally close the neck up. You need to be able to unbutton the shirt to get it on the baby.
Et Voila, all ready for a summer nap!
This post may contain affiliate links. See our disclosure policy for more information.
The post DIY Upcycled Summer Sleep Sac appeared first on Creative Sides.
]]>The post Packing a Great Lunch for Back to School – and Year Round! appeared first on Creative Sides.
]]>Back-to-school time is upon us, which means new wardrobes and school supplies… and a new year of lunch-packing as well!
While my own children are not yet school-aged (though my eldest just started nursery school – ahhh!), as I teacher I’ve witnessed many lunches and have seen what works well. I’ve also packed many lunches for myself over the years!
Whether it’s your child’s first year at school or you’re a veteran parent, you have a lot of lunch-packing ahead of you!
Here are some tips for packing a great lunch:
1) Pack for the amount of food breaks your child has — and make sure they know when to eat what
Many elementary schools have now moved to two “nutrition breaks” as opposed to a single lunch break. Younger children may have a hard time understanding and remembering this, especially as they first start school. In these cases, a lunch box with two compartments is ideal.
Even older children can benefit from a 1 and 2 label system, to ensure they have food left for second lunch.
2) Pack a variety of foods
It’s nice to have selection at lunch time. A bento-box style may be ideal for kids who like to graze and can be packed with small amounts of many different types of food.
What to pack? A chart of different food groups with options listed underneath each can help here; just throw in a couple foods from each column. These types of charts are all over Pinterest, including our Back To School board.
3) Pack foods you know they’ll eat
School may not be the best time to try new foods, especially when peers are around. If you do add in new foods, make sure it’s not the main part of their lunch, until you know that it will go over well.
4) Involve Your Child in the Process
Have your child help shop for their lunch foods and then help pack them. It’s also a good idea to have your child unpack, and supervise this process. If something is uneaten, strike up a conversation and ask why. Did they not have time? Try and pack foods that take less time to eat. Did they not like it? Or were they just not hungry enough that day? This information will help you for future lunches, so you’re not just assuming they didn’t like it. If they’ve eaten everything, maybe they need more food for the next day.
5) Make lunch FUN!
Let your child choose or decorate their own lunch bag or thermos.
Special touches within lunches are always fun and much appreciated by children as well. While you don’t have to be the Pinterest mom here, a little note or fun snack can go a long way. You could even try cutting sandwiches in a different way or using cookie cutters to cut watermelon slices. Try and keep things fun and fresh!
Do you have any other tips? Leave them in the comments to inspire your fellow lunch-packing parents!
This post may contain affiliate links. See our disclosure policy for more information.
The post Packing a Great Lunch for Back to School – and Year Round! appeared first on Creative Sides.
]]>The post How to Cover Letters with Fabric appeared first on Creative Sides.
]]>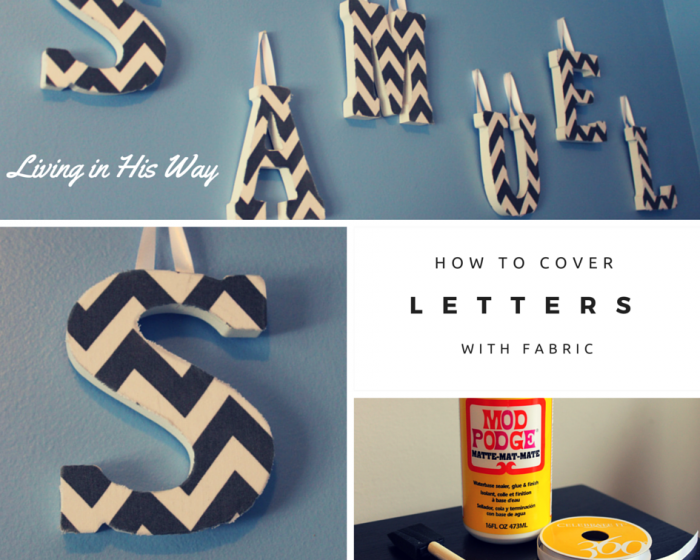
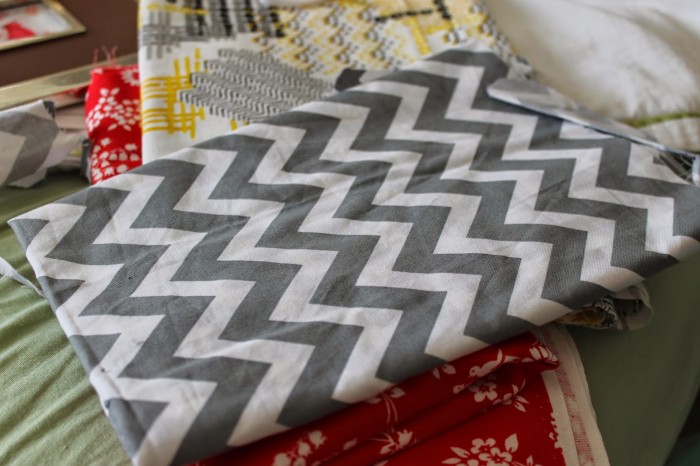
When I found grey chevron bedding for my son’s nursery and remembered I had grey chevron fabric, I knew a project was looming!
My older daughter has her name displayed in her room and I just left the letters plain white to match her furniture, but for Samuel’s room I decided to dress them up a bit to go with the rest of the decor.
I didn’t take photos as I was covering, but this really is a quick and easy craft.
How to Cover Letters with Fabric
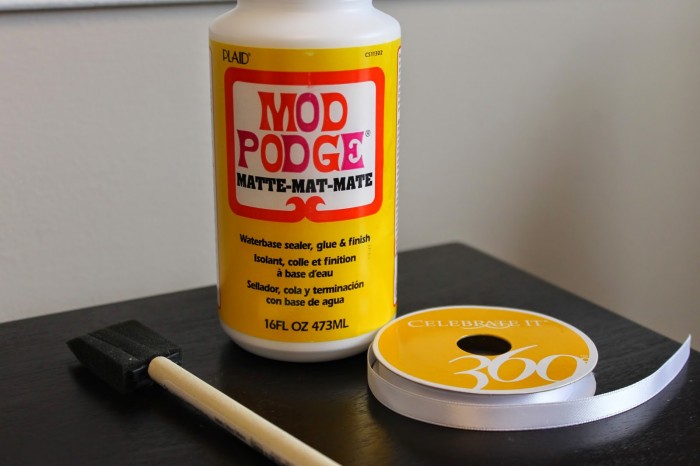
You will need:
-fabric
–wooden letters with a smooth surface
–mod podge
–a sponge brush
–ribbon
You don’t need much fabric for this, depending of course on how large your letters are and how many you’re looking to cover. I started with half of a yard and had plenty left over.
First, I traced my letters upside down onto the wrong side of my fabric. Next, I cut them out.
I covered the right side of the letters in mod podge, using the sponge brush and placed the fabric cut out on each letter, moving it to completely cover the white. Then I let it dry. Once it was dry, I added another layer of mod lodge to seal it.
The final step is to add the ribbon! This step is totally optional, but the letters I chose didn’t have a hole for hanging and I like the look of the ribbon as well.

I used mod podge to attach the ribbon too. I applied it to the top, stuck on the ribbon, and sealed it once it was dry. It worked like a charm and allows each letter to lay flat against the wall.
I measured the pieces of ribbon first to make sure they were all the same length. For letters that require two pieces of ribbon, this is especially important! Make sure they are attached the same way as well, or your letter won’t hang straight.
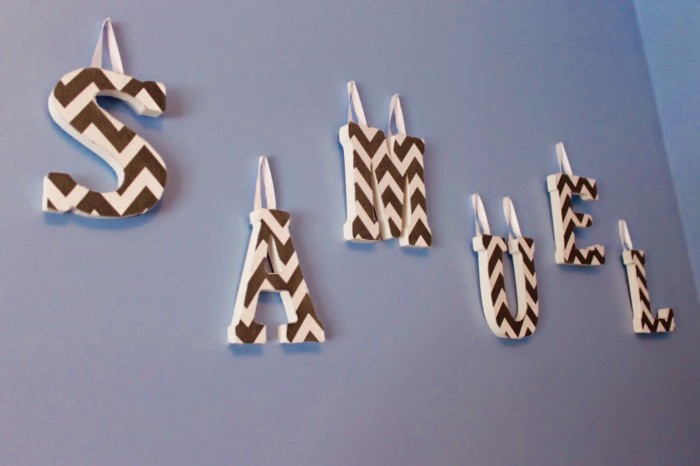
I love the final result and think it really adds to the nursery. There are so many possibilities here and letters can be decorated to match pretty much any decor!
This post originally appeared on livinginhisway.ca
This post may contain affiliate links. See our disclosure policy for more information.
The post How to Cover Letters with Fabric appeared first on Creative Sides.
]]>