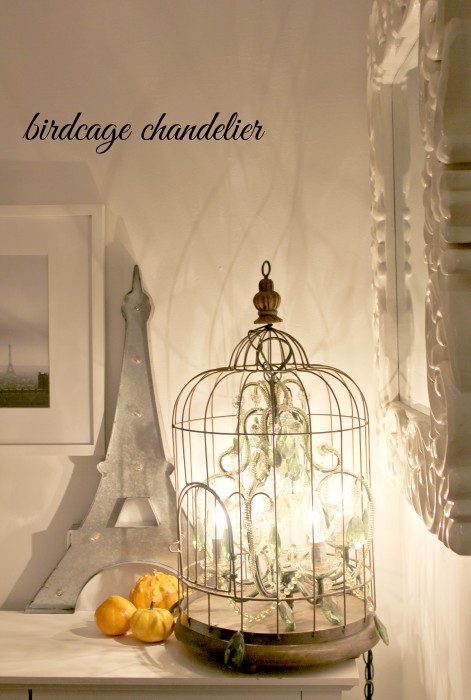
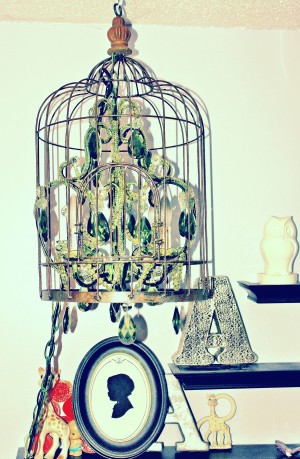
Sometimes the only thing I wish for more than extra wall space in our home (for more photos of course), is a larger need for chandeliers in my life. I have a rather insatiable love of chandeliers and photos and tufted furniture and monograms and and and….need I really go on? Basically, I just love decor and beautiful, unique things. My latest obsession interest has been in the form of birdcages, especially when paired with lighting. Ever since we fashioned the overhead light in our youngest’s room out of a birdcage, my interest has grown. You might think that I would have gotten it out of my system….but if one is good, might more be even better! Why not combine a forgotten chandelier and a new found birdcage? Why not indeed. I mean if the all knowing and ever impressive Restoration Hardware thought it a good idea and did it, why couldn’t I?! Since I had no convincible argument to not create a birdcage chandelier, here are the 12 steps I went through in order to do so.
What I used:
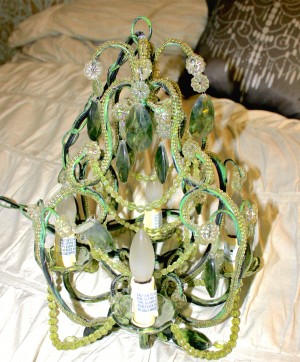
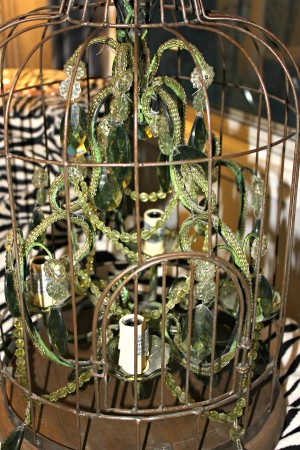
Chandelier – green acrylic 18″ x 12″ chandelier found years ago at HomeSense
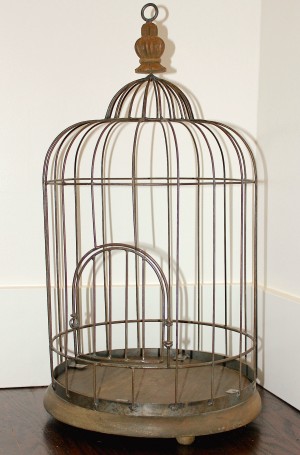
Birdcage (large enough to house chandelier) – found more recently at HomeSense
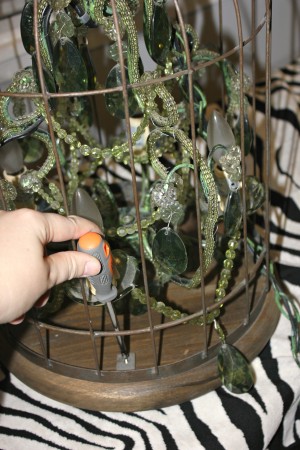
Screwdriver (to remove base)
Pliers (2 pairs work best)
Bendable Wire (if needed to centre chandelier in cage)
DIY Birdcage Chandelier Instructions
Step 1: Select a chandelier and remove the light bulbs if you don’t want to have to replace them all. Ours had originally been used in our old place, and had just stayed packed away in box since we moved. This particular style plugged into an electrical outlet and so I didn’t have any extra electrical components to consider.
Step 2: Aquire a birdcage of suitable measurements. Not only will it need to be large enough to fit the chandelier, it will also need to have a removable base.
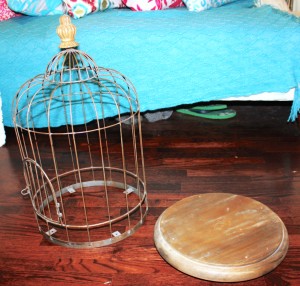
Step 3: Detach the base. This one had four small phillips screws attaching the wooden base to the cage.
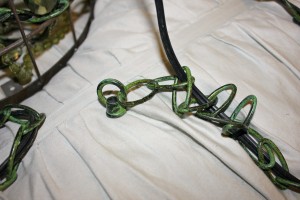
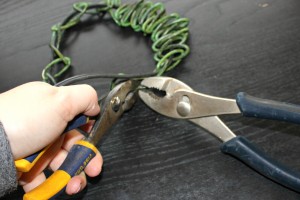
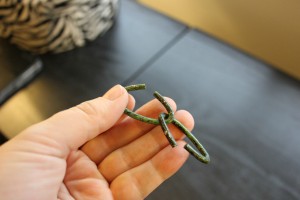
Step 4: Using 2 sets of pliers, detach the bottom 2 links of the chain on the chandelier. This chandelier’s chain had several extra links at the bottom, otherwise you could purchase links or other suitable hardware at any home improvement store.
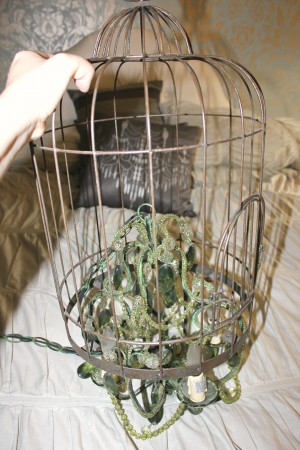
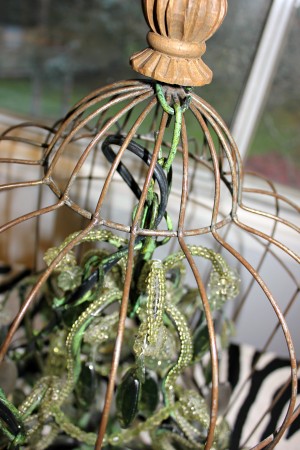
Step 5: Next carefully slide the birdcage top down over the chandelier. I found this easiest accomplished on something soft, like a bed, or a couple towels because the chandelier is not flat and you will find it is one of those moments where you could use two more hands.
Step 6: Next take the 2 links of chain you removed and loop them together.
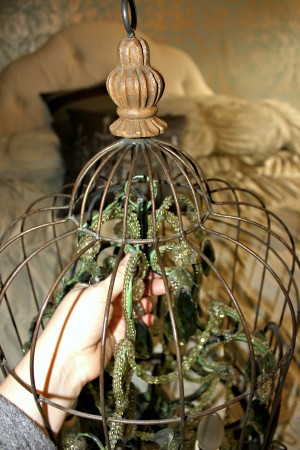
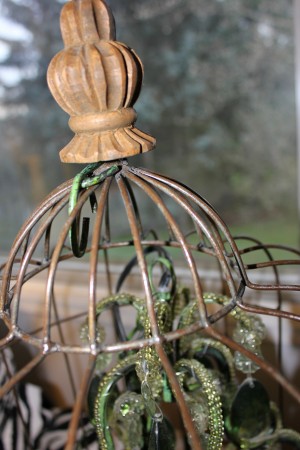
Step 7: Slip one of the links around the top of the bird cage, allowing the other to hang down inside.
Step 8: Lift up the chandelier by the chain and attach to the hanging link (alternately it may be easier to remove the hanging link and loop it thru the chain and then reattach to the top). Never have my hands felt so large as trying maneuver them around the inside of this birdcage, but who’s not up to a good challenge!
Step 9: Close the 2 links back up again. This is best accomplished with needle nose pliers, and two hands with no pictures.
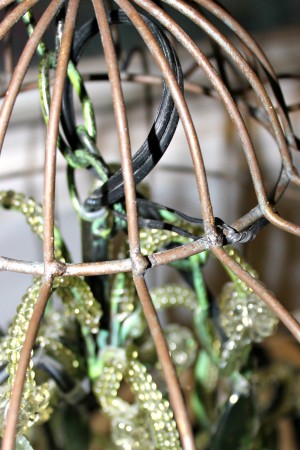
If the links are off centre and cause the chandelier to pull to one side, use bendable wire (that sometimes comes with the chandelier) to pull the light back centre and twist off around one of the cage bars to keep in place.
Step 10: If a hanging light fixture is what you are looking for (and unlike me you actually still have space for one) this would be a great place to stop.
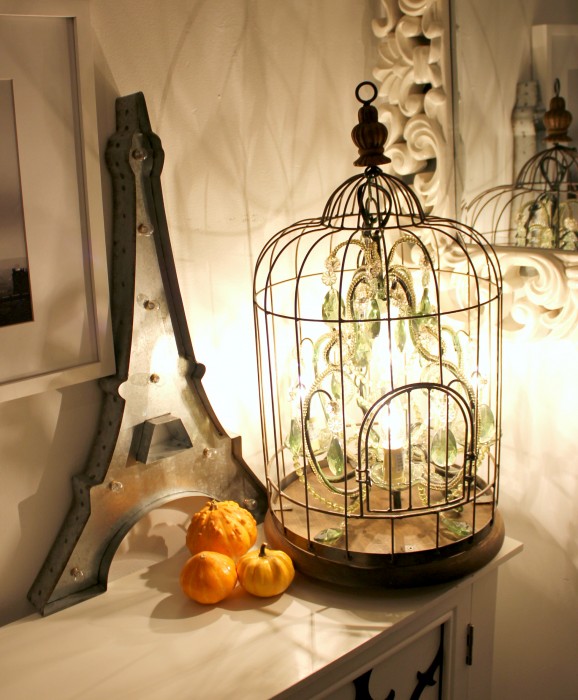
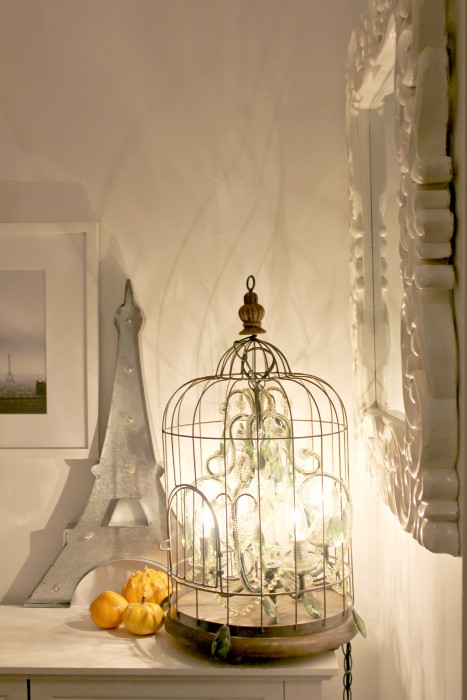
But in my case, this particular chandelier of a birdcage was destined to be a table lamp, so I continued on with step 11.
Step 11: Place the base of the birdcage on a hard surface and carefully align the chandelier and cage back in place on top.
Step 12: Using the same 4 screws removed earlier, reinstall the base back onto the cage and you are done!
Rejoice in the fact that you do not have to try to fit your hands in and around the bars of this particular birdcage anymore!
Wahoo! My very own birdcage chandelier shining in all it’s glory.
Laura Crawford
Latest posts by Laura Crawford (see all)
- What Everyone Needs To Know Before Remodelling - December 5, 2016
- Goodbye Perfectionism - August 4, 2016
- Two Tier Flower Power Cupcakes - March 28, 2016
Leave a Reply